There are times when it’s impossible to create a sharp image even when you’re using a narrow depth of field such as f/16. This issue is most evident in landscape and macro photography.
So what do you do when you find yourself in this situation? The answer is focus stacking. And in this article, we’ll show you how to achieve super-sharp details using this method.
What Does Focus Stacking Mean?
When you use a wide aperture (such as f/2.8) at a short working distance, the depth of field (DOF) will be extremely shallow. In other words, only a section of the object you’re photographing will be sharp.
But what if you want the whole object to look sharp? Then that’s where focus stacking comes in.
So what is stacking, exactly? In simplest terms, it’s a technique that combines several images of an object shot at various focus points. This process results in a photo that is sharp from the foreground to the background.
Focus stacking is common in macro photography, landscape, and architecture images can benefit from focus stacking. But this technique is also popular in product and still-life photography, among others.
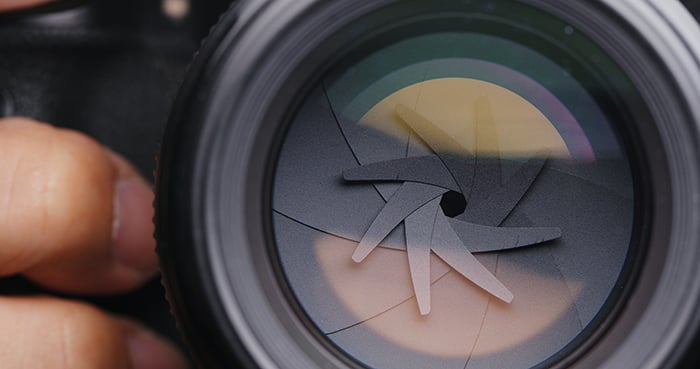
Choose the Ideal Aperture for Focus Stacking
For stacking photographs, the ideal aperture is around f/5.6 or f/8 because they have just the right depth of field. Anything above and below these values, and you may start finding aberrations.
If you’re using a macro lens, the DOF will still be shallow, even if you set your aperture to f/8.
Why Not Use a Narrower Aperture?
Why can’t you simply use a smaller aperture (f/16) to create a deeper depth of field? Well, a smaller aperture would, indeed, place much more of the subject in focus.
But if you’re shooting at a close distance, even the narrowest aperture is not enough to get everything sharp.
Diffraction might also be of concern. If you’re going for ultimate detail, you’re limited to apertures below ~ f/11. If you go beyond that, your image will start to lose sharpness as well.
Apart from the DOF, you also need to consider the light conditions. You might need a wider aperture to let in more light. But doing so will also create a shallow depth of field. So focus stacking is the only way to create a tack sharp image.

How to Focus Stack: Photographing the Subject
So how do you take focus stacking photos? Let’s go through all the steps below.
Step 1. Place your camera on a tripod.
Step 2. Compose your image by framing your subject. Your subject needs to extend away from you/the camera somewhat.
Step 3. Figure out the correct exposure. Your camera needs to be on Manual mode (M).
Step 4. Your ISO should be as low as possible.
Step 5. Slow shutter speed is not a problem here (that’s why we have the tripod, among other things).
Step 6. Set the camera to Live View. This will help you focus on the object easier.
Step 7. The focal point needs to be on the closest part of your subject. Use the camera zoom (+ symbol – don’t zoom with the lens) to preview the focus.
Step 8. Use the focus ring to ensure optimal sharpness. Take the shot.
Step 9. Use the live view to set the focal point on the next section was blurry in the previous shot. Keep doing taking photos until you reach the tip of the object you want to stay sharp. Don’t move the camera, tripod, or any other settings, or you’ll get inconsistent results.
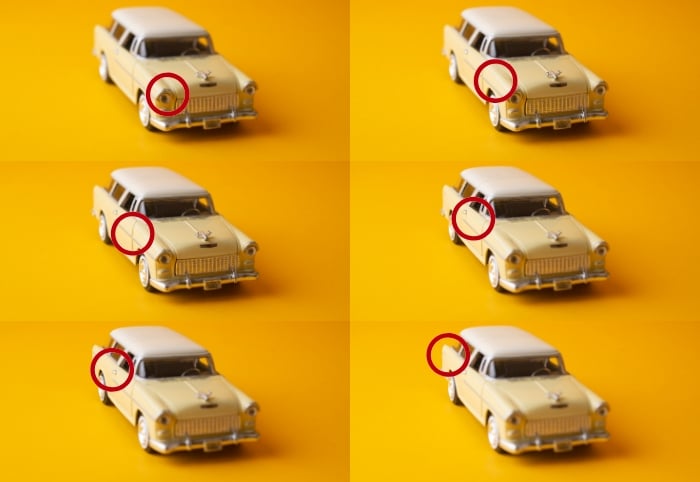
Step 10. Repeat steps 5 and 6 until you have the entire subject covered. Use the below images as a reference guide.
NB: Between 6 and 30 images are best for optimal sharpness.
Depending on what you are photographing, the entire process can take 5 minutes to upwards of 30 mins. But be patient because the result will be worth your time.
Here are the images I’ll be working with for this demonstration. The red circle indicates their current focal plane.
How to Focus Stack in Photoshop
To edit your images, you will need Photoshop or dedicated software such as Helicon Soft. Here, we will show you how to do it in Photoshop.
NB: It is always better to have the most updated version of Photoshop. But any version from Photoshop CS6 will allow you to do this.
Open Photoshop. Go to File>Scripts>Load Files into Stack. A Load Layers panel will open. Select Browse to locate your files.
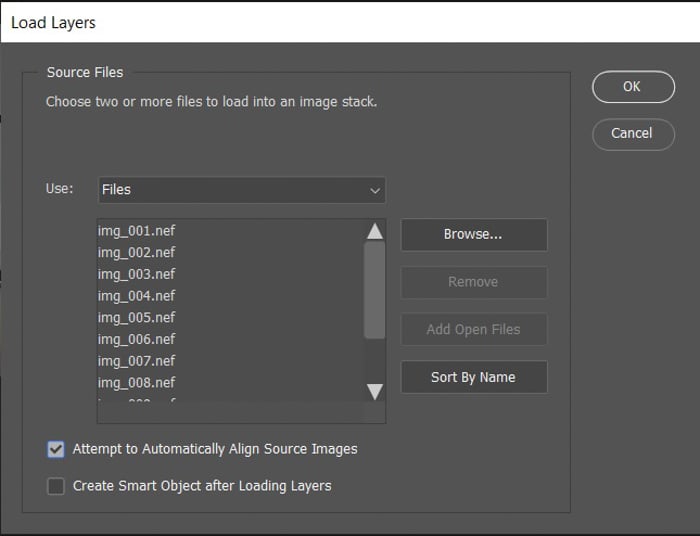
With your files added, make sure you check Attempt to Automatically Align Source Images. Doing so allows Photoshop to auto-align the images for you. After clicking OK, Photoshop will place all of your images into layers.
In the Layers Panel, you will see all the images as layers.
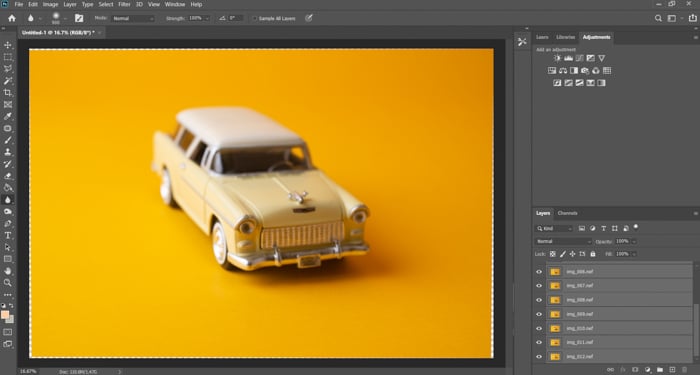
We need to select all stacked images. Select the first image, hold down Shift, and click on the last picture. This action will select all the photos.
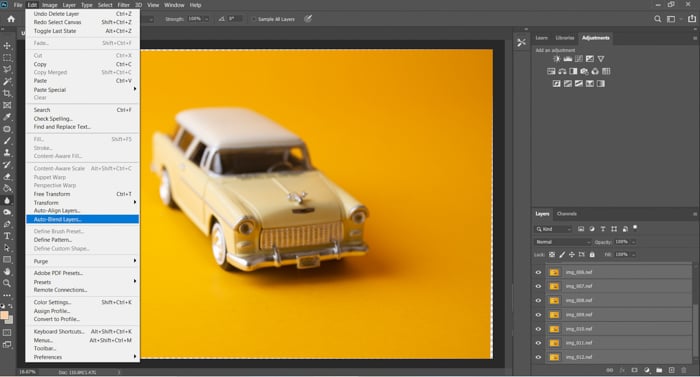
Go to Edit>Auto-Blend Layers. You need to decide between Panorama and Stack Images. Make sure to select Seamless Tones and Colors.
Content-Aware Fill Transparent Areas will fill parts of the images that lack information. You can bypass this, and crop the image later.
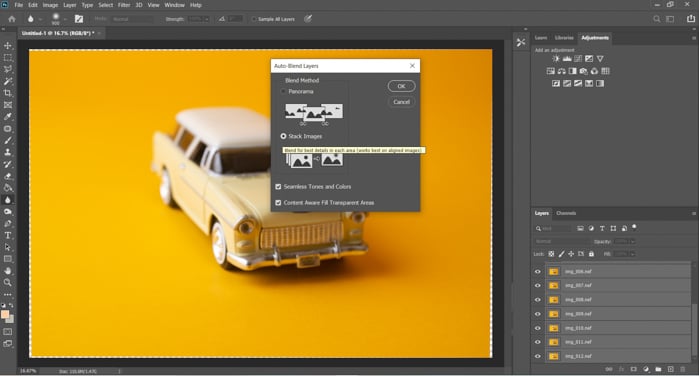
The image will load. Photoshop will find the sharpest parts on each photo and mask them. Be patient.
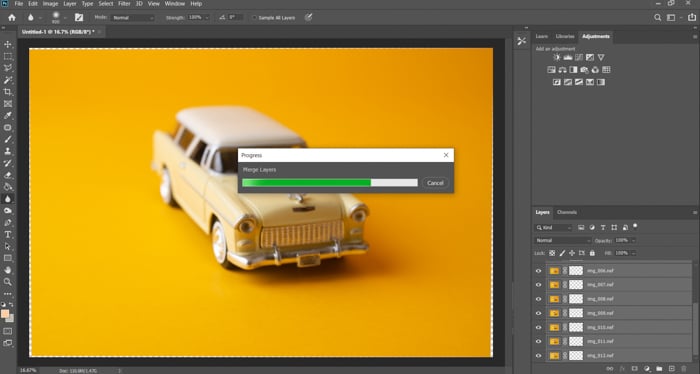
Here is my final image after some cropping and increasing brightness. As you can see, every part of the toy car is sharp.

How to Focus Stack in Helicon Soft
The problem with Photoshop is that it produces inconsistent results, especially if you focus manually. So if you want more precision, you need to use Helicon Soft. It’s fully automated, so all you have to do is press the shutter, and it will do the rest.
Helicon Soft offers two separate programs for stacking, which you can buy as a package. The first is Remote, which controls your camera’s autofocus. And the second one is Focus, which is the one that combines all the images. We’ll show you how to use both of them below.
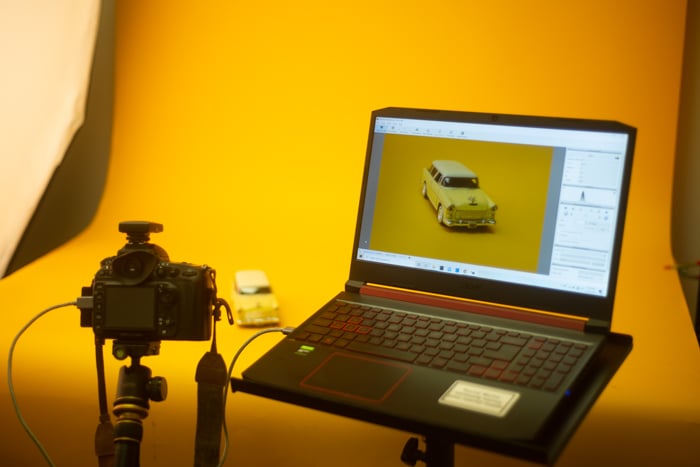
Helicon Remote
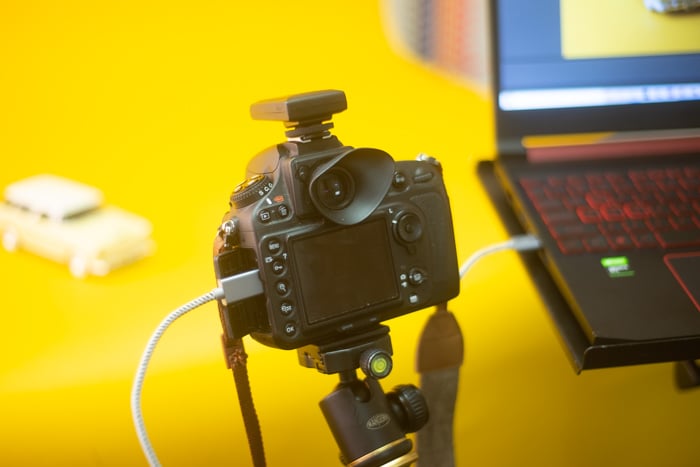
Place your camera on a tripod and turn on autofocus.
Open Remote.
Connect it to your computer via a tethering cable. The program should detect it automatically, and you’ll see a live view on your screen.
Adjust your aperture, ISO, and shutter speed under Camera Settings.
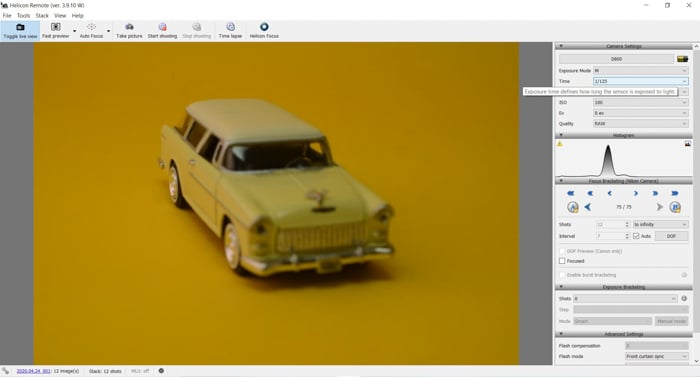
Click on autofocus in the tool tab at the top.
Click the A icon under Focus Bracketing.
Select the section of the object closest to your lens as your starting focusing point. Click on A again to lock the focus.
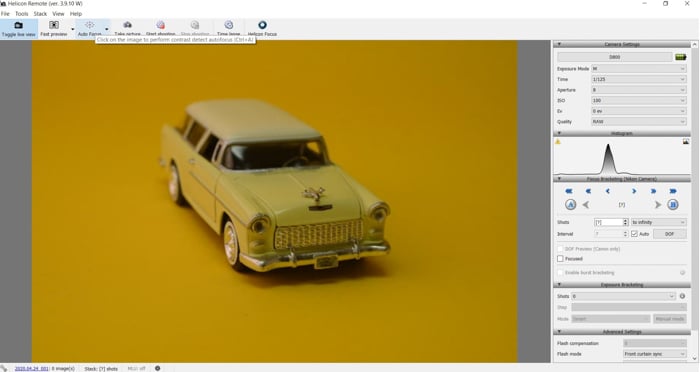
Click the B icon and select the section of the object that’s farthest to your lens. Click on B again to lock the focus.
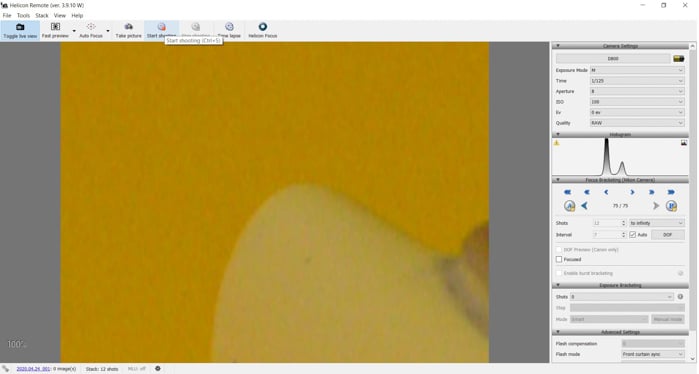
Click Start Shooting in the tool tab at the top of the screen. Remote will start taking pictures automatically for you.
Once Remote finishes taking photographs, a dialogue box will pop up. It will ask you if you want to open the photos in focus. Click Okay to open Focus.
Helicon Focus
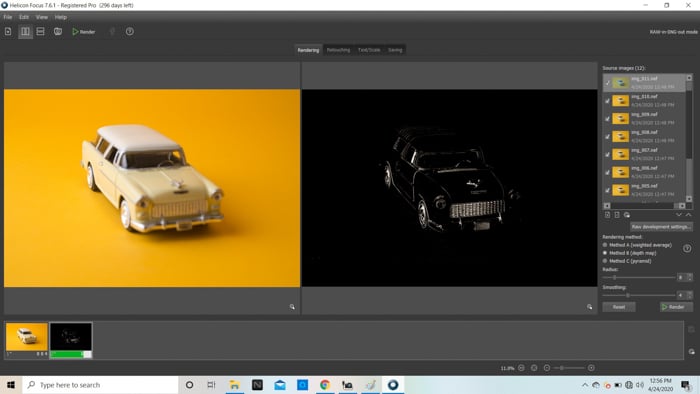
Wait for the images to load in Focus.
Click on Render to combine all the photos (this takes a few moments).
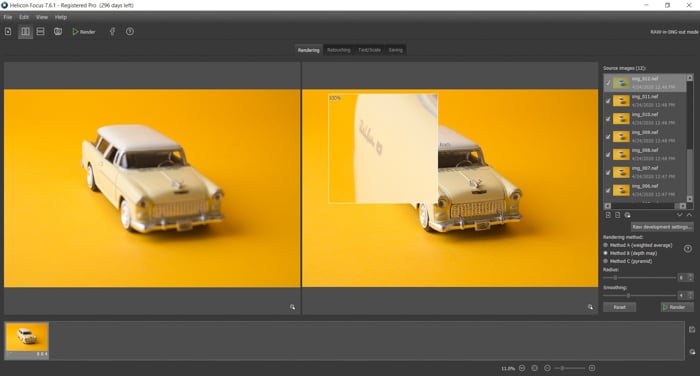
Click on the final image on the right side of the frame to inspect it.
If you like the final image, click on File and select Save.
You can also take photos manually without having to use Helicon Remote. All you have to do is load the images to Focus and follow the same steps.
There are plenty of other parameters you can adjust in both Remote and Focus. But the steps I showed you are the ones that you will use the most.
Focus Stacking in Camera
Some of the newest cameras now offer focus stacking as well. A few popular cameras with this feature include the Canon EOS RP as well as Nikon Z6, Z7, and D850. The newest Panasonic Lumix and Olympus OM-D cameras also have this capability.
The stacking process would vary from one camera to another. So consult your manual to find out how to do stacking on your device.
To turn on this feature on my Nikon Z6, I go to Menu and select Focus Shift Shooting.

Next, I adjust the number of shots, Focus Step Width, and Interval after the next shot.
Once I finish adjusting, I select a focus point closest to my lens and press the shutter. Then I load them to either Photoshop or Helicon, and that’s it!
Conclusion
Focus stacking is surprisingly useful in so many situations. It allows you to control your focus in ways that your lens and camera alone can’t do. It’s also an easy technique to learn, especially since focus-stacking programs do half of the work. So take your time to learn it – this is one of those skills you’ll need all the time.
We also have a great article on focus stacking for still life photography, or tips on using manual focus or depth of field to check out next!