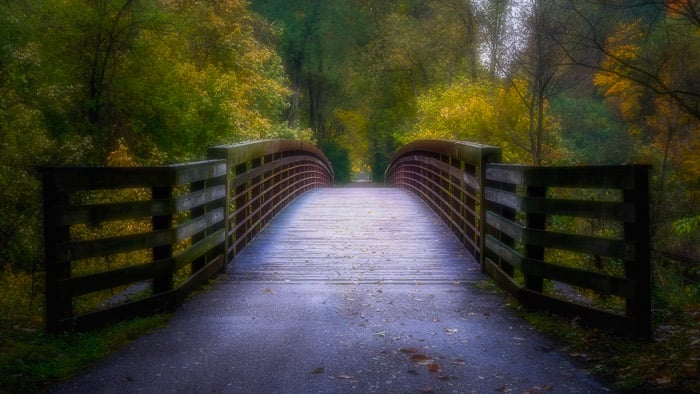
The landscape has inspired painters and musicians for centuries. And landscape photography remains one of the most popular genres in the art form, with an enduring inspiration that has lasted over 200 years.
There’s a wide range of photography niches to explore, but there’s something universal about landscape photography. Everyone appreciates a spectacular view, which is why this genre is so rewarding.
Mastering the art of landscape photography isn’t easy, but you’ve come to the right place. This article is a perfect resource for anyone interested in landscape photography. Whether you’re a beginner or a seasoned pro, we’re sure you’ll find some new information here.
© Luca Bravo
How to Take Landscape Photos
Landscape photography is also one of the most accessible forms of photography. Anyone with a camera can take a picture of a scenic view. But it takes specialist skills and knowledge to take truly breathtaking landscape images.
The skills you need are not merely camera-based. Of course, you need to know the best settings. But you also need to know how to work in different environments to get the best shots. Deserts differ from mountains, and plains are not the same as coastlines.
You also need to have the right gear. A basic camera is fine for beginners, but you’ll need more specialist equipment as you progress on your landscape photography journey.
This article has every aspect of landscape photography covered. We look at the basic settings and concepts. But we also explore more advanced themes and topics. You’ll learn about everything from shooting winter landscapes in the snow to finding the best locations in any environment.
Each section has an in-text link to a full article on the subject, so click the links to learn more.
Landscape Photography Basics
Starting with the basics is always a good idea. Even if you have some experience shooting landscape photography, it’s worth bolstering your knowledge base. In any creative endeavor, people tend to want to run before they can walk. But getting a good grasp of the basics is always wise.
We start by looking at all the different types of landscape photography. We then discuss the best camera settings for landscapes and provide some landscape composition advice. This is the perfect starting place for your landscape journey.
Types of Landscape Photography
Landscape photography is a mixed bag with many subjects to explore. Nature photography allows you to showcase the beauty of the wilderness, from deserts and mountain ranges to volcanos.
In contrast, urban landscapes offer exciting opportunities to capture cityscapes, stunning architecture, and gritty urbex locations.
Sunsets and sunrises are ideal times for landscape photos, providing warm colors and easier-to-control light.
Astrophotography has become more accessible with improved camera technology, letting you capture star trails, the Milky Way, the moon, and even the Aurora Borealis.
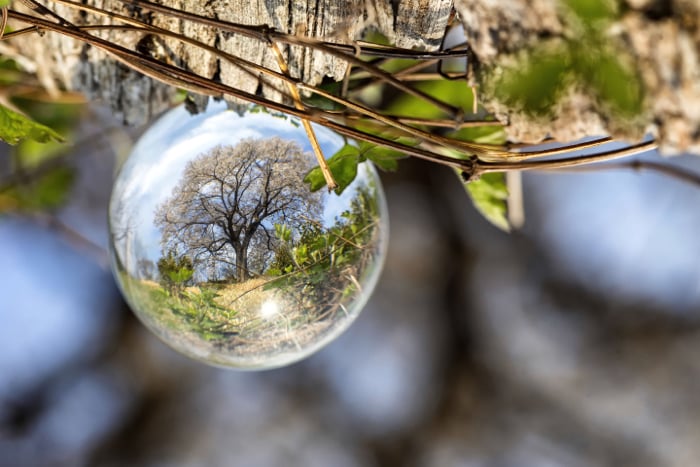
Experimenting with different techniques can help you develop a unique style. Light painting, infrared photography, lensball photography, long exposures, and silhouettes are just a few options to try.
All these different types of landscape photography offer endless opportunities to capture the world’s beauty and develop your signature style.
Camera Settings
The best landscape photography settings depend on the time of day, weather, and subject. Use an aperture between f/11 and f/16 for a wide depth of field. To freeze motion, set your shutter speed to 1/250s or faster. For motion blur, use 1/10s or slower.
Keep your ISO low at 100 for the cleanest image. But don’t be afraid to increase it if you need more light. Most modern cameras can shoot at ISOs of 800-1600 with no visible grain.
Landscape photography settings are key to capturing stunning outdoor scenes. Knowing the right settings for different lighting and subjects will take your photos to the next level.
Composition
Composition is key in landscape photography. Understanding the principles of composition will greatly improve your images. Some people have a natural eye for composition, but for others, these rules must be learned.
The rule of thirds is a great starting point. Place your subject roughly one-third into the frame for a pleasing composition.
You can also use the golden ratio or golden triangle to break out of the rule of thirds and create even more visually appealing landscapes.
Including foreground elements, using symmetry, and layering your landscapes are other effective techniques.
Framing your scene within a natural frame, like shooting through a gap in trees, can also add interest. Most importantly, make your subject clear so the viewer’s eye has a place to rest.
Landscape composition is a vital part of making breathtaking landscape photographs.
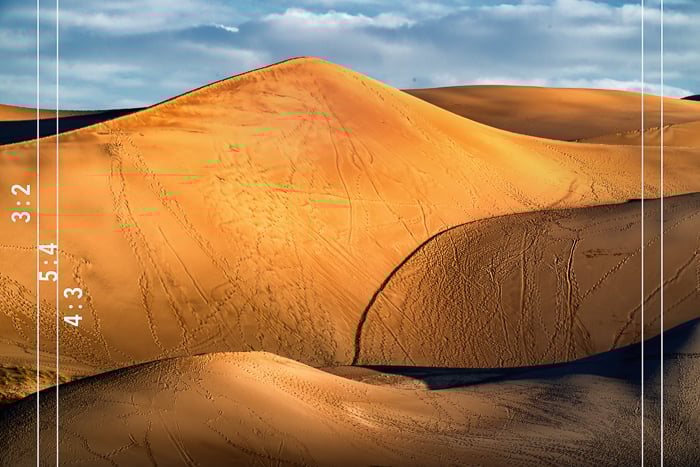
Aspect Ratio
The aspect ratio you choose for your landscape photos impacts the composition. A 1:1 ratio works well when there is a clear center of interest. Use a 4:5 or 3:2 ratio when there is both vertical and horizontal interest in the scene, like an interesting sky or foreground element.
For scenes with most of the visual interest along the horizon, a 16:9 or 2:1 panoramic ratio may be best. You can also crop to any unique shape to improve your composition.
Keep in mind how you plan to print and frame your photos. Some common camera ratios like 3:2 don’t match common print sizes. A 4:5 ratio is easier to find frames for.
To learn more about aspect ratio for landscape photography, check out this in-depth guide.
Outdoor Photography Tips
Shooting outdoors can be challenging for beginners. Avoid taking photos in the midday sun between 11am and 3pm. The harsh light creates sharp shadows that are difficult to expose properly.
Instead, shoot during the golden hours – the hour after sunrise and before sunset. The light is much softer, creating natural shadows that work well with your camera’s dynamic range.
Using a polarizing filter is also important for outdoor photography. It reduces glare and reflections from surfaces like water and windows, while darkening the sky. This simple tool can dramatically improve your outdoor shots.
Click the link to learn more about outdoor photography..
Seasonal Landscape Photography
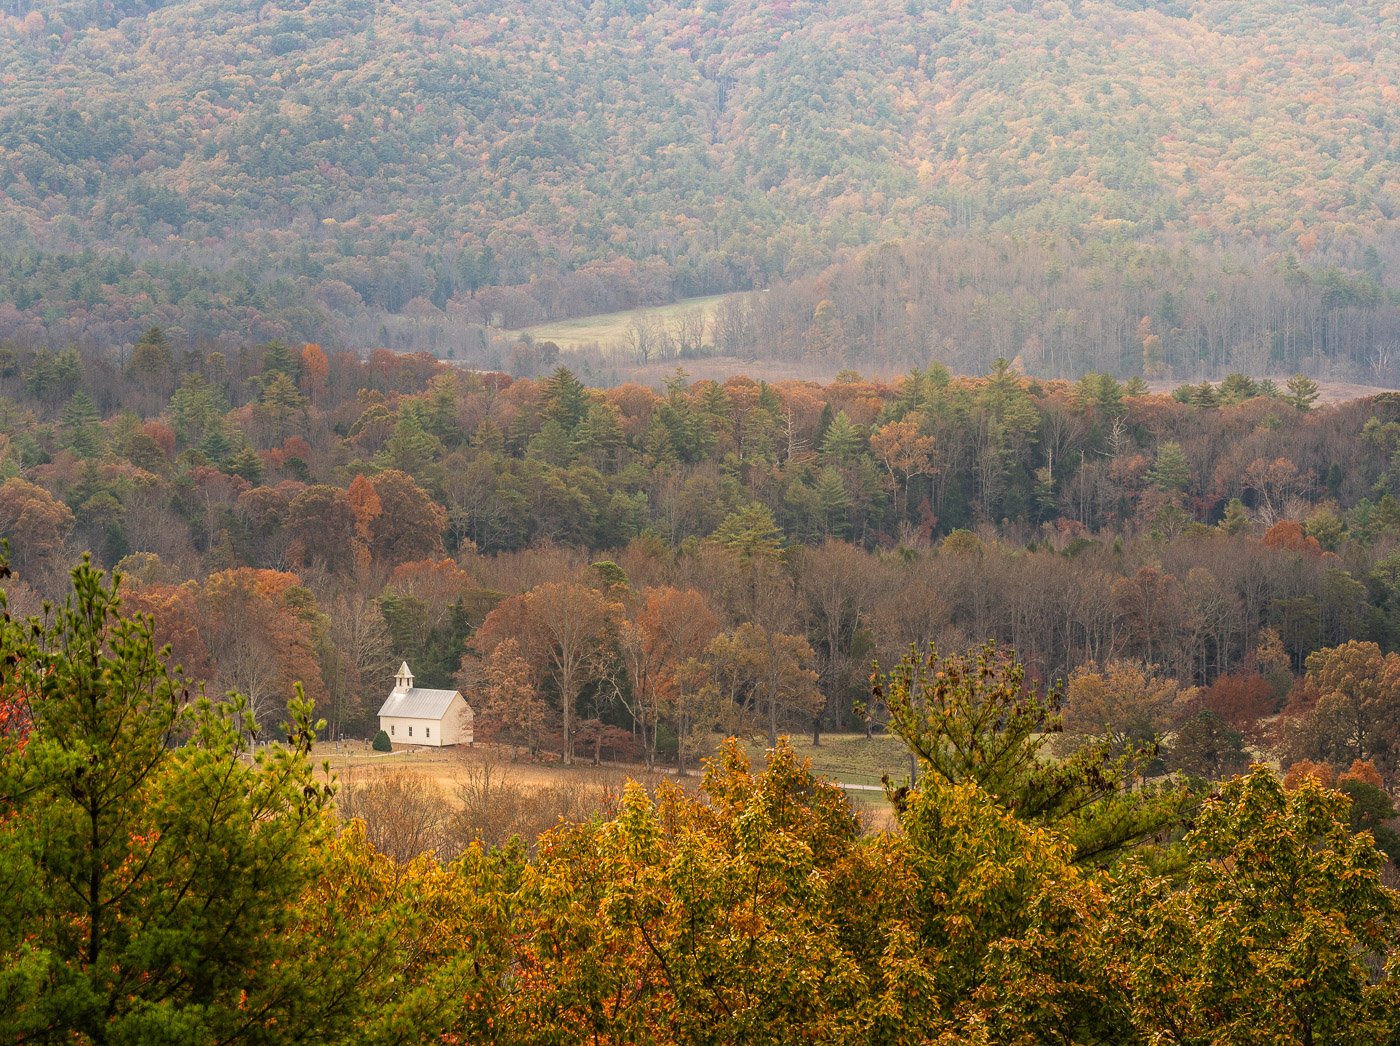
Seasonal landscape photography lets you capture stunning images all year round. Spring brings rebirth, with flowers, plants, and streams coming alive. Summer landscapes can be challenging due to harsh sunlight, but shooting during sunrise or sunset helps.
Fall photography is all about vibrant colors. Capture small details like colorful foliage patterns, then step back to showcase the local landscape. When conditions are right, go wide to capture the entire scene.
Winter landscape photography is about capturing the beauty of snow-covered scenes. Look for light and contrast, like sunlight making snowflakes sparkle. Adjust exposure and white balance to perfect your winter wonderland images.
If you’d like to learn more about seasonal landscape photography, our in-depth guide has plenty of helpful tips.
Spring
Spring is a special time of year with leaves, green grass, and flowers returning. It’s the perfect time to experiment and try something new with your photography.
Place a prop like a toy or garden figurine in flowering trees to tell a story. Explore the tiny world of flowers by arranging still life scenes with glass bottles, vintage books, and wooden boxes.
Spring photography is rich in themes and metaphors. Tell a story by combining spring objects with another theme you’re interested in, such as music or jewelry.
Spring marks the start of new things and symbolizes growth and change. Show this in your photography by incorporating gardening tools, new sprouts, and signs of first flowers.
Combine flowers with food photography or create spring crafts with dimensional typography.
Spring photography offers endless opportunities to capture the beauty of the season.
© Ryan Serito
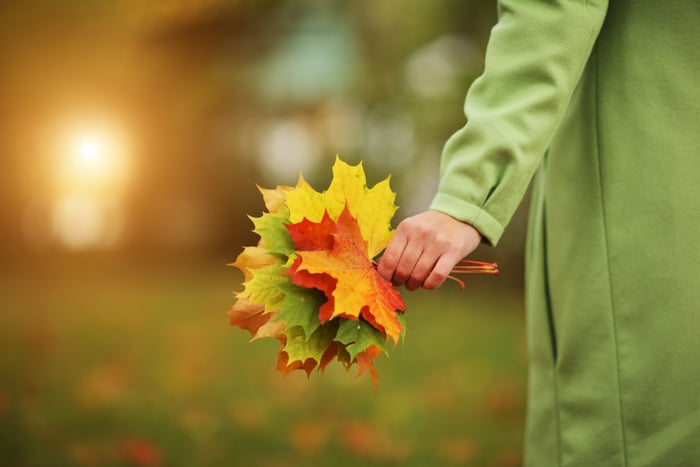
Autumn
Autumn is the perfect time to capture stunning colors, cozy moments, and breathtaking scenery in your photos.
Experiment with different focal points when taking pictures of people throwing leaves to make your images stand out. Try focusing on just a few leaves while your subject is blurry in the background.
You can also paint leaves with eco-friendly paint to intensify dull colors or create a surreal effect. Use these painted leaves as props, backgrounds, or foregrounds in your photos.
Capture the transitions between summer, autumn, and winter by looking for reminders of the passing seasons, like flowers among changing leaves or frost on orange foliage.
Golden hour light is ideal for bringing out the warm colors of autumn. Use this soft, directional light to take classic portraits, create silhouettes, or add atmosphere to your images.
To learn more about autumn photography, check out our in-depth guide full of tips and techniques to help you capture the beauty of the season.
Landscape Photography Ideas
This section looks at creative ideas to give you new perspectives on landscape photography. There’s nothing wrong with a classic landscape image, but there are so many creative avenues you can go down.
Shooting in black and white is a great way to experiment with landscapes. You can also shoot sweeping panoramas, or you can use drones for high-angle shots. Camera techniques like long-exposure also give you creative landscape options.
Panorama
Taking panoramic photos is a great way to capture stunning landscapes. Start by using a standard or short telephoto lens between 40-100mm. Remove any filters, especially polarizers, and shoot in RAW format for the most flexibility in post-processing.
Set your camera to manual mode and adjust the aperture and shutter speed based on the brightest part of the scene. Turn off autofocus and set the white balance in-camera or adjust it later in post-processing.
Compose each shot vertically with extra space at the top and bottom. Use a tripod or keep your camera level as you pan across the scene, overlapping each shot by 1/3 to 1/2 of a frame.
In post-processing, check that the white balance is consistent across all images before stitching the panoramic photo together using software like Lightroom or Photoshop.
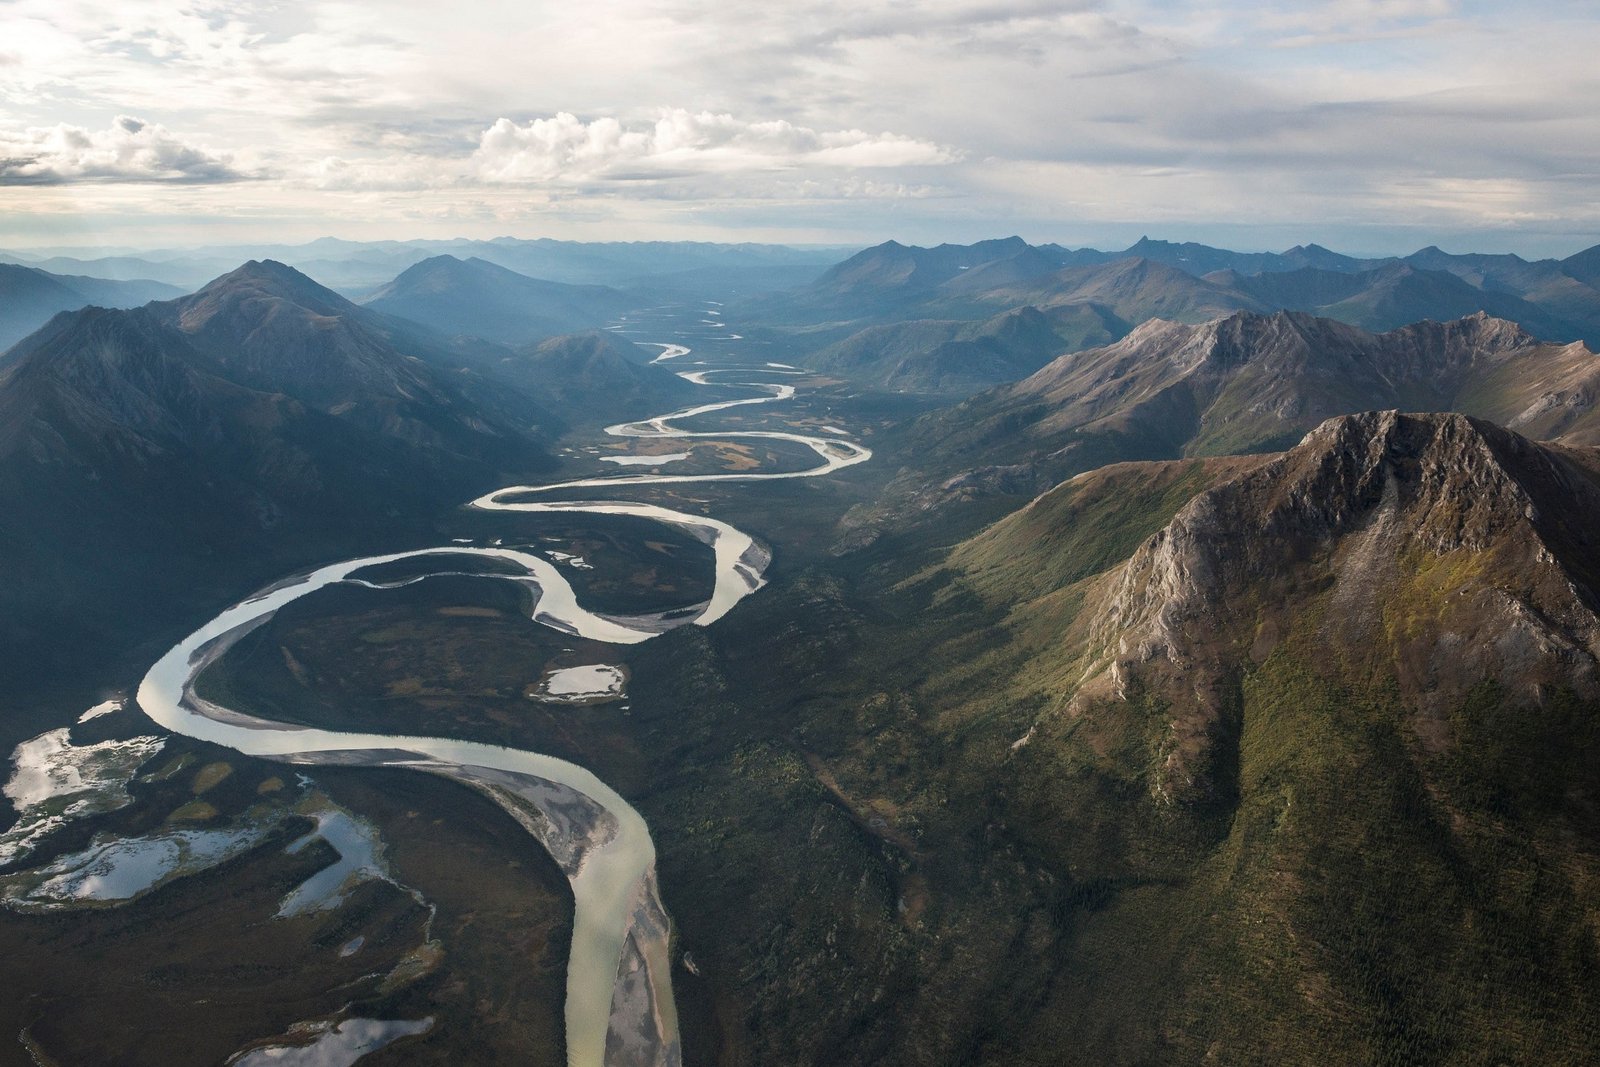
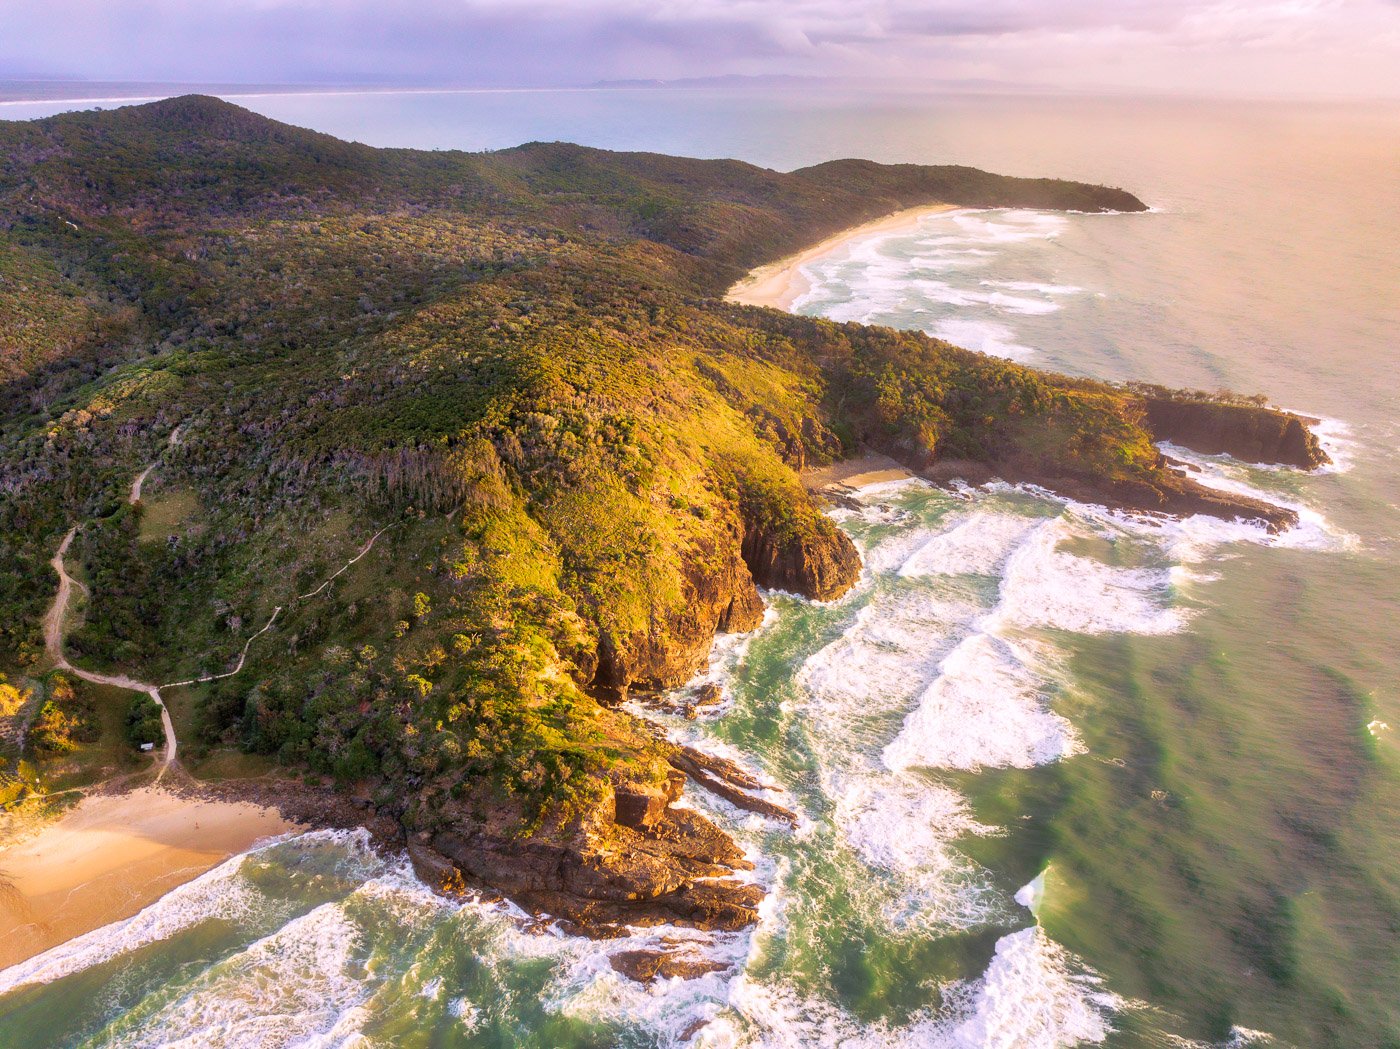
Drone
Drones have opened up a whole new world of landscape photography. To take your aerial images to the next level, keep your drone close to the ground to capture the contours and depth of the terrain. This shows more detail than flying high.
The small sensors in drones have a limited dynamic range, so exposure bracketing is important. Take multiple exposures of the same scene and blend them together in post-production for the best results.
Shoot your landscapes about 30-60 minutes after sunrise or before sunset when the sun is low but still illuminates the entire scene. To find great locations, use Google Maps’ Terrain View to see the depth and potential of an area.
Landscape drone photography offers unique opportunities to capture symmetry, contrasting textures, and the beauty of side-lighting in your images.
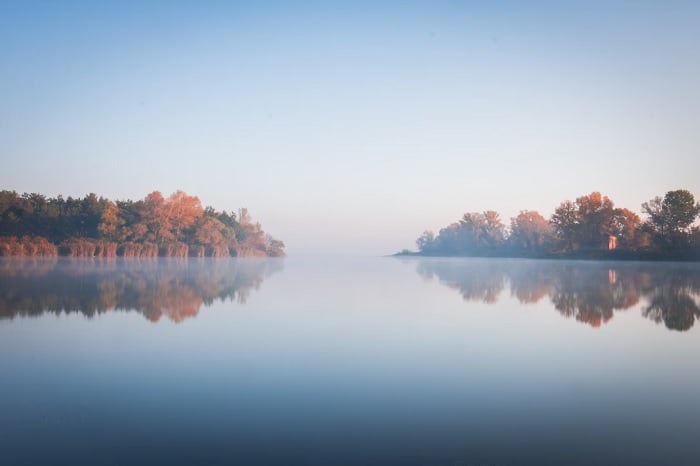
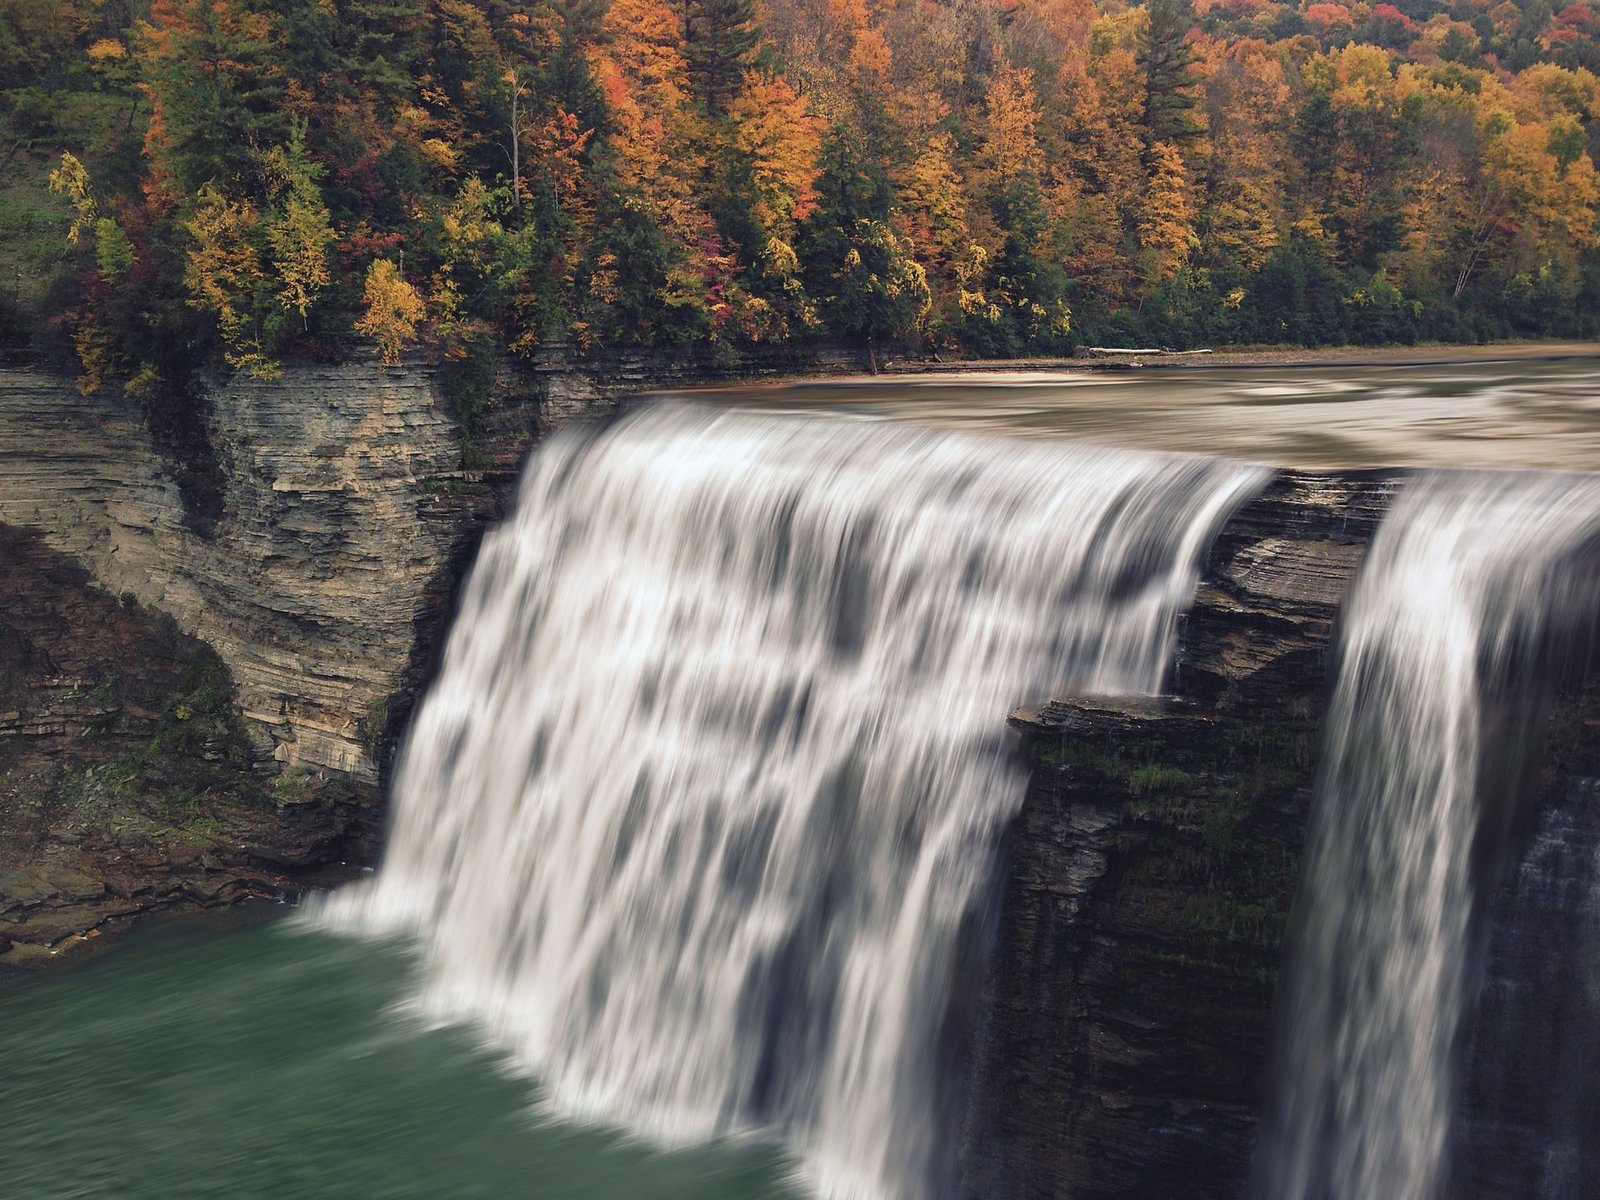
Water
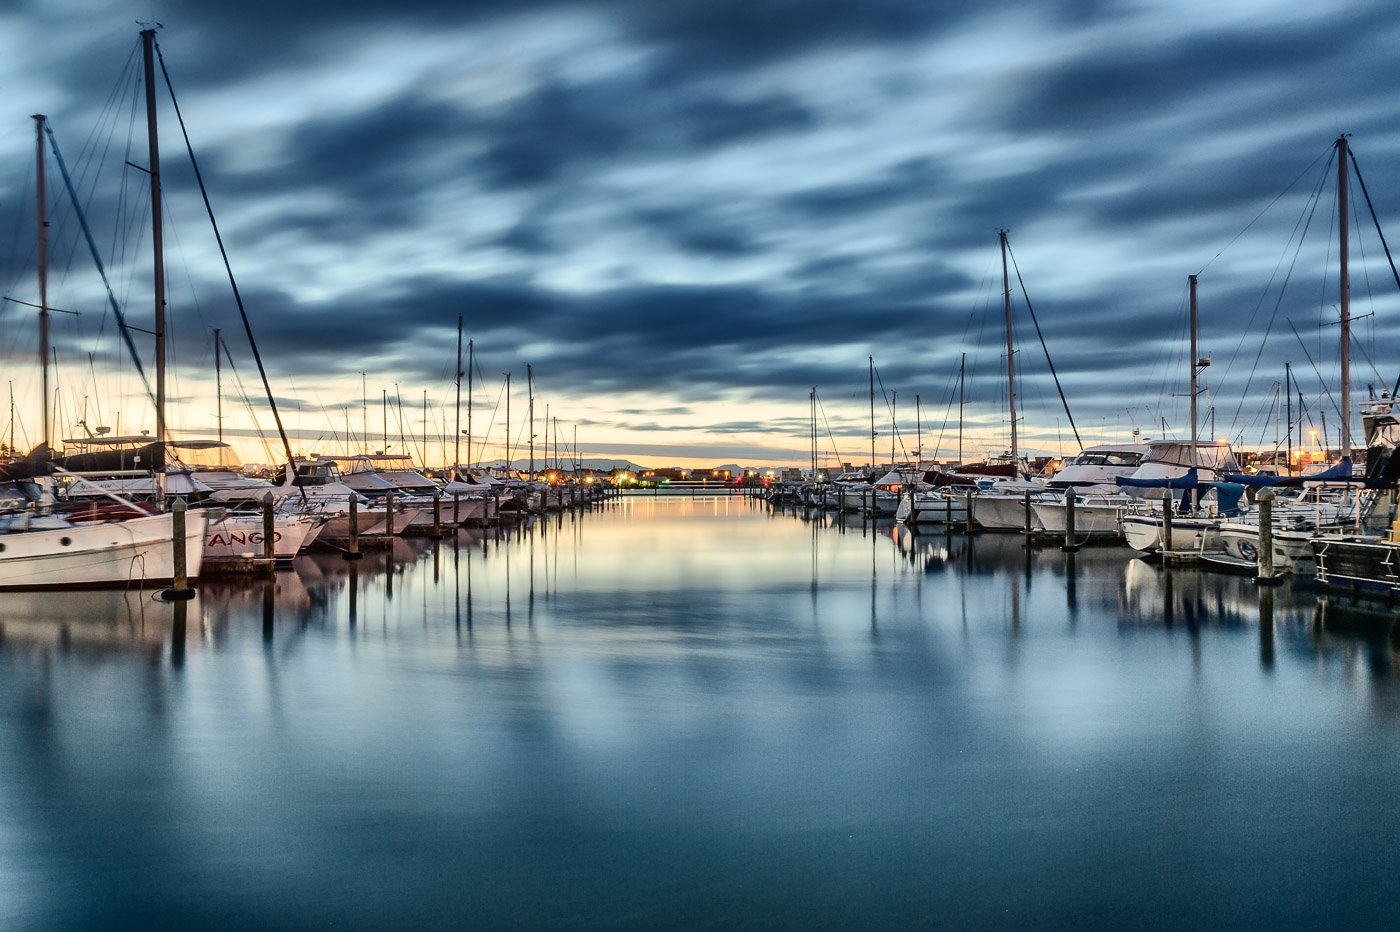
Adding water to your landscape photos creates a new dimension. Still water brings tranquility and reflections for visual impact. Moving water adds energy and dynamism.
Shutter speed is key to capturing water movement. Use long exposures of 5 seconds or more to smooth rough seas or create mirror-like effects on calm lakes. To freeze motion in waves or waterfalls, use a fast shutter speed of at least 1/100 sec.
Experiment with different shutter speeds between 1/2 and 1/8 sec to show the water’s fluidity. Use ND filters for slower shutter speeds in bright light.
To learn more about water in landscape photography, our in-depth guide covers everything you need to know.
© Eugene Lagunov
Long-Exposure
Long exposure landscape photography can add a creative wow factor to your images. Look for overcast weather to capture interesting movement in the sky or water.
Use apps like PhotoPills to track the sun’s position and avoid overexposed areas in your composition.
Focus a third of the way into the scene and use a sturdy tripod to prevent camera shake. Lower your ISO to minimize digital noise and use the histogram to ensure a balanced exposure.
An ND filter can help you achieve longer exposures, but be sure to set focus and exposure before attaching the filter.
Act fast when the perfect conditions arise, as they may only last a few moments. Landscape photography requires patience, so set aside enough time to wait for the ideal shot.
If you’d like to learn more about long exposure landscape photography, our full article is the best place to start.
Using Nature in Landscape Photography
Nature place a huge part in landscape photography, which is why it’s worth learning how to use natural elements in your shots.
Pick the right lens, usually one with a longer focal length and wide aperture. This will let you photograph subjects from a distance without disturbing them, while blurring the background to make the subject stand out.
Separate the subject from the background by using a wide aperture like f/2.8 and focusing on the foreground. Get close to highlight interesting textures and details, even using a macro lens for tiny subjects.
Study your subjects to understand their habits and predict the best shots. Photograph them in their natural habitats for the most powerful images. And always respect the animals and environment by keeping everything natural and leaving no trace behind.
To learn more about nature photography, check out this in-depth guide covering everything from lighting to composition.
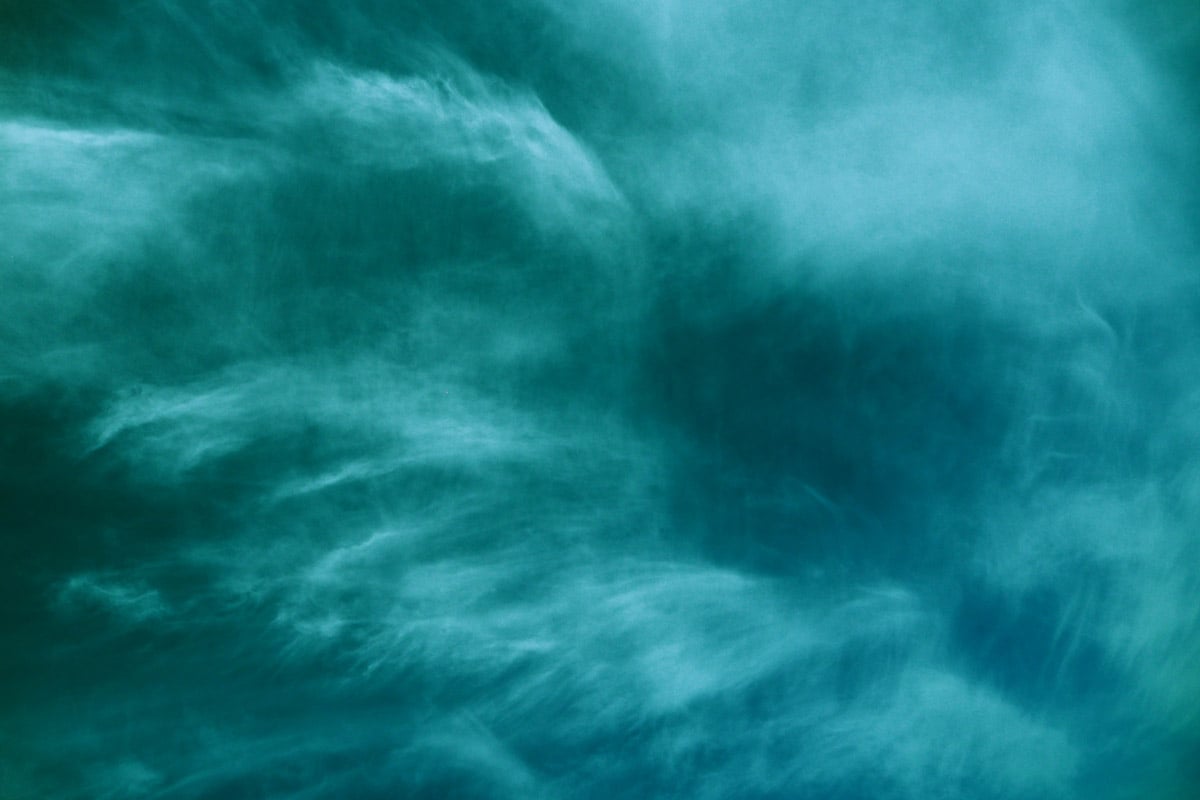
Abstract
Abstract nature photography is a unique way to capture the world around us. By focusing on elements like line, texture, shape, and color, you can create stunning images that speak to the senses.
One effective technique is to use intentional camera movement during a long exposure. This creates a painterly effect that emphasizes the process of the photographer as well as the quality of the subject.
Another approach is to photograph reflections on water surfaces, taking advantage of the fluid nature of water to create surreal versions of the landscape.
Aerial photography is also a great way to create abstract images, as the top-down perspective tends to flatten the scene and reimagine it as a canvas.
If you don’t have access to a drone or aircraft, you can use photographic illusion to create the appearance of an aerial scene.
By incorporating ambiguous elements of abstraction, such as a lack of scale, you can engage the viewer’s natural inclination to figure out the image.
To learn more about the fascinating world of abstract nature photography, explore the techniques and ideas discussed in this comprehensive guide.
Deserts
Desert photography can be rewarding but challenging. The wide-open spaces and changing light create stunning images that can be difficult to capture well.
To get started, prepare for harsh desert conditions by choosing the right time to visit based on your temperature tolerance.
Pack essential items like water, sunscreen, a hat, and a GPS. Bring camera gear like lenses ranging from wide-angle to telephoto, a tripod, filters, extra batteries, and SD cards.
Use classic composition methods like leading lines, patterns, and one-third placement to add depth and interest to your shots. Low-angle lighting from the sun shows texture in the landscape.
After sunset, take photos of silhouettes against the clear sky. At night, capture the stars using a full-frame camera, tripod, wide-angle lens, and cable release.
Check out our full desert photography article before your next trip.

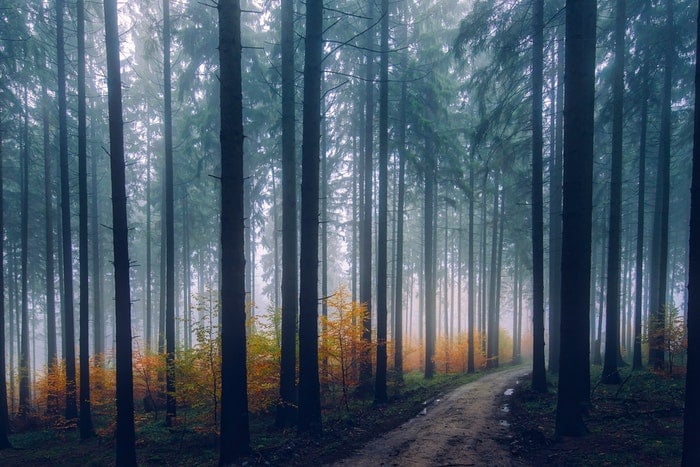
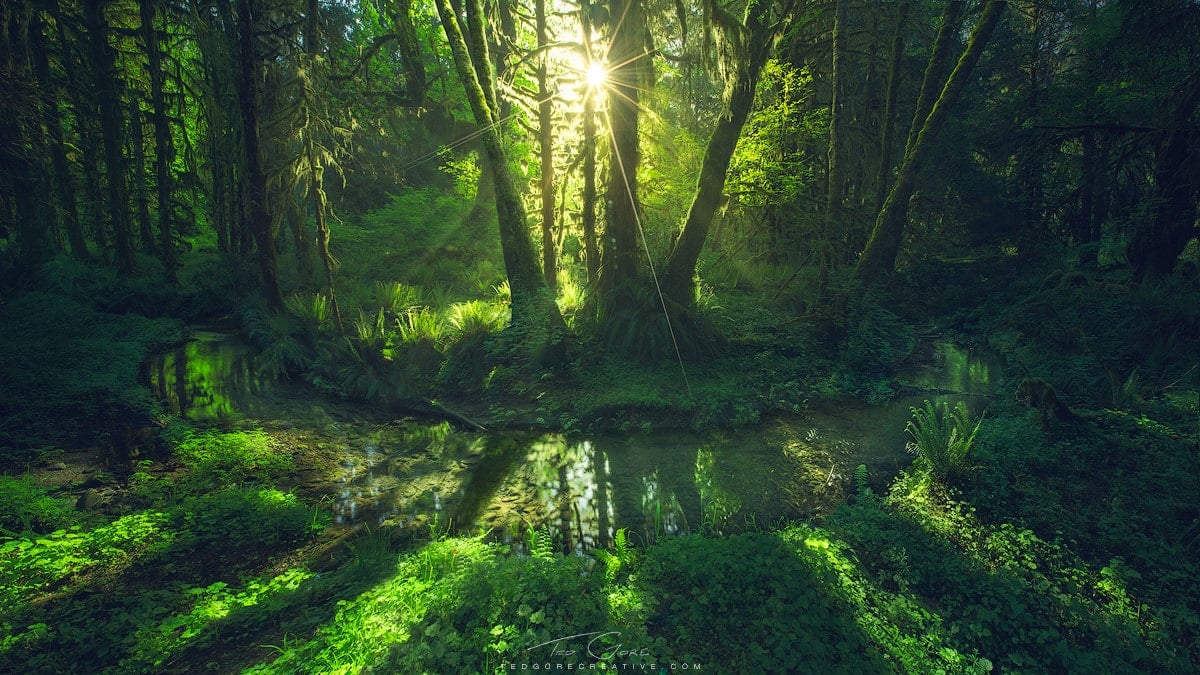
Trees
Capturing the beauty of forests can be challenging. Low-angle shots looking up at the treetops place the viewer in the forest, emphasizing the enormity of the trees. Aerial photography with a drone can capture the vastness of the forest, especially on clear days.
Moonlight and starlight offer unique opportunities for forest photography at night. The trees frame the night sky, and in some locations, you may even capture the Northern Lights through the branches.
Silhouettes of trees against the dim light before dawn or after dusk create striking images.
Golden hour provides warm, low-angle light that contrasts with the cool, shaded tones of the forest. Overcast weather softens harsh light and reduces shadows, making it perfect for photographing the intricate details of the forest.
Experiment with different focal lengths and try black-and-white photography to capture the stark contrast of tree trunks against dark backgrounds.
For more tips on forest photography, check out our in-depth guide.
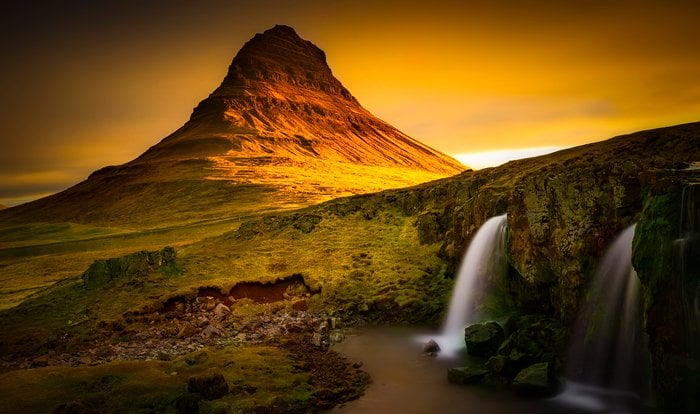
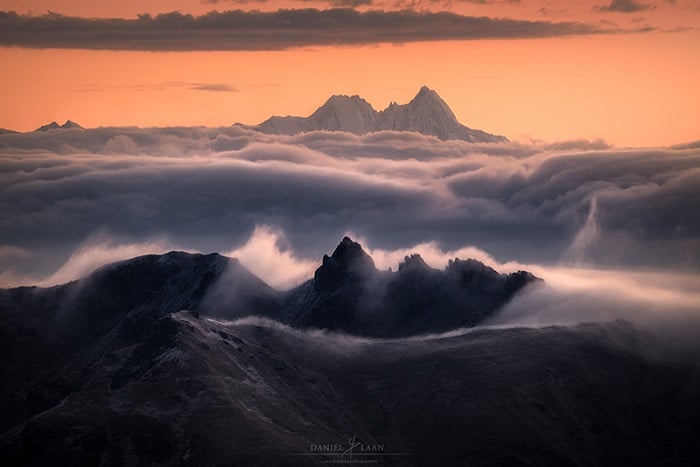
Mountains
Mountains always make fabulous features in landscape images. They’re powerful, imposing, and give a sense of grandeur. But there are a few things you need to know to make the most of mountains in your photography.
Forget about climbing – great mountain photos can be taken from trails or even at sea level. Use a longer focal length to highlight the details of the peaks.
Get close to your foreground and use a wide-angle lens to make the mountains appear massive. Carefully remove any distracting elements like dead grass or bright rocks.
Focus stacking helps capture both a sharp foreground and background. Take multiple shots focused at different distances and combine them in post-processing. This works best with your lens aperture around f/7.1.
To learn more about mountain photography, check out our in-depth guide covering the best locations, seasons, weather, and techniques.
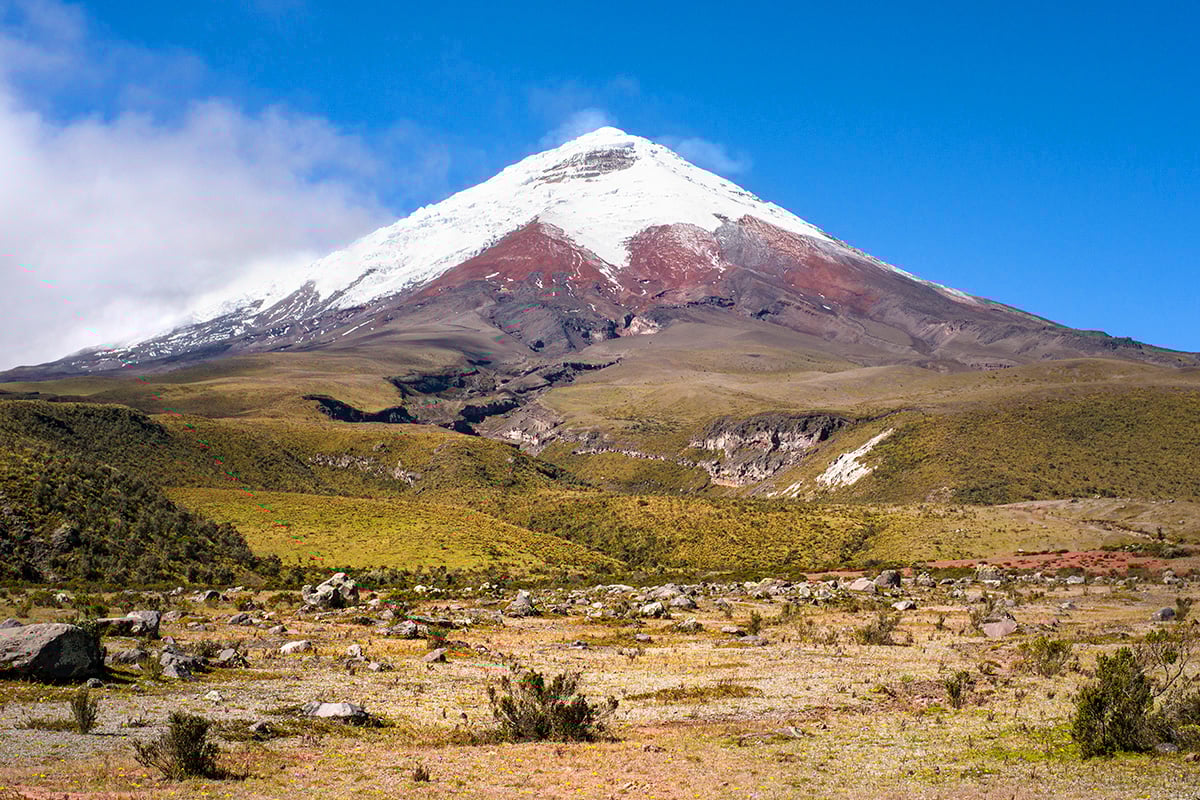
Volcanos
Photographing volcanoes can be a thrilling experience. To capture stunning shots, you’ll need the right gear.
A sturdy tripod is essential for stability, especially when using slower shutter speeds to capture motion blur. A zoom lens like a 24-105mm or 70-200mm will give you flexibility in framing your shots from a safe distance.
When approaching an active volcano, always prioritize safety. Wear protective gear like a helmet and heat-resistant clothing. Bring a gas mask to shield against harmful gases.
It’s crucial to find a knowledgeable local guide who can help you navigate the terrain and find the best vantage points.
For the most dramatic lava photography, shoot during the blue hour or at night. The contrast between the glowing lava and the dark surroundings creates a striking effect.
To learn more about volcano photography, there are great resources available with in-depth tips and techniques.
Sky Photography
Capturing stunning skies is a great way to improve your landscape photography. Clouds add shape and color to the sky, especially during sunrise and sunset when they hold brilliant pinks, reds, and oranges.
Sunrises and sunsets are the best times for breathtaking sky photography, but they require planning. Scout your location in advance and arrive early with the right equipment, including a tripod.
Editing can further enhance your sky photos. Use graduated filters to balance exposure, adjust colors to enrich blues and oranges, and try sky replacement tools for more dramatic results.
Sky photography opens up a world of creative possibilities for your landscape images.
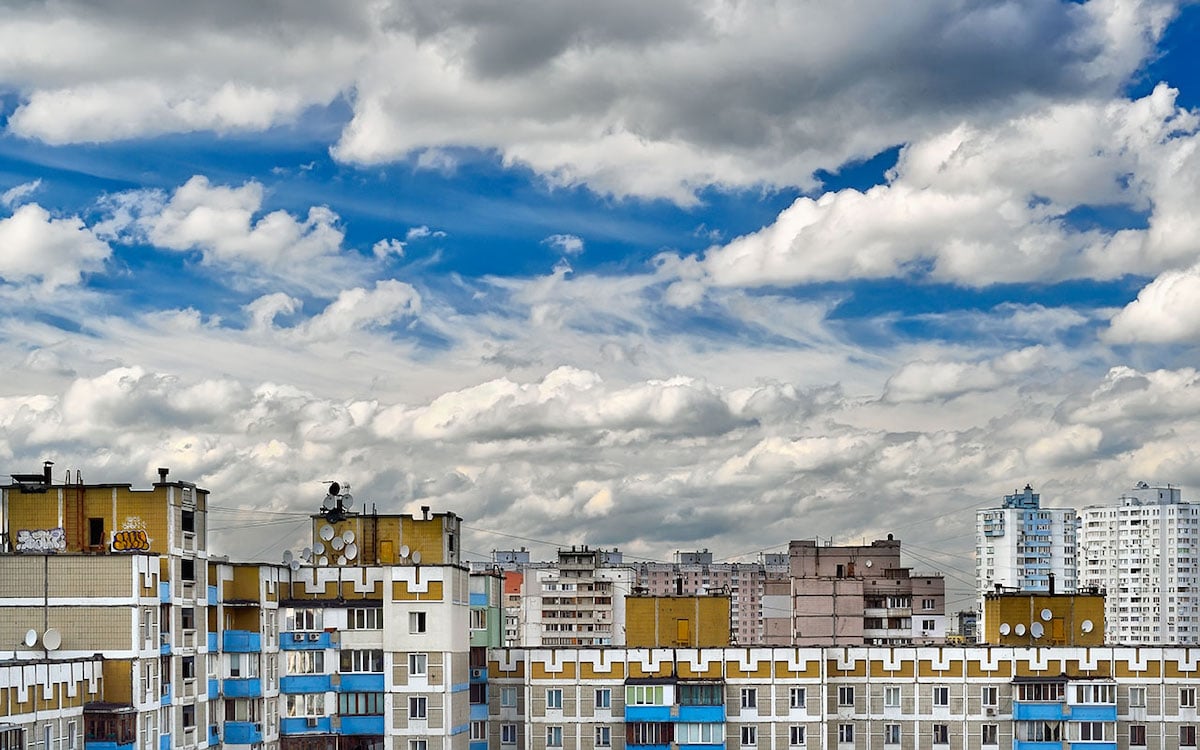
Clouds
Clouds can make or break your landscape photos. Different types of clouds create different moods, from vibrant cumulus clouds on a sunny day to dramatic cumulonimbus before a storm.
Pay attention to the weather forecast and use a weather radar app to predict the types of clouds you can expect. Choose the right camera settings, such as ISO 100-800, aperture f/11-f/16, and the appropriate shutter speed for the lighting conditions.
Get creative with long exposure photography to capture movement in the clouds, and use an ND filter to achieve longer exposures in bright daylight.
Shoot during golden hour for added color and dimension, and include landscapes to provide context. Zoom in to showcase cloud details and patterns.
Cloud photography is a great way to add impact to your images.
Sunsets
Capturing stunning sunset photos requires the right techniques and equipment.
A camera with high resolution and dynamic range is ideal for capturing the vibrant colors and details of a sunset. Wide-angle lenses are great for capturing broad, sweeping landscapes.
Manual mode gives you the most control over your camera settings, allowing you to adapt to the changing light conditions.
Use a narrow aperture like f/16 or f/22 for a wide depth of field, and a low ISO and slow shutter speed for sharp details and rich tones. A tripod is essential to avoid camera shake when using slow shutter speeds.
ND filters can help balance the exposure between bright and dark areas of the scene. Clouds can add texture and depth to your sunset photos, so embrace them if they’re present.
Sunset photography requires planning and preparation, so scout locations in advance and arrive early to set up your gear.
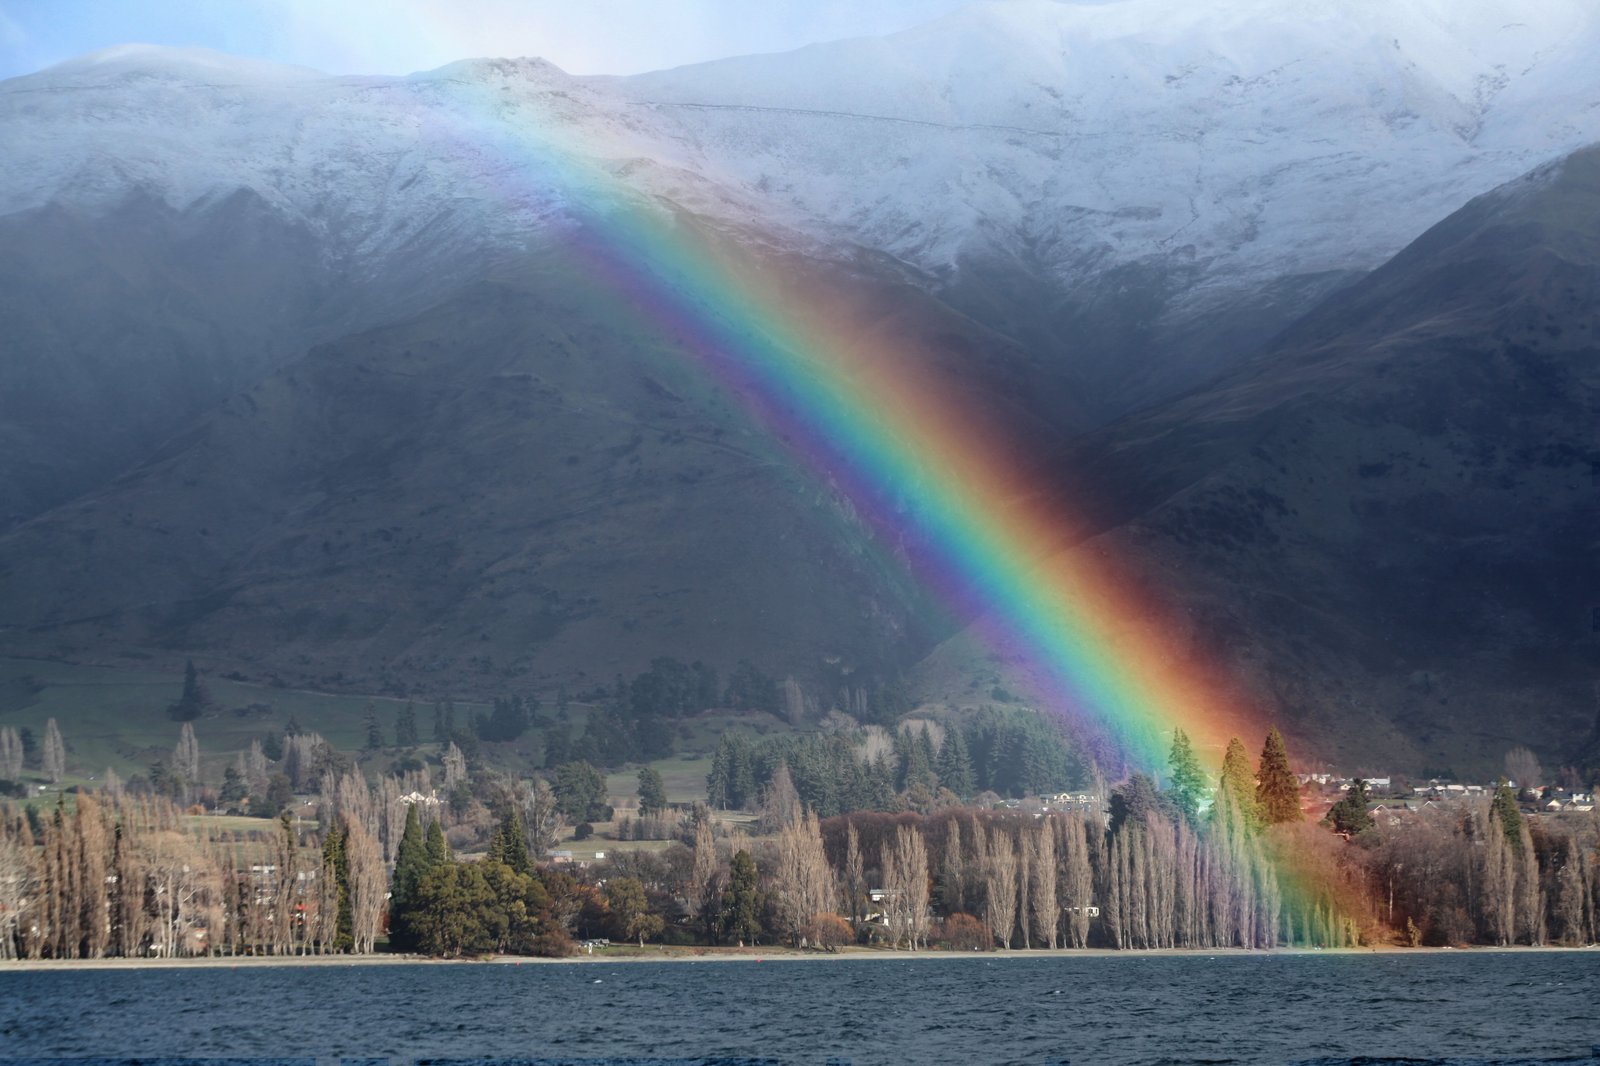
Rainbows
Rainbows are a stunning sight in nature, and capturing them in your photos can add a magical touch.
The key to successful rainbow photography is being prepared and knowing what to look for. Keep an eye out for days with quickly changing weather, especially when there’s a mix of sun and rain.
To compose your shot, consider including interesting foreground elements like a tree or lake. A wide-angle lens is best for capturing the full arc of the rainbow. You can also zoom in to emphasize the vibrant colors.
Editing your rainbow photos is just as important as taking them. Try blending multiple exposures to intensify the colors across the entire rainbow. Subtle adjustments to saturation and detail can make the rainbow really pop.
Rainbow photography takes patience and a bit of luck, but the results are well worth the effort.
Landscape Locations
From the towering cliffs of Zion National Park to the ancient ruins of Machu Picchu, the world is full of iconic places that offer stunning photography opportunities.
Zion National Park in Utah, USA, boasts dramatic landscapes and narrow canyons carved by the Virgin River over centuries. The park’s reddish sandstone walls and wildflowers in spring make it a must-visit for landscape photographers.
Across the Atlantic, the Pyramids of Giza in Egypt stand as the only remaining intact Ancient Wonder of the world. Visiting before sunrise allows you to capture beautiful views without the crowds.
In Europe, the colorful coastline of Cinque Terre, Italy, with its rugged terrain and tiny houses clinging to the cliffs, has been captured by many professional photographers.
For a truly unique experience, head to Salar de Uyuni in Bolivia, the world’s largest salt flats. After rainfall, the water collects on top of the salt, creating a massive mirror that reflects the sky above. This alien landscape serves as a perfect setting for creative photography.
To learn more about iconic places for photography, see our full guide for inspiration and tips.
Scouting Guide
Location scouting is an important part of planning a landscape photography shoot.
Thorough online research is a great place to start. Google Maps, Wikiloc, and Alltrails provide useful information on terrain and hiking trails.
Asking locals for advice can also help you find the best spots. They may know about beautiful locations that aren’t in guidebooks.
It’s important to understand the seasons and weather patterns of the area you plan to visit. This will help you pack the right gear and stay safe.
Constantly monitor the weather forecast and plan your shooting time accordingly. Use your smartphone to take test shots and utilize apps like PhotoPills and Google Maps Offline.
Always carry a physical map as a backup. Pack a reliable camera, appropriate clothing, and safety essentials like a first aid kit. Follow your instincts to find unique compositions, but take necessary safety precautions.
If you’d like to learn more about planning landscape photography, we have a detailed guide in this link.
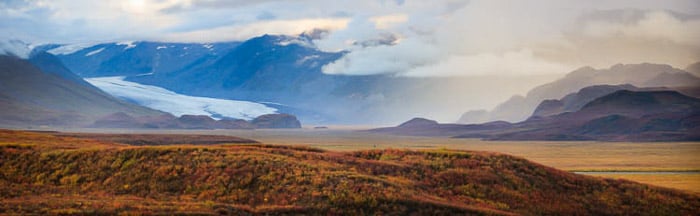
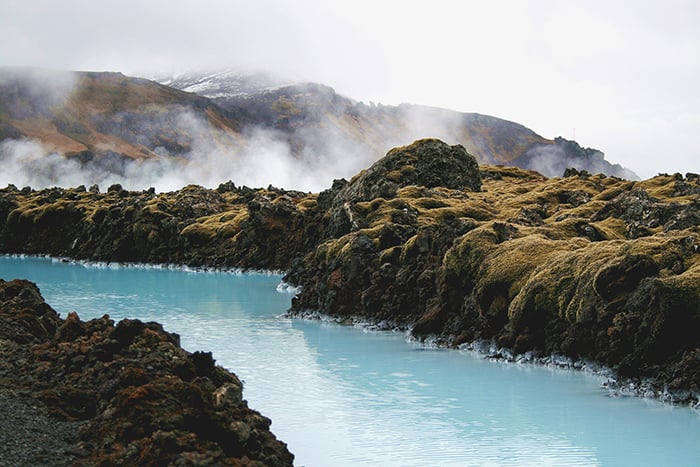
Iceland
Iceland is a photographer’s paradise with its stunning and diverse landscapes. From black sand beaches to powerful waterfalls, there’s no shortage of incredible photo opportunities.
Some of the best spots include Seljalandsfoss Waterfall, which you can walk behind for a unique perspective, and Diamond Beach with its black sand and ice formations that resemble diamonds.
Gullfoss Falls is another must-see, especially in the summer when the water creates a golden light effect.
For those looking to capture the northern lights, head to Mývatn Lake or Goðafoss Waterfall. And don’t forget to bring the right gear, like a camera that shoots RAW, a variety of lenses, and a sturdy tripod.
With these iceland photography tips, you’ll be well on your way to capturing the beauty of this incredible country.
New Zealand
New Zealand is a photographer’s paradise with stunning landscapes and dramatic coastlines. The country offers a diverse range of photography spots, from majestic mountains to breathtaking waterfalls and serene lakes.
Some of the best places to capture New Zealand’s natural beauty include Aoraki/Mount Cook National Park, Milford Sound, and the Franz Josef and Fox Glaciers.
For those interested in cityscapes, Auckland, Wellington, and Queenstown provide unique opportunities to showcase the urban side of New Zealand.
Geothermal wonders like the bubbling mud pools and geysers of Rotorua and Taupo add an otherworldly element to your photographs.
And no trip to New Zealand would be complete without capturing the country’s iconic sunsets over the Tasman Sea or the snow-capped mountains.
To learn more about photography in new zealand, check out this in-depth guide.
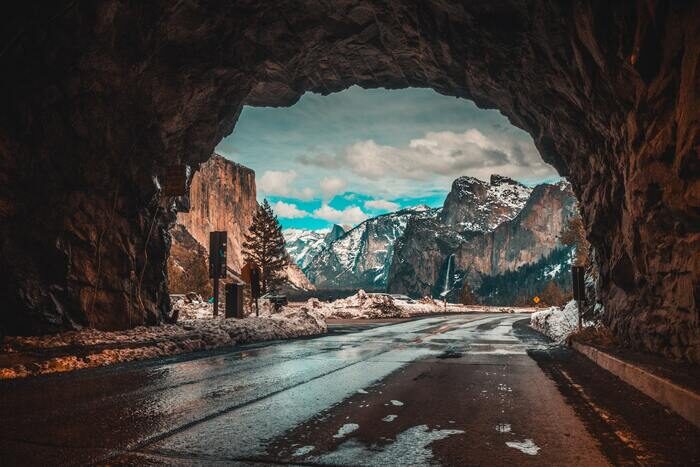
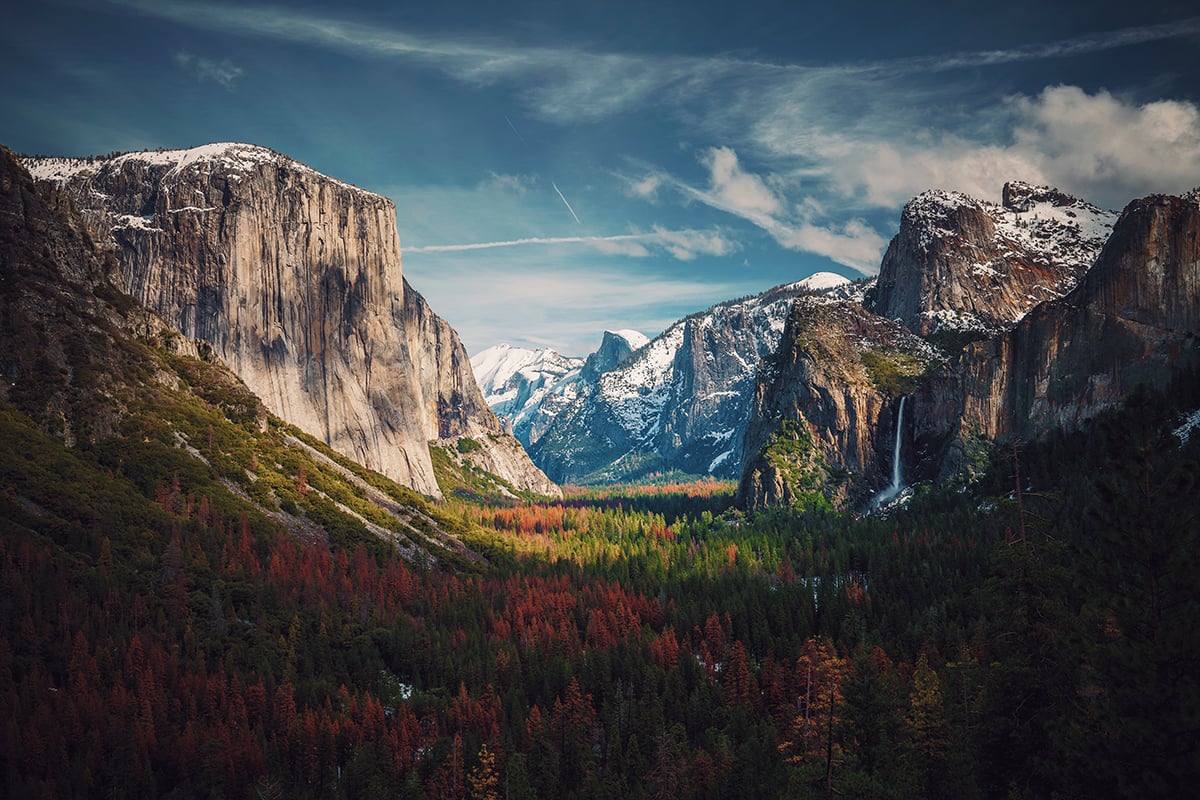
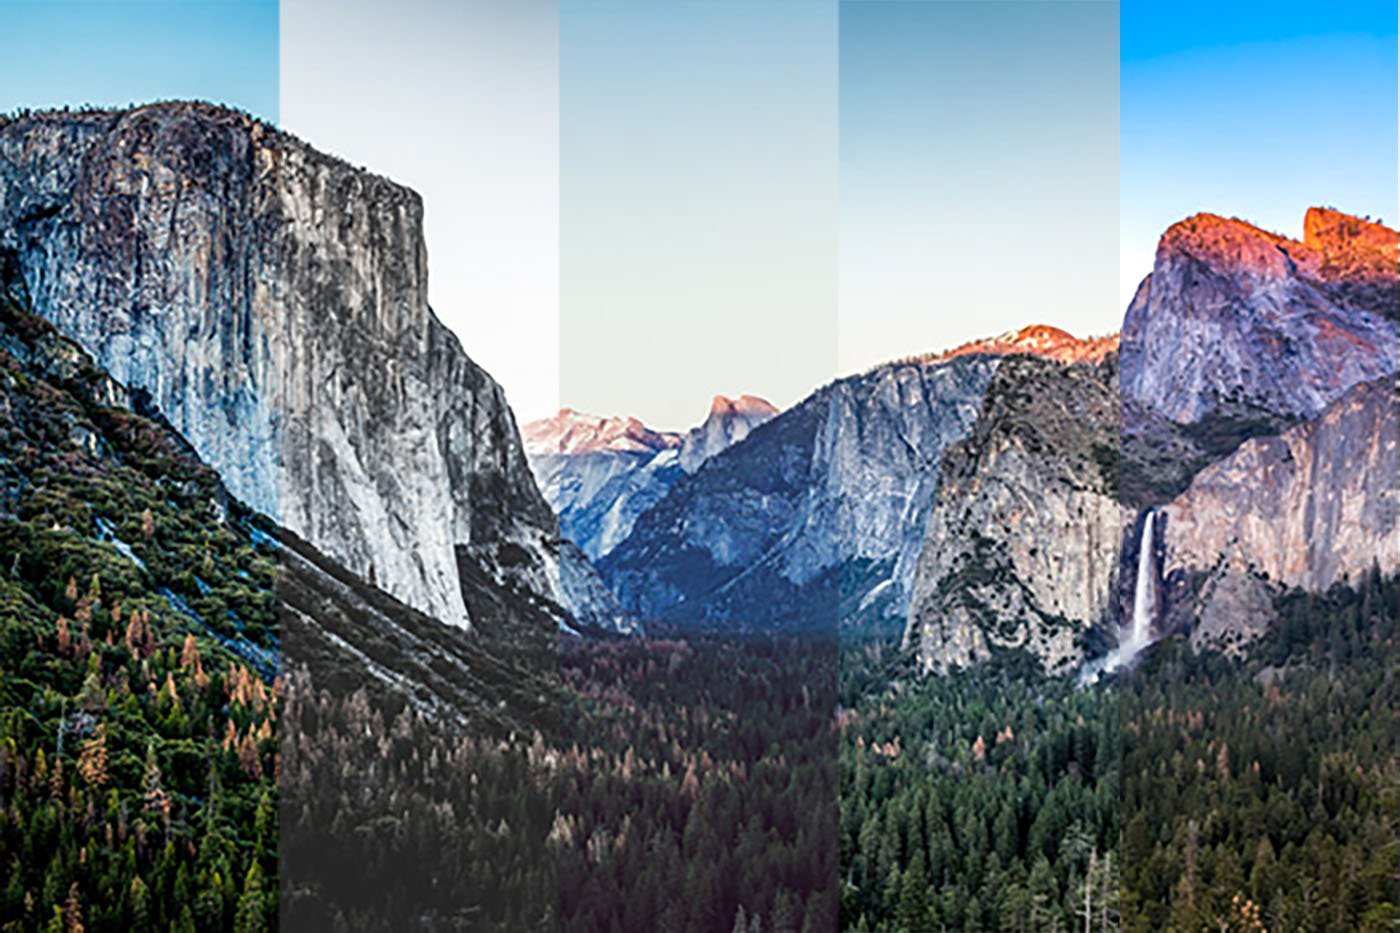
Yosemite Park
Yosemite National Park is a photographer’s paradise, offering stunning landscapes and diverse wildlife.
Some of the best photo spots include El Capitan, a massive 900-meter tall rock formation that provides opportunities for depth in landscape photos and silhouette shots of climbers.
Yosemite Falls, the highest waterfall in the park, is best photographed in spring when water flow is at its peak. Tuolumne Meadows, open only in summer, offers peaceful lakes and springs for landscape photography without crowds.
Other notable locations include Sentinel Dome with its 360-degree views, the powerful Vernal Fall, and Mirror Lake’s reflective beauty.
Cathedral Peak attracts rock climbers and photographers alike, while Nevada Fall’s mist creates a dream-like atmosphere.
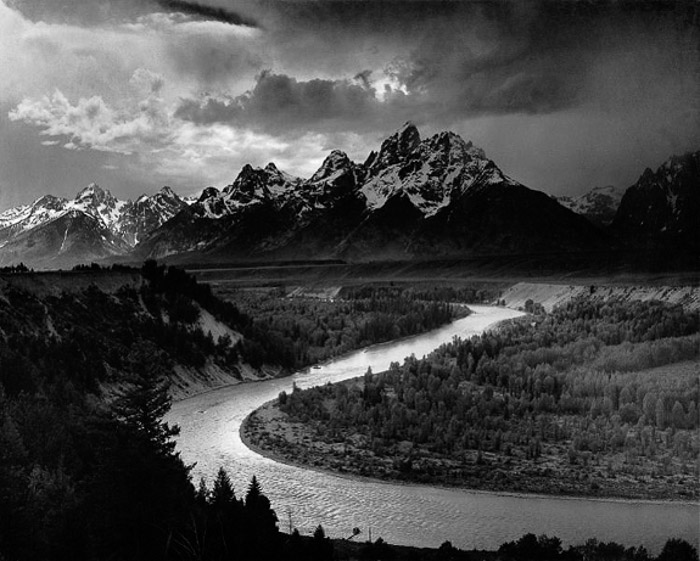
Tunnel View, made famous by Ansel Adams, showcases El Capitan, Half Dome, and Bridalveil Falls in one breathtaking composition, especially during golden hour.
For more detailed information on photo spots in Yosemite National Park, be sure to explore our in-depth guide.
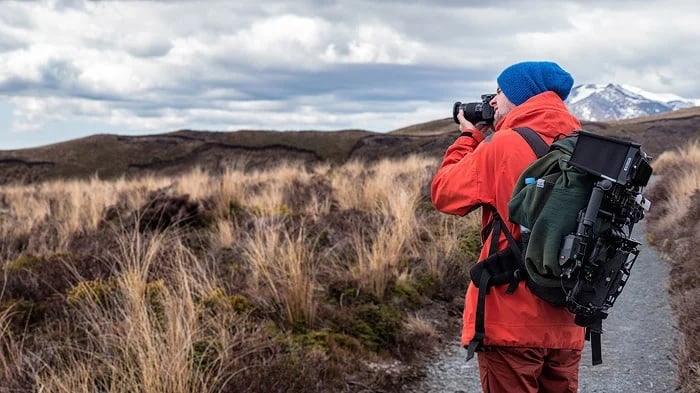
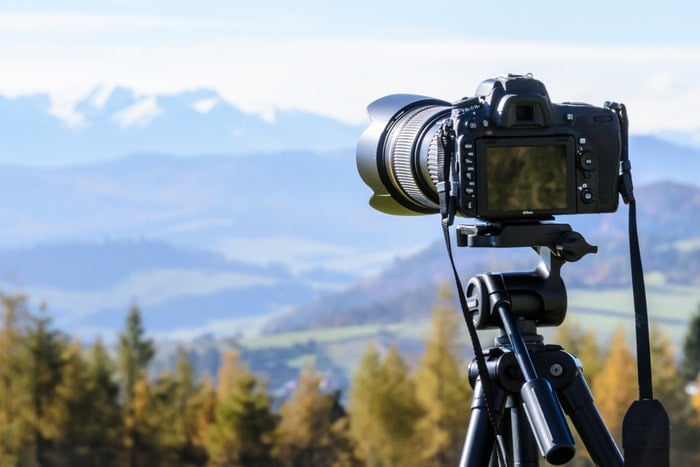
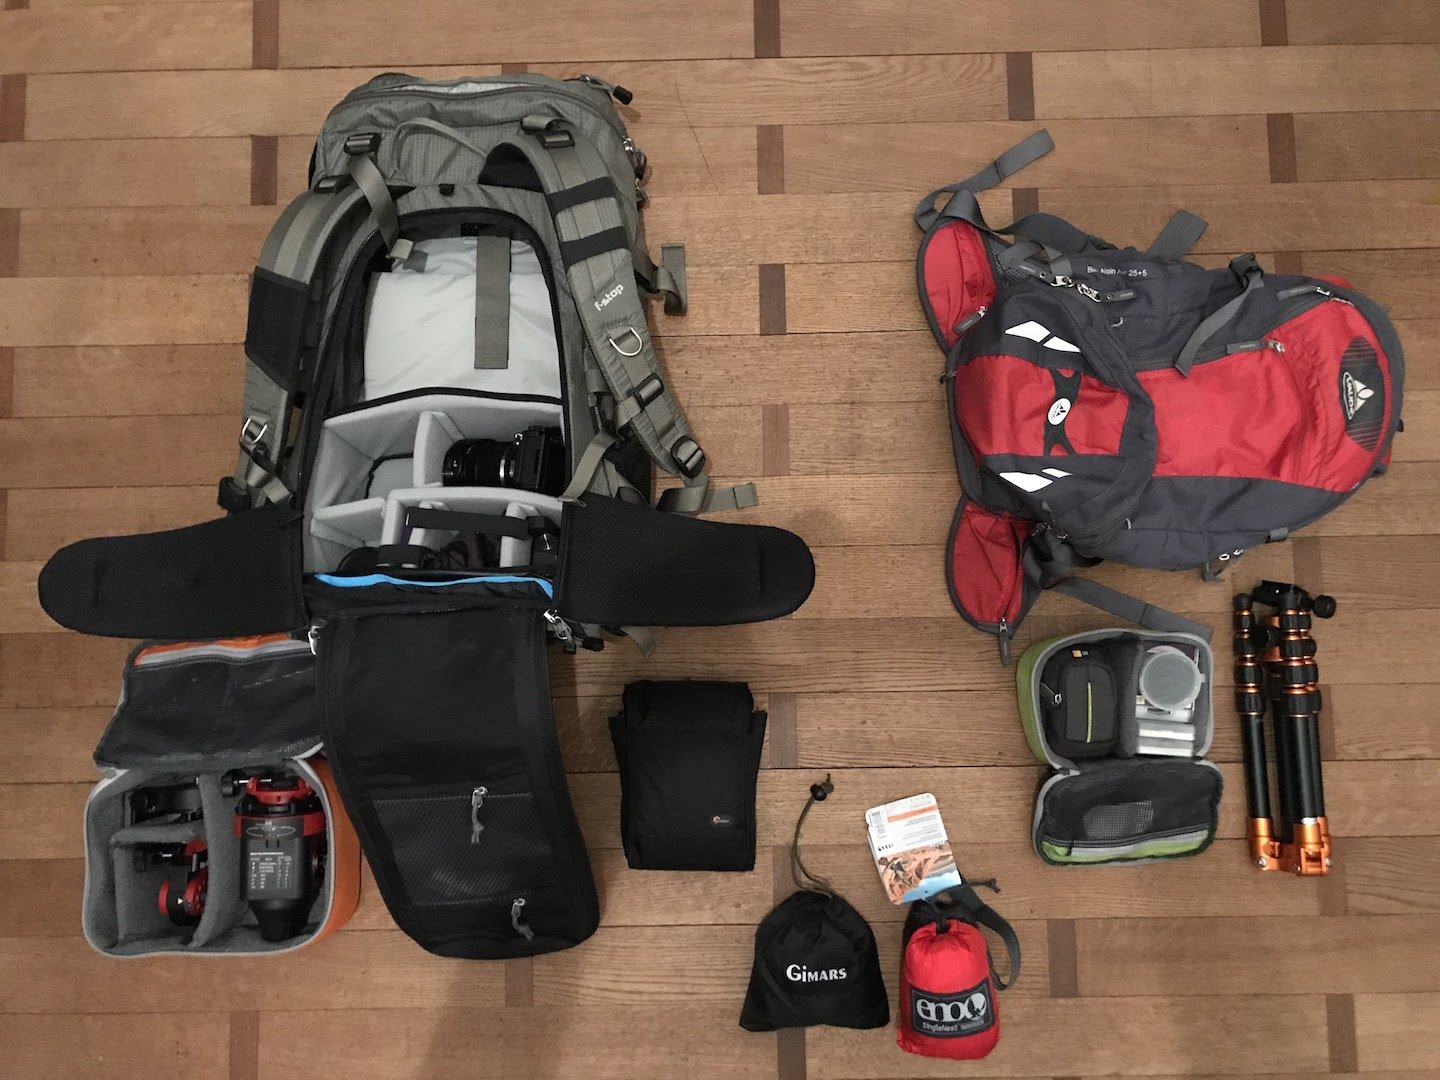
Gear for Landscape Photography
Finding the best landscape photography gear is simple. You can take amazing photos with basic equipment, like a smartphone. But there are cameras and accessories that can take your photography to the next level.
The Nikon D850 is an outstanding camera for landscape photography. It has a 45.7 MP full-frame sensor, excellent dynamic range, and great battery life. Pair it with the Canon EF 24-70mm f/2.8L II USM lens for sharp images and a versatile focal range.
A sturdy tripod is essential for landscape photography. The Manfrotto Element MII Tripod is lightweight yet stable, with a high load capacity.
Don’t forget filters – the Neewer HD Soft Gradient ND Filter and Cokin Nuances Extreme ND 10-Stop Filter will help you capture stunning landscapes in any lighting conditions.
Landscape photography gear is a worthwhile investment for any photographer looking to improve their skills. With the right equipment, you’ll be capturing breathtaking landscapes in no time.
Camera
When choosing a camera for landscape photography, image quality is key. Look for a high-resolution sensor that captures sharp details and vibrant colors. A wide dynamic range helps maintain detail in both bright and dark areas of the scene.
The best landscape cameras have a good ISO range, allowing you to shoot in low light without losing image quality. Weather sealing is also important, as it protects your camera from the elements when shooting outdoors.
Other useful features include a live-view display for easy composition and good battery life for extended shooting sessions.
If you want to capture stunning landscape photos, the Nikon D850 is an excellent choice. Its 45.7 MP full frame sensor produces exceptional images with a wide dynamic range.
To learn more about camera for landscape photography, check out our in-depth guide.
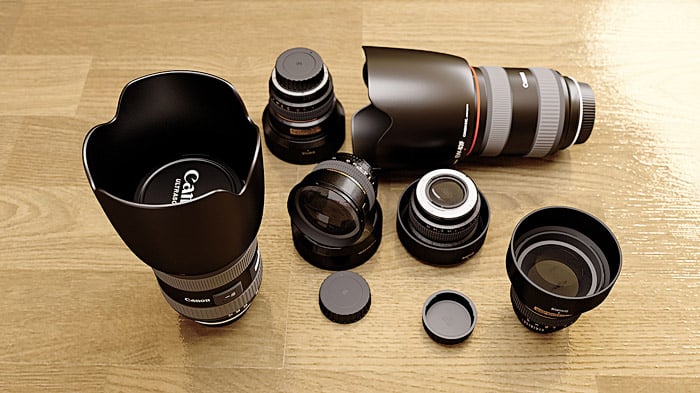
Lenses
When choosing a lens for landscape photography, it’s important to consider factors like focal length, aperture, and image stabilization.
Wide-angle lenses are popular for capturing expansive vistas, while telephoto lenses can be used to isolate specific elements in the landscape.
The Tamron 10-24mm f/3.5-4.5 Di II VC HLD is an excellent choice for APS-C cameras, offering a wide focal range and built-in vibration compensation at an affordable price.
For Canon users, the EF 24-70mm f/2.8L II USM is a versatile option that delivers sharp images throughout its zoom range.
Sony’s FE 12-24mm f/2.8 GM is a top-of-the-line lens for their mirrorless cameras, boasting exceptional optical performance and a fast, constant aperture.
No matter which brand you prefer, investing in a quality lens for landscape photography will improve your images and expand your creative possibilities.
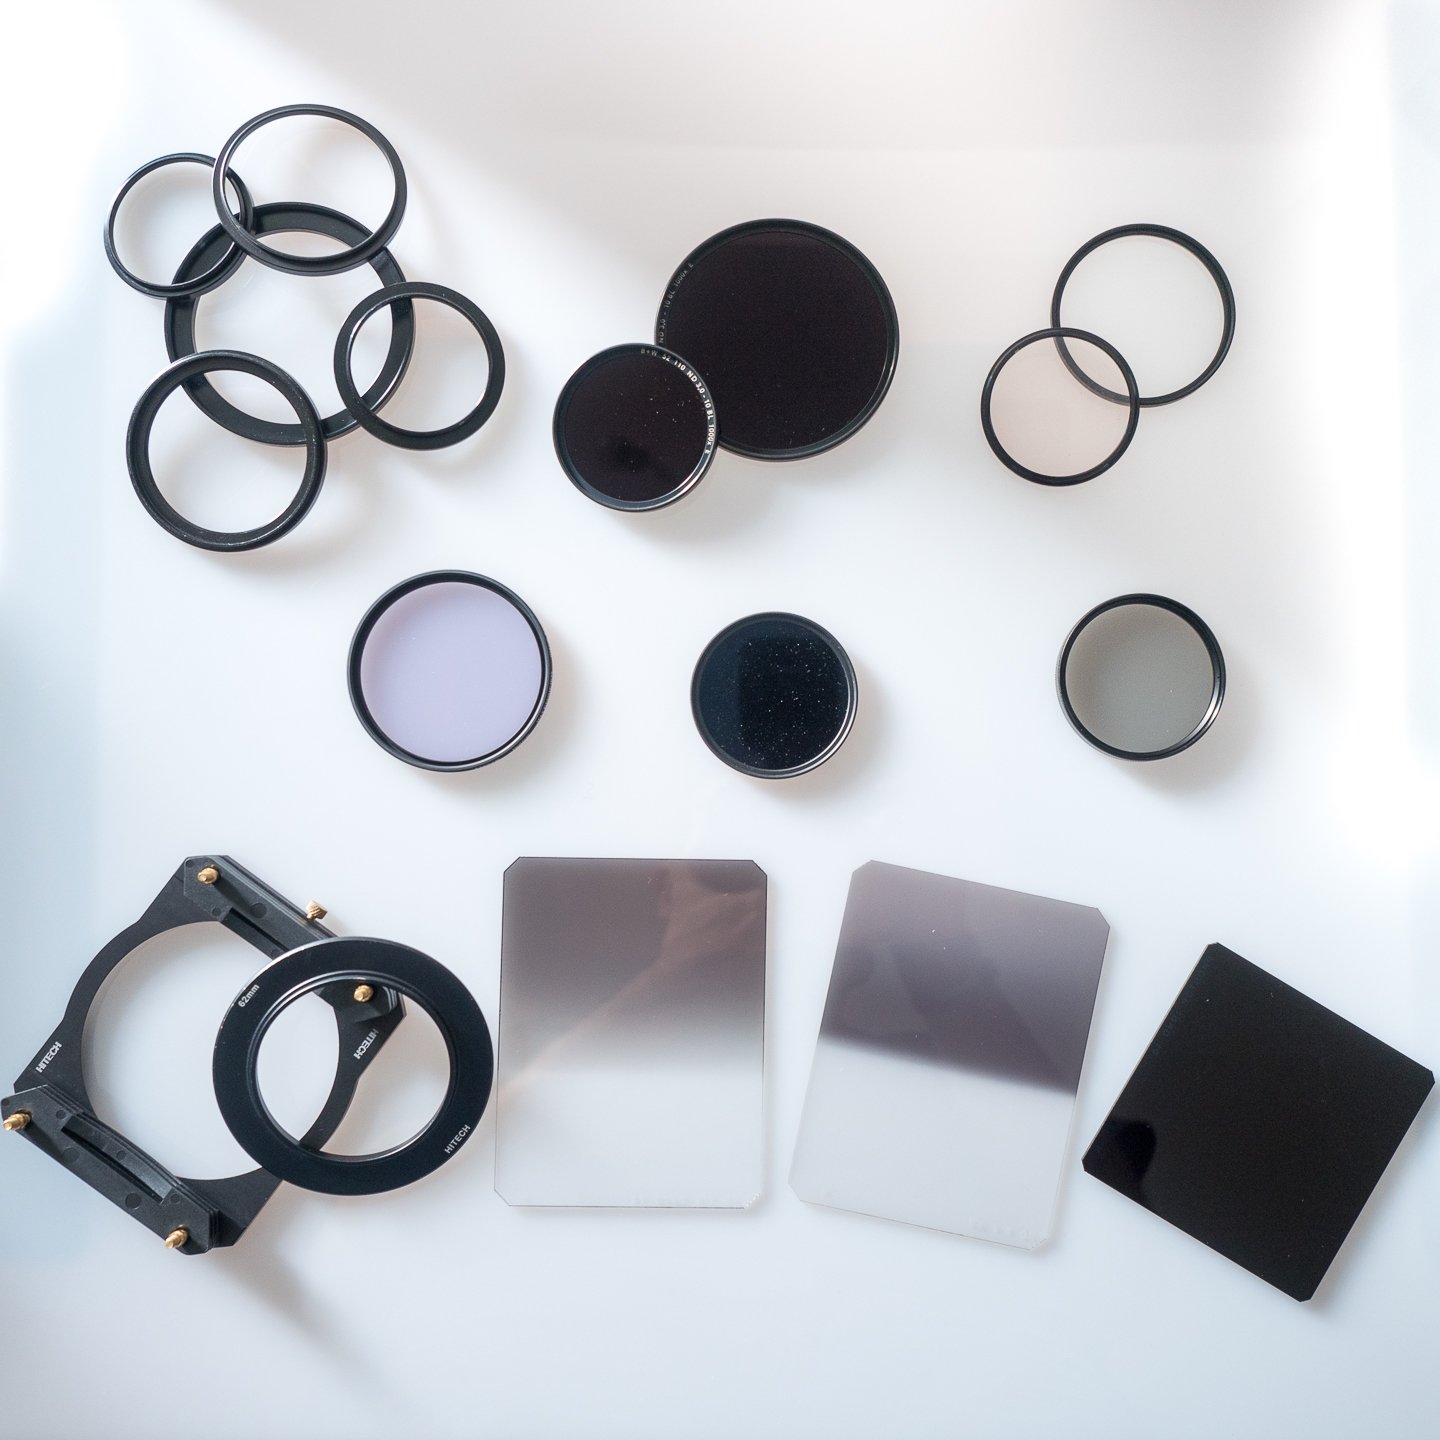
Accessories
Having the right accessories is key for successful landscape photography trips. A sturdy tripod like the Manfrotto Element MII provides excellent stability on uneven terrain. It can hold heavy camera setups with ease.
Filters are a must-have for shaping natural light. Graduated ND filters balance exposure between the sky and foreground. ND filters enable long exposures in daylight. A circular polarizer reduces glare and deepens colors.
Protect your gear with lens hoods, cleaning kits, and rain sleeves. Extra batteries and a power bank keep you shooting longer. And don’t forget a headlamp for setting up in the dark.
Landscape photography accessories may seem like small investments. But they can make a huge difference in your photos and experiences.
Filters
Filters are important tools for landscape photographers. They help you get better results in different shooting conditions.
ND filters reduce light entering the lens, letting you use slower shutter speeds or wider apertures in bright light. This is especially useful for long-exposure photography.
Polarizing filters are another popular choice. They reduce glare and reflections, giving your images more color saturation and contrast. Graduated ND filters balance exposures across the scene, eliminating blown-out skies or dark foregrounds.
There are many other types of filters to choose from. Infrared filters are great for creative photography. Light pollution and narrowband filters help with astrophotography. And solar filters let you safely photograph a solar eclipse.
Filters for landscape photography are important tools that can greatly improve your images.
Editing Landscape Photography
Editing landscape photos is an important part of digital photography. It lets you improve colors, contrast, and composition. The dehaze filter in Lightroom and Photoshop is great for reducing haze in skies or adding haze for depth.
You can also make colors stand out by adjusting hues and darkening blues and cyans to make clouds pop. Sky replacement is possible with AI tools or manually in Photoshop.
Always shoot in RAW for the most editing flexibility. Sharpening images correctly is key for posting online. Cropping, warping, and using composition overlays can improve your shot after the fact.
With exposure blending and luminosity masks, you can merge bracketed shots into an HDR image. Just be careful not to oversaturate colors – use Vibrance instead of Saturation for natural-looking results.
Editing landscape photos takes practice but is very rewarding. You can also see our Epic Landscape Editing if you really want to push your landscapes to the next level.
Photoshop
Editing your landscape photos in Photoshop is essential for getting the best results. Start by opening your RAW file in Camera RAW to adjust the exposure, shadows, highlights, white balance, and colors. Keep the edits natural and realistic.
In Photoshop, use adjustment layers to improve contrast and bring back detail in the highlights. The Dodge and Burn tools are great for lightening or darkening specific areas of the photo.
Finally, crop the image to the perfect composition.
Master Photoshop landscape editing with this helpful tutorial.
Lightroom Presets
Lightroom presets are a quick way to improve your landscape photos. With one click, you can completely adjust the style of your images. There are hundreds of Lightroom landscape presets available, both paid and free.
I’ve chosen 35 of the best free Lightroom presets to share. Most are for color and daytime scenes, but I’ve included some for astrophotography, black & white conversion, and a few special effects.
These presets can help you find new ways to edit your landscape photos.
Installing Lightroom presets is simple. You can import them using the plus sign in the Presets window or drag them into the Develop Presets folder on your computer.
Lightroom landscape presets are a great way to speed up your editing workflow and get creative with your photos.
Orton Effect
The Orton Effect is a post-processing technique that adds a soft, dreamy look to landscape photos.
It involves merging a sharp, in-focus image with a blurred, overexposed version of the same shot. This creates a photo with a sharp subject and a glowing, ethereal background.
In Photoshop, create the effect by duplicating your image layer and applying a strong Gaussian Blur. Then add contrast and lighten the blurred layer with a Levels adjustment. Control the strength of the effect by adjusting the opacity of the blurred layer.
You can also achieve a similar look in Lightroom by lowering the Texture, Clarity, and Dehaze sliders in the Presence section of the Develop module.
Then add contrast and light by raising the Contrast, Highlights, Shadows, and Whites sliders.
To learn more about using the Orton effect in your landscape photos, read our how-to guide.
Waterfall Effect
You can create a beautiful waterfall effect in Photoshop, even if you don’t have a neutral density filter.
First, select the waterfall using the Lasso tool and copy it to a new layer. Apply a motion blur filter to the selection, adjusting the angle to match the water flow.
Add a layer mask and use a soft brush to clean up the edges of the blur. Repeat this process for the river above and below the waterfall. For a realistic look, use the Warp tool to add a curve to the crest of the waterfall where the water begins to fall.
The result won’t be exactly the same as a long exposure photo, but it comes close.
If you want to learn more about creating a waterfall effect in Photoshop, we have a detailed step-by-step tutorial that covers the process in depth.
Inspirational Landscape Photographers
The best way to find inspiration is to look at the work of the masters. See the epic landscapes of pro photographers is a sure-fire way to get your creative juices flowing.
You can learn a lot from looking at the work of professional landscape photographers. You can see how they compose their shots, looking at the elements they include in their images. You can also see how they develop their personal styles.
Our list of the best landscape photographers is the perfect place to start if you want some inspiration.
Ansel Adams
Ansel Adams was a master of landscape photography. He spent hours finding the perfect location and time to capture breathtaking images. Adams knew his camera so well that photography became instinctive for him.
Adams often placed the horizon high in the frame to emphasize the scale of the landscape. He also went to great lengths to find the right perspective, sometimes hiking for hours before dawn.
His images put humankind into perspective and encourage us to focus on the majestic parts of the world.
When Adams took a photo, he captured a feeling, not just a scene. He knew exactly what he wanted to portray before pressing the shutter.
As an environmental conservationist, Adams had a clear purpose behind his photography, which is evident in his legacy.
Learn more about Ansel Adams right here.

Environmental Photographers
Environmental photographers play a vital role in documenting our world and the changes happening in it.
They focus on the relationship between nature and humans, often raising awareness about important environmental and conservation issues.
Some of the most influential environmental photographers include Paul Nicklen, who captures stunning underwater photos, and Cristina Mittermeier, who takes powerful portraits of people living in distant tribes.
Sean Gallagher uses his work to bring attention to the climate crisis and other under-reported environmental problems.
These photographers have dedicated their lives to telling stories through their images. Their work has been featured in major publications like National Geographic and has won numerous prestigious awards.
To see more incredible images and learn about other influential environmental photographers, click the link.
Nature Photographers
Here are 20 amazing nature photographers to inspire you in 2026. From breathtaking landscapes to intimate wildlife encounters, their work showcases the beauty of the natural world.
These photographers travel the globe to capture stunning images. They find undiscovered locations and document their adventures along the way. Their unique perspectives and dedication to their craft result in powerful, awe-inspiring photos.
Their images evoke emotion and make you want to explore the outdoors.
See all the best nature photographers in this article.
Aerial Photographers
Aerial photography offers a unique perspective on the world. It allows photographers to capture scenes from high above, revealing details and patterns that are often hidden from the ground.
Some of the most influential aerial photographers use drones to take stunning images of landscapes, cities, and nature. They travel the world in search of the perfect shot, from the icy landscapes of Norway to the bustling streets of Dubai.
Many aerial photographers have backgrounds in architecture or design, which helps them create visually striking compositions. They often focus on repetitive shapes, lines, and patterns to add a dynamic feel to their images.
If you want to learn more about aerial photography, these talented artists are definitely worth following for inspiration.