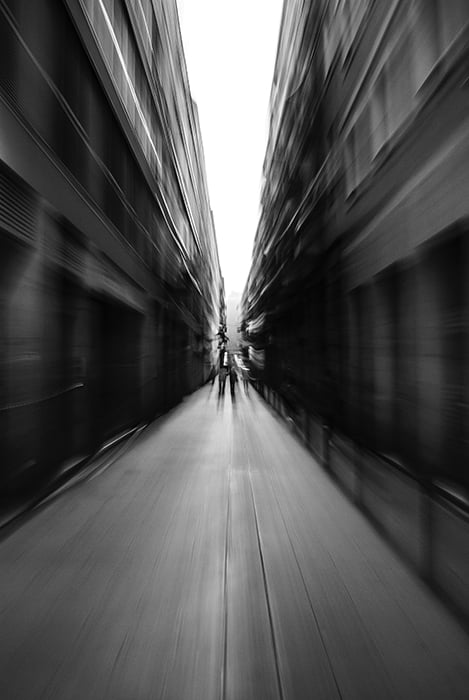
The dolly zoom effect is often used in movies to create an unsettling and surreal feeling. It is also known as the Vertigo Effect.
You can use the dolly zoom technique in your time-lapse photography to create a unique 3D illusion. No special video equipment needed!
Creating the Vertigo Effect with a Dolly Zoom in Your Time-Lapse
What You’ll Need
- Camera
- Tripod
- Zoom lens
- Bubble level
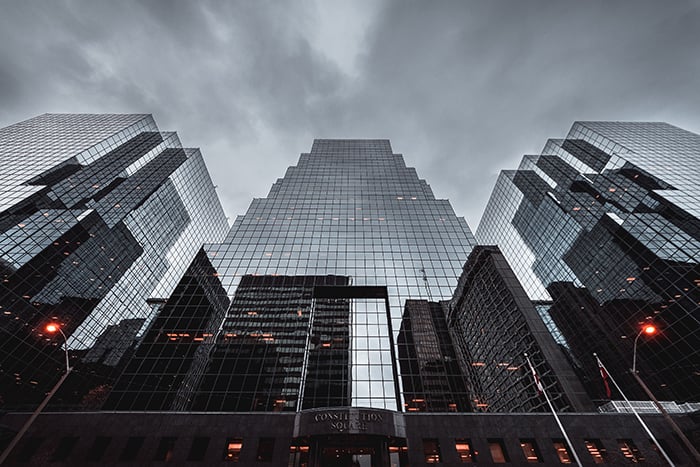
1. Choose a Subject With a Distinct Edge
You’ll be moving around a lot during your photoshoot. You need to have a subject that you can focus on every time you move. This will keep your photos consistent.
Not every subject will work in your dolly zoom time-lapse. A few popular subjects you can use are people and buildings. You can start with buildings as they have distinct edges.
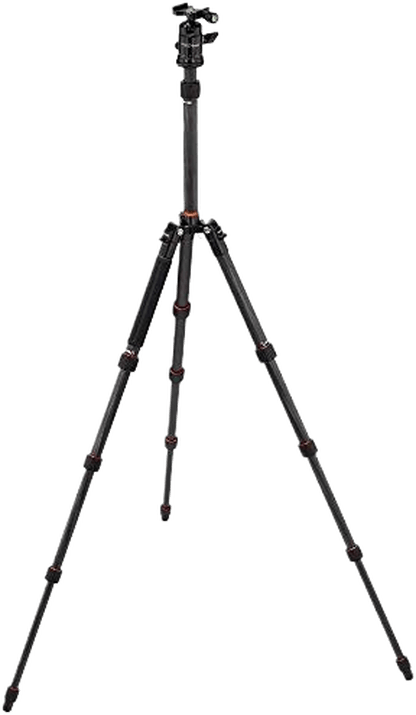
2. Attach Your Camera to a Tripod to Keep Your Photos Steady
A tripod will make it easier for you to take even and sharp photos. If you shoot handheld, you might not be able to align your photos properly. A tripod will take more time, but it’s almost always guaranteed to give you successful results.
Your camera should be at eye level. This will make it easier for you to move around during the photoshoot.
You can use a bubble level to make sure your photos don’t look crooked. Every time you take a step forward, make sure the bubble is right at the center of the level.
3. Use Grid Lines to Keep Your Photos Consistent
Switch to Live Mode and turn on Grid Display. This will create a bunch of vertical and horizontal lines on the camera screen. You can use these lines to align your photos every time you move from your last spot.
Once you’ve chosen a subject, find an edge that you can align with one of the grid lines. This will be your guide whenever you change positions. It will ensure that your subject always stays in one specific spot in your frame.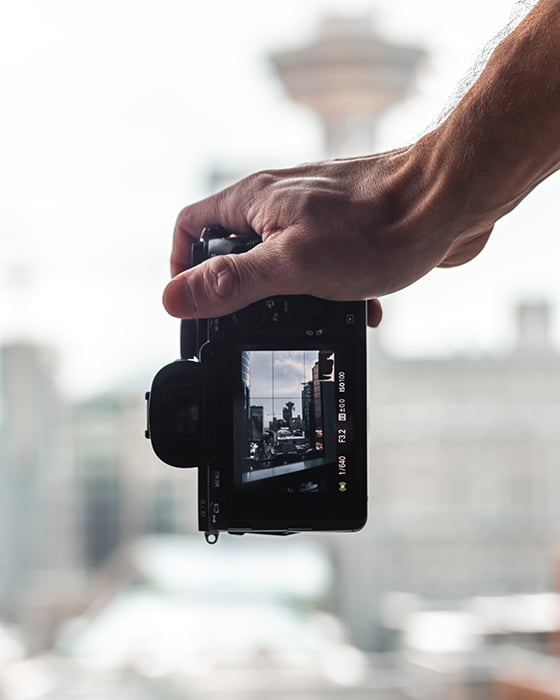
4. Take Test Shots to See If the Dolly Zoom Works
The dolly zoom technique might not work wonders in every location. You need to make sure that you have enough elements around you to create that intense zooming effect.
You can do this by taking a few test shots using the steps below. If the effect looks decent on your screen, it’s likely to look great on your computer.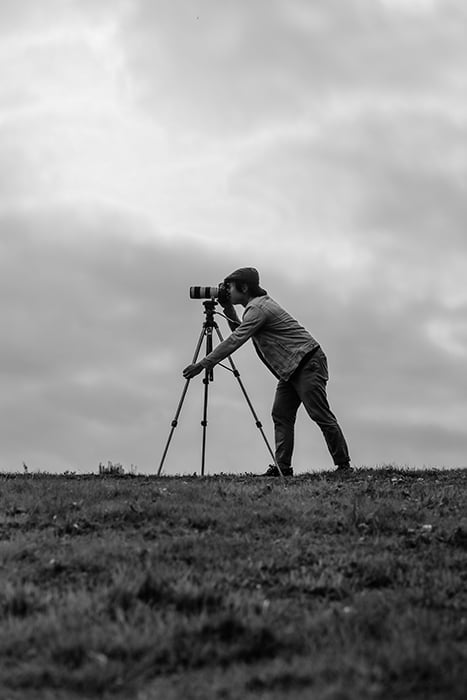
5. Take a Step Forward, Zoom In or Out, and Shoot
Make sure the bubble in your bubble level is centered. Also, make sure your chosen grid lines perfectly align with your subject. Take a photo.
Take a step forward and make sure everything is in place. Now, slightly zoom out. You can use autofocus to keep your main subject in focus at all times.
Make sure you zoom out very slightly for a subtle effect. You can also zoom in and move away from your subject to create a similar result. (You’ll probably find it easier to start with the zooming in technique.)
Take another step forward, look at your bubble level, zoom out, and take another picture. Always make sure that your subject aligns with you grid lines.
6. Keep Going Until You’ve Taken at Least 24-30 Photos
There aren’t any strict rules when it comes to the number of photos you should take. It all depends on how long you want your video to be.
Let’s say you want to have 24 frames per second (fps) in a 10-second time-lapse. You’ll need to take 240 photos to achieve this. The frame rate depends on your video preferences. It’s not something you need to worry about if you’re simply practising.
The least amount of photos you should take is 24. At 24 fps, you’ll get 1-second of video. This is a good place to start if you’re a beginner. The more you practise, the longer you can make your time-lapse videos.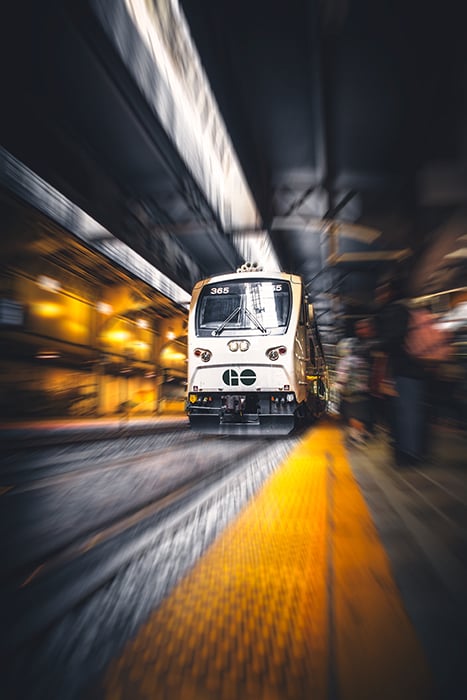
7. Color Correct Your Photos in Lightroom to Make Them Stand Out
Before you turn your photos into a video, you can color correct them in a program like Lightroom. Lightroom is particularly handy because it has a bulk edit feature. This means you can edit all of your photos with one simple click.
If the lighting in all your photos is the same, you can edit everything in seconds. Click on one photo and adjust the settings. You can boost your photo’s contrast, saturation, and clarity. You can also use Lightroom presets to give it a specific feel. This is a great opportunity to create outstanding cinematic pictures.
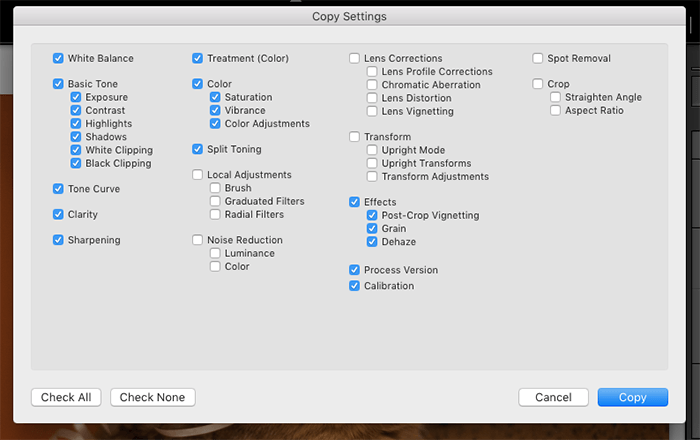
When you’re ready, you can copy the photo’s settings and paste them on every other photo.
Alternatively, you can edit all of your pictures in Quick Develop. Select all of your photos in the Library module. You’ll see the Quick Develop panel on the right side of the Lightroom window. There, you can quickly edit all of your pictures at once.
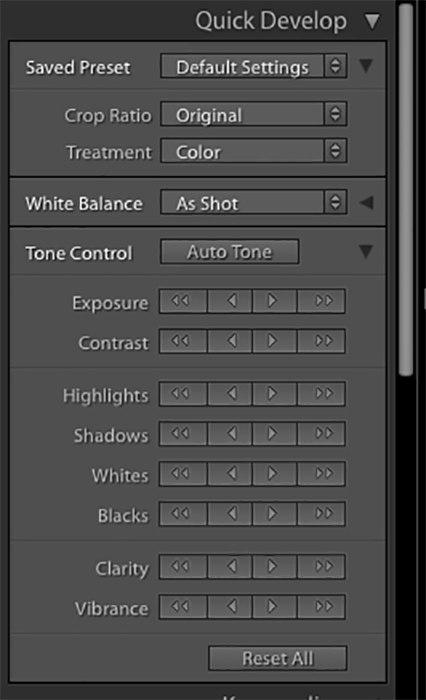
When you’re done, export all of your photos in the Library module.
8. Import Your Photos Into an Editing Program and Stabilize Them
The last step of your time-lapse process is video-making. You’ll have at least 24 images that you’ll need to turn into a smooth video. To do this, you can use a video editing program like Adobe After Effects.
Most video editing programs have a warp stabiliser. This helps create smoother movements in videos. Use this to get rid of shakiness and sharp movements in your pictures.
If you skipped the previous step, you can color correct your video. Adobe After Effects has lots of cool features you can use to take your dolly zoom time-lapse to the next level.
When you’re done, export your video and share it with the world!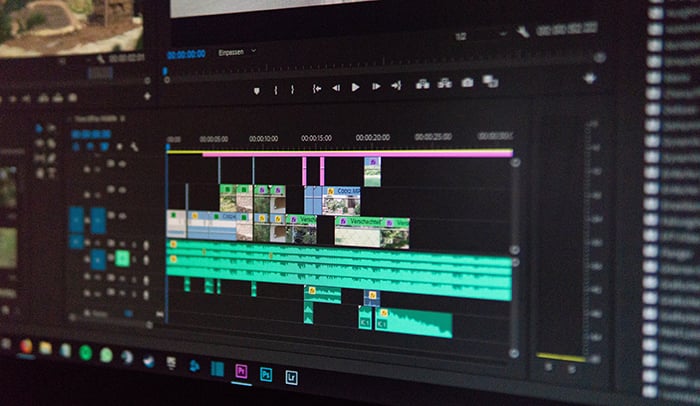
Common Dolly Zoom Questions
What Does Dolly Zoom Mean?
Dolly zoom is the name of a cinematography technique. You have to move towards something and zoom out at the same time. Alternatively, you can move away from something and zoom in. You can also re-create the dolly effect in a video editing program.
How Does a Dolly Zoom Work?
The dolly zoom works thanks to the zoom lens. You have to zoom in or out as you move your camera. This keeps the subject in place but changes everything around it.
What Is It Called When a Camera Zooms Out?
This is called dolly zoom or Vertigo Effect. It was first introduced in Alfred Hitchcock’s film Vertigo, hence the name.
Conclusion
The dolly zoom effect is popular in filmmaking. It’s a great way to draw attention to perspective and make an everyday object look surreal.
You can re-create the dolly zoom effect in time-lapse photography using a zoom lens. The technique is simple: take a step forward, zoom out a little, and take a shot. The more you do this, the longer your final time-lapse will be.
Keep practising with this quirky filmmaking technique to create unforgettable time-lapses!