When someone mentions 3D, many of us will think of going to the movies and putting on those weird 3D glasses. The film jumps out at us rather than being a flat image on the screen.
3D photography follows the same logic. It creates images with more depth. They’re more real-to-life, and the detail is lifted off the page. It can make us feel like we’re in the picture, not just looking at it.
But what exactly is 3D photography? And how does it differ from normal photography?
In this article, we’re going to take a deep dive into the world of how to take 3D photos. We’ll look at the history of 3D images and how they’re made. And we’ll also give some tips for getting started.
And don’t worry. You won’t need any special glasses for this article.

What is 3D Photography?
A standard photograph, whether printed or digital, is only two-dimensional. We can only detect height and width. There is no depth, making the image look flat.
3D photography introduces depth into the image. Adding a third dimension makes the subject sound proud or makes us believe we can move inside the photo.
It looks great, but how is 3D photography done?
How 3D Photos Work
Humans see the world in 3D. Our eyes can detect height, width, and depth. Our brain processes the information from both of our eyes to give us stereopsis vision. It means we have depth perception and can judge distances.
3D images employ the same principle. It uses two photos of the same subject. One offset from the other. The two images are then merged to create a photo with three dimensions.
You’re using the two images at slightly different angles to create stereopsis vision with the camera. Seeing the image from different perspectives brings depth and body to the photo. We are still looking at the flat photo. But the effect of the two offset images tricks our brain into thinking there is depth.

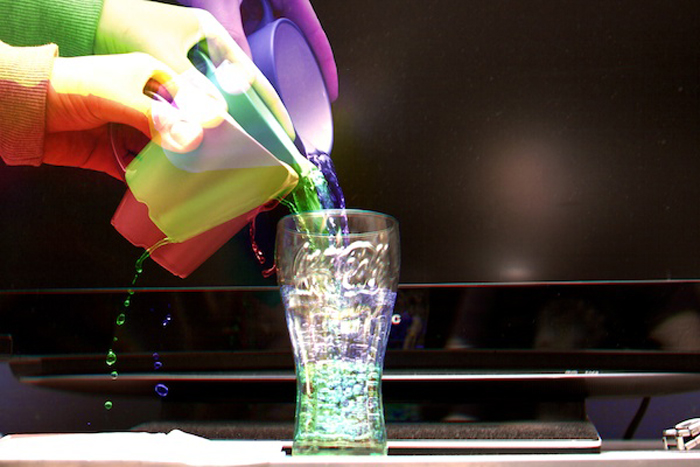
Photo by James Bak.
A Brief History of 3D Photography
3D photos, much like 3D movies, have a reputation for being a bit of a fad. It falls in and out of fashion. Its popularity is on the rise again, but it’s not a modern phenomenon. It has been around for decades.
The Stereoscope
The first development came way back in 1833 when Sir Charles Wheatstone invented the stereoscope. You look into this device, and two separate images of the same scene are displayed. There is one image for each eye. Your brain puts them together, and you get a 3D image.
The Viewmaster
Wheatstone’s stereoscope used illustrations. But William Henry Fox Talbot and Sir David Brewster developed the idea using photographs. This invention developed into the Viewmaster. Something you can still buy today.
The Stereo Camera
The stereoscope uses two photos to create the 3D image in your mind. It is not a 3D photo. But as technology developed through the early 20th century, these ideas were adopted by camera manufacturers.
In the 1940s, we saw the first stereo camera. The camera uses two separate lenses and sensors to capture the same scene from different angles. These simulate human binocular vision and create a three-dimensional image.
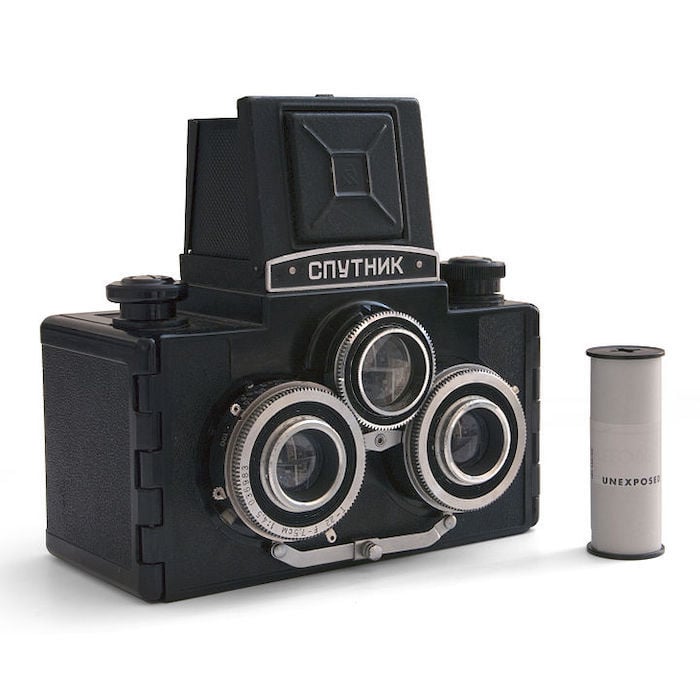
The first stereo camera was the Stereo Realist, which hit the market in 1947. This Kodak Stereo Camera followed this in 1954. And the Russian Sputnik stereo camera in 1955.
The First Compact 3D Camera
The Nimslo 3D was the first compact 3D camera for consumer use. It was released in the 1980s and used 35mm film. And you didn’t need special glasses to view the photos.
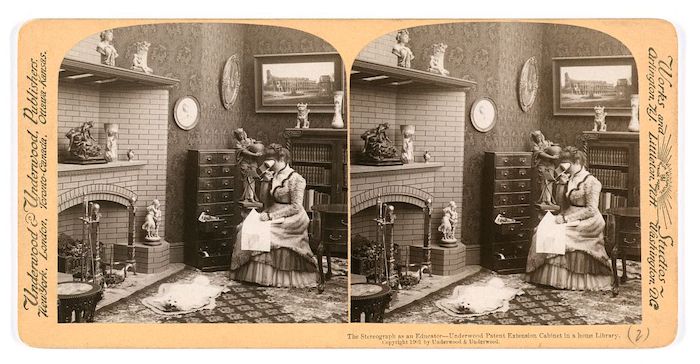
Stereo card of a stereoscope in use (1901), Library of Congress, Public Domain.
How to Make 3D Photos
All this talk of stereopsis and binocular vision might put you off from taking 3D photos. The language has been a tad academic. But don’t worry. You don’t have to be a scientist to make 3D images.
There are now many ways to create 3D photos. You can do it in post-processing with Photoshop. Or you can even get apps on your smartphone. Facebook even has an application for uploading 3D images to its platform.
With digital photography, you can duplicate your photo. In post-processing, you can then create minor differences to each image. When you merge them, you create a 3D photo.
But you don’t have to rely on computers. If you still like getting your hands dirty, there are some manual processes you can try. Buying a vintage stereo camera isn’t a bad option. You can find a Sputnik in pretty good condition online.
But you don’t even need a 3D camera. You can experiment with taking 3D photographs with your DSLR or even your smartphone. We’ll take you through three more hands-on techniques.

3D stereo photo by relaxed now, Creative Commons License.
1. The Rocking Method
It’s the most straightforward method, and you don’t need any additional equipment. All you need is your camera. And your smartphone camera will work too.
First, the subject or scene needs to be identified. With 3D images, the subject has to be static. Anything that moves, even slightly, won’t work.
Once the scene has been chosen and framed, the photographer needs to find a strong footing. Then, for the first shot, they will put their body weight on one foot. This will make them lean slightly in that direction.
For the second shot, the photographer will transfer their weight to the other foot. The result is two offset photos of the same scene. It’s the same image but from a slightly different perspective.
You then need to bring the images together. You can use Photoshop, as well as Stereo Photo Maker and AutoPano.
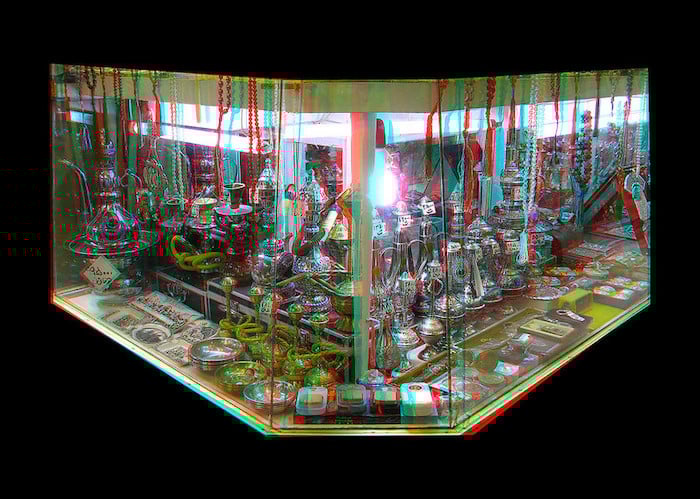
3D photo of a showcase in a bazaar, Shahrokh Dabiri, Creative Commons License.
2. The Tripod Method
This technique is similar to the rocking method but uses a tripod. A tripod may be needed if the lighting is a problem or if you’re working in a studio. 3D techniques are a great way to add spice to your fashion photography or product photography.
The subject or model needs to be in the center of the frame. The first shot is taken like that. Then the camera and tripod are moved to the left or right. They should not be moved more than two inches as this is the average distance between a human’s eyes.
Before the second shot is taken, the subject needs to be re-centred. This may involve changing the angle slightly to keep the same framing. Then it’s time for the second shot.
Again, the two images have to be merged in post-processing.
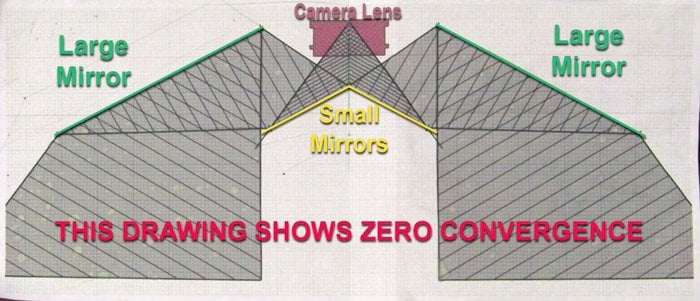
3. Make Your Own Mirror Splitter
This method is a bit more complicated and involves some DIY skills. But it can be great fun to experiment with, and the results are awe-inspiring.
There are four mirrors used in total: two small mirrors and two large mirrors. The small mirrors are used to split your frame. And the two large mirrors then reflect the view back onto the subject.
The result is two images of the same scene in one picture. But due to the position of the mirrors, the two images are slightly offset from one another. They are then combined to make the 3D photo.
The diagram below will help to illustrate the experiment.
Tips for Taking 3D Photographs
No matter which method you use to take 3D images, here are four things that always need to be considered.
1. Subjects Need to Be Still, and Movement Kept to a Minimum
The subject or scene needs to be carefully selected. With 3D photography, the subject needs to be completely still. You need more than one photo of the same subject but from slightly different positions. While the camera changes position, the subject has to remain the same.
Any movement and the 3D effect will be lost. The 3D photographer needs to keep this in mind even if they are shooting a scene. The scene they select must include as little movement as possible. They need to be aware of any people or cars moving within the frame. Even leaves moving in the breeze can cause problems.
A photographer can make 3D photos with moving subjects, but this requires two cameras. And the photographer also needs to keep any movement with the two cameras to a minimum. They will need to move to take the two different shots. But other than that, they need to stay as still as they can. Using a tripod does make this easier. If they don’t have one, the photographer must work hard to keep the shot as close as possible.
The photographer also has to use the same camera settings for each shot. And they need to remember what the settings were in case they do need to retake the shot.
2. Frame Images in the Same Way for 3D Images
The images for 3D photography have to be near-identical. This means the photographer has to keep the framing for each image the same. A lack of movement also helps with this. But the photographer will need to know what is in the frame.
It’s important to note what objects or landmarks are at the edge of the frame. They give a point of reference so the photographer can achieve the same frame again.
Using the grid view on a digital camera can be useful when framing 3D photos. The shot can be composed using the grid lines, as they match up with certain landmarks in the frame.
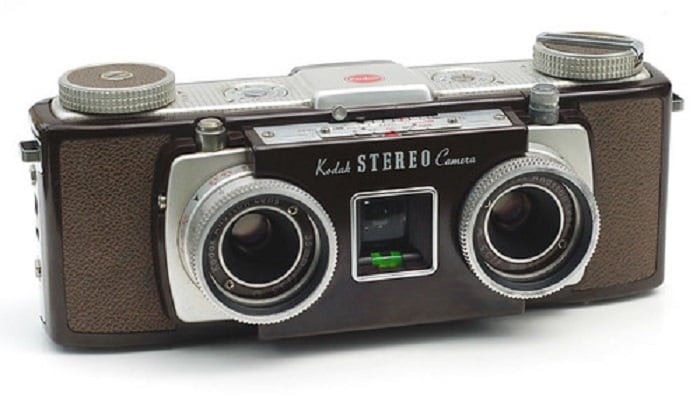
Kodak Stereo Camera, Magnus Manske, Creative Commons License.
3. Strategically Position The Subject for a 3D Image
The subject needs to be in the center of the frame. Whether they are a model or something inanimate, they need to be kept in the middle of the shot. If the subject moves out of the center between shots, the photo will look blurred. The final image won’t look clear and will lack the 3D effect.
The subject should also be fairly close to the camera. If they are too small and distant, it’ll be difficult to achieve the 3D effect with your camera.
Because depth is a crucial element of 3D photography, photographers should not position the subject in front of a flat wall. A close backdrop will remove all depth from the image, leaving only a 2D image. Distant background detail can also add more points of reference to create an accurate depth map.

3D stereo photo by relaxed now. Creative Commons License.
4. Take a Lot of Pictures to Ensure Good Framing
3D images are made up of two or three photos. But the photographer will need to shot more than two or three shots. Because 3D photography is so detailed and specific, it’s best to shoot plenty of shots when the camera is in position.
The framing needs to be perfect so the photographer won’t want to come back and take another shot later. It’s better to be safe than sorry. Reframing the photo can be laborious and time-consuming. It’s better to get enough shots when everything is in position.
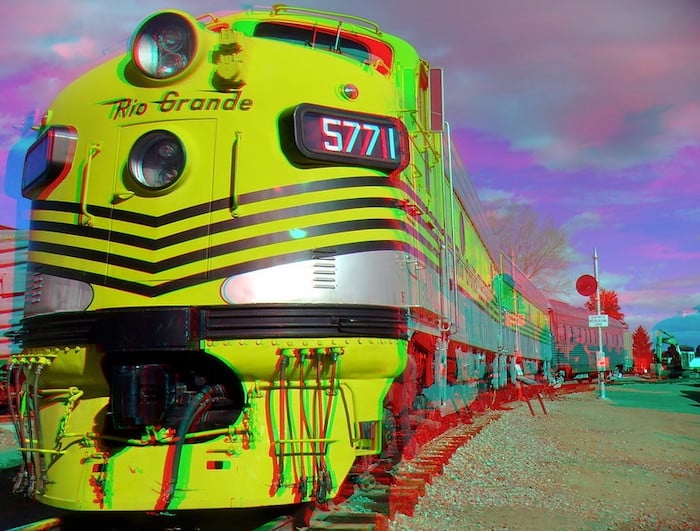
3D anaglyph photo by relaxed now. Creative Commons License.
Conclusion
3D photography is the art of adding three dimensions to two-dimensional images. Standard photos are flat and lack depth. 3D camera techniques introduce depth to the images and create magical images that appear real-to-life.
3D images have a long and storied history. It started with the Stereoscope in 1833. And now we have 3D imaging applications on our smartphones. With just a few clicks, it’s easy to turn digital images into 3D photos.
But it’s not just about apps and post-processing. You can have a go at 3D photography with your camera. Whether it’s a DLSR or a smartphone, try the techniques above to create your own 3D photos. It’s great fun, and you’ll have some impressive images for your portfolio.
Do you want to fuel your creativity and inspiration? Take our Wow Factor Photography video course to capture jaw-dropping images in the comfort of your own home.