If you’re looking to take your product photography to the next level, check out these 8 camera settings tips that will make it easy! From aperture to white balance, these are the best product photography camera settings.
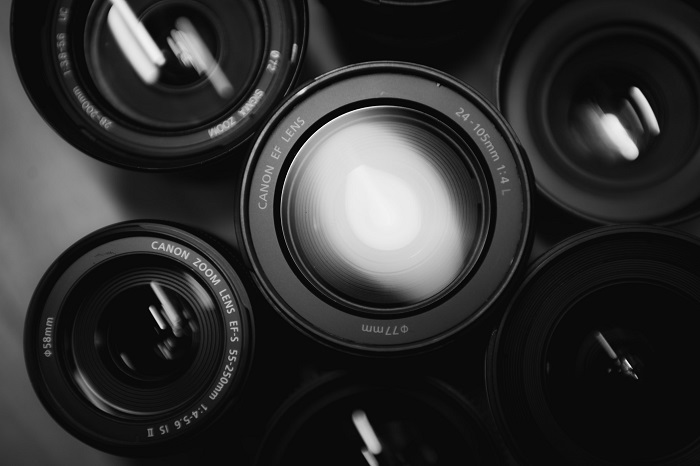
Product Photography Camera Settings for Shooting in RAW Format
RAW is a file format that is uncompressed, with no automatic adjustments made. They are also processed at the highest image size possible according to the size of your camera sensor.
When shooting product photos, it’s important that you shoot in RAW.
A high-volume shooter like a wedding photographer can get away with shooting in .jpeg. This is because the images will not require much Photoshop.
Product photography requires a lot of finessing during post-processing.
Shooting in RAW will allow you to retouch the photo as much as you want without losing any of the data. RAW format also gives you a much broader spectrum of color to work with. This is crucial if your images will go to print.

Shoot in Manual Mode
When you’re a beginner, one of the fastest ways to improve your photography is to learn how to shoot in manual mode.
Manual mode is a setting that allows you to dial in your preferred aperture, shutter speed, and ISO. These three are otherwise known as the “exposure triangle“.
These camera settings work together to control how bright or dark your photo is (exposure). They influence the overall look of the image.
When you shoot in automatic mode, you’re allowing the camera to do the thinking for you. This is tempting, but it rarely gives you the perfect exposure.
Automatic mode gives you the camera’s best guess for the correct settings. This is not always accurate. A lot of the time, we have shooting and light situations that are less than ideal.
At these times, we need to be able to take control of our camera settings to capture the correct exposure and get the best results.

Use a Small Aperture
Aperture refers to the size of the opening in the lens that lets light pass through to the camera’s sensor.
A small aperture is a high f-stop number, like f/16 or f/22.
F/1.8 will let a lot of light into your lens, while f/22 will allow very little.
So why would you want to use a small aperture in product photography? Because the aperture also controls the depth of field.
This is the area of your shot that’s in focus. When shooting products, they should be entirely in focus.
This is not as important in some other types of still life photography, such as food photography. Blurry backgrounds are actually a desirable aesthetic there.
Keep Your ISO As Low as Possible
When it comes to exposure settings for product photography, it’s generally best to keep your ISO as low as possible.
ISO controls how sensitive your camera sensor is to light. In the days of film, this was referred to as “film speed“.
Setting your ISO high is helpful when shooting in low light situations or with smaller apertures. The problem is that it also introduces a grainy quality into your photos known as “noise”.
Noise will degrade the quality of the image. It can be fixed somewhat in post-processing. But you risk introducing a plastic look into your images by attempting to smooth out the noise.
Needing to work with a small aperture and high ISO is one of the main reasons that most product photography is shot with artificial light.
Use a Low Shutter Speed
The shutter speed setting controls how fast your shutter opens and closes. Higher shutter speeds will allow you to freeze a subject. Slower shutter speeds can create motion blur.
In product photography, you’re not dealing with motion. But if you try to handhold your camera, you’ll get some camera shake. Even the vibration from pressing the shutter will result in a “soft” image.
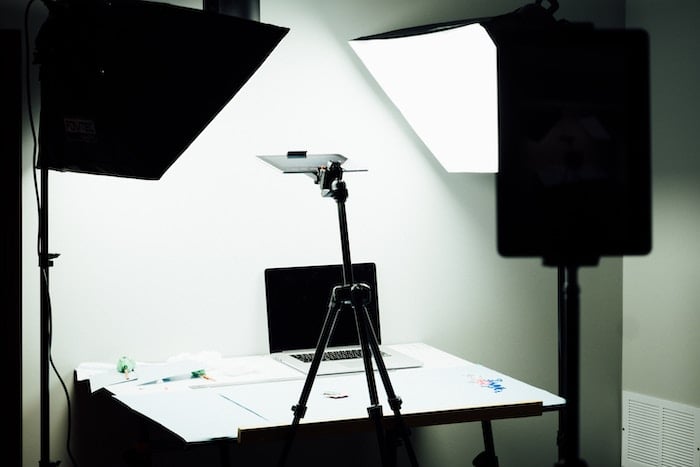
It’s crucial that you shoot product photography on a tripod with a low shutter speed. This will help you bring more light into your camera.
You can work with higher f/stop numbers and produce the critically sharp photos that are required.
Plus, working with a tripod will free up your hands. You’ll be able to work on your composition and small adjustments without losing your framing.
Select the Appropriate White Balance
To get images that render whites and other colors correctly, you need to set your white balance.
This will vary depending on your lighting situation. Ideally, you’ll be using studio lights like a couple of monoheads or even speedlights.
In this case you can put your camera’s flash setting on ‘Daylight” and adjust in post as needed.
If you’re shooting in natural daylight, you should set your white balance to “Auto”. Use a grey card to get an accurate reading of the white balance so that you can adjust it later in Lightroom.
Auto white balance is based on what your camera senses to be correct, but it may not be accurate. A lot of the time, images that are shot in natural light will look a bit blue.
The Daylight setting works well for flash photography. But it’s often too yellow when shooting in natural light.
White balance is very important in product photography. This is especially true if you’re shooting on a white background.
Use Automatic Focus
This one may seem counter-intuitive. But it’s best to shoot your product photography with automatic focus.
As long as your camera has many focus points to choose from, you don’t have to worry about getting your subject into focus.
Manual focus is wonderful, but it can be very finicky. If you’re off by just a fraction, it can totally miss focus.
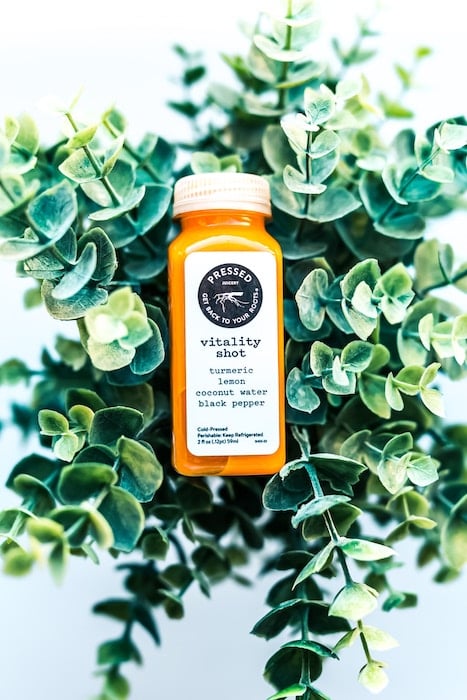
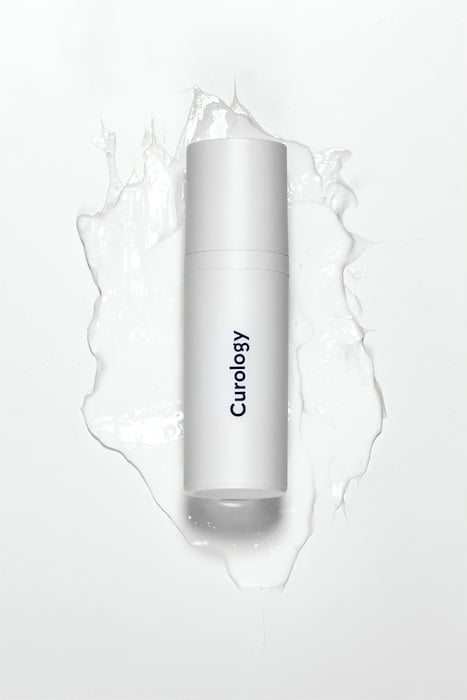
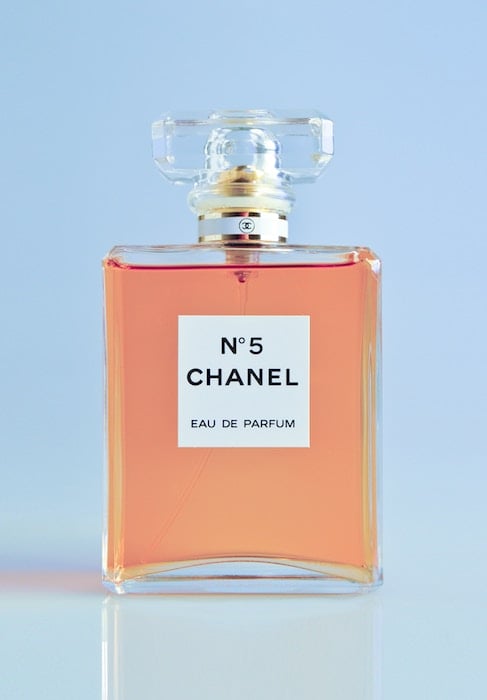
In product photography, it’s very important for the entire product to be in clear focus. The goal is to portray it accurately to the consumer.
By using automatic focus, you can set your camera to lock focus on your subject, resulting in sharp images.

Retouch Your Images in Post
Product photography is one genre that requires a lot of retouching. It’s crucial for the images to look as clean as possible. This means proper lighting and color treatment.
Retouching in Photoshop is the final step that will make your images look as professional as possible.
In fact, when you see product images in advertising and your favorite magazines, they are most likely composites. They’re made up of several images with different lighting to bring out the best features.
A lot of care has gone into eliminating unwanted reflections or other distracting elements. Anything that makes the product look less than pristine is removed or fixed.
The purpose of product photography is to make goods look as attractive as possible. After all, this is what drives sales.
Conclusion
Product photography can be a very challenging yet rewarding genre to shoot. The key is using the right product photography camera settings on a tripod to ensure you get sharp photos. And then you can finish by cleaning up the images in post-production.
We have a great post on DIY product photography or best product photography tips to check out next!