If you want to learn how to shoot natural light product photography, you’ve come to the right place! In this tutorial, we’ll go over everything from finding a great location to setting up your shot to editing your photos in post-production. So whether you’re just starting out or you’re looking for some new tips and tricks, read on for our best advice!
Natural Light Product Photography with Plain White Background Imaging
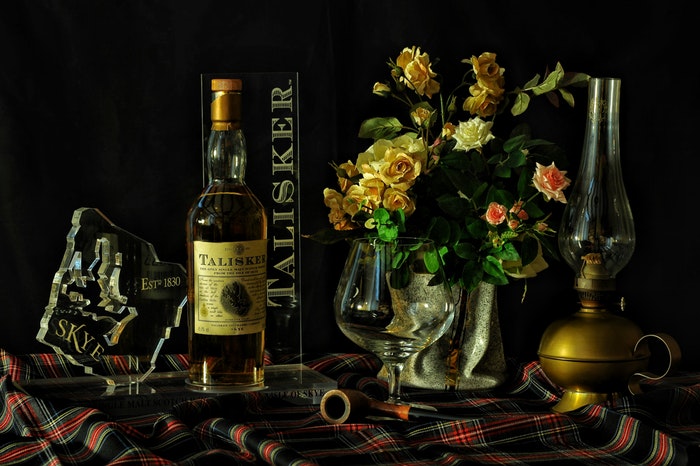
This image style is mainly used in e-commerce and is usually known as Packshot Photography. This term comes from the time when these images were done for the packaging of the product.
Nowadays the term Packshot is widely used for product images photographed with a white seamless background.
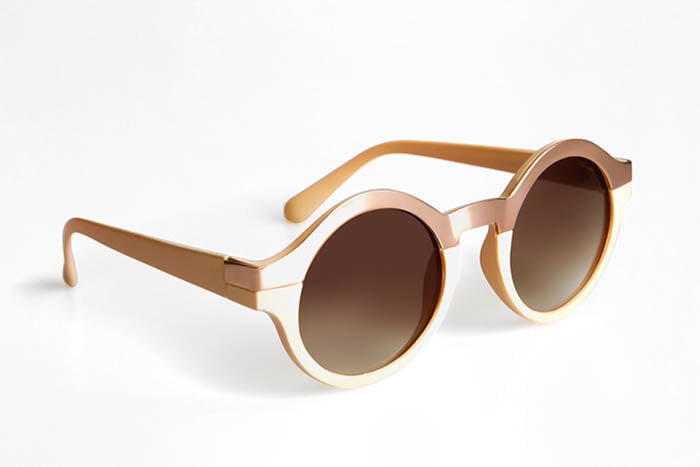
The image above might look like a complicated studio setup, but it was in fact photographed with just natural light shining through a window, a diffuser and a seamless .
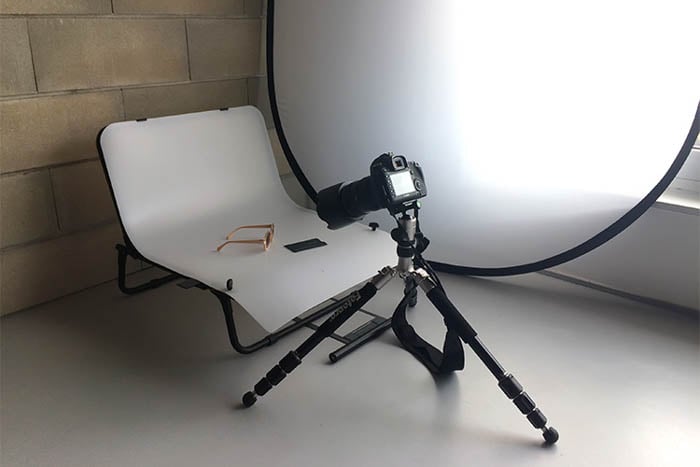
The acrylic shooting table you see in the above picture can easily be replaced with a white sheet of paper. And the big diffuser can be replaced by any white translucent cloth or tracing paper.
This setup is simple and affordable. And the results are pretty close if not better than the results you would obtain with studio lighting.
This wrap around light effect is obtained by the sun light scattered by the diffuser that acts like a big softbox. It evenly illuminates the product and casts soft shadows underneath.
It’s important to consider the depth of field in this type of imaging. In order to have a wider focus range and keep the sharpness throughout the product, I set the aperture to f/16, the shutter speed to 1/60 and ISO 400.
This image should be seen as a complete product ID a therefore show as much information as possible. The positioning and framing of the product is also crucial for good results. I highly recommend using a tripod for better precision on the angle of capture.
Always try to position your product in a way that shows it’s multidimensional. This means that the camera should be slightly above the product and your image should have some perspective showing frontal and side view.
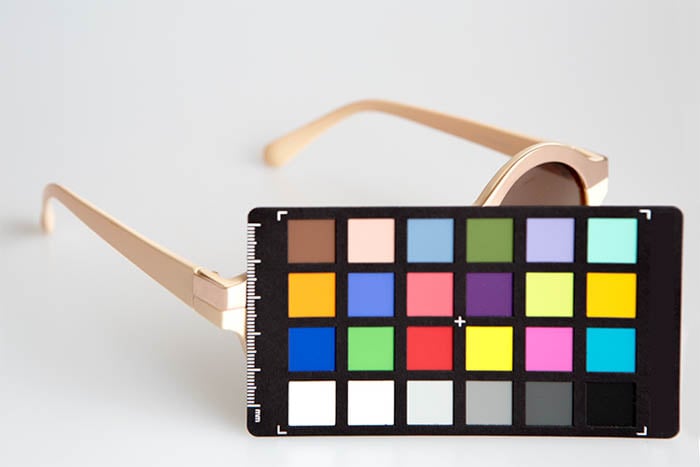
Color temperature is hard to control with natural light. A color chart is a good reference point for the later on editing process.
Flat Lay Photography
This image style is not new. But it has recently become very popular and trendy on social media. Consequently, the product photograph market has also picked it up.
It consists of displaying the product and eventual props with a pleasing arrangement on a solid background. And then photographing it straight from the top.
Even though this tends to create a flat and somewhat dull image, you can use composition to your advantage.
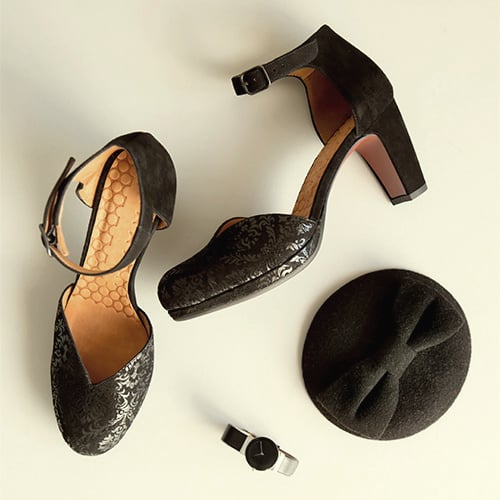
Take the image above, for example. The shoes are displayed in top and side view, giving the potential buyer a full and detailed view of the product’s shape.
The material’s texture and characteristics are also enhanced by the soft natural golden side light. This creates a warm ambience and pleasing mood.
Low Depth of Field Close-Up
You’ll often see this image style in jewellery and watch photography. You place the product placed on a textured background and photograph it from a short range. The focus is on a main spot and the rest of the image appears blurry.

I photographed the watch above with a 100mm macro lens at f/2.8.
I created the spot light effect by using a window light on the right side of the watch. Then, I placed a small round mirror on the opposite side. The mirror shone a narrow beam of light on the watch’s face.
This simple but highly effective setup allows the creation of great looking images. You get the high-end look with low-end resources.
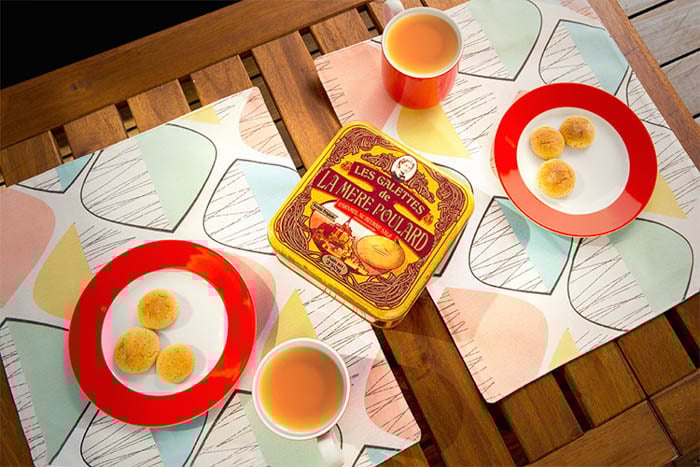
Outdoor Scenic Photography
As a product photographer, you’ll often use this image style to create scenic images. This means using carefully placed props to simulate a real-life scenario. The product is the center of attention.
Because you’re photographing outdoors, lighting is more difficult to control. The and the time of day become a "make it or break it" decision.
This makes planning and scouting a must for a successful image capture.
The weather forecast, the sun’s position, props and equipment choice are probably the most important things on your list. Depending on the type of shoot, however, you might need to take into account many other things too.
Even though you can’t change the way the sun shines, it doesn’t mean you can’t make it work for your needs.
I took the following image under a clear sky on a sunny day at 3pm:
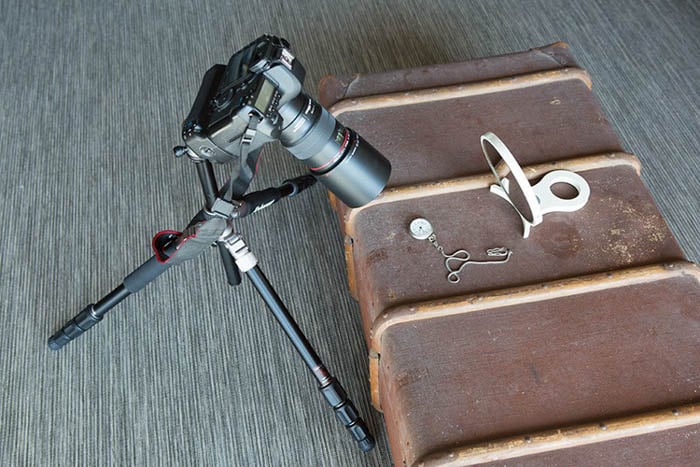
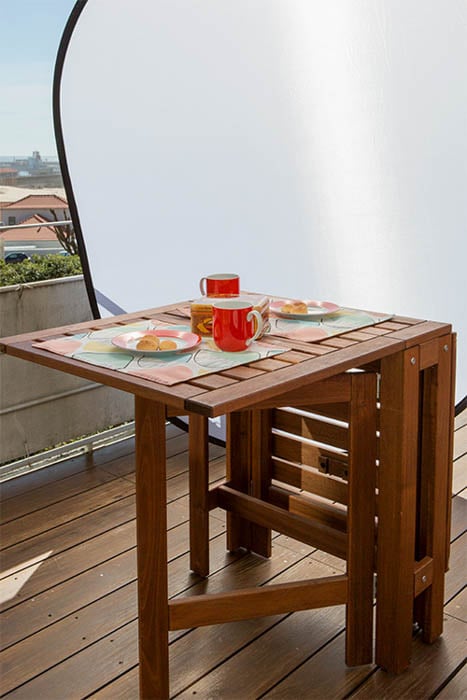
Here is a behind the scenes view of the setup:
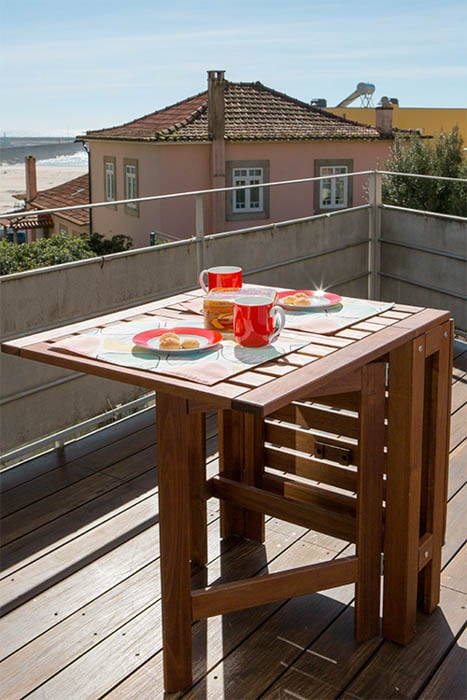
The harsh direct light makes the image highly contrasted and the shadows hard and dark.
That could be a desired look in a different context. In this particular image,however, I was going for a softer light look.
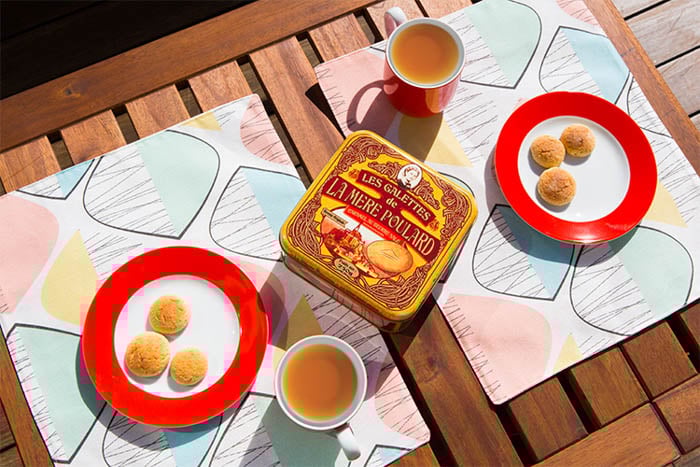
A quick way to control the light is to add a diffuser. This cuts down the light’s harshness and creates the effect you can see in the following image:
Here is a behind the scenes view of the setup:
The diffused light image is overall more appealing due to its softer look. This adds value to your product photography.
Conclusion
Natural light vs studio light is always a controversial discussion. And both sides will avidly defend their opinions.
Natural light users will say that natural light is the only "true" light. And studio light defenders will often state that natural light photographers just don’t know how to use flash. And on and on and on.
To be quite honest, I find these discussions to be a waste of time, and nothing but bogus.
Photography is about capturing light. Period!
Natural, artificial, that is not the point. What really matters is the image you are creating and knowing how light works so you can make your choices.
When you are taking your first steps into the photography world, natural light is definitely the way to go. It requires minimal gear and it’s a great starting point in the photography learning process.
We have a great tutorial on how to create a DIY Lightbox you should check out. For more great tips, read our article on product photography styling or how to create dark and moody still life shots.