Flash photography can be tricky, but learning to use a flash can elevate your photography to new levels. Mastering flash gives you more control over lighting. You can illuminate dark scenes, create specific atmospheres, and apply different lighting effects to your images.
This article has everything you need to know about how to use a flash for photography. From fill flashes to ring flashes, we have it covered. You’ll be a flash master by the time you reach the end, so let’s get started.
© Luciano Zanollo
How to Use a Flash
Using a flash is one of the best ways to give yourself more light when taking pictures. A flash is the perfect solution when shooting in the dark. But flash lights don’t just give you light in dark places, they also give you more creative options.
Photographs also have different types of flashes, and there are different techniques for a variety of lighting effects. But don’t fear if that’s starting to sound complicated. This article has everything covered, with topics ranging from off-camera flash to flash brackets.
Each of the following sections has an a link to a full article on that subject, so click on the links to learn more.
Tips and Techniques
Before we dive into anything too technical, let’s start with some basic tips on how to use a flash.
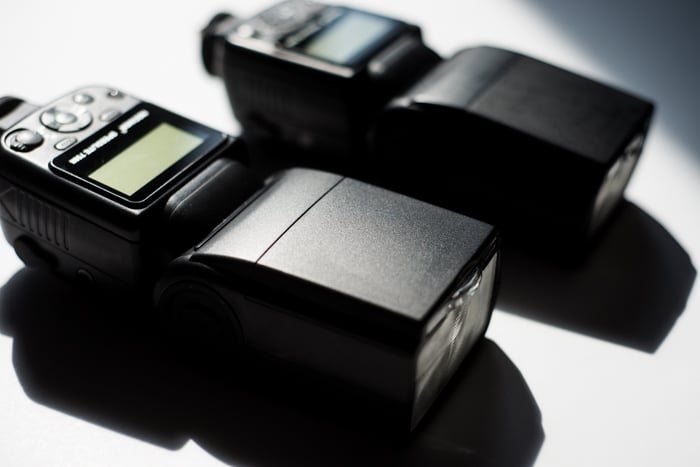
Use your flash as the main light source. A speedlight is lightweight and mobile, making it easy to use on location. Soften the light with a diffuser or by bouncing it off a wall for a natural look.
Illuminate subjects at night or create silhouettes by placing the flash behind them. Use a warm gel filter to mimic street lights. In fog, the flash can create beautiful glowing rays.
Hard light from a small flash produces strong, dark shadows. This works well for crystals, flowers and revealing texture. It can also add contrast and pop to portraits on overcast days.
Experiment with backlighting. Place the flash behind a diffuser to make glass and water droplets glow. Use it to create the look of sunlight shining through leaves.
Flash photography offers many creative possibilities. With the right techniques, you can produce stunning photos in any situation.
When to Use a Flash
Using a flash can make a big difference in your photography, even during the day. A flash acts as a second light source, filling in underexposed areas when the camera prioritizes a bright part of the frame, like the sun.
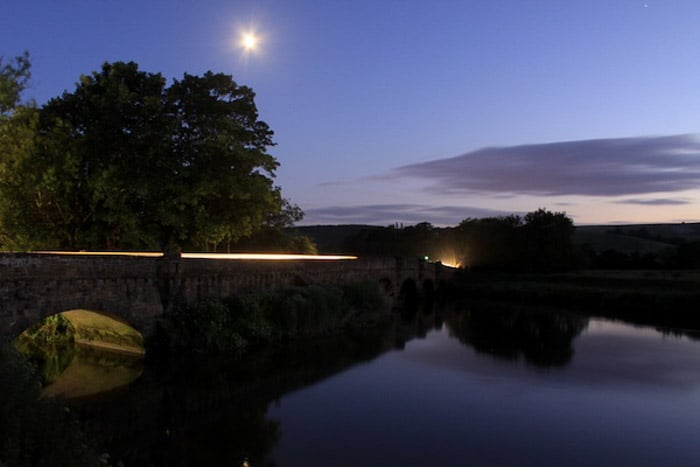
At night, a flash lets you create your own light and colors. Combined with long exposures, you can use a flash to freeze motion in certain parts of the frame while blurring others.
However, there are times when using a flash is not a good idea. At big events, an on-camera flash will only reach 10-15 feet. For candid shots, a flash draws unwanted attention. And at concerts, flash is usually a bad idea as it distracts the band and audience.
To learn more about when to use a flash, check out this in-depth article.
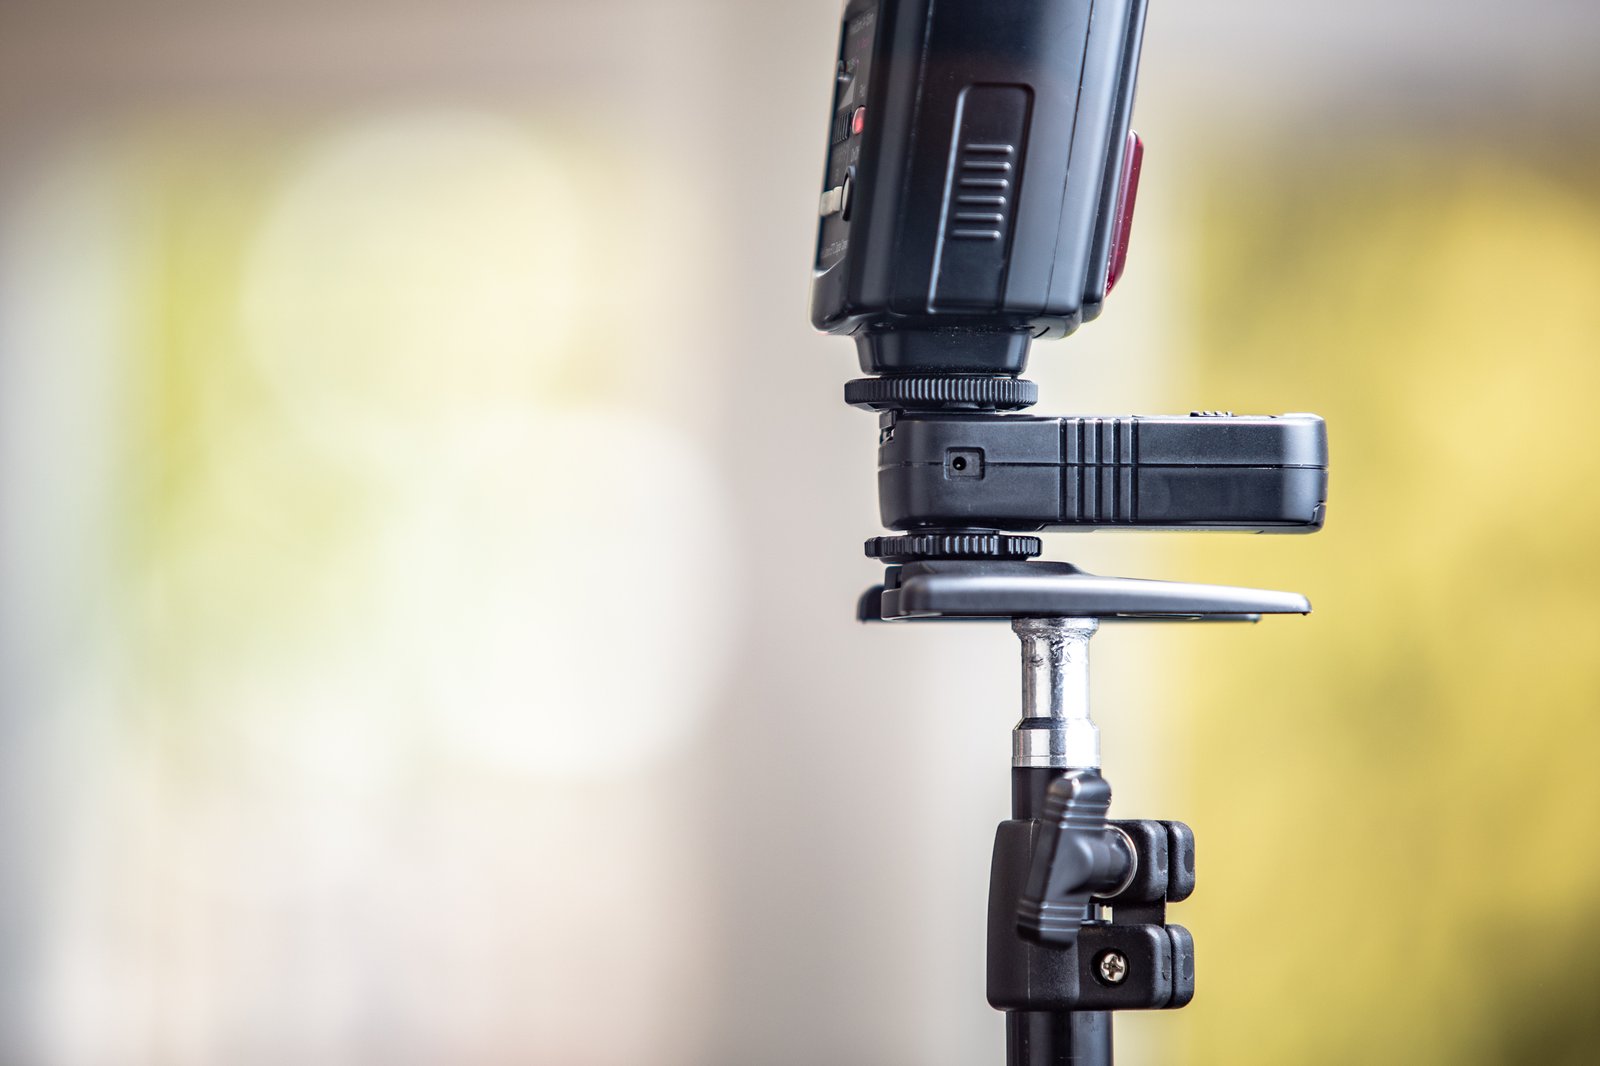
Wireless Trigger
A wireless flash trigger allows you to fire an off-camera flash without a physical connection to the camera. This opens up endless creative lighting possibilities.
To use a wireless flash trigger, you’ll need a transmitter mounted on your camera and a receiver mounted on the flash.
There are two main types of wireless flash triggers: infrared (IR) and radio. IR triggers are cheaper but require a direct line of sight between the transmitter and receiver.
Radio triggers are more expensive but don’t need a direct line of sight, allowing you to place the flash behind objects or your subject.
Once your wireless flash trigger is set up, you can position your flash at different angles and heights to create various lighting effects. Experiment with different positions and observe how the shadows change.
You can also use light modifiers like diffusers, beauty dishes, or grids to further shape the light.
To learn more about the creative possibilities of wireless flash triggers, explore our full article on the topic
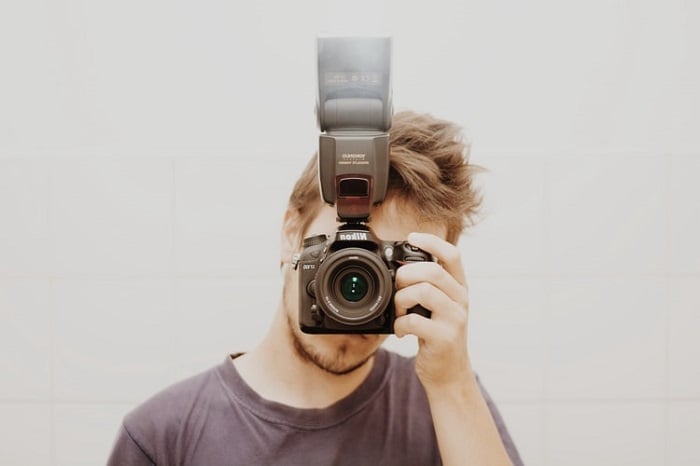
Hot Shoe Flash
A hot shoe is a square bracket on top of your camera that allows you to attach accessories. It’s a convenient place to mount items like an external flash, constant lights, or a microphone.
The hot shoe distributes the weight of the attached accessory to keep your camera stable.
Hot shoes have metal pins or disks that allow the camera and accessory to communicate. For example, when you press the shutter button, it triggers the flash.
Some flashes even have TTL (Through the Lens) capabilities, allowing the flash to use the camera’s metering to determine how powerful it needs to be.
There are many accessories available for your camera’s hot shoe, including flash units, radio triggers, video accessories, wireless tethering systems, GPS receivers, and brackets. By using your camera’s hot shoe, you can greatly expand its functionality.
Click the link too learn more about the hot shoe.
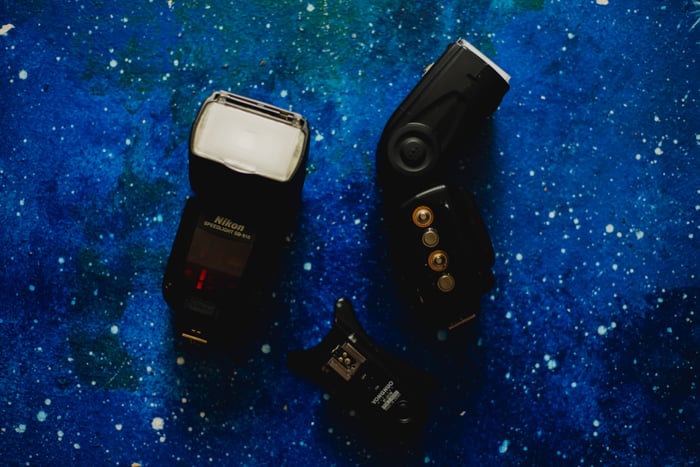
Off-Camera Flash
An off camera flash is a flashbulb that’s not attached to the camera. You can move and position it independently, giving you more creative control over your lighting.
Off camera flashes allow you to use umbrellas, softboxes, and beauty dishes to get the perfect light for your shot.
Using an off camera flash has many benefits. You can add light to dark areas or even out harsh sunlight. You can also use off camera flash techniques to highlight or obscure sections of your images.
To get started with off camera flash, you’ll need a flash unit that’s compatible with your camera. You’ll also need a way to sync the flash to your camera, such as a PC sync cable, off camera shoe cable, infrared transmitter, or radio transceiver.
Once you have your gear, you can experiment with off camera flash techniques to improve your photography.
Fill Flash
Fill flash is a technique that helps improve portraits in challenging lighting conditions.
When the main light source is behind the subject, it can create a silhouette effect. Using fill flash adds light to the subject’s face, balancing the exposure and revealing more detail.
To use fill flash effectively, consider the desired look and adjust the flash power accordingly. A lower flash power (-1 or -2 stops) can provide a subtle fill light without overpowering the ambient light.
Positioning the flash off-camera can create more natural-looking shadows and avoid flattening the subject’s features.
Fill flash is also useful in nature and macro photography to illuminate subjects in darker environments. By carefully balancing the flash with the ambient light, you can achieve well-exposed images that maintain a natural appearance.
Learn more about fill flash techniques in this detailed tutorial.

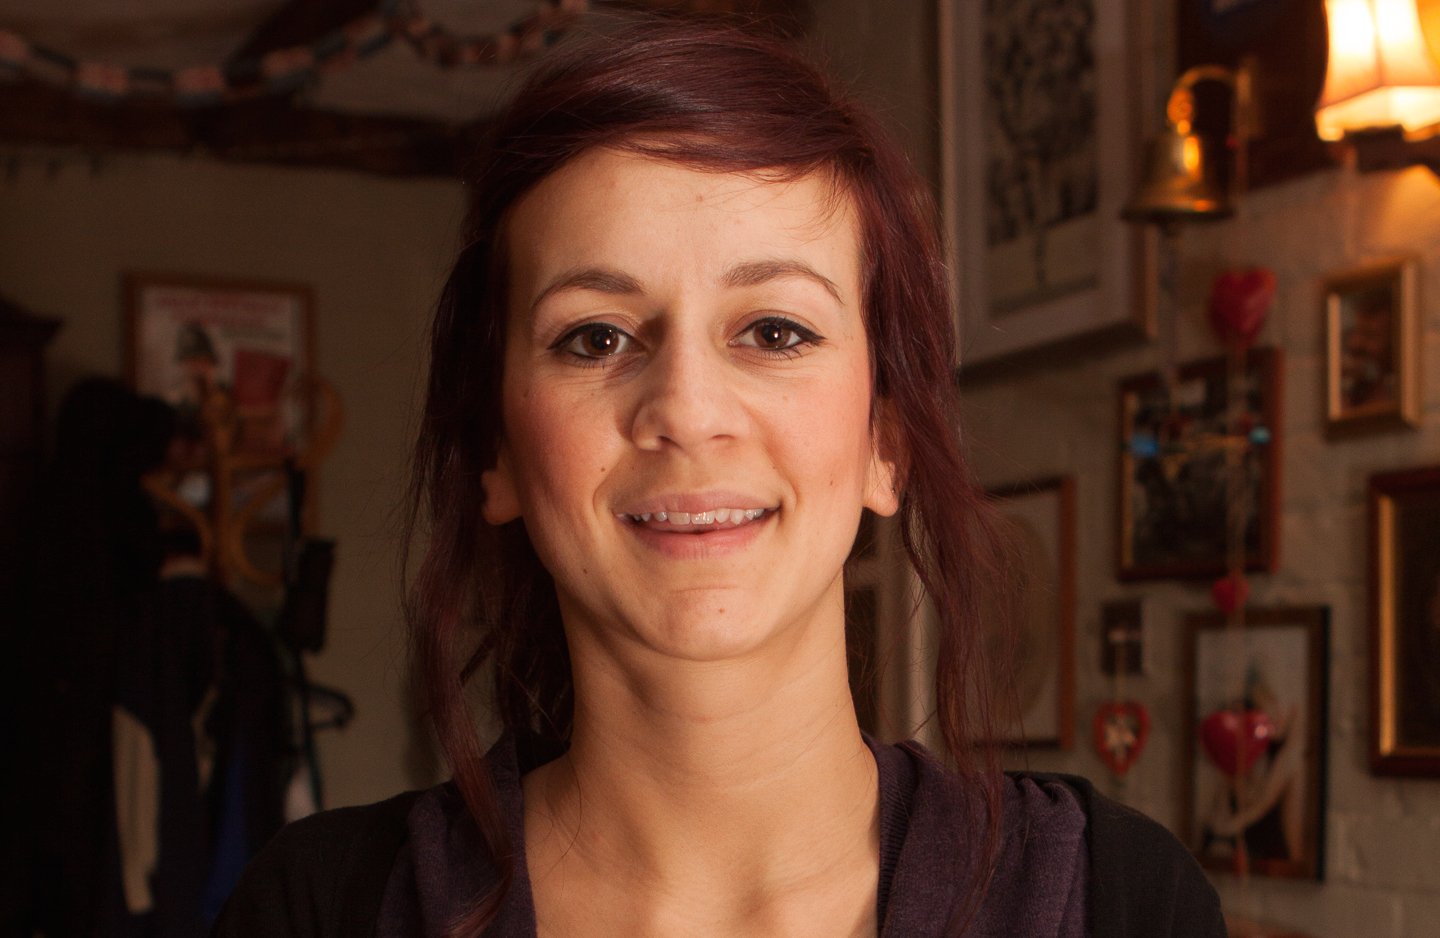
Indoor Flash for Portraits
Using an external flash is a great way to improve your indoor portrait photography.
Bouncing the flash off the ceiling at a 150° angle from your subject can create a natural-looking light that eliminates harsh shadows. This technique also helps to bring out facial features and remove unwanted shine.
Experiment with different aperture, shutter speed, and ISO settings to find the right combination for your environment. A maximum aperture of f/4 for single subjects and f/7.1 for groups is a good starting point.
Keep your shutter speed slow enough to allow some ambient light in, around 1/50 of a second, and use an ISO of 400 for a good balance between detail and noise.
With practice, you can master the art of indoor flash photography and create stunning portraits that look like they were shot in a professional studio.
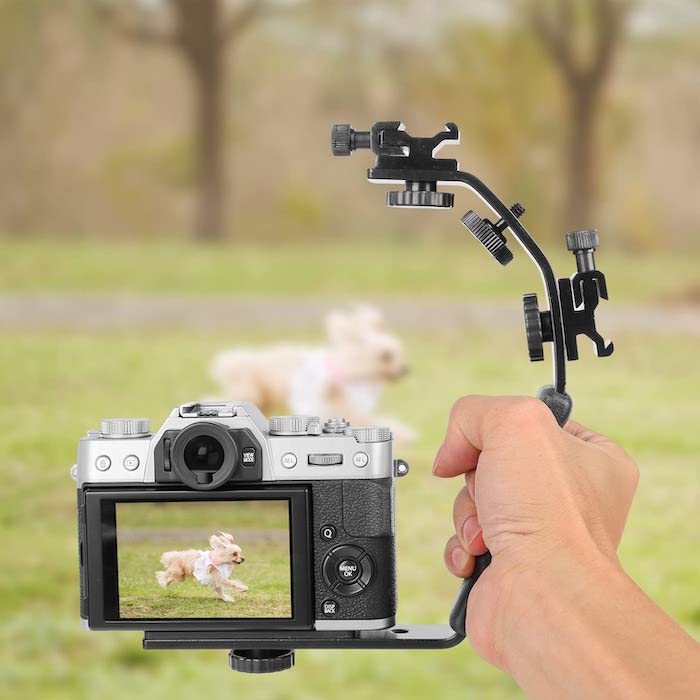
Flash Bracket
A flash bracket is a device that attaches to your camera, allowing you to position your flash unit off-camera. It’s typically made from a metal frame and fastens to your camera via the tripod screw. The flash unit then sits on the bracket using a cold shoe.
Using a flash bracket gives you more control over the angle and distance of your flash from the camera. This can help you achieve more attractive, consistent lighting and reduce red-eye and harsh shadows in your photos.
Flash brackets are particularly useful for event photographers who often face unpredictable lighting conditions. They provide off-camera flash options without the need to hold the flash unit by hand or rely on an assistant.
If you want to learn more about flash brackets, we have a detailed guide that covers everything you need to know.
Bounce Flash
Bounce flash is a great technique for beginners looking to improve their flash photography.
Instead of using harsh, direct flash, bounce the light off a large, neutral-colored surface like a wall or ceiling. It creates soft, dimensional lighting without the need for complex off-camera setups.
To get the best results, use a hot shoe flash with an adjustable head and experiment with the distance between the flash, subject, and bounce surface.
Manual flash settings give you more control, but you can also use flash compensation to adjust the power.
If no suitable bounce surface is available, try using a reflector or bounce card. These help you achieve similar soft lighting effects anywhere.
Finally, balance the bounce flash with your shutter speed to control how much ambient light appears in the image.
If you’d like to learn more about bounce flash, we have an excellent article to help you master this technique.
Flash Diffuser
A flash diffuser is a simple tool that softens the harsh light from a camera flash. It spreads the light over a larger area, reducing the intensity and creating more gradual transitions between highlights and shadows. This results in a more natural-looking photo.
There are several types of flash diffusers, including dome diffusers, mini softboxes, sphere diffusers, and bounce diffusers. Each type works slightly differently, but they all aim to create softer, more flattering light.
Using a flash diffuser is easy. Simply attach it to your camera’s flash, and you’re ready to shoot. For the best results, pair your diffuser with manual flash mode to fine-tune the light output.
Our full post on flash diffuser is the perfect introduction to the subject.
Sync Flash
High-speed sync (HSS) is a way to use your flash at shutter speeds faster than your camera’s regular sync speed. This lets you use flash to freeze action or create more natural-looking light indoors.
HSS forces the flash to fire many bursts of light throughout the exposure time. This creates an even distribution of light across the sensor. You’ll want to use HSS whenever you need to sync flash with a higher shutter speed than your camera’s native flash sync speed.
To use HSS, you need a flash system that supports it. Position your subject in the shade and meter the exposure to the ambient light in the background. Use a wide aperture between f/1.4 and f/2.8 for a shallow depth of field. Adjust the flash power until you have a balanced exposure.
Our blog post on high speed sync is a must-read if you want to know more.
Ring Flash
A ring flash is a versatile lighting tool that fits around your camera lens. It provides even, shadowless light on your subject. This makes it perfect for macro, portrait, food, fashion, product, and even underwater photography.
Ring flashes come in different sizes and designs. Some connect directly to your camera, while others are larger and plug into an outlet. You can also find portable, battery-powered options or adapters that turn your regular flash into a ring light.
Using a ring flash is simple. Just attach it to your lens, and it will evenly illuminate your subject from all angles. This eliminates harsh shadows and creates a unique catchlight effect in portraits.
A ring flash is an important tool for any photographer looking to improve their lighting skills.

TTL Flash
TTL flash is an automatic flash mode that adjusts the flash output based on the camera’s exposure reading. It uses the camera’s built-in metering system and the distance to the subject to determine the right amount of light.
Manual flash mode gives you full control over the flash output. You set the power level, regardless of the camera settings. Manual flash is best when you want the most control over the light and the distance between the subject and flash doesn’t change quickly.
Both TTL and manual flash modes have their pros and cons. TTL is great for moving subjects, while manual mode offers the most customization. To get the best results, it’s important to learn how to use both.
Click this link if you want to learn more about TTL flash.