It can be really tough to take a picture with a blurry background. You need to get the focus just right, and it takes a lot of practice. But with these tips, you’ll be able to create beautiful photos with blurry backgrounds in no time!
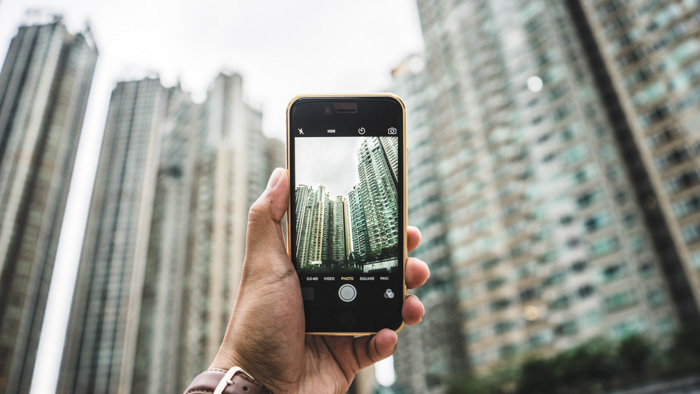
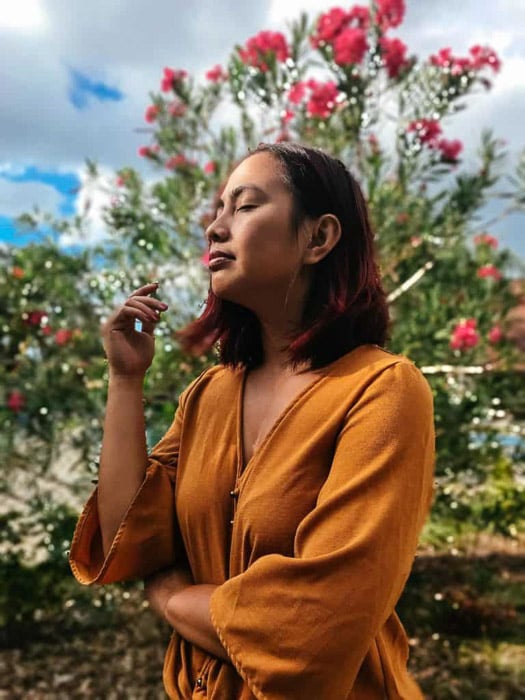
7. How to Take a Picture With a Blurry Background in iPhone’s Portrait Mode

A few years ago, achieving bokeh (background blur) was only possible by using a blur effect app.
But these days, you don't need a blur app anymore if you have a new iPhone. Models from the iPhone 7 Plus onwards now let you blur the background automatically.
The setup works so well that the photos it takes look straight from a DSLR.
So do you want to learn how to take pictures with blurred background on your new iPhone?
First, go to the camera app and tap Portrait Mode at the bottom part of the screen. Now, follow the prompt that you see on your screen.
The app might ask you to "Move farther Away" or it might tell you that there's "More light Required."
Always stand about two to eight feet from your subject in a well-lit area to avoid any issues.
Once everything is in order, the white bars you see on your screen should turn yellow. Now, press the shutter and let the dual cameras blur anything behind your subject.
You can also turn on the Portrait Lighting to let you change the lighting around your subject. In Portrait Mode, you'll see several icons above the shutter.
All you have to do is to choose anything from Studio Lighting to Stage Light to change the look of your image.
The Portrait Lighting doesn't always work, but it may add mood to your bokeh shots in some situations. So feel free to experiment with it every once in a while.
6. Try Instagram's Focus Mode to Blur Background
Everything is a whole lot easier when you have a dual camera. But what if you have an older model only with one camera?
Use the blurred photo app that you didn’t know you have: Instagram.
In 2018, the social media app launched their own Portrait Mode called Focus. The only difference is that it doesn’t use two cameras.
Instead, it relies on algorithms to separate the subject from the background. It's easy to use, and it's almost as good as the iPhone version.
To use the Focus Mode, open the Instagram app and click on the camera icon at the top left corner of your screen. Once you’re in Stories, you see several shooting modes at the bottom of the screen.
Look for Focus and tap it. Once you point your camera at your subject, you'll immediately see the background blur.
Focus Mode is a part of Instagram Stories. But you can always save your portraits to your phone if you want.
You can then post them to other social media platforms and even upload them to your own Instagram feed.
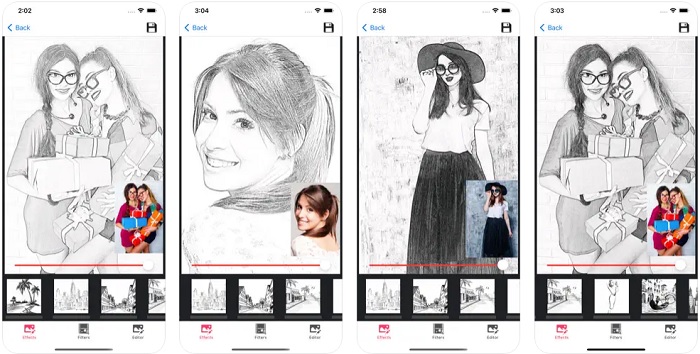
5. Use Third Party Apps for Even More Creative Possibilities
If you don't have a dual camera and don't use Instagram, try a photo editor app, instead. There are plenty of options out there, but the one I recommend to add blur is Tadaa SLR.
Tadaa SLR offers a variety of blurring effects for your photos, similar to what you can create on a DSLR camera. It has the regular background blur, but it also lets you create circular (radial) and linear blurs.
Open the photo in Tadaa, and you'll see an interface like your native camera app. All you have to do is press the shutter button at the bottom of the screen to take a picture.
Once Tadaa captures the image, it will ask you to mark your subject with a mask.
Using your finger, "paint" over the object you want to keep sharp. It detects edges so you don’t have to be super precise. But if you make a mistake, you can always tap on the eraser icon to make changes.
You can also zoom in to make sure you cover the small details. When you're done, click next and adjust the aperture to change the amount of background blur.
If you want to use the circular or linear blur, you can skip the masking process altogether and press next. The app will then take you to another interface. Here you can choose the two other blurring effects.
Tap on the one you want and use your fingers to adjust the perimeters. Place the "target" directly on your subject to keep it sharp; anything beyond it will be fuzzy.
You can then adjust the aperture to change the amount of blur.
4. Try Lens Attachments for Quirky Effects
Processed with VSCO with e2 preset
Don't feel like using blur photo apps? Then you should try using lens attachments for that shallow depth of field effect, instead.
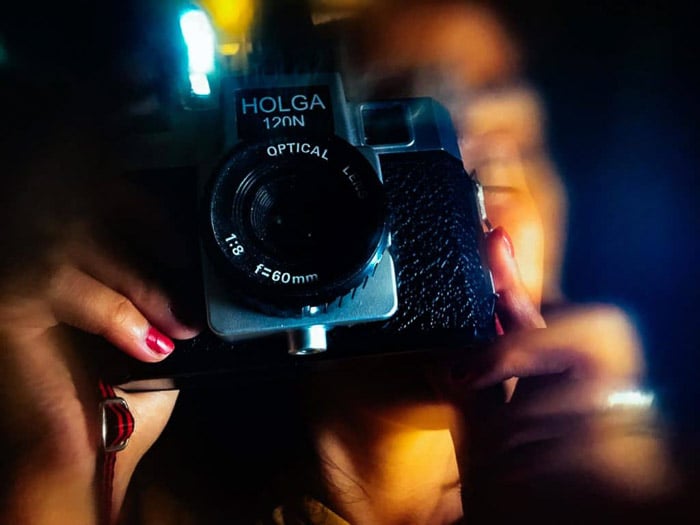
The best options right now are the Holga detachable magnetic lens turret and the Lensbaby Creative Mobile Kit.
These lenses are plastic which allow you to create blur with your camera. They can be expensive as compared to apps that only cost a few dollars. But, they create cool effects in real time without any editing necessary.
Plus, they produce surprising results that you can't achieve through retouching alone.
The Holga lens turret comes with a phone case and is detachable. It has ten lenses to let you experiment with different blurring effects.
Apart from that, it also has filters that allow you to shoot in different colors. To use it, all you have to do is turn the wheel and choose the optics you want to try.
Meanwhile, the Lensbaby has a more minimalistic approach than the Holga. It only offers two lenses you can clip onto your phone.
The first one has a blurred vignette, while the other creates kaleidoscopic edges. This particular kit is more expensive than the Holga but has better quality for adding lens blur.
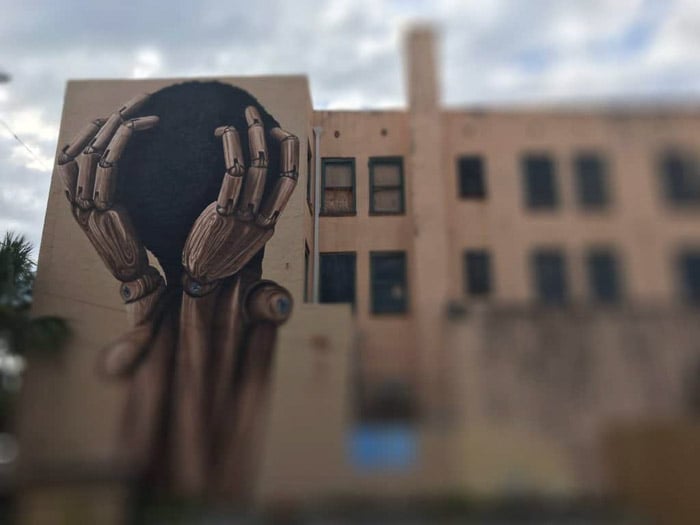
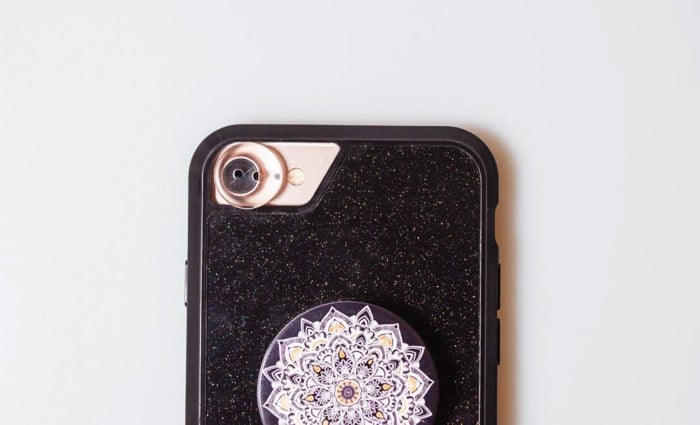
3. Make Your Own Filters for Even More Creativity
Don't feel like buying lens attachments? Then consider creating DIY filters to achieve blur.
Experiment with placing different materials in front of your phone. See what effect they have on your photos.
To achieve the blur in the photo above, I used a simple plastic button.
I aligned the hole with the phone lens to keep the middle sharp. Meanwhile, I let the rest of the button's surface to cover the lens for a fuzzy vignette.
Of course, you don’t have to stick to buttons. You can also try other materials such as glass plates or clear plastic surfaces.Place them at the edge of the lens. And you have a photo that's partially blurry.
If they have a hole in the middle like the button, align them with the lens. The center stays sharp while the edges look fuzzy.
Whenever possible, don't cover the entire lens with your chosen filter. Otherwise, everything would end up blurry.
Make sure to leave some space in front of your lens to keep some areas of your photo sharp.
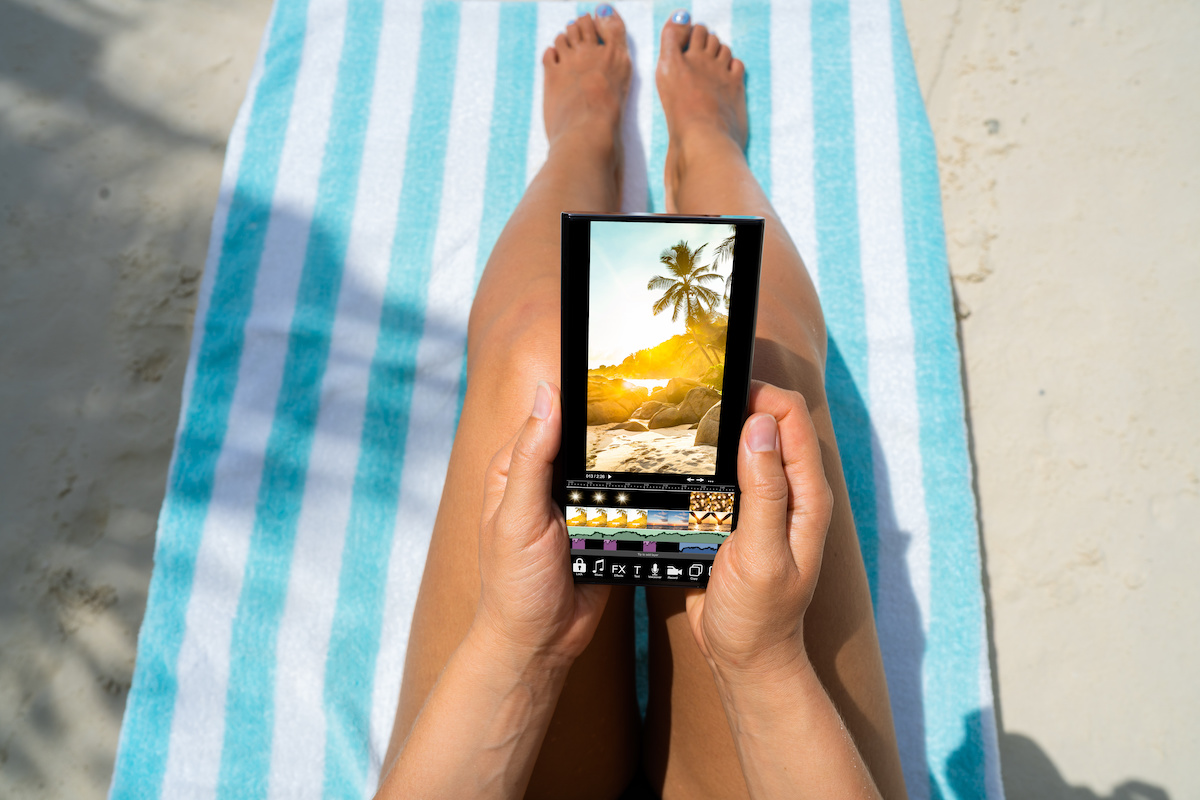
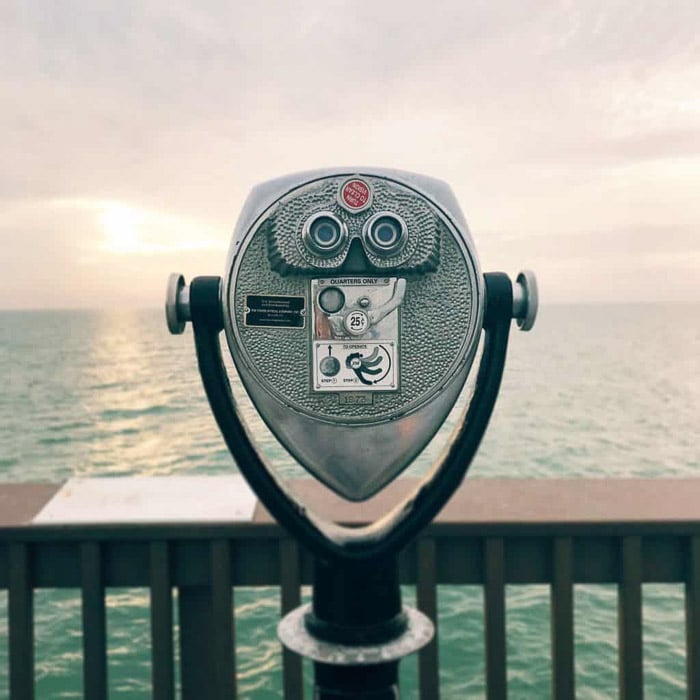
2. Connect Your DSLR to Your Phone for Blurry Backgrounds
Dual cameras and blur apps may be impressive, but they're not perfect. You'll notice that the fuzzy background overlaps with the subject in some areas.
If you want to achieve a clean and professional look, consider using a DSLR.
These days, most cameras are Wi-Fi enabled. That means you can sync your DSLR to your phone to control it as well as transfer photos wirelessly.
As a result, it’s the perfect setup for getting blurry backgrounds.
Now let’s go how to blur a picture using your DSLR and your phone step by step. First, download the application specific to your camera. Then, turn on your camera's Wi-Fi and connect it to your iPhone via the app.
Once you open it, you'll see several settings on your phone screen. Choose Aperture and select a small value between f/1.8 to f/2.0. After that, look for the shutter button on your device's interface and take a photo.
Because of the lens' shallow depth of field, you can expect the background to be blurry.
But you don’t have to use your phone to control your DSLR all the time when shooting. You’re also free to take photos with your DSLR and transfer the images onto your phone afterwards.
You can then edit the files on your device and share them on social media.
Remember that every DSLR app is different. So it would be best to consult your manual for full instructions.
The applications also vary in features, so familiarize yourself with them first.
1. Use Photoshop to Blur Background
You don't have to limit yourself to blur apps to edit your photos. You can also upload your image to your computer and retouch them using Photoshop.
Apart from giving you more creative control, it also produces cleaner results.
Using Photoshop may seem intimidating, but the process is quite simple. First, open the file in Photoshop. Then select the Polygonal Lasso Tool or the Pen Tool to "cut out" your subject.
Once you're done, click the Blur Tool to blur the rest of the picture.
Since you created a mask of your subject, it will stay sharp even as you go over it with the Blur Tool. You can choose the amount of bokeh by adjusting the strength slider at the top of the screen.
Selecting 30 or less is preferable to keep some detail in the background.
Remember that there are plenty of other ways to blur the background in Photoshop. This is just a basic method.
Once you're familiar with the steps, feel free to experiment with different options as well.
Conclusion
There are many ways to achieve background blur in your photos. Every method is different from another, so don't be afraid to use any of them to make the blurry effect that you want.
The more you experiment, the more unique your photos would look.