The iPhone X camera brought plenty of cool features that took iPhone photography to the next level in 2017.
With the release of the iPhone XR, the iPhone can now rival professional cameras at a fraction of the price.
In this iPhone XR camera tutorial, we’ll share a few tips to help you get the best photo results.
iPhone XR Camera & Specs
Before we jump into the practical part, let’s look through some of the essential features of the iPhone XR camera. It has some critical differences with the X and XS when it comes to hardware as well as the apps which we will discuss below.
iPhone XR Rear Camera
Unlike the X and XS, the iPhone XR only has one rear camera instead of two. It lacks the telephoto lens that the other options have. That means it cannot zoom in optically when you’re shooting.
Phones with dual cameras can create more precise background blur. They combine information from the two lenses to separate the subject from the background.
The lack of the second lens in the iPhone XR means that it relies on software to create background blur. That means it can fail to figure out where the subject ends and where the background begins. But the iPhone XR rarely makes these mistakes. You can always change the amount of blur to make everything look natural.
The XR’s 12-megapixel sensor takes high-quality images with excellent definition. Furthermore, it features a six-element glass lens to ensure sharp images.
On top of that, it has an aperture of f/1.8 that lets you shoot in low-light situations without any issues.
iPhone XR Front Camera
Some phones concentrate their features on the back camera and neglect the front. But the iPhone XR ensures that its front camera has all the elements to keep selfie-takers happy.
The XR’s front camera features a 7-megapixel sensor and lens with an f/2.2 aperture. It includes face detection to ensure that you look sharp every time you take a selfie. It also has retina flash to let you keep taking photos even when it gets dark.
Perhaps the best feature of the front lens is that it also has Portrait Mode. That means that it can seamlessly create bokeh just as well as the rear camera.
Now you must be wondering: why the iPhone XR when there are better options? The simple answer is that it’s the most affordable of the iPhone X models.
Sure, it doesn’t have all the features its counterparts offer. But it still provides the quality you need for superb photos.
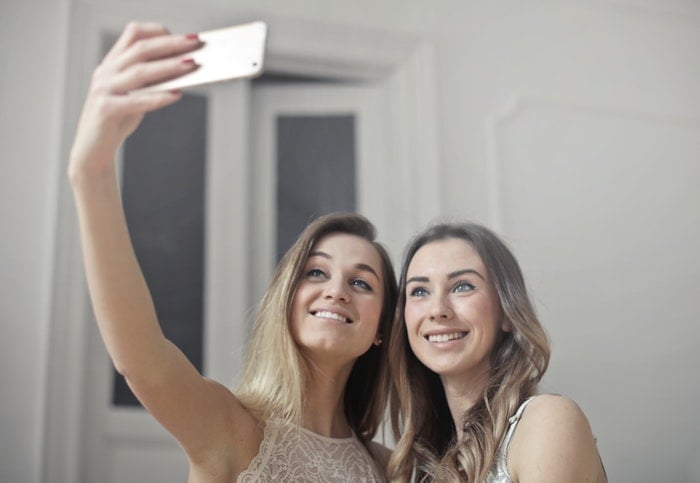
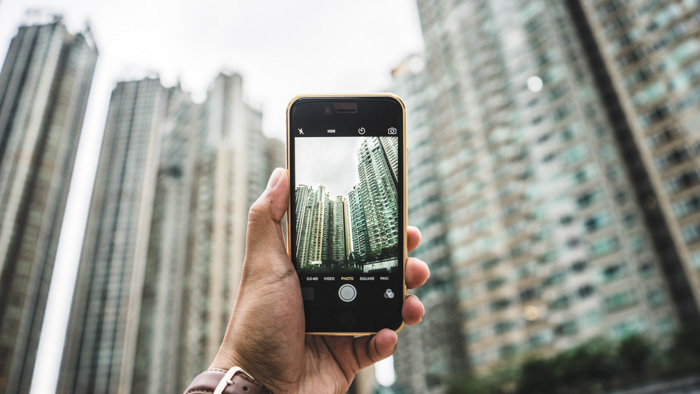
Photo by bruce mars from Pexels
iPhone XR Camera Modes
Now that you know the basic specs of the iPhone XR, then it’s time to learn about its camera modes. If you have used iPhones before, then the iPhone XR’s user interface shouldn’t be any different. Once you turn on the camera app, you’ll see the familiar shutter button on the screen.
Above the button, you’ll find several camera modes you can use for various situations. Here is a list of all the options you’ll find:
- Photo is what you use when you’re taking pictures in general. It doesn’t have fancy settings that take time to adjust, so it’s easier and quicker to use.
- Portrait Mode is for taking photos of human subjects. It also lets you include background blur and adjust the amount of blur to your liking.
- Square is like Photo but in a 1:1 aspect ratio. So this is the perfect mode to use if you love posting square images on Instagram.
- Pano is short for panorama. This is what you use when taking panoramic pictures of beautiful vistas.
- Video has a few different modes that allow you to try various effects. Apart from shooting regular footage, it also has slow-mo and timelapse.
How to Use Photo and Square
Photo is your iPhone’s default mode for a reason. It’s easy to use, and it doesn’t need any adjustments. It’s perfect for taking pictures of candid moments because you don’t need to tinker with the settings until you get the proper results.
Using Photo is self-explanatory. When you open your Camera app, all you have to do is tap the shutter button, and that’s it! Your phone automatically adjusts the exposure settings for you, so you don’t have to do anything.
Meanwhile, Square is technically Photo mode but with a different aspect ratio. Instead of 4×3 size, it has 1:1. But why a square instead of a rectangle? The main reason is aesthetics. Since all the sides have the same measurement, it looks more symmetrical than a rectangle.
But perhaps the most crucial reason is that Instagram favours square photos because they fit nicely into the feed. Just tap the button, and you’ll end up with a square photo you can share to Instagram without having to crop it.
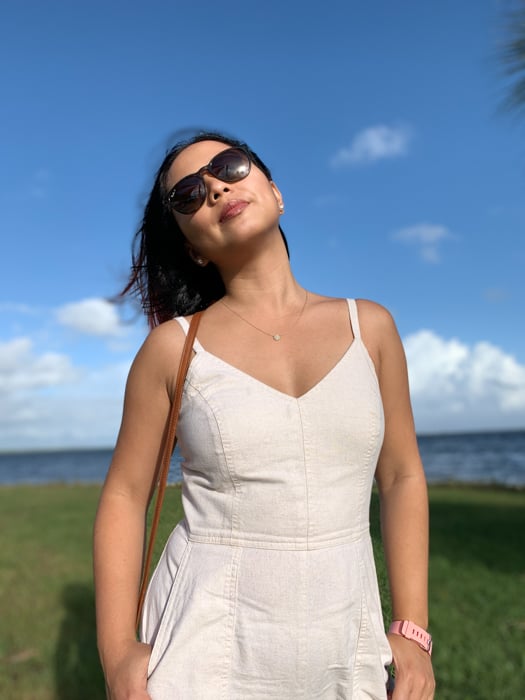
How to Use Portrait Mode for Perfect Images
If you like photos of people with blurry backgrounds, then Portrait Mode is the way to go. To activate it, scroll through the camera modes at the lower end of the screen and select it.
Once you are in Portrait Mode, point the camera to your subject and wait for the prompt. If it says "no person detected," have your subject move until their eyes are visible to the camera. As soon as your device detects them, it will automatically blur the background.
Your phone may also prompt you to move closer because if you’re too far, the effect won’t work. So step closer to the subject until the background starts to blur.
To adjust the amount of background blur, tap the f icon at the top right of the screen. The depth scale would then appear at the bottom of the screen which you may adjust. F1.4 offers the most bokeh, while f16 offers the least bokeh.
You may also choose the type of lighting you want by selecting the options above the shutter button. You get to pick between natural light which is the default, as well as studio light and contour light.
When you are satisfied with your settings, press the shutter, and that’s it!
Just remember that Portrait Mode in the iPhone XR camera only works with people. If you want to shoot objects, the blur effect won’t work at all.
How to Use Pano Mode on the iPhone XR Camera
Pano (panorama) is a particular type of photograph often used for . It has an aspect ratio of 16:9. That makes it wide enough to include details that would otherwise be cut off in regular 4:5 or square photos.
To activate Panorama, choose Pano in the camera modes. A line and arrow appear on the screen once the feature is active. Below the arrow, there’s an instruction that says: "Move iPhone continuously while taking a panorama."
To start shooting, press the shutter button once and slowly move your camera from left to right. Use the arrow as a guide to ensure you’re going in a straight line.
Keep the arrow aligned with the yellow line while you’re moving. Otherwise, you’ll end up with a warped image. Once the camera reaches your right side, press the shutter button again to stop recording.
To check your panorama, tap on the small thumbnail on the left side of the shutter. Make sure you don’t see any distortions. If you see imperfections, you’ll need to repeat the process. So keep your camera steady!

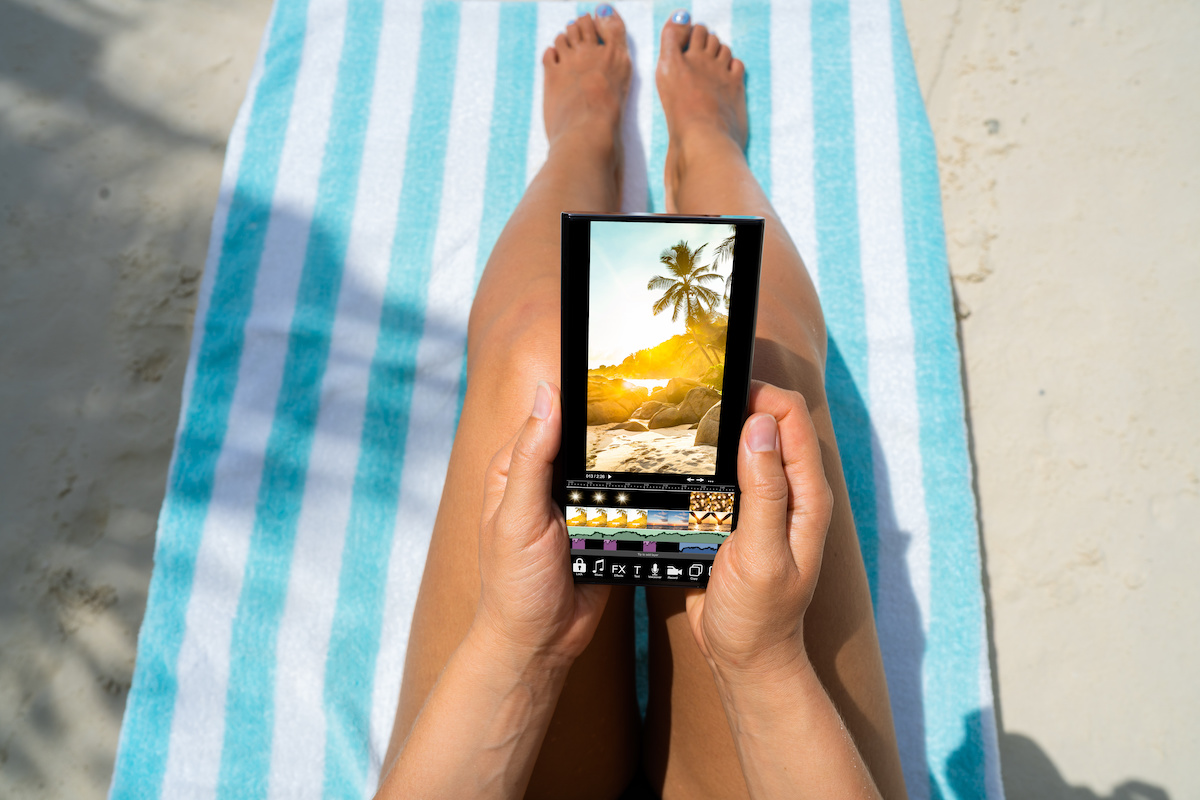
Processed with VSCO with l4 preset
Quick iPhone XR Camera Tips
Now that you know how to use the individual camera modes on your iPhone XR, we’ll show you a few tricks to help you get the best photos no matter which mode you use.
UseThe Grid for Perfect Composition
The grid is a great guide to help you compose your shots properly. To turn it on, go to Settings app and tap Photos and Camera. Scroll down until you find GRID and tap the switch beside it to activate.
Next, go to your camera app, and you should see the grid on the screen. To use it for composition, place your subject to where any of the lines in the grid intersect.
This technique is called in photography as the Rule of Thirds, and it works. So use it!
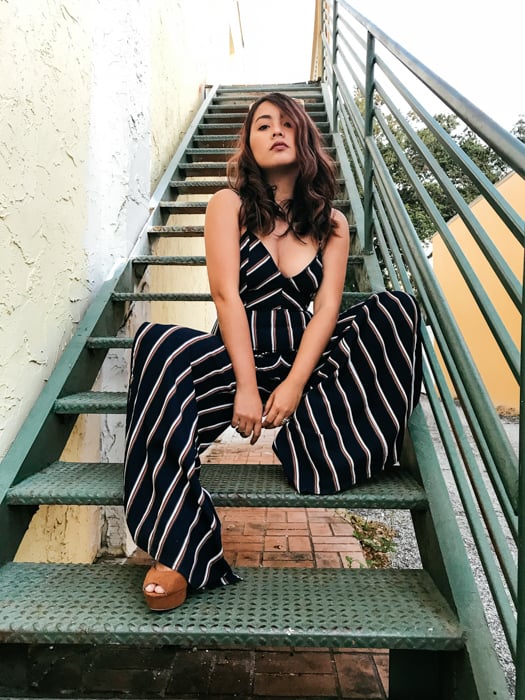
Turn Off Flash for Flattering Images
Flash may be tempting to use when it’s too dark outside. But unfortunately, the harsh direct light it produces looks unnatural and unflattering.
Since you don’t want unflattering pictures, never use flash at all. Instead, have your subject pose near a light source in your location.
Doing so gives the face more dimension, unlike your built-in flash.
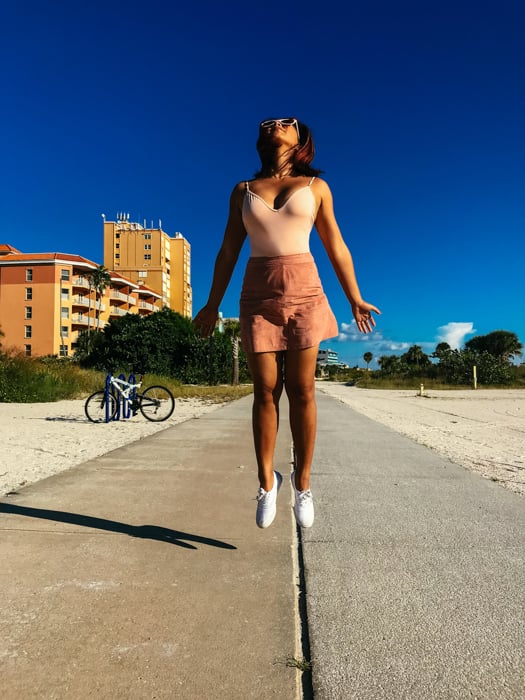
Avoid Backlighting
Backlighting is a term used to describe subjects looking dark in the images because the light source is behind them.
The simplest way to avoid backlighting is straightforward. Don’t have your subject stand with the sun directly behind them.
Instead, have them move, so the light source hits them from the side or even from the front.
Conclusion: Iphone Xr Camera
The beauty of using the iPhone is that it maintains a familiar and intuitive user interface regardless of the model.
Even if you have only used an iPhone 8, taking photos with an iPhone X and iPhone XR wouldn’t be too difficult.
The tips we shared with you will help you get started but refer to the iPhone XR user guide if you need more details!