With the release of the iPhone 7 Plus, Apple introduced a new camera mode called Portrait Mode. This mode allows you to take photos with a depth-of-field effect, similar to what you would get with a DSLR camera. In order to take advantage of this feature, you need to know a few things about it. Here are some tips for taking stunning portraits with iPhone Portrait Mode.
What Is Iphone Portrait Mode?
Before we learn how to use Portrait Mode, let's find out how this cool feature works.
The fundamental process Portrait Mode uses is called depth mapping. First, it takes photos using the two lenses in front of your iPhone.
Portrait Mode then combines the images to create a depth map that determines the foreground and the background.
Using the depth map, the iPhone then decides which part of the image it needs to blur. The depth of field (DOF) that Portrait Mode creates is artificial.
In other words, it applies the blur not optically through the lenses, but digitally with an algorithm.
Since the blur is digitally applied, it doesn't always do a good job separating the subject from the background.
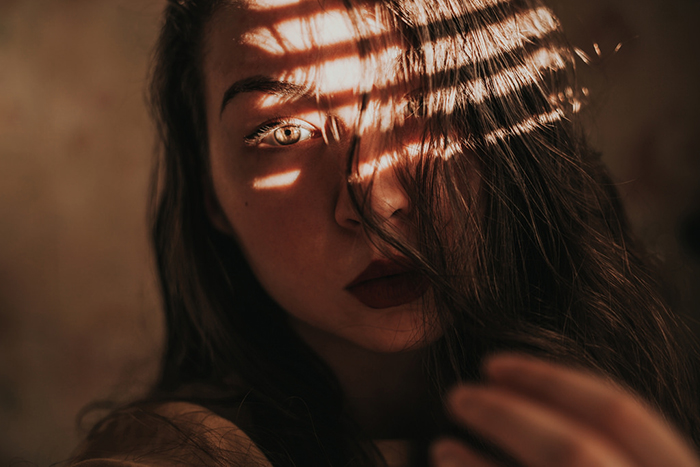
One of the common issues with it is that it sometimes blur out fine details such as a person’s hair. But if you use some of the Portrait Mode tips we'll share with you in this article, you can expect your images to be as good as your DSLR.
How to Use Portrait Mode
Using the iPhone Portrait Mode is super easy. First, launch your native camera app. Next, scroll through the shooting modes at the bottom part of the screen.
Look for Portrait and click tap. Now all you have to do is to point your phone to your subject and tap the shutter.
What's cool about the Portrait Mode is that it blurs the background in real-time. But the downside is that it only works with people.
If the Portrait Mode doesn't detect a person, it will let you know at the top of the screen and you won't see the background blur at all.
You should be aware of how you pose your subject. Portrait Mode works by detecting a person's eyes. If they're not visible in your frame, it's highly likely that it won't apply the blur at all. So always make sure you see your model’s eyes before taking a photo in Portrait Mode.
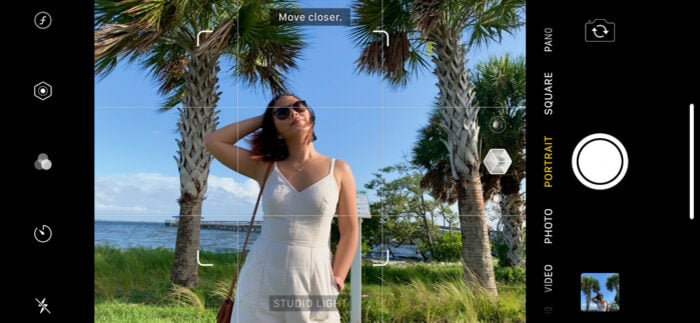
Apart from the eyes, you should also be mindful of your distance from the subject. Your iPhone will tell you on the screen whether you’re too far or too close to your subject.
Follow the Portrait Mode prompts and you’ll see the background blur appear.
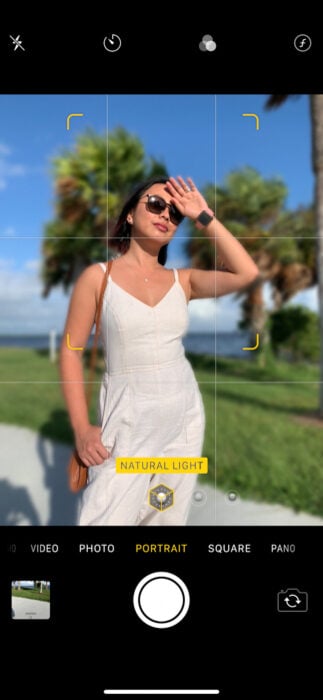
Another feature you'll find in Portrait Mode is Portrait Lighting. It pops up on the screen as soon as you choose Portrait Mode as your shooting mode. Apart from Natural (light), you can choose from other options such as studio lighting and contour lighting.
Pick any of these Portrait Mode options and you'll see the light effect change in your image.
Use Depth Control to Change the Amount of Blur
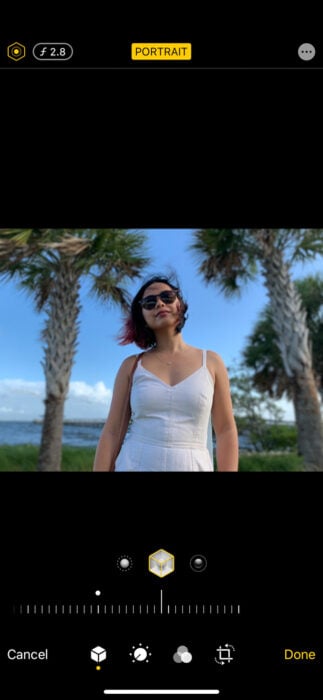
Sometimes when you take a portrait, you'll notice that the background blur may be too much. So what do you need to do if you want to adjust it? The answer is Depth Control.
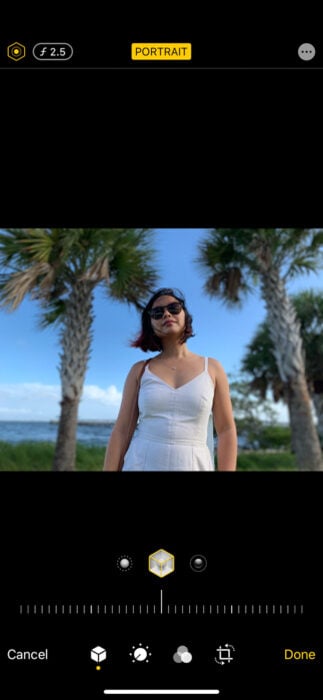
Depth Control is not available in Portrait Mode. But you can use it after a portrait has already been taken. To access this feature, you'll need to open the portrait you just took. Once the image is on the screen, tap the Edit button.
Beneath your image, you'll find the Depth Slider. All you have to do is swipe left or right to change the amount of blur in your portrait. What's awesome about it is that it uses the aperture scale that many photographers are already familiar with.
If you go up to f/22, the blur will disappear completely. But if you go all the way down to f/2, you'll see the blur increase.
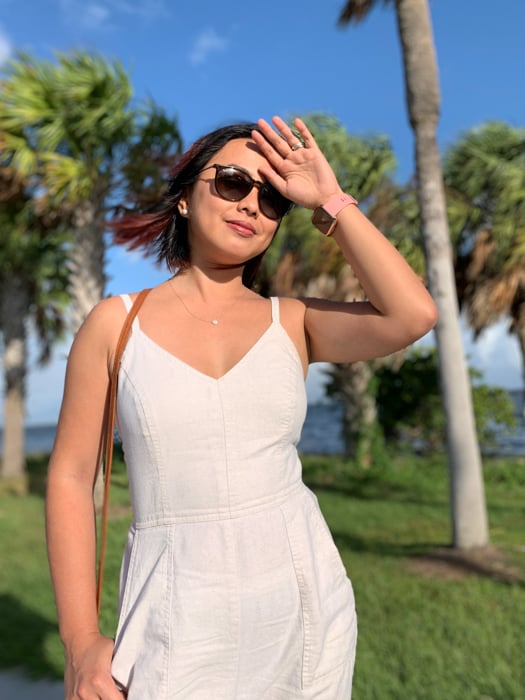
Use a Simple Background to Draw Attention to the Subject
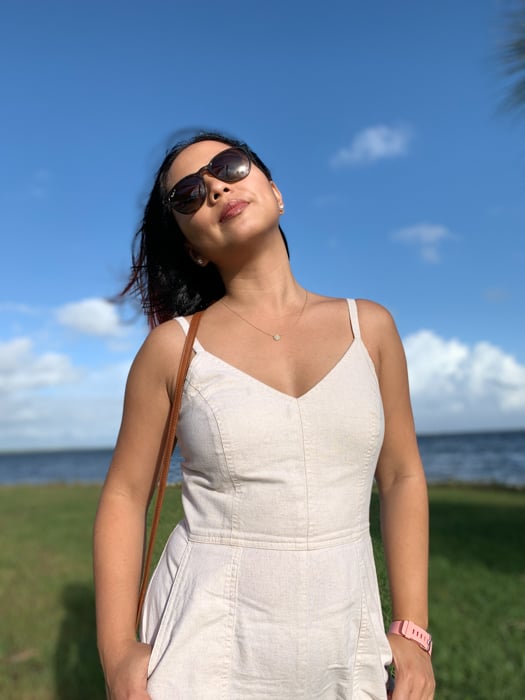
Some people may think that the background is irrelevant when taking iPhone portraits since it will be blurry, anyway. But in reality, distracting elements behind your subject will still be quite prominent even when it’s not sharp.
That's why it's essential to look for a background that doesn't look too busy. That way, you don't need to worry about seeing objects that take away the limelight from your main subject.
The best backgrounds need to be plain. It could be a wall or even just the sky. Make sure to include one or two objects in the frame so it's easy for people to notice the blur.
If there's nothing behind your subject at all, then you don't even need to use blur because people won’t notice it in the first place.
You should also be mindful of the elements you include in your background. For instance, you should never place poles, trees, or buildings directly behind the person you're shooting. If you do, it looks like something's poking out of your subject's head.
To avoid this issue, you can either change your angle or have your subject move a bit.
Turn on Gridlines to Help You Compose Better Images
Like anything else in photography, it's crucial to pay attention to your composition when using Portrait Mode.
Turn on your gridlines to help you figure out where to place your subject in the frame. All you have to do is place your subject where the lines intersect to create a balanced composition.
If you're far away, you can use a person's head as your focal point for the gridlines. If you're close enough to your subject, then lock your grid to one of their eyes.
Of course, you don't have to always follow the grid every time you take a photo in Portrait Mode. If you want, you can place your subject in the middle of the frame. In normal situations, doing so produces unpleasing results but it works well for portraits.
When composing in portrait mode, make sure you include the background. If you see prominent structures behind the subject, try matching them to the gridlines along with your model.
That way, you can create a well-rounded image with good composition.
Edit Your Images Through the Native Photos App
After you take an iPhone portrait, open it and tap edit. From there, you'll have several tools you can use to retouch your image.
The tools that you have at your disposal include the Blur tool (as discussed in the previous item) and Portrait Lighting. But it also has basic editing tools and even a crop tool.
The first option you have is to change your Portrait Lighting. Although you can use it in real-time while taking pictures, you can also make changes after you’ve taken the photo.
Like in live view, you can change the settings to Natural, or try Studio Light and Contour Light. As with other tools, use the slider to change the amount of the lighting effect applied to your image.
After you applied lighting and blur effects, you can now use the basic editing tools that include Exposure, Contrast, and Highlights. Then, you can start adding presets and crop your photo once you finish editing it.
Edit Your Images Through a Third-Party App
Although you can edit your images using your native Photos app, you also have the option to use third-party apps on top of it. They not only give you more editing tools, but they also produce better results in most cases.
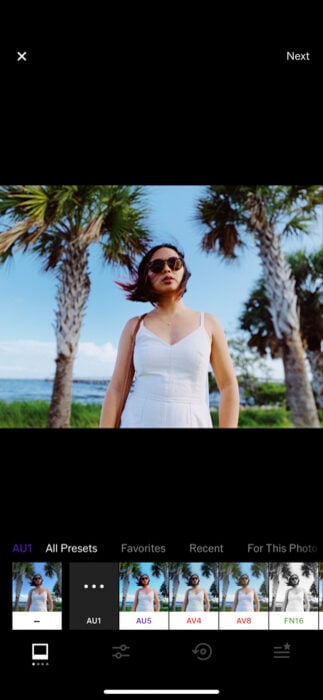
The best photo editors you can download for free right now include Snapseed, VSCO and Adobe Lightroom. Each one has a different user interface, but they all offer the basic editing needs you'll need to retouch your images.
Once you become familiar with your app's user interface, load the image you want to edit. The first step is to apply a preset you want. Choose an option that complements the skin instead of drastically changing the tones.
Once you apply the filter, go to the editing panel and adjust the color correction, exposure, contrast, highlights, and shadows of your picture. Of course, you don't need to make drastic changes to your image. Play around with the parameters until everything looks good to you.
The secret is to create just enough contrast and brightness to help separate your main subject from the background. And remember to keep everything look natural.
If your subject's skin color looks off, that means you need to dial back your adjustments.
Try Third-Party Apps on Top of Portrait Mode
As mentioned before, Portrait Mode only works when taking photos of people. If you want to shoot portraits of animals or objects, then you'll need to take regular photos, instead.
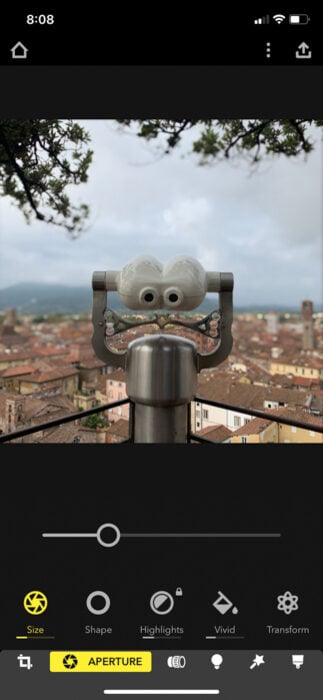
But thankfully, there are some nice apps out there you can try if Portrait Mode doesn't work. One of the best third-party options out there is Focos.
Although it has in-app purchases, you can use the free features it already has to blur your background.
To use Focos, you'll first need to select any photo you have on your phone. Once it loads, all you have to do is tap the subject you want in focus. Then use the aperture slider to change the amount of background blur.
Turn it down to f/2 for maximum bokeh, or f/22 if you want everything sharp.
Focos also has a camera function that lets you take photos within the app. It works just like the Portrait Mode in many ways. All you have to do is tap the subject you want and it will calculate which parts of the frame to blur out.
Like the Portrait Mode, it also lets you change the amount of blur while taking pictures or even after.
Conclusion
The iPhone's Portrait Mode blurs the background digitally so it's not as perfect as using a DSLR or a mirrorless camera. So don't be surprised if you end up with unnatural results in some situations. But if you use it properly, the iPhone's Portrait Mode can yield professional-looking results.
As long as you apply these Portrait Mode tips you learned in this article, your friends will have a hard time thinking it was taken with your mobile device.