Most people probably don’t understand all the shooting modes on their brand-new camera. Let’s face it, we use our phone cameras the most. And they do an amazing amount of thinking for us.
But if you’re going to take up photography as a hobby or get into professional photography, you need to learn your camera’s shooting modes.
On the other hand, there can be a lot of pretentiousness in the photography world. You might feel looked down on because you use a particular mode. But as long as you understand why you’re using it, there’s no need to feel bad.
I have seen people criticized for using auto ISO, for instance. But there are occasions where it makes perfect sense. And it takes nothing away from your skill as a photographer. In fact, it is part of your skill as a photographer—you are using the tools available to you.
So, let’s see what your camera and its shooting modes can do for you. We’ll also talk about when you should and shouldn’t use its clever features.
Most modern cameras offer you five shooting modes. These are:
But these don’t fully cover all the levels of flexibility in a complex camera. For example, choosing anything apart from Automatic mode still gives you some control over certain settings. You can choose things like AF selection, drive mode, and ISO. We’ll come back to those later. But let’s start with these five shooting modes.
Remember, every exposure relies on three variables: shutter speed, aperture, and ISO. They are all dependent on each other. If you’re unsure how these work, check out our article on the exposure triangle.
Put simply, every scene you want to photograph has an exposure value (EV). In other words, how bright it is. To make a properly exposed image at that EV, you need a set combination of aperture, shutter speed, and ISO. If you change the value of one, you have to change one or both of the others.
For every shot, you need to choose a combination of aperture, shutter speed, and ISO to match the EV.
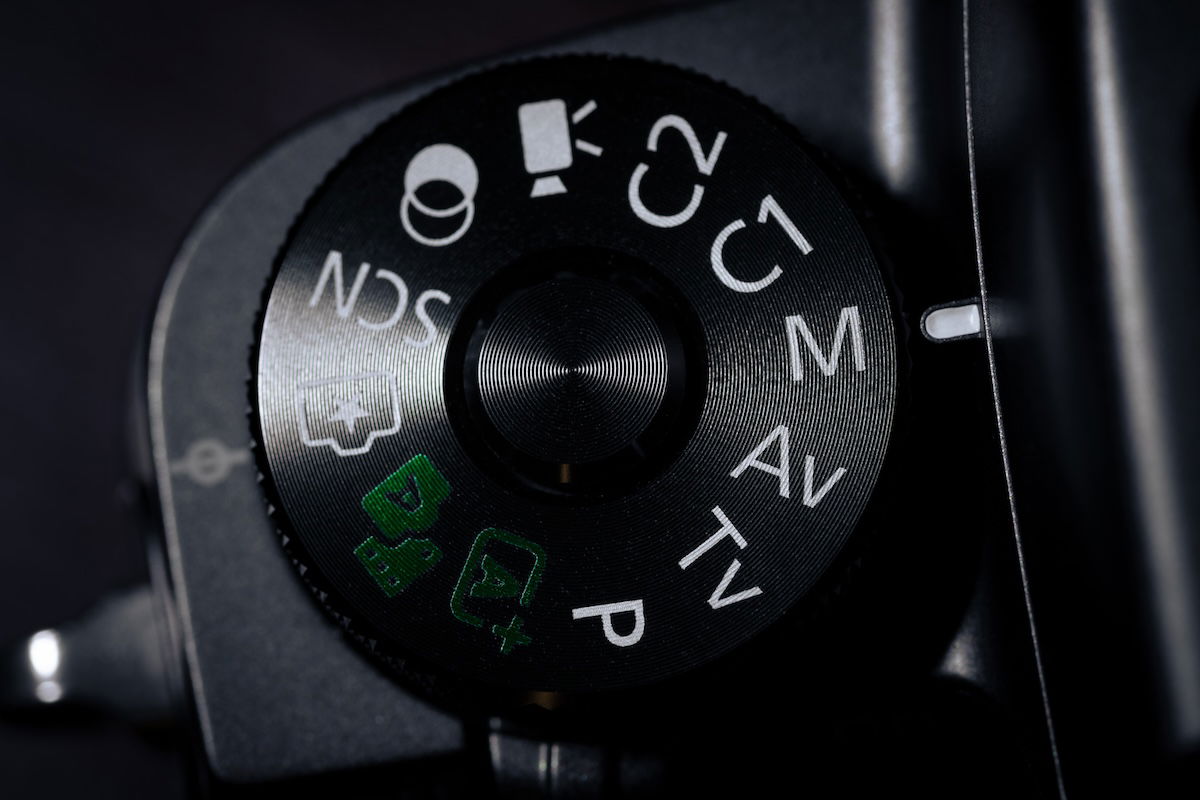
Automatic mode is when the camera controls all exposure settings automatically. This includes aperture, shutter speed, and ISO.
This makes it easy for beginners. The camera makes all decisions about the exposure settings based on the scene. It is also known as “Auto” or “Full Auto” mode.
These are the settings that the camera controls in Automatic mode:
What you control:
Like most experienced photographers, I don’t use Auto mode very often. But there are times when it can make sense to use it if you need to quickly snap a picture. After all, it’s what we do with our phones.
There are also times when you might want to just hand your camera to someone to take a photo. Auto mode is perfect if they’re not familiar with the camera.
In Full Auto mode, your camera has to make a best guess about a whole range of things in the photo. And there’s a very good chance it will get it wrong.
It won’t know which area you want to focus on or if the subject is moving or still. It won’t know what depth of field you want. And it won’t know whether to fire the built-in flash (if your camera has one). It’s a very limited mode to choose.
Program mode is a semi-automatic shooting mode in photography found on most cameras. In this mode, the camera automatically selects the aperture and shutter speed based on the scene’s lighting conditions. On many cameras, including Canon and Nikon, you can vary one of those settings to suit your scene.
For example, I often shoot in Program mode on my Canon EOS 5D Mark III. This is because the main control wheel allows me to change the combination of shutter speed and aperture very easily. And in many situations, that’s all the control I need.
Program mode allows me to choose my own ISO setting and white balance. And I have full control over other aspects of shooting like AF mode, AF selection, and exposure compensation. I also have full control over metering mode while in P. It’s a powerful and flexible option.
These are the settings that the camera controls in Program mode:
The settings you control:
In some ways, Program mode lets you work a little faster than one of the other shooting modes. You can focus on the aperture setting without worrying about the shot being over or underexposed. When you’re used to it, it’s about as flexible as Priority mode.
If you need total control over shutter speed, then you won’t want to use Program mode. In sports photography, for example, you will probably want to set the shutter speed and let the camera take care of the rest.
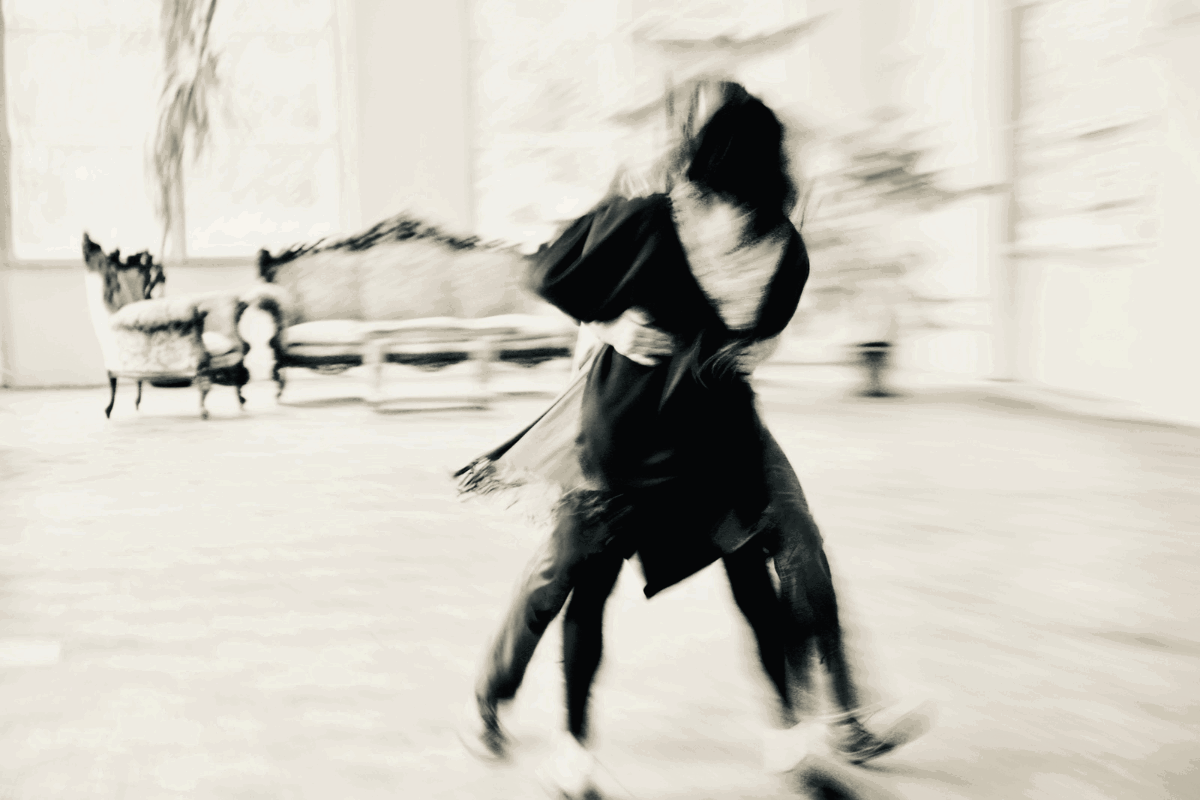
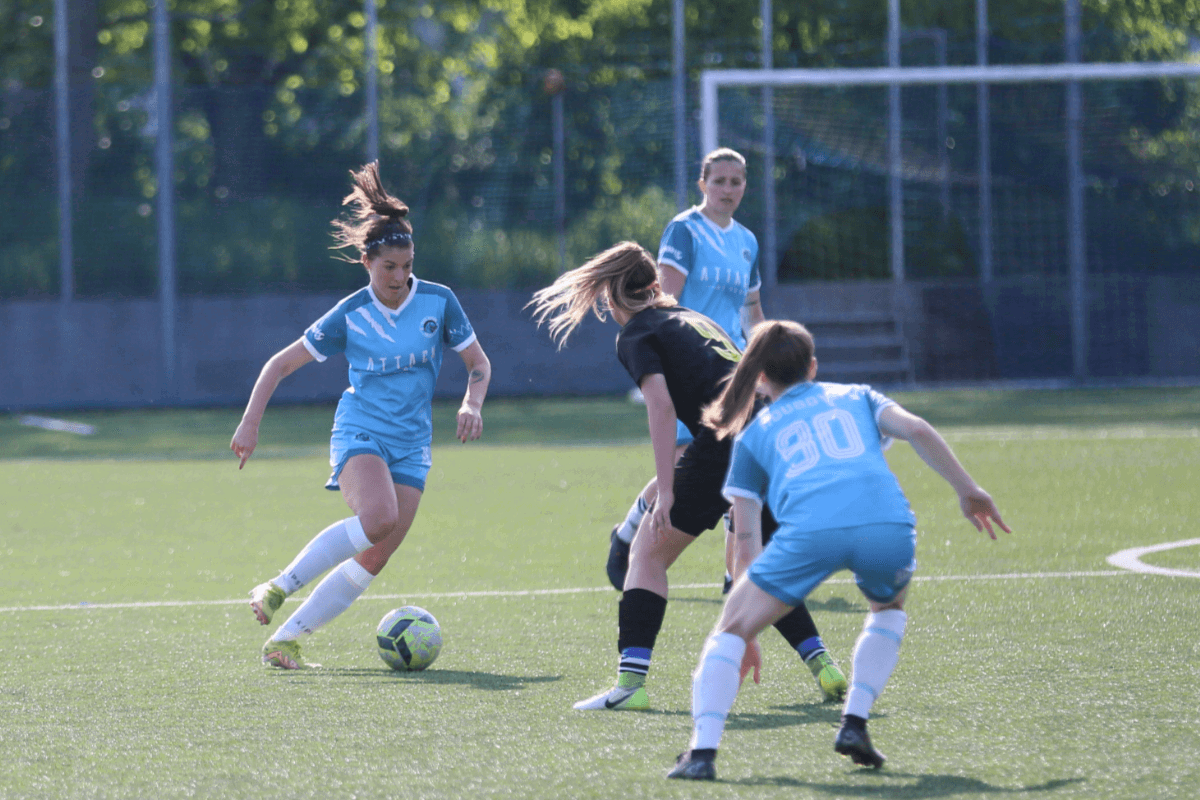
Shutter Priority is a semi-automatic shooting mode in photography. Some cameras call it Time value (Tv) mode. You set the desired shutter speed and the camera adjusts the aperture for proper exposure. It does this based on the scene’s lighting conditions and the camera’s metering.
Controlling your shutter speed is the key to creating several effects. As we’ve seen in the last two photos, you can suggest speed and movement with a slow shutter. Or freeze the action with a fast shutter speed to reflect the stillness of the moment.
These are the settings that the camera controls in Shutter Speed Priority mode:
What you control:
There are some times when you need absolute control over the shutter speed but are too busy to concentrate on aperture as well. Shutter priority is great for sporting events, for example. You can’t fix blurry photos in post-production, so use Tv mode to make sure the action is frozen.
If there’s plenty of light and no fast-moving objects, shutter speed becomes less important. You’re much better off setting the camera to Aperture Priority and choosing a setting that affects your depth of field or sharpness.
Shooting fast-moving objects or long exposures is the only time I use Shutter Speed Priority mode.
Aperture Priority Mode (often called Av) allows you to set the aperture. The size of the aperture has one main impact on your image apart from altering the amount of light. It changes the depth of field.
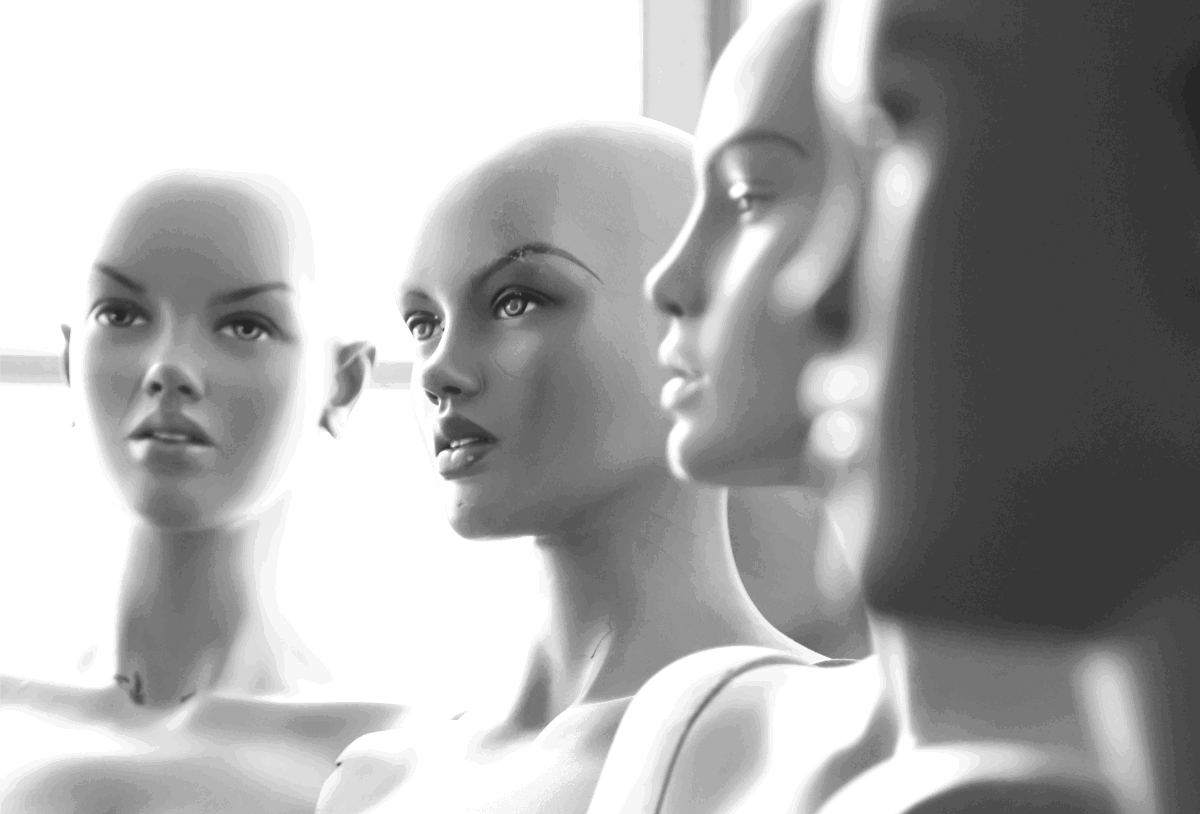
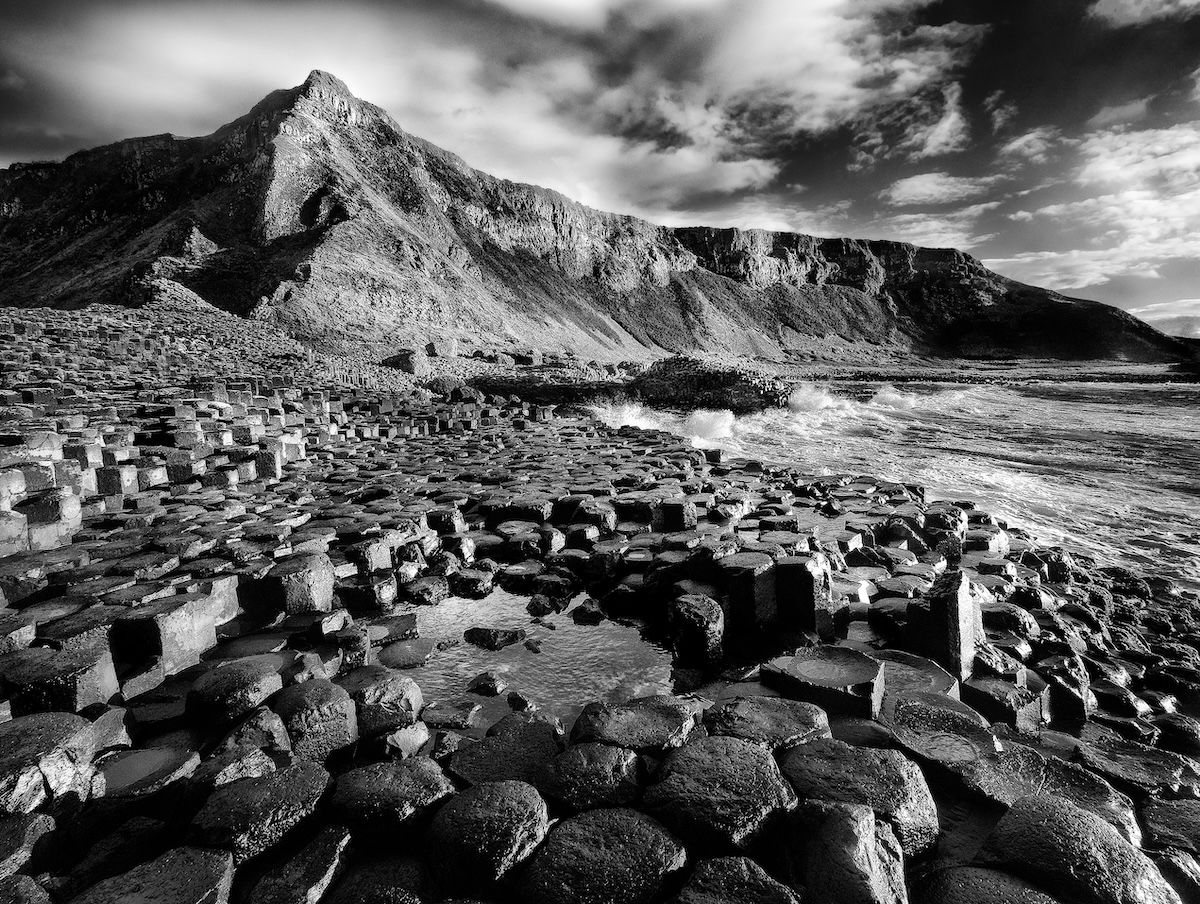
Understanding how to use depth of field is one of the key learning points in photography. Broadly speaking, a wide aperture (small f-number) gives a narrow depth of field. A small aperture (large f-number) gives a large depth of field.
In the picture below, a narrow depth of field allows us to concentrate on the in-focus mannequin.
After you choose an aperture, the camera automatically adjusts the shutter speed to achieve proper exposure. It does this based on the scene’s lighting conditions and the camera’s metering.
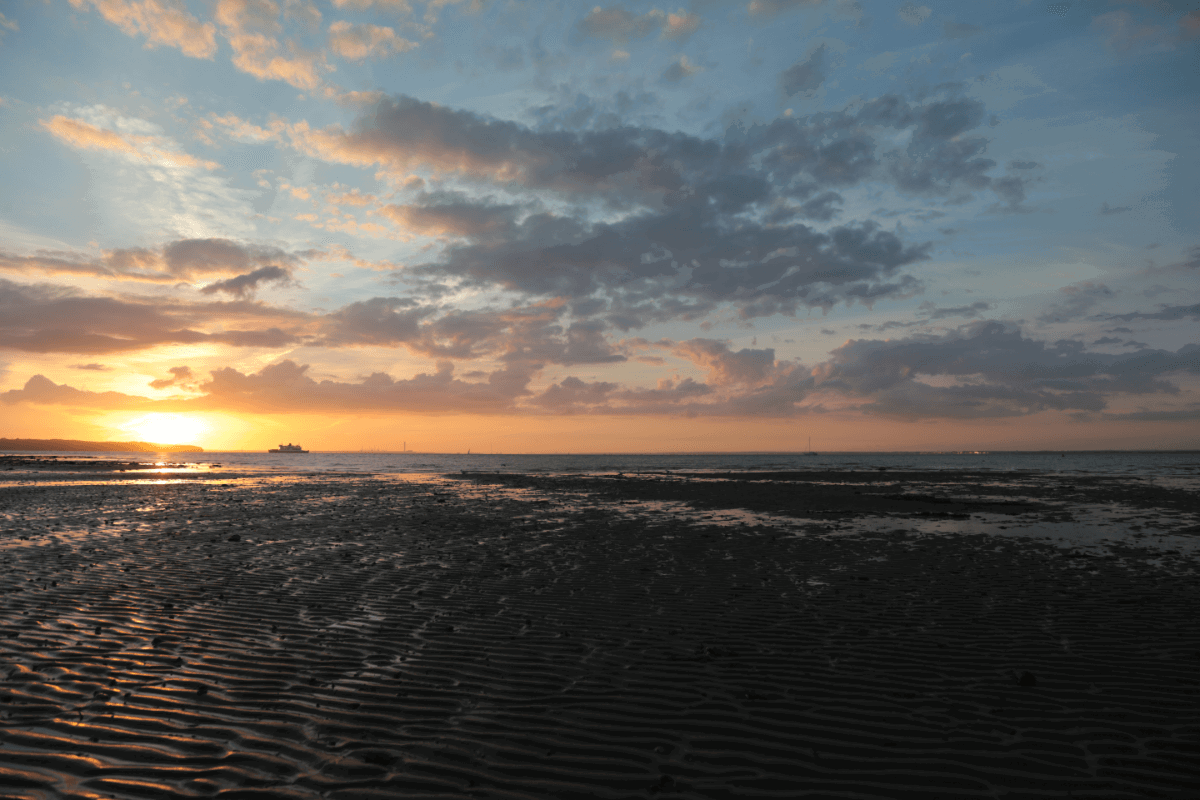
If you want to select how much of the image is in focus, choosing the aperture is the way to do it. Unlike the narrow depth of field above, the photo below uses a smaller aperture. This means that not just the horizon is in focus, but the beach as well. Using a 24mm focal length helps with this because wide-angle lenses have a greater depth of field than telephoto ones.
These are the settings that the camera controls in Aperture Priority mode:
What you control:
For most lenses, the sharpest aperture is between about f/8 and f/11. If you want to shoot images that have the entire scene in focus, this is worth bearing in mind.
As we have seen, another reason to use a wide aperture is to control depth of field. But this isn’t always easy. For example, if you want a narrow depth of field, you would choose a wide aperture. But if the light is very bright, you would also need a fast shutter speed.
Sometimes, your camera might “run out” of shutter speed, even if you have the ISO down as low as possible. One solution to this is the neutral density (ND) filter. For landscape photographers, an ND filter can be a real blessing.
You might not want to use Aperture Priority mode for the same reason that you would use Shutter Speed Priority mode. And this is when you need to ensure the shutter speed stays within a certain range.
You also would not want to use it if the lighting is dark or inconsistent. You would want to use Manual mode to constantly adjust your exposure to best suit what you’re shooting.
Manual mode provides full manual control over exposure settings. You have complete freedom to adjust all camera settings. It is unlike other semi-automatic or automatic modes in that the camera doesn’t have any control over any setting.
This mode requires you to determine and set all parameters. It offers maximum creative freedom and control over the image’s final look and exposure.
These are the settings that the camera controls in Manual mode:
What you control:
Manual mode gives you all the control you could want over your camera. Everything is completely up to you. This can be a challenge, but it’s also the key to creative freedom. If you’re working with an off-camera flash, you’ll usually find that Manual mode is the best.
If you’ve never tried Manual mode, give it a go! You might make some mistakes along the way, but you’ll discover new photographic possibilities.
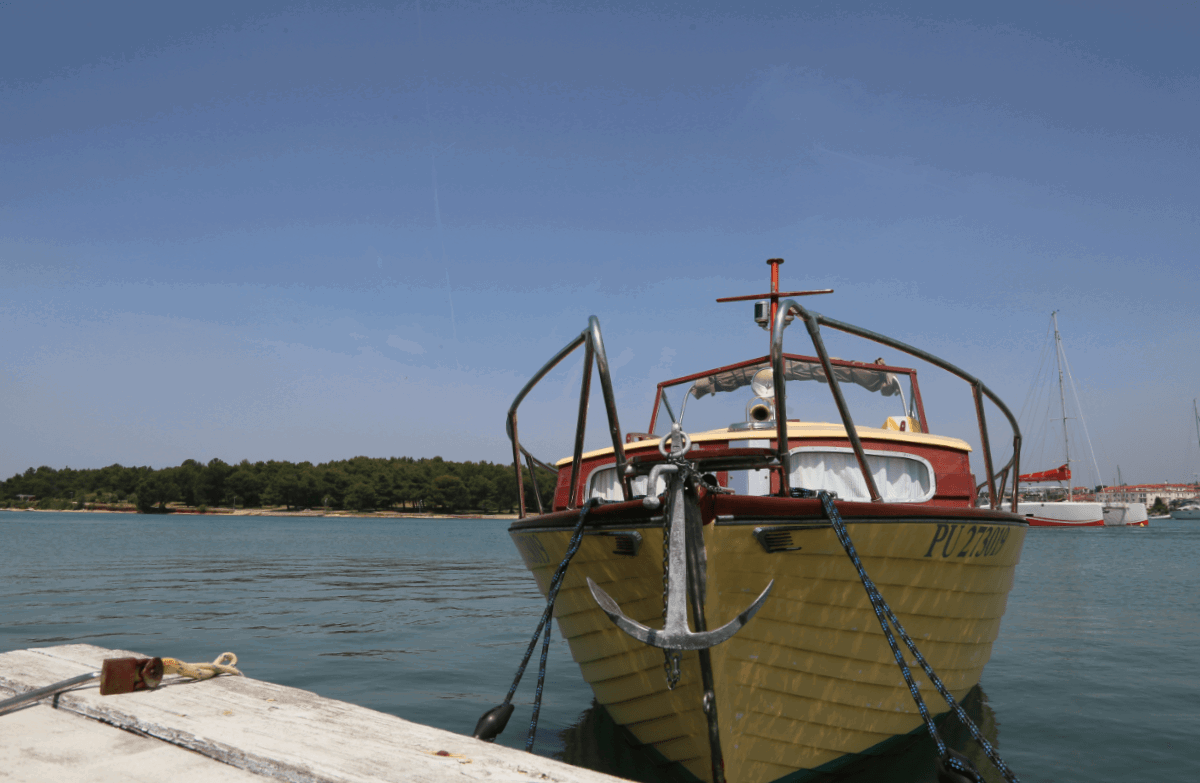
In this photo, I used an f/14 aperture for a large depth of field. The shutter speed is 1/400 s to make sure that any movement from the boat doesn’t cause blur. And the ISO is set at 200 because the light is so bright and I wanted to avoid noise. I used spot metering to make sure the boat was exposed properly. I used a +1 exposure compensation to make sure the shadows kept their details. There’s no post-processing.
There are lots of reasons to shoot in Manual mode. But there are reasons why other modes would work just as well.
In fast-moving situations, you might want the camera to do some of the work for you. Photographing sports, for instance, you might set a fast shutter speed and then let the camera choose the aperture.
Understanding and mastering camera shooting modes is crucial for every photographer. These five essential settings empower you to control your exposure for any creative effect you want. They help you capture the perfect shot in diverse scenarios.
Knowing how to use Manual mode is important. But so is knowing when to use semi-auto shooting modes, which will definitely come in handy in certain scenarios. It will unlock a world of endless photographic possibilities!
Check out our Photography for Beginners course to master shooting in Manual mode!


