You might have a photo you love but can’t add to your portfolio. The composition might not be great, the subject is too far away, or there are too many distractions in the shot.
Knowing how to crop a picture in Photoshop or Lightroom will help you fix most, if not all, of these issues. Here’s how to crop photos for best results.
Why It’s Important to Crop Photos

Cropping provides you with a chance to fix seemingly impossible flaws in an image. You can save hundreds of photographs by cropping them the right way.
For example, if you have a candid photo of an animal running in the distance, you can crop it to make the animal stand out. With the right technique, you’ll be able to print and share that photo. And you won’t have to worry about low quality.
Cropping also lets photographers express themselves creatively. Some cropping techniques, such as circular crop, are a fun way to experiment with design.
How Much Cropping Is Too Much?

A common misconception about cropping is that it instantly ruins the quality of an image. If you approach your photo shoot the right way, you’ll have enough room to crop. And you won’t ruin the resolution of your photos.
Cropping does have a limit.
The higher your resolution, the easier it will be to crop images and not compromise their quality. This doesn’t mean you have to buy an expensive camera, but it does mean that you need to be aware of your limits.
If you’re using a standard iPhone with an 8-megapixel camera, your image dimensions will be around 2400 x 3600. This is enough to print photos, make decent photo books, and create wall decor.
Even if you crop your photos a lot, you’ll still be able to print and share them online!
If you use a professional 20-megapixel camera, you’ll have even more freedom to crop. And then you won’t be worrying about image resolution.
Your goals are another thing worth keeping in mind.
If you want to sell stock photos online, you need to be aware of the minimum image resolution of your agency. Make sure you know the minimum resolution for any given website or printing size.
Shoot in the Highest Quality to Guarantee a Smooth Editing Experience

This might seem like a given. But it’s something that many photographers overlook during a photoshoot. Make sure your image resolution is as large as possible.
If you plan to color correct or manipulate your photos in any way, shoot in RAW mode. This will provide you with uncompressed files. These will make your editing workflow much smoother.
If you’re using your smartphone camera, use a camera app with advanced features. This will give you more control over your images. And it’ll give you more photos to choose from when you get to the cropping process.
Make Sure You Pay Attention to Compositions During Your Shoot

In general, your photos already need to look good before you start editing them. Your aim is to focus on creating a decent composition.
You can then use cropping to get creative, remove distractions, or emphasize details.
You’ll need extra space around your subject to crop in different ways. Never get too close to what you’re photographing. A small distance between you and your subject will allow you to crop where necessary. And you won’t cut off any limbs or create awkward compositions.
You might have imperfect candid photos that you want to keep. Don’t delete them because the composition looks off. Most of the time, you can fix even the most complicated mistakes.
Avoid Dull Photos by Not Centering Your Subject All the Time
You don’t need to center your subject in every photo. Off-center subjects tend to be more eye-catching, while centered ones are straightforward. Both can work well in the right circumstances.
If you find that your centered composition looks too dull, you can crop out a part of the image. This might create the illusion of extra space and add depth to your image. It can give your eyes more room to explore every part of the photo.
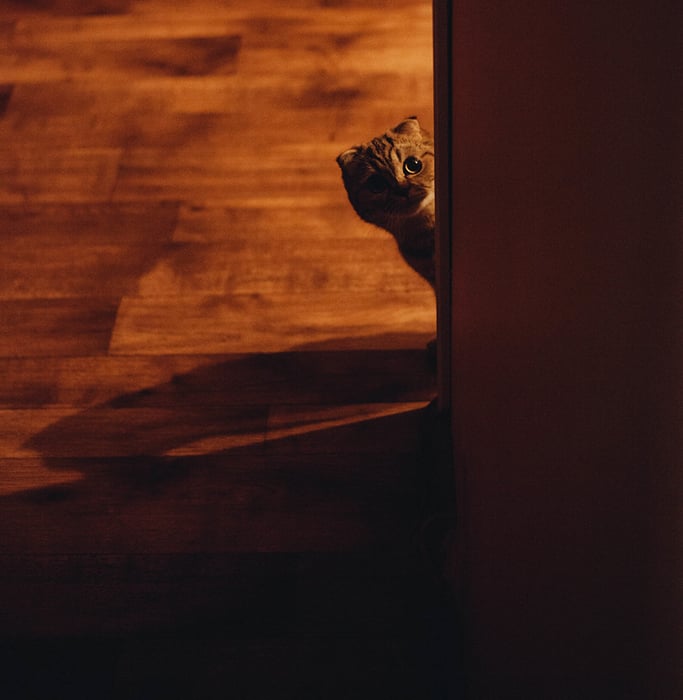
In the photo above, I cropped out the top and left sides to bring attention to my cat and emphasise the shadows. The darkness at the bottom makes it seem like something exciting is about to happen.
If the photo were centered, this negative space wouldn’t stand out as much and there would be less tension.
Create Balance by Cropping out Distractions
If you want to bring attention to expression, pose, or shape, you’ll find the crop tool very useful.
You can start by cropping out distractions. These can be people or objects, that don’t complement your story. Make sure you crop out only the things you can’t remove manually.
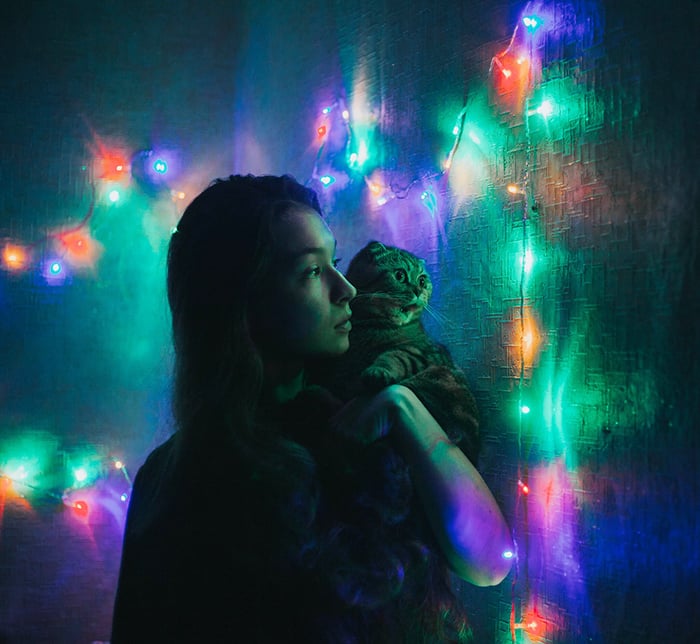
For example, I cropped out the fairy lights above. I did this to create a sense of continuation and to put a spotlight on my cat and myself.
Removing the lights using the Clone Stamp tool wouldn’t have been as effective.
Here’s a general rule of thumb. If you like your composition but want to remove a few distracting elements, don’t crop them out.
Focus on Details by Cropping 80% of Your Photos
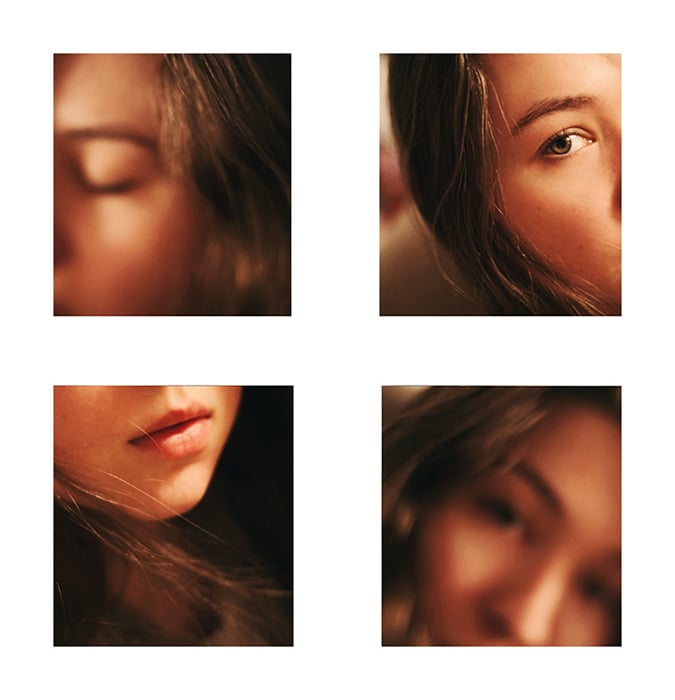
Creative photo cropping techniques are perfect for telling a story. One of these techniques involves cropping almost your entire image to focus on a specific detail.
Keep in mind that extreme cropping like this will limit your printing options. When you crop photos this way, keep the original file in a separate folder in case you want to do more with it later.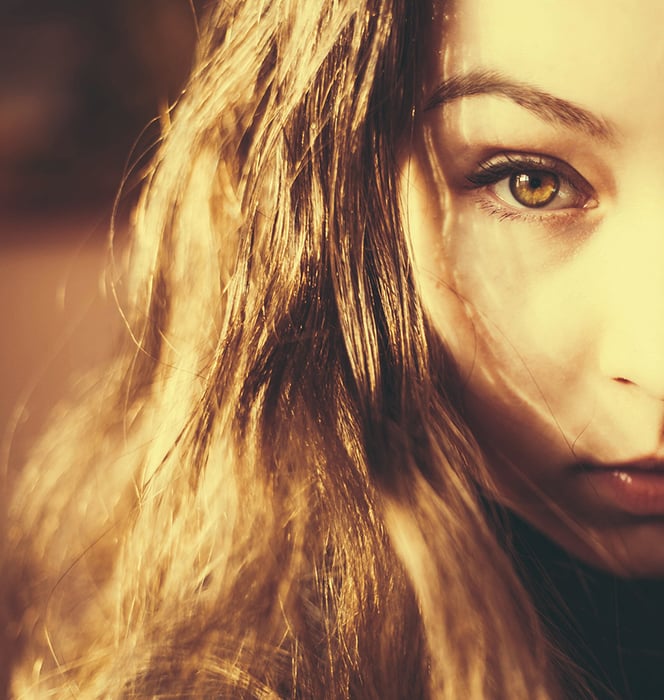
You can use cropped images in double exposures, diptychs, or photo collages like the one above.
If you’re photographing people, you can get extra creative by cropping out half of their face. This won’t be as extreme as cropping 80% of your image and will provide you with a new perspective in portraiture.
Create Intimacy With Tight Cropping
This works great if you’re photographing a person or an animal. You can intensify their expression by tightly cropping your photos. This means cropping out anything that isn’t a part of their face.
The lack of distractions will make it easy to notice details that are often overlooked. These can be freckles or eye color.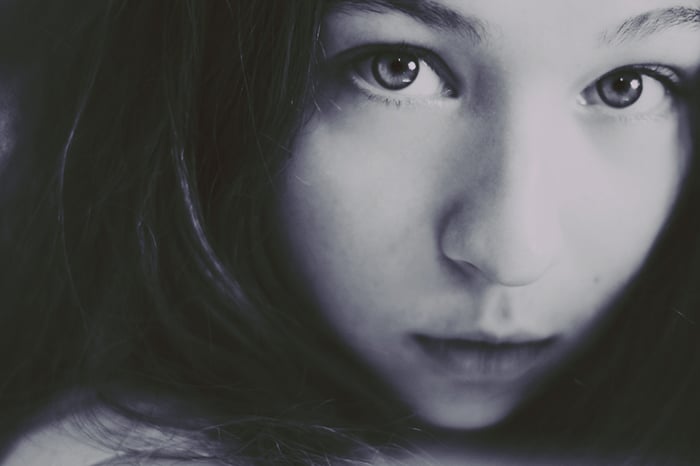
Tight cropping is sometimes better than photographing your subject up close. Some would even say that it’s a cheaper alternative to using a zoom lens. Tight cropping won’t emphasize the wrong details or distort an image. It’s perfect for close-up portrait photographers.
Conclusion
Understanding how and when to crop photos is a superpower.
Using simple techniques, you can transform dull photos and emphasize details. You can make your images look more eye-catching, all with the help of one tool.