Cropping photos is a great way to improve their composition and make them more visually appealing. In this tutorial, we’ll show you how to crop a photo in Photoshop using the Crop Tool.
Crop a Photo in Photoshop and Check for Non-Vertical Lines
The first step is to check if the lines in your photo make the buildings look like it’s tipping over. The vertical lines of a building have to be vertical and straight in you photo too.
Sometimes it’s difficult to see and Photoshop has a tool to make it easier.
I’ll use a photo I took in Kuala Lumpur as an example.
Step 1: Open the Photo in Photoshop
Open the photo you want to check for non-vertical lines. Make sure the rulers are showing on the left side and top of your working space.
You can make them appear by clicking ‘Rulers’ in the ‘View’ drop down menu. You can also use the shortcut ‘Command + R’ for MacOS (‘Ctrl + R’ for Windows).
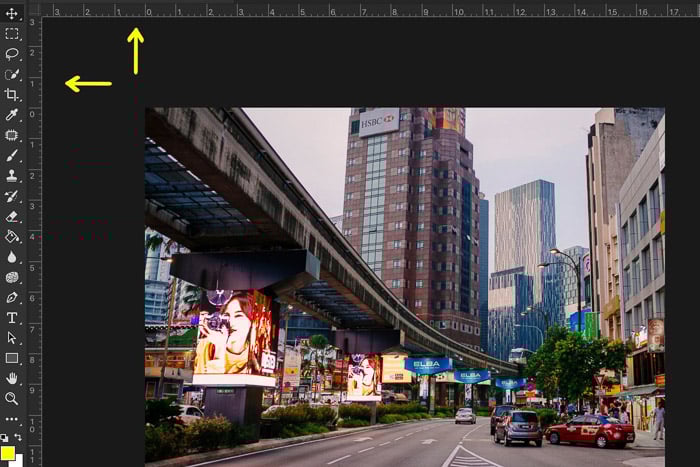
Step 2: Place Guidelines on the Photo
Click on the ruler on the left and drag guides from the ruler onto the photo. They will appear in blue. Position them next to the building or lines you want to check.
In my example, it’s clear that the buildings in the background and the screens under the bridge are tipping over.

Now we can start straightening the image.
How to Straighten a Photo in Photoshop
There are a few tools available in Photoshop to straighten an image. I prefer the ‘Distort’ tool because it gives you more control.
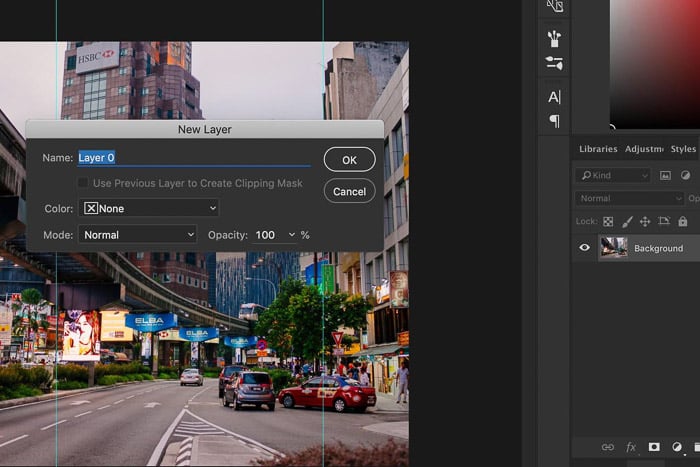
Step 1: Unlock the Background Layer
Before you can make adjustments to the background layer, you need to unlock it. Double click on the background layer and click ‘Ok’.
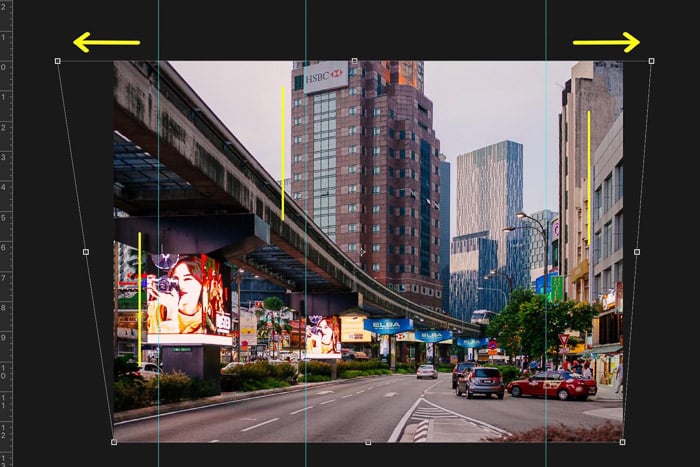
Step 2: Straighten the Photo
Go to ‘Edit > Transform’ and click on ‘Distort’. Now pull the corners of the photo until the lines are straight.
In my case, this is the top left and right corner. Double click on the photo to confirm the adjustments.
How to Crop a Photo in Photoshop
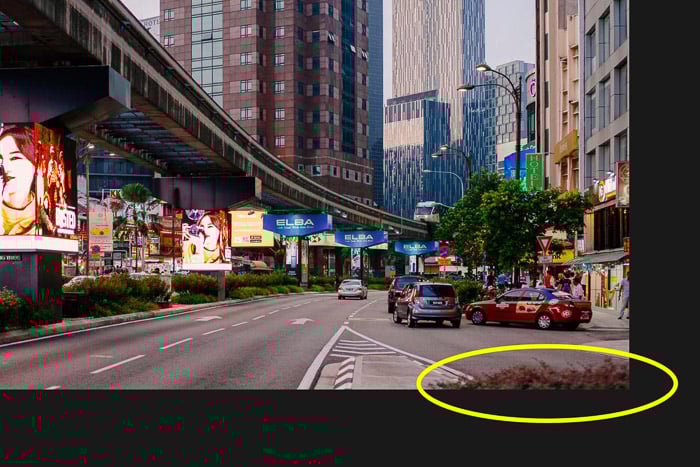
Finally, you need to crop the photo to make it perfect. By cropping, you can remove unwanted objects from your photos. This will improve the composition.
In my case, I want to get rid of the distracting bush on the bottom right.
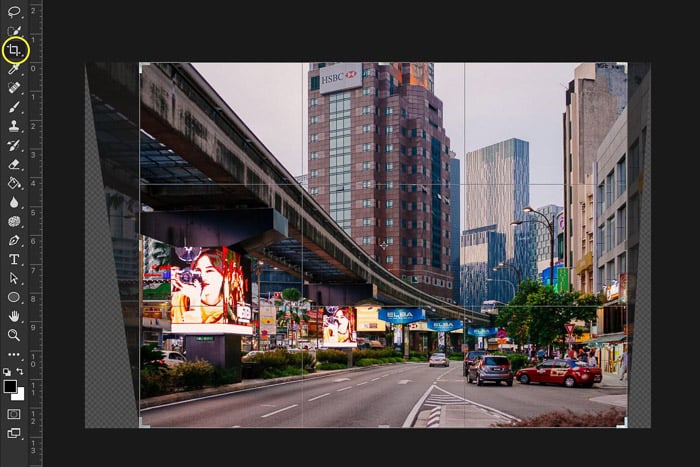
Step 1: The Crop Tool
You can find the crop tool in the tool bar on the left or use shortcut ‘C’. As soon as you select the crop tool, you will see non-vertical lines on the sides of your photo.
Don’t worry, that’s because you straightened the lines in your photo. It won’t affect the final result.
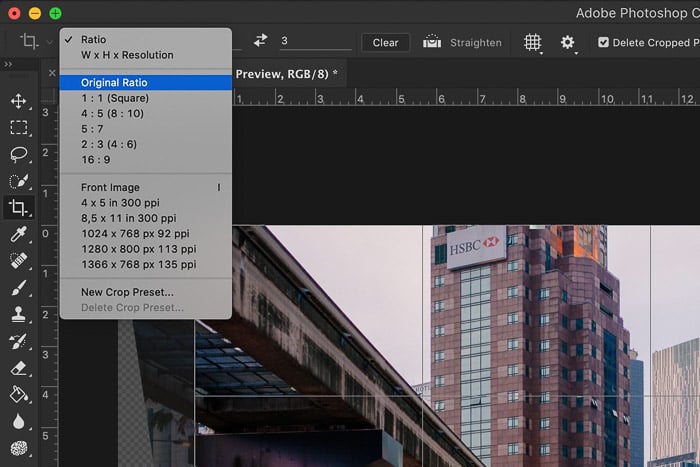
Step 2: Select the Crop Ratio
Select a crop ratio in the top menu. There are different ratios to choose from and I’ll use ‘Original Ratio’.
The end result will have the same dimensions as the original photo.
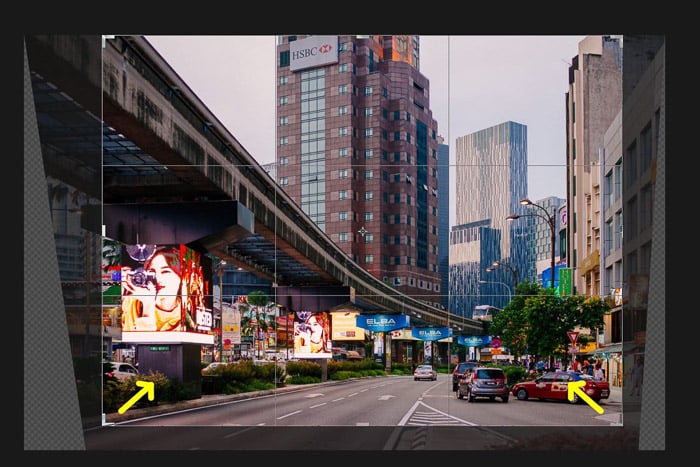
Step 3: Crop the Photo
Click and drag the corners until you get the result and crop that you want. Double click to confirm.
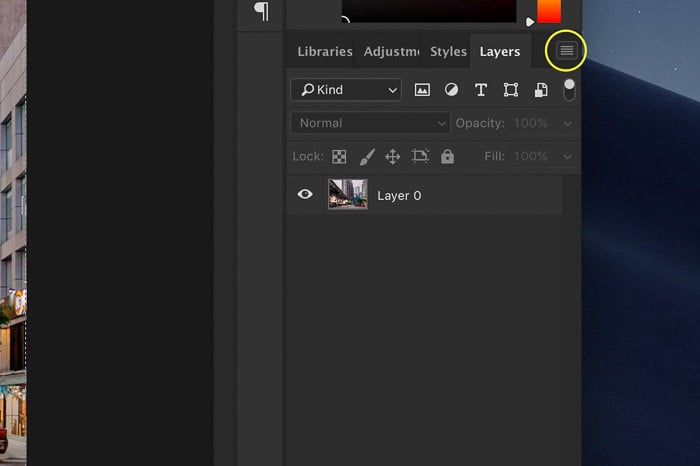
The photo is straight and cropped. Go to the ‘Layers‘ menu and select ‘Flatten Image’.
Now you can save the photo as a jpg.
Conclusion
Straightening photos of architecture and buildings is easy in Photoshop but remember:
For the best results, you need to try to get the lines as straight as possible when taking the photo. Use different angles to see what changes when taking the shot.
Use Photoshop only to straighten the lines you can’t get straighten on the spot.
Photoshop is not developed to make bad photos look good. It all starts with taking a good photo from the beginning.
For more great Photoshop tips, check out our article on using lab color!


