There is a wide range of selection tools in Photoshop. Selection tools are crucial for creating custom edits where specific areas of the image are adjusted independently. There are many ways to approach selection, so go through our list to see which is best for each situation.
Thanks to its unique abilities, Adobe Photoshop is the most popular digital editing software. It allows us to get creative with our photographs or fine-tune them to a convincing degree. However, a learning curve exists before you can create what you want. One of the first elements to learn is the selection tools in Photoshop.
What are Selection Tools in Photoshop?
Selection tools are the features we use to select specific areas or objects. We can then cut out these sections or edit everything inside (or outside) these areas.
These tools have different approaches and different variations in each approach. Photoshop has created a wide range of these selection tools to approach selecting different objects or areas.
If you think about it, selecting a sky and selecting a jacket will require different approaches. This list will cover the wide range of selection tools in Photoshop so you can decide which is best for your needs.
Selection tools in Photoshop range from quick options to detailed ones. You may want to use different approaches depending on whether you need to make a quick edit for social media or a detailed edit for printing.
Here are a selection, but not all, of the selection tools in Photoshop:
Key Selection Options
The selection tools in Photoshop have customizations that allow you to use the tool in different ways. We will now go through a selection of these customizations so you can make better selections.
Adding New Shapes
The first four icons you will come across will dictate how your current tool acts. The icons are squares in different configurations.
The first square will create a new selection every time you use the tool. The second icon of two squares together will keep adding the new selections to your previous selection. The third icon with an empty square over a full square will subtract your new selection from the current one. The last one allows you to intersect two selections.

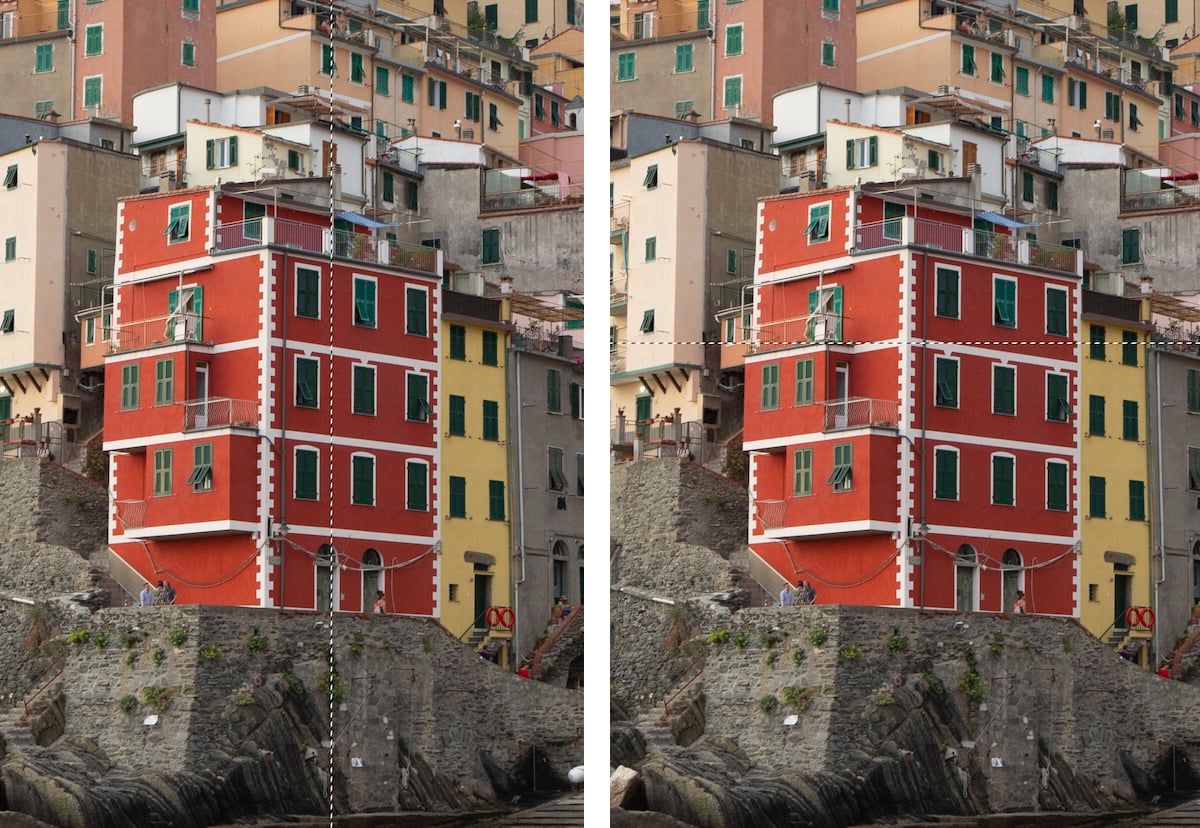
different ways to edit selection in photoshop
Feather
The feather is the most crucial customization you will want to familiarize yourself with. The feather will decide how much there is a fade between your selection and the rest of the image. It creates a short or long gradient so that two elements can blend better.
A 0-pixel (px) feather will not have any gradient. There will be a sharp definition along the selection line. This is best for subjects with a sharp definition from the photo’s background.
A feather will be needed when dealing with subjects with a soft edge to their outline. You could use this for clothes with soft materials, a model’s hair, or trees in the distance. You will have to test how much of a feather is best. It would be best to keep the feather small because it may bring in unwanted elements from outside the selection.
Inverse Selection
If you want to edit the with is outside of the selection instead of the inside, you can always inverse your selection. This is helpful if you want to keep an object the same as it currently is but change everything else in the shot.
After completing your selection, go to Select > Inverse or (Cmd + Shift + I for Mac, Ctrl + Shift + I for Windows). You will know if your selection is inverse if the moving dotted line is also around the entire frame of your photo.

Selection Tools in Photoshop
We will now go through the extensive range of selection tools in Photoshop. We will start from the basic approaches and go on to the more detailed options.
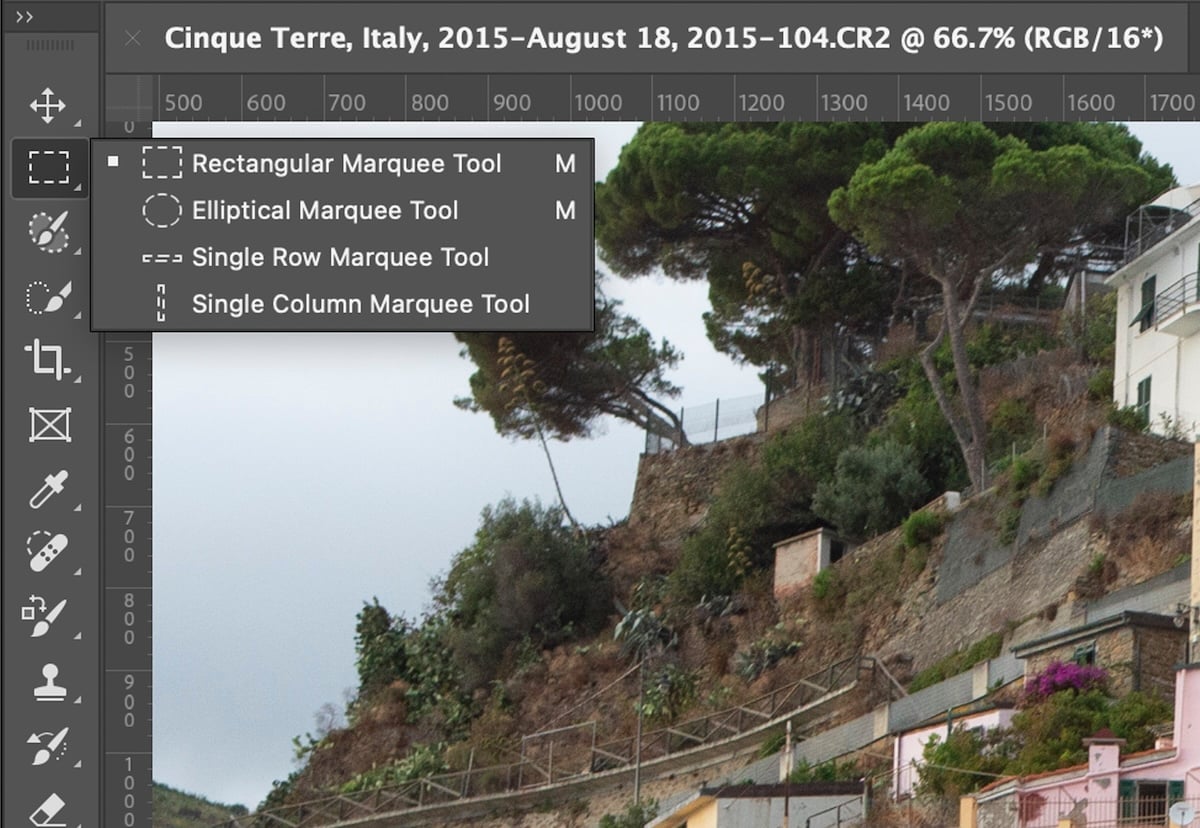
Marquee Tools
The Marquee tools are the simplest form of selection tools in Photoshop. Remember that you can always add new shapes, as the key selection options above explain. You can also create large feather distances to create gradients.
Rectangular Marquee
The main Marquee tool is the Rectangular Marquee tool. This acts similarly to a selection box on your desktop computer or laptop. Rarely in photography is anything a perfect rectangle, so this selection is best for quickly cutting out sections or graphic design.
Elliptical Marquee
If you hold a click on this tool, you will see the next option is the Elliptical Marquee tool. This tool acts similarly to the one above, but instead, it makes an elliptical shape.
Single Row and Single Column Marquee
You will then see the Single Row and Single Column Marquee tools. These simply create a constant vertical or horizontal line across your page. Again, these selection tools are best for rough selections or graphic design.


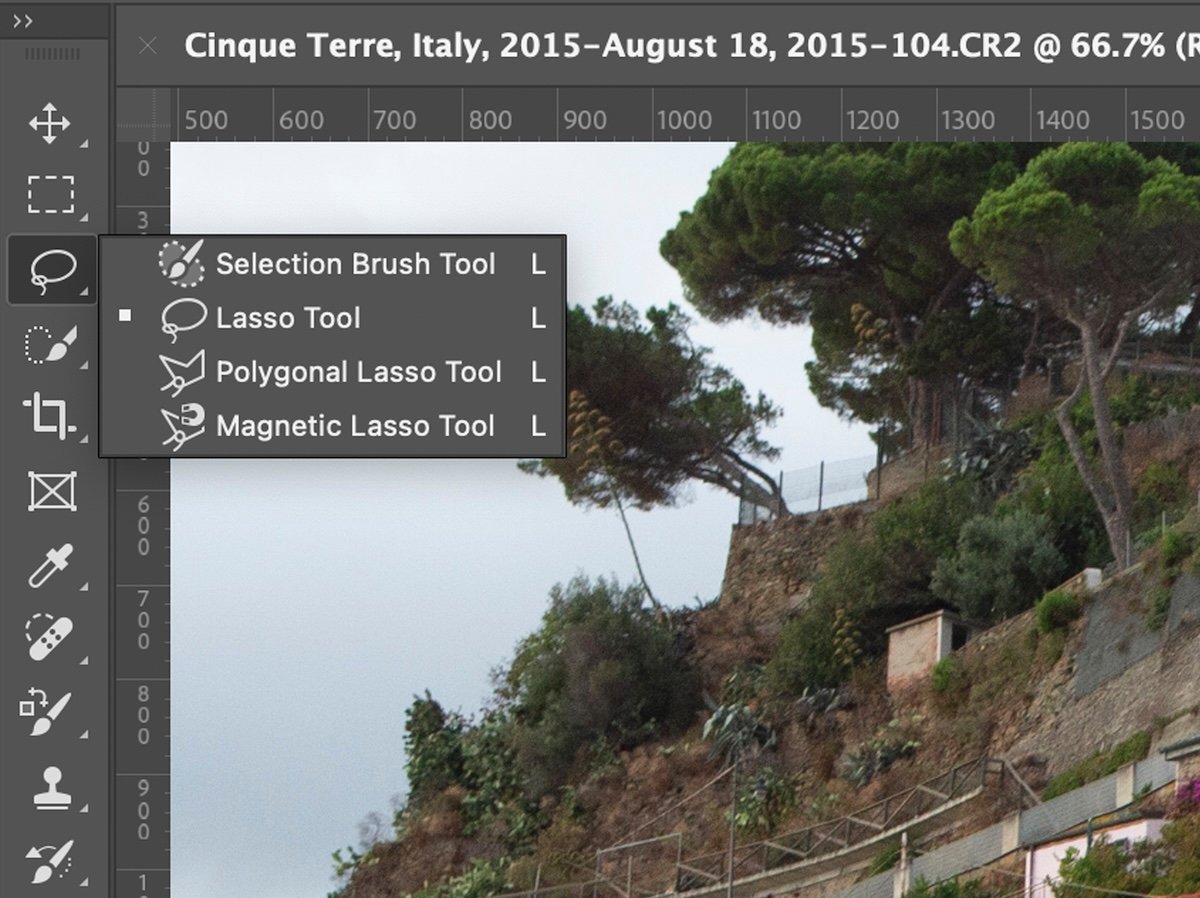
Lasso Tools
Let’s now look at the Lasso selection tools in Photoshop. These provide a more detailed option for selecting objects.
Lasso
The Lasso tool is another way to perform quick selections. It is best when you need a rough selection when the Marquee tools are not particular enough. This tool allows you to draw a freehand line while dragging a click over your image. The selection will create a straight line between your start and end point if you do not close the selection yourself.
Polygonal Lasso
In the same section, you will find the Polygonal Lasso tool. This tool creates straight lines between each click. The selection will not be closed until you close it yourself. A tool like this is perfect for manually tracing objects with straight lines, particularly architecture.
Magnetic Lasso
Next is the Magnetic Lasso tool. This selection tool is brilliant for quick but more detailed results. It works best when the object is clearly separated from its background. All you have to do is draw a freehand line close to the edge of your object, and the software will detect the nearest defining line. You will have to close the selection yourself.


Selection Brush Tool
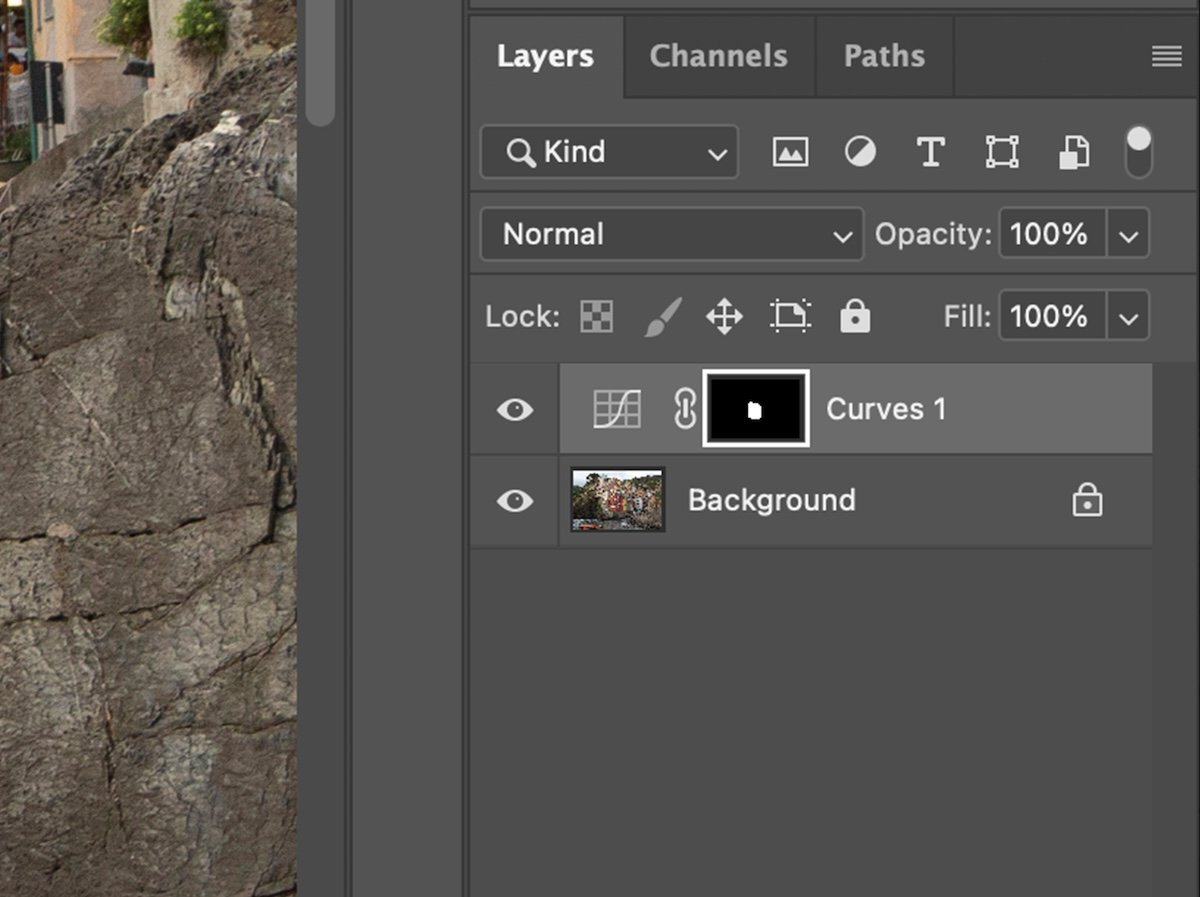
The Selection Brush tool is in the same section as the Lasso tools. This selection tool was released in 2024 and provides Photoshop users with a new way of quickly selecting specific areas.
The Selection Brush tool allows you to use the brush feature to create selections or masks. You can brush in any section you would like to be a selection, then click the relevant section (Marquee tool or others) to make it a selection. If you want to adjust that layer, click an adjustment, and an adjustment layer will open with your selection as a mask.
This tool is a welcome addition to the selection tools in Photoshop as it is perfect for both quick and detailed selections. Many users will feel happy using this for a wide range of options.


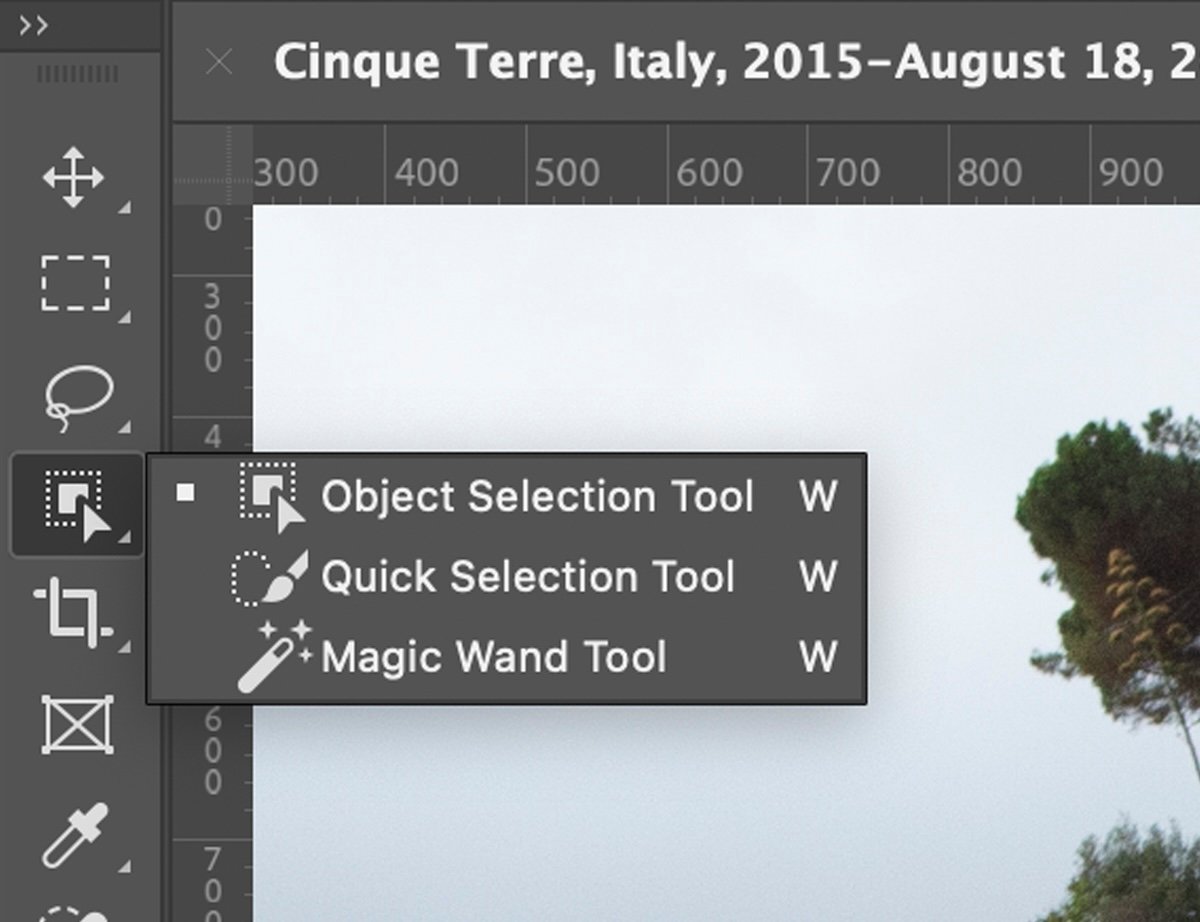
Quick Selection Tools
Underneath the Lasso tools in the left-hand toolbar, you will find the Quick Selection tools. These selection tools in Photoshop are ideal for quickly selecting big areas or specific objects. Like most automatic tools, these work best when the object is clearly defined from its background.
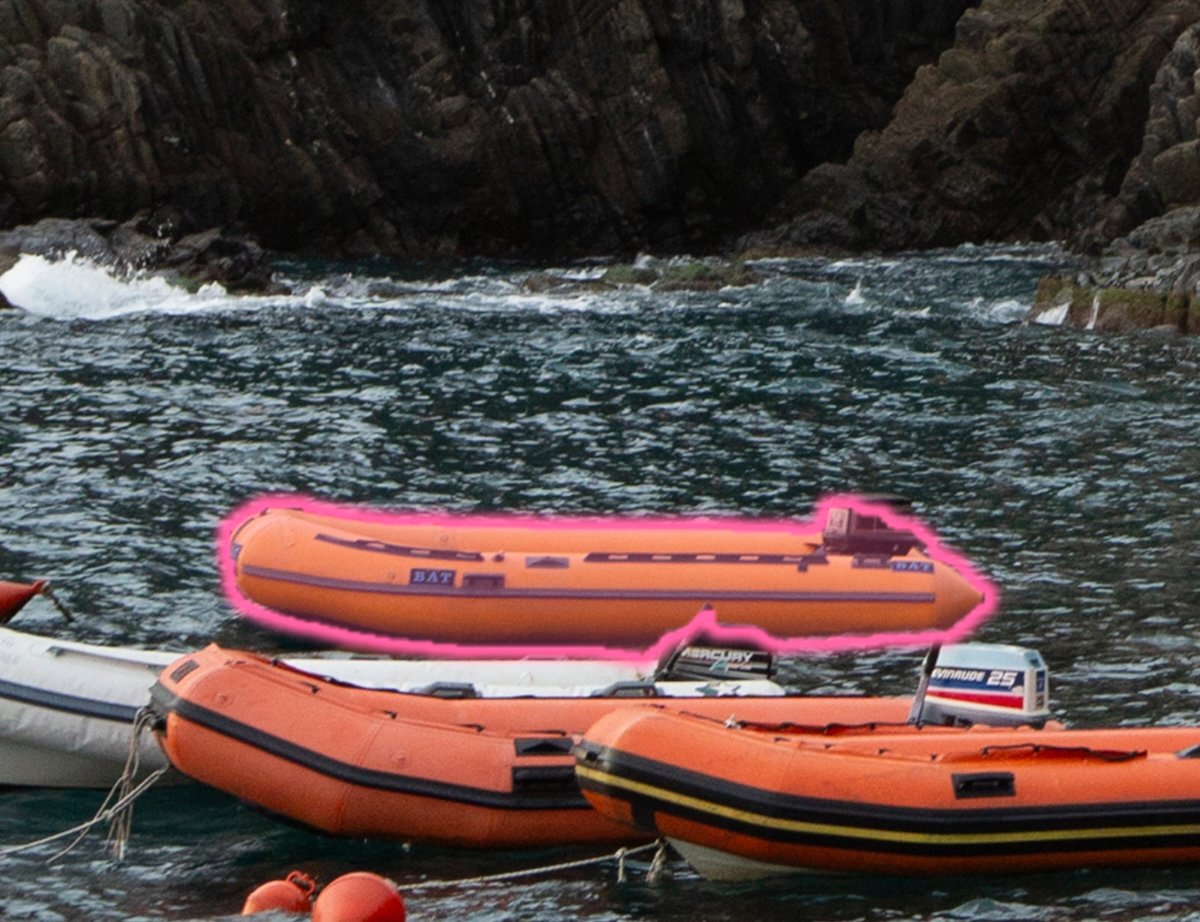
Object Selection
First off is the Object Selection tool. This is the best tool to quickly select specific objects, and it works very well. Equip the tool and then hover over your image to see the selection options before you click. The highlighted areas will all be turned into a selection. You can also click and drag a box. The software will then attempt to find the object in this rectangle.
This tool has been refined recently and works extremely well. It can produce an accurate selection in seconds.
Quick Selection
Next, you will find the classic Quick Selection tool. This is the most popular selection tool in Photoshop. All you have to do is brush inside the object you want to select, and the selection will reach the boundaries of what it thinks the object is. It is helpful to brush near the edges here.
The Quick Selection tool can be messy sometimes, especially when there are confusing textures in the background. Luckily, you will find an ‘Add to Selection’ and ‘Subtract from Selection’ section near the brush settings at the top. The subtraction brush is crucial for making your selection perfect. Remember, you can also change the brush size.
Magic Wand
The final tool in this section is the Magic Wand tool, another popular tool in Photoshop. The Magic tool lets you click a certain area and then create a selection based on areas similar to the sample you clicked.
To fine-tune your selection, you can change the Sample Size and Tolerance. The sample size will determine how many pixels around your click are considered in the selection. The Tolerance will determine how many colors are sampled; this ranges from 0 to 225.


Select Areas
You can find the next group of selection tools in Photoshop under the Select dropdown menu. Look in the main toolbar at the top of your desktop when using the Photoshop application.
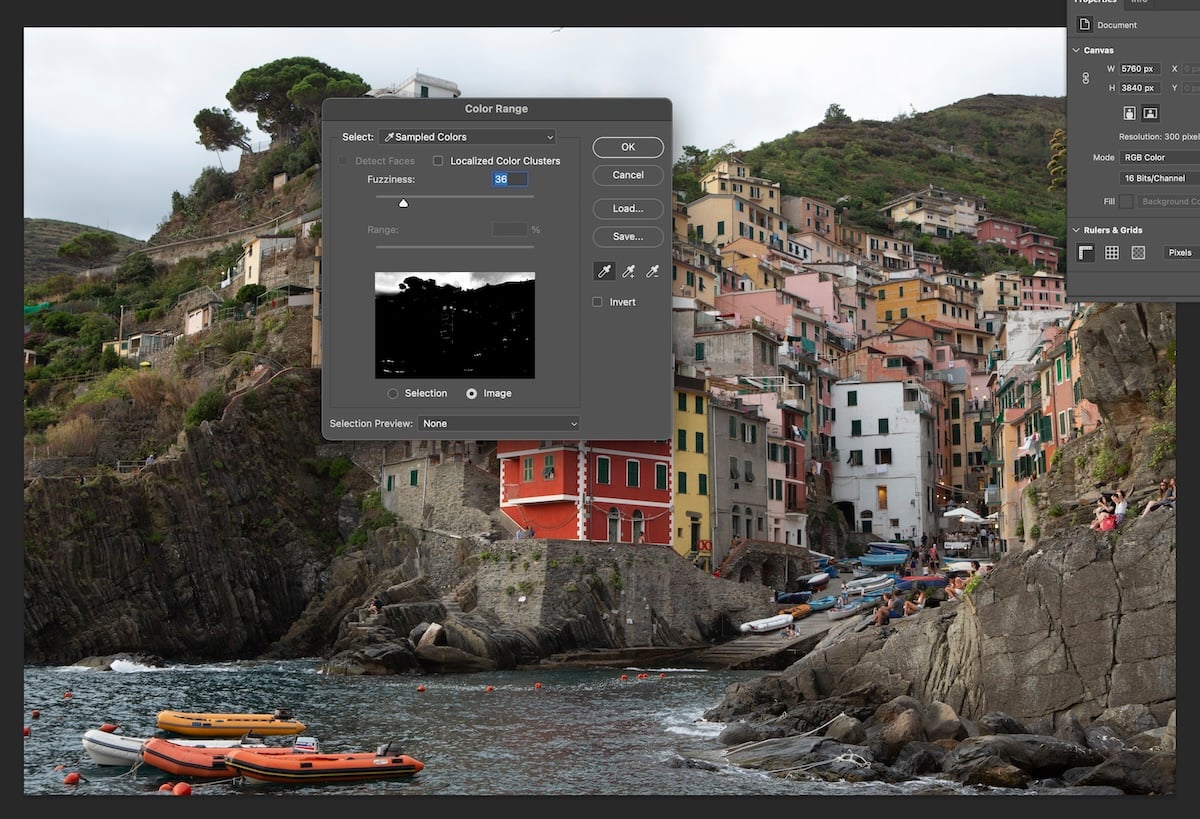
Color Range
The Color Range selection method is the first one you will come across. This option opens a window allowing you to select a color from your photo with a pipette. The software will then show you an example of areas that will be selected. Click OK, and Photoshop will apply the selection.
You can use the Fuzziness slider to extend or decrease the sensitivity of the selection. There is also a pipette icon that lets you add or subtract certain colors to your selection. The Color Range can also select different colors or tones in your image through the dropdown menu.
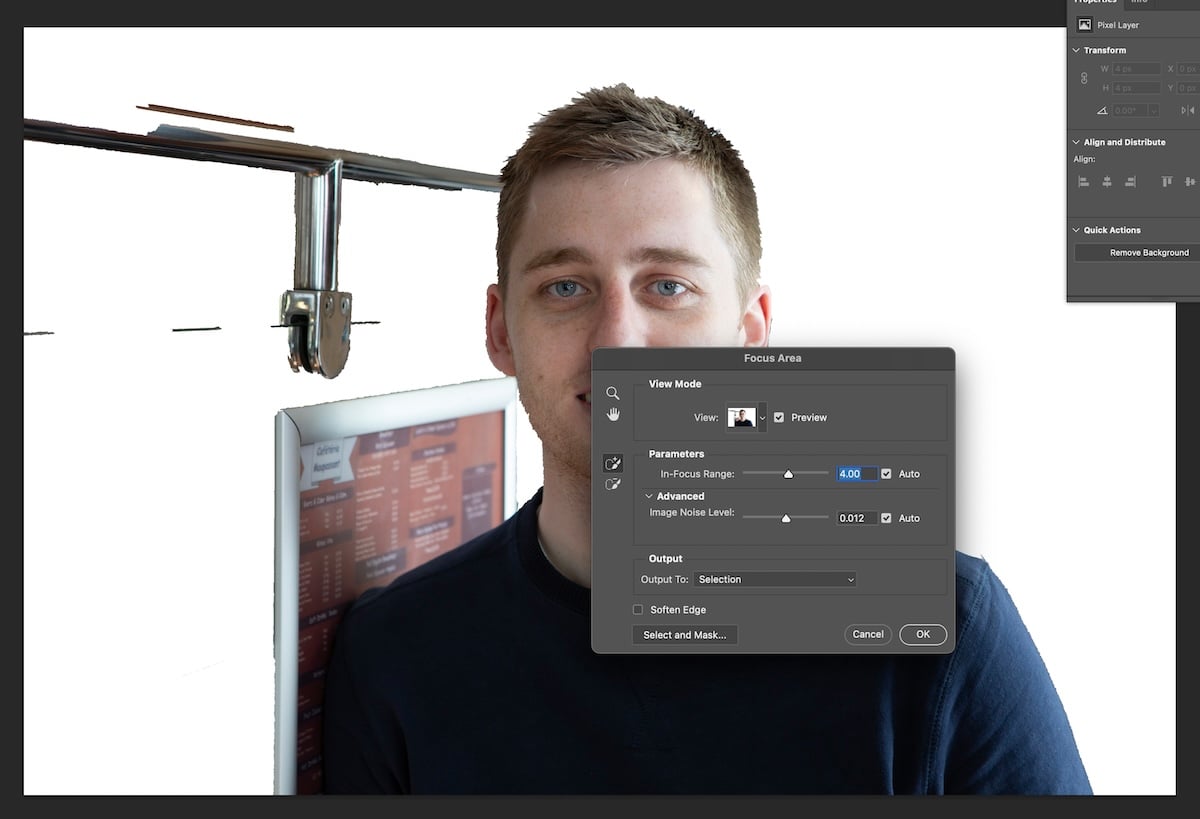
Focus Area
The Focus Area selection is useful if you want to make a selection on an image with a noticeable focus difference. The software identifies which areas are in focus and will then make a selection of these areas. You are able to edit the in-focus range to a fine degree. There are also numerous options for what to do with selection, even saving it directly as an alternate document.
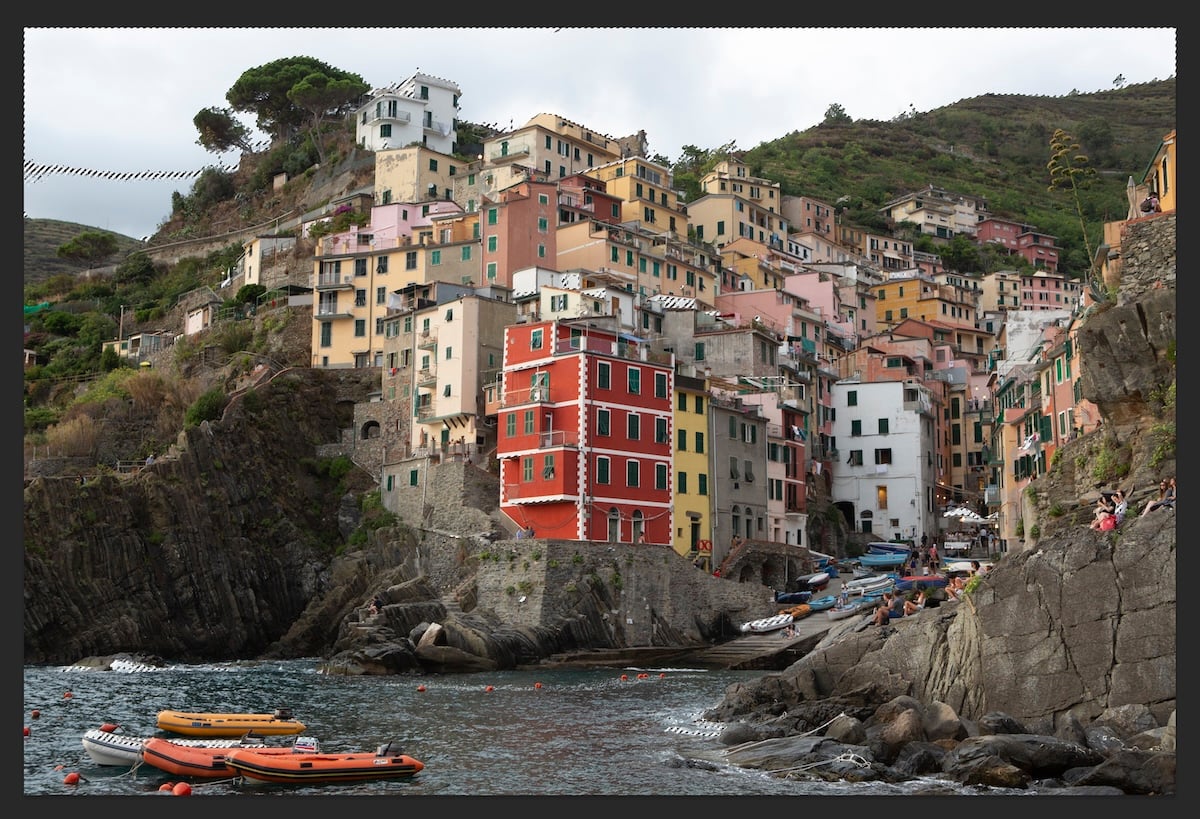
Subject
Underneath this is the Subject selection. This is ideal for a hands-off approach to selection. The program will identify the main subject and then make a selection. Again, this will only really work if you have an obvious subject in your photograph.
Sky
Finally, you will find the Sky selection tool. The Sky tool is a brilliant tool that almost all photographers, especially landscape photographers, will find useful. Like the Subject tool, this one automatically identifies the sky and makes it a selection. This makes it easy to edit the sky separately from the rest of the image.


Pen Tool
If you want the most accurate selection, you will have to do it yourself. The best way to do this is by using the Pen tool. To become a professional retoucher, you should get used to the pen tool as quickly as possible.
The pen tool allows you to place anchor points around the areas you want to select. You can click and drag on each anchor to make a curve between each point. This allows you to make accurate selections but will take some time. To get the most accurate results, zoom in as closely as possible.
Read our in-depth article about the Pen tool here.


Selection Tools in Photoshop FAQ
What is the quickest selection tool in Photoshop?
The quickest selection tool that gives accurate results is either the Object Selection tool or the Quick Selection tool. The Object Selection tool is best for clear objects or areas, whereas the Quick Selection tool is best for a custom area.
What is the most accurate selection tool?
The Pen tool is the best selection tool in Photoshop for accuracy. This is because you can plot the selection line yourself in great detail. It may take a long time, but this will ensure your full selection meets your specifications.
Conclusion: Selection Tools in Photoshop
After looking at this wide range of selection tools in Photoshop, we can see how important selection is. Thanks to the consideration from Adobe, it is easy to make specific selections for any type of image.
Each selection tool benefits a different selection type, whether for speed, ease, or accuracy. So, try each one, and you will understand why so many approaches exist to the same problem.