You won't use Photoshop for long before realizing the Pen tool is essential. You can't get away from using the Pen tool when learning intermediate editing techniques like photo composites.
Today, we'll talk you through how to use the Pen tool in Photoshop. I will explain all its functions and then give you quick step-by-step instructions on making a path and a shape. You will know how to tackle complex Photoshop edits with the Pen tool by the end of the article.
What is the Pen Tool In Photoshop?
The Pen tool in Photoshop is a path creator. It allows us to create accurate, detailed selections and cutouts of any image section you wish.
The Pen tool works by placing different anchor points to trace an object accurately. We can change the curvature of each anchor point by clicking and dragging from a new anchor point.
The Pen tool is the most accurate selection tool because we can set the parameters and get as detailed as we wish. It can be a laborious process but quickly creating paths becomes second nature.
Where is the Pen Tool in Photoshop?
We can find the pen tool in the left toolbar in your Photoshop program.
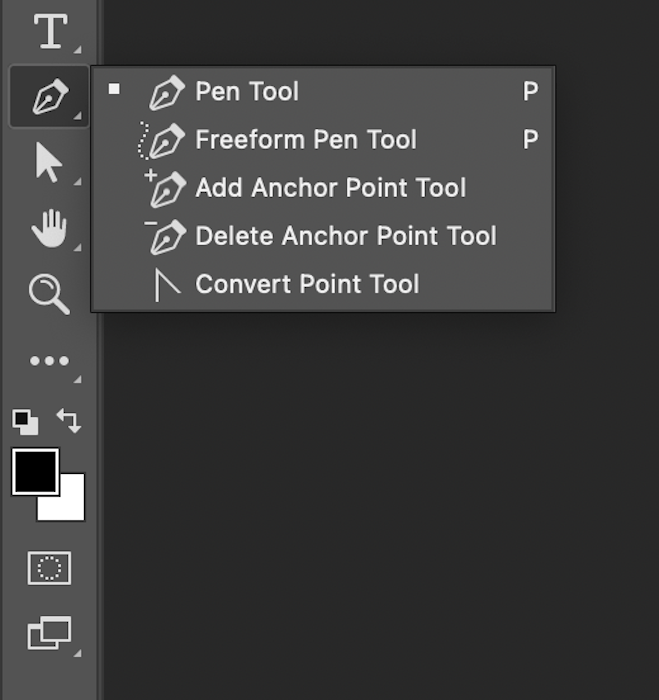
4 Variations of the Photoshop Pen Tool
There are four variations of the standard Pen tool and specific options to edit your existing paths:
- Freeform Pen tool—is a simplified version of the standard pen tool. It allows us to draw a path while holding down our click. After releasing our click, we have a path with anchor points spaced throughout. This is useful for quick, messy selections where accuracy is not an issue.
- Add Anchor Point tool—to edit an existing path.
- Delete Anchor Point tool—to edit an existing path.
- Convert Point tool—allows us to modify a set anchor point from your selected path. We can change the curvature going to or from that anchor point.
Note—there is also a Curvature Pen tool in the newest release of Photoshop. Plus, we can enable a Content-Aware Pen tool by going to Photoshop > Preferences > Technology Previews. But the latter is still in testing and can be a bit tricky.
Pen Tool Shape and Path Modes
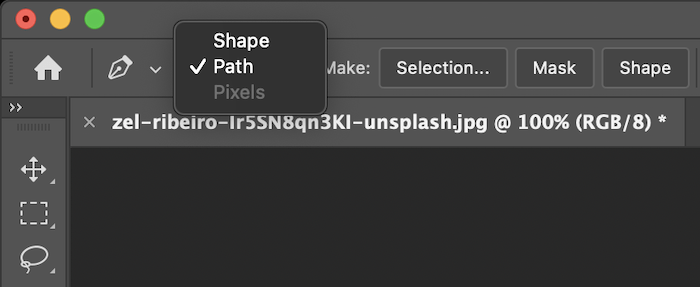
The Pen tool can either make a path or shape. Alternate between the two in the top toolbar after selecting the Pen tool.
A path is the boundary line on our image when we make selections. It has anchor points on both ends and can be straight or curved. The Path mode does not leave any actual lines over your photograph.
A shape is a new visual form automatically created as we put down your path and anchor points. We can dictate both the stroke (outline) and the fill of the shape you are constructing with the Shape mode.
Combining Shapes
In Path mode, there is an option that looks like two overlapping squares. We also see this when we start drawing a shape. Use this to combine different forms into the same selection. This is extremely useful when working on a detailed section of a photograph.

How to Use the Pen Tool to Create a Path
The standard Pen tool allows us to trace around a subject with tremendous accuracy. It can seem a bit slow and tedious initially. But it is a valuable skill to master. Also, we don't have to worry too much about messing up because we can always go back and edit the path.
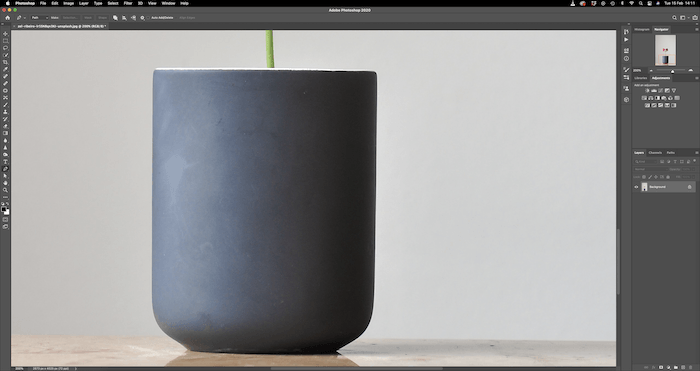
The image we will edit
Step 1: Set Up the Pen Tool for a Path
First, select the Pen tool. Next, go to the top toolbar to choose the Path option.

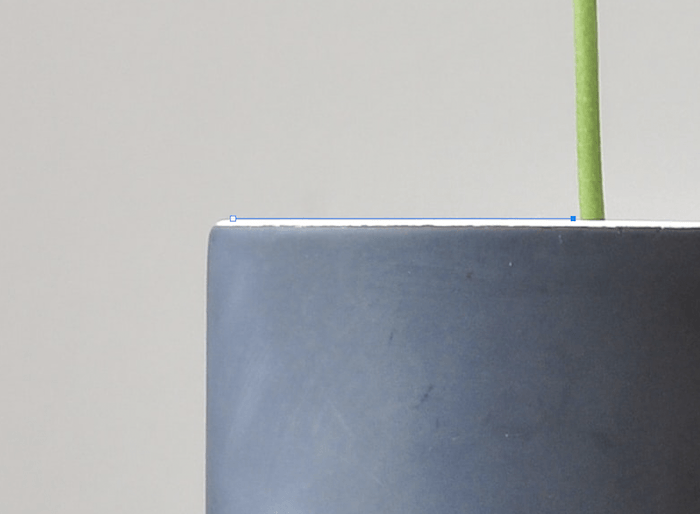
Step 2: Create a Straight Line Path Segment
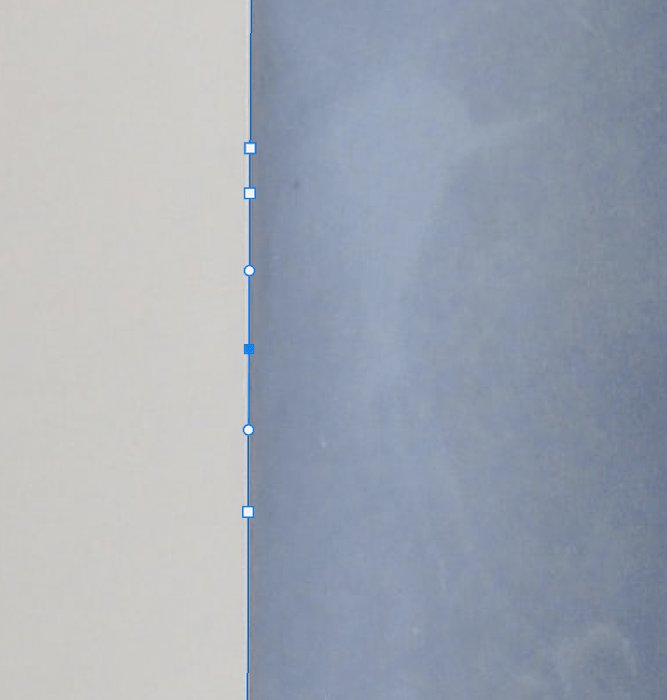
Now, let's zoom into our subject (Ctrl/Command+). We can be at different zoom lengths depending on how big and complex our subject is. I recommend creating a path in at least 100% zoom. The more zoomed in, the more accurate and detailed we can be. Click where you want your first anchor point.
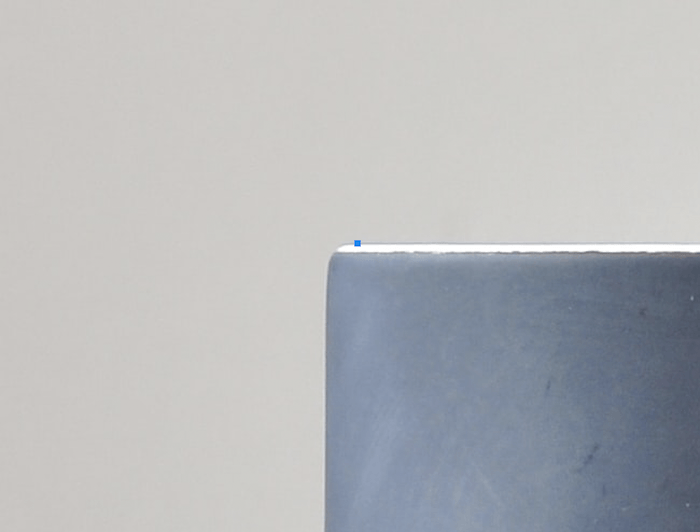
Next, trace an imaginary line along the edge of your selected subject. Before the path changes, click to put down another anchor point. Photoshop creates a straight line.
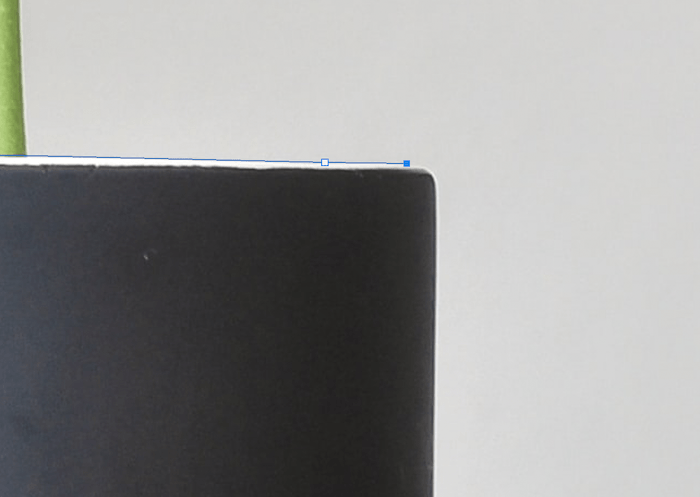
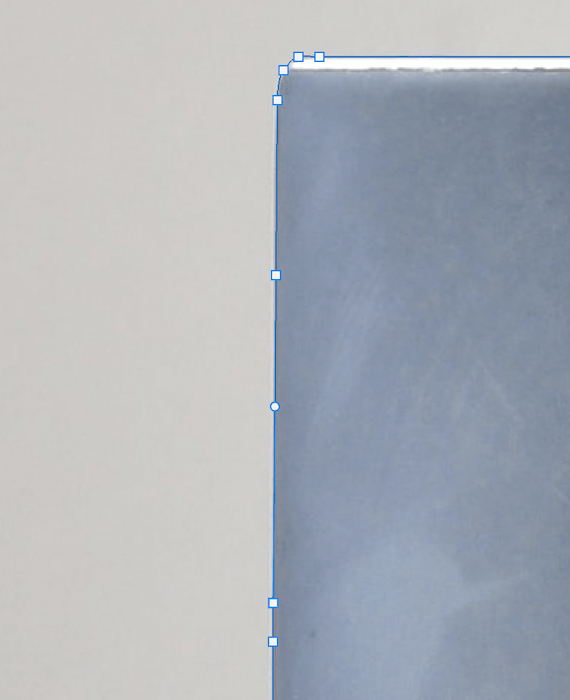
Step 3: Create a Curved Path Segment
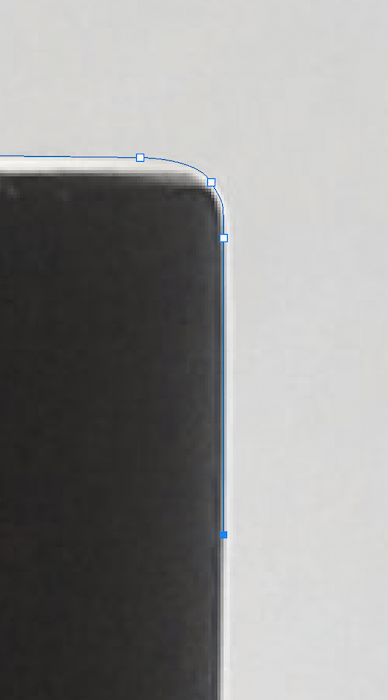
Straight lines are pretty easy to make. Curves are a lot trickier. When approaching a curve, make sure the last anchor point sits before it takes place.
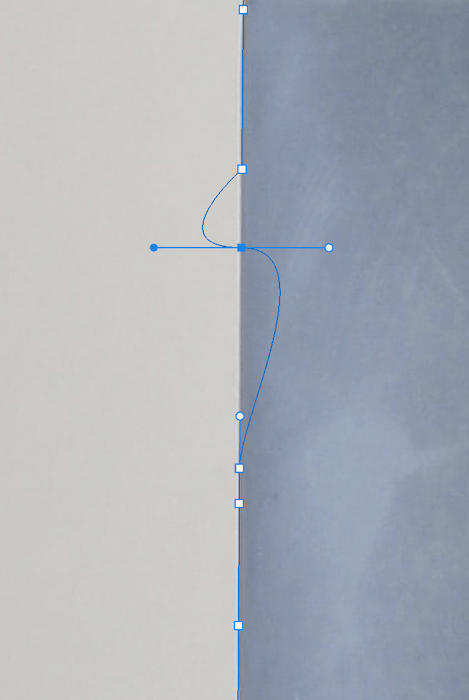
Next, click where you want the next anchor point. But before releasing the click, drag the selection around (and don't let go). This creates a reference line from our last anchor point to our new one and another equidistant reference line. We call the two sections of the reference line “handles.”
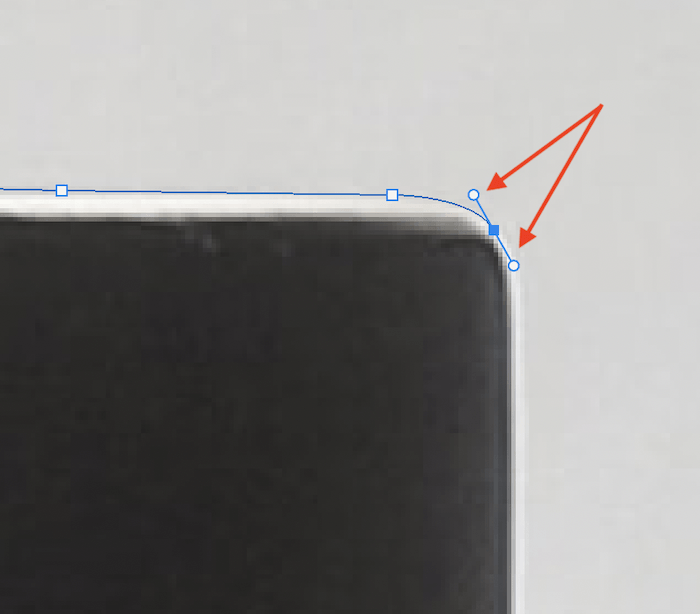
By dragging the selection around in different directions, we can find a curve that matches the shape of our subject. If not, we can always zoom in and try putting our anchor points closer together.

A helpful tip is to follow your outline's trajectory when holding down the click. This can usually produce an accurate curve for your subject.
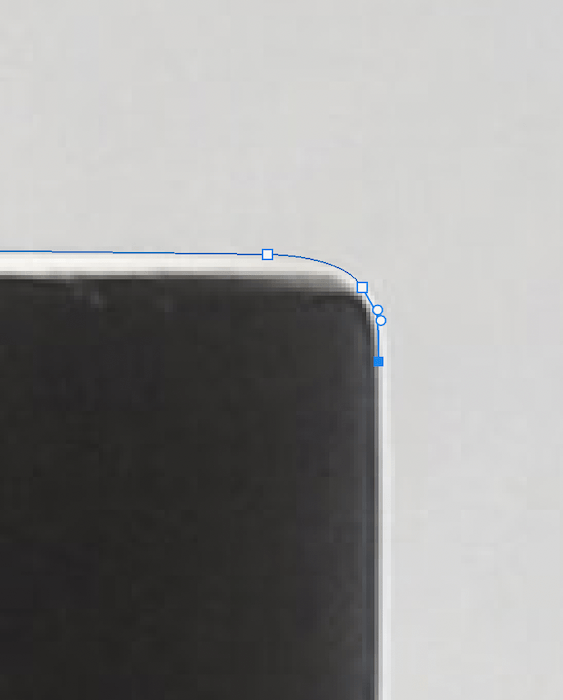
Notice the progressing handle remains after we have made our new anchor. It ensures the next curve is based on the last curve's information for better accuracy.

Step 4: Create a Straight Path After a Curved Path
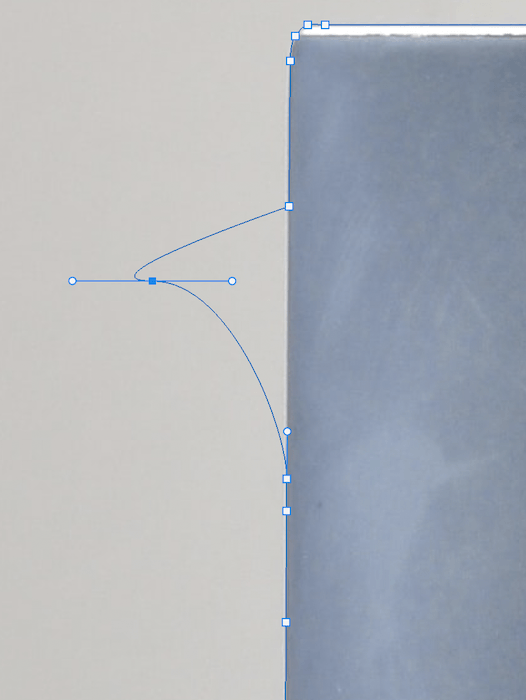
Sometimes we don't want the information for the last curve. Typically this is because of a drastic change in shape. We can always take off the progressing handle. For this, all we have to do is hold Alt/Option and click the previous anchor point.
Now we can carry on and create straight lines again.
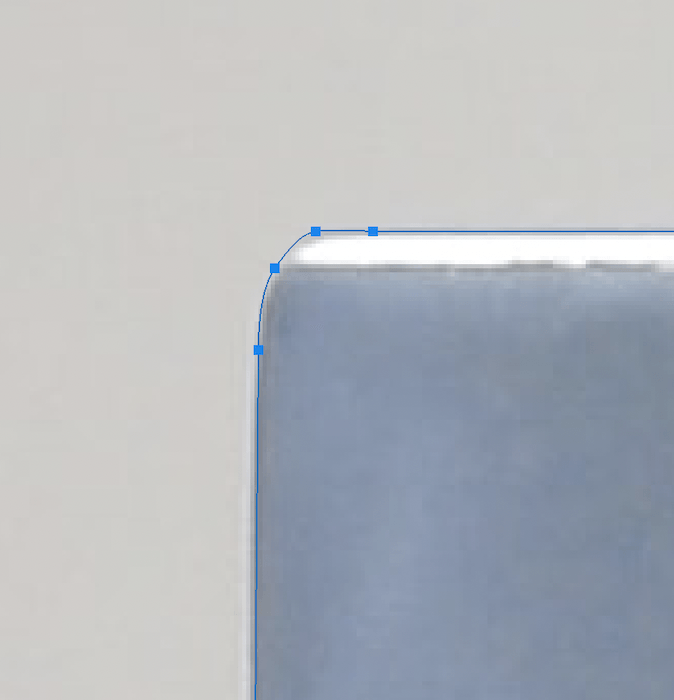
Step 5: Close the Path
We want to close our path when we have almost made it back to your first anchor point. Place a point close to the first one.
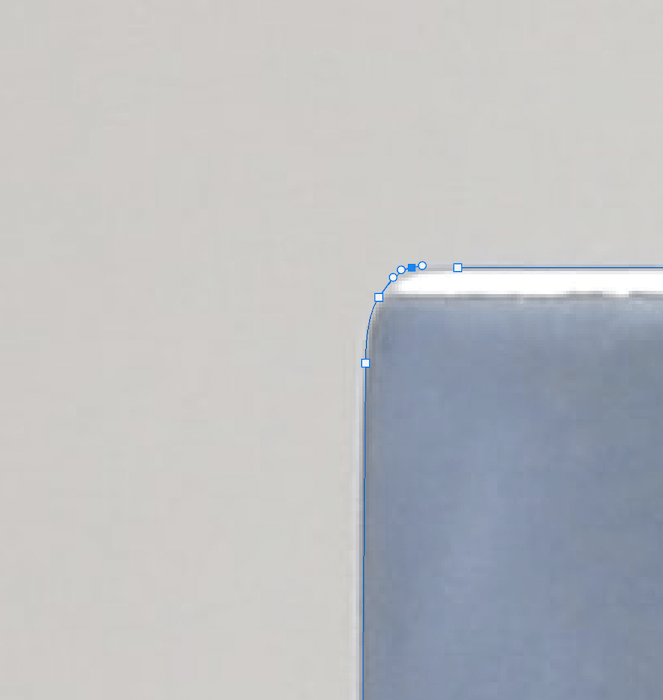
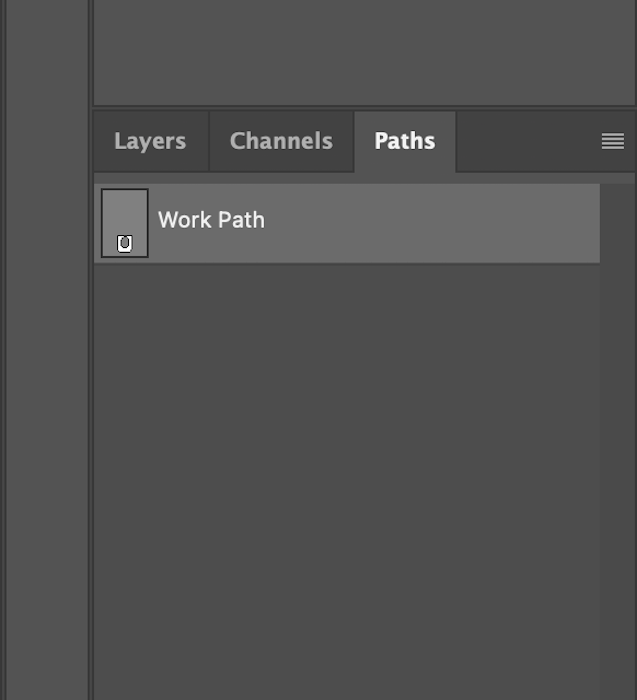
When we hover over the first anchor point, a small circle will appear to the right of our Pen tool icon. We can then click on our first anchor point and close up our path.
How to Save a Path
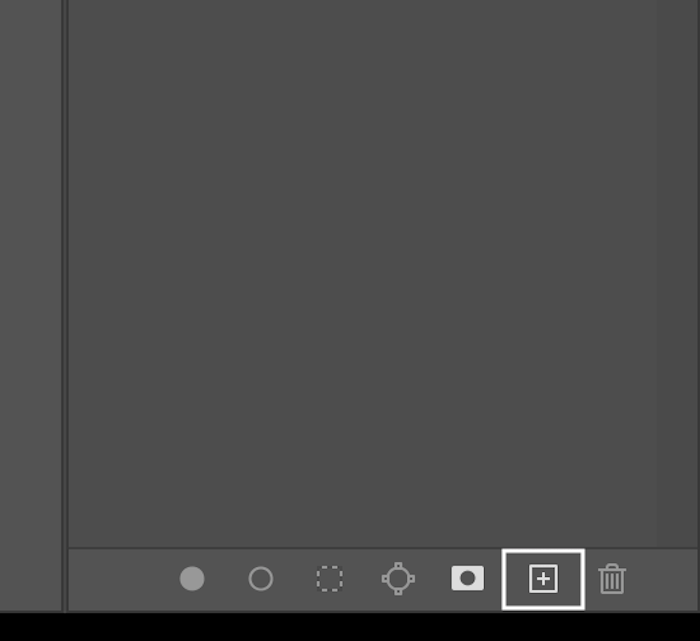
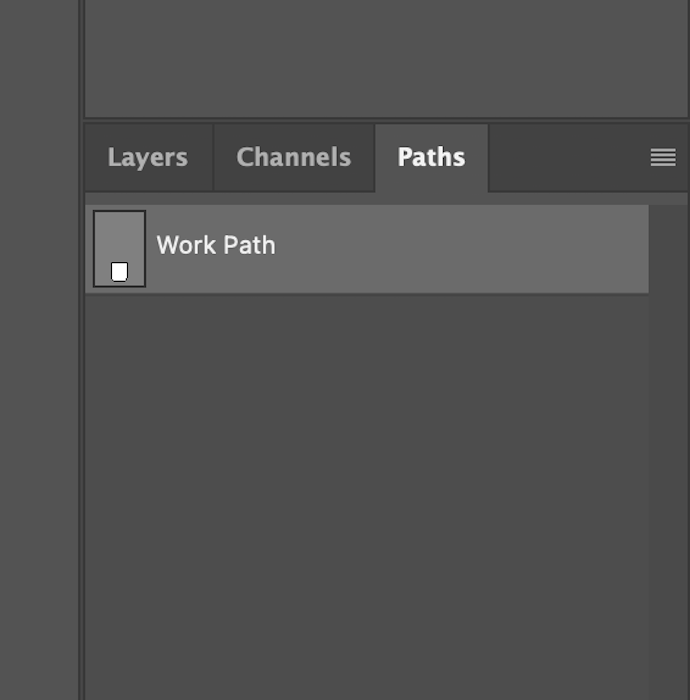
Saving our path ensures our current one is still available after creating others. To do this, go to the Paths panel. You will find it to the right of your Layers panel.

Here, we can click “Create new path”—the plus sign icon along the bottom. It makes our current path disappear and gives us a blank slate for the following path.
How to Modify Existing Paths
If you need to make adjustments, don't worry! We don't have to make a path all over again. We can still edit it after it has been closed. I will now talk you through how you can edit a closed path.
How to Make a Path Inside a Path
You will find many of the subjects you try to cut out will have sections inside—not part of your subject. We have to cut these sections out of our selection to fully isolate our subjects with a new path.
First, we want to ensure we have our path selected in the Paths panel.
Original
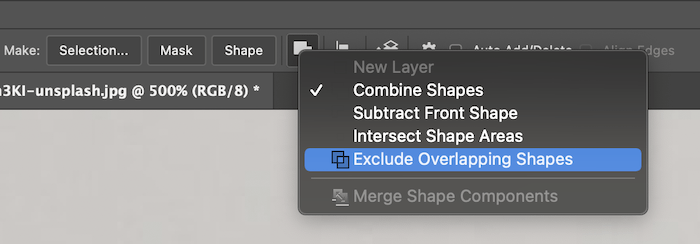
Next, head to the toolbar at the top and click on the icon that looks like two overlapping squares.

Select "Exclude Overlapping Shapes" from this drop-down menu.
Creating and closing a new path will automatically take out this section from our original path.
A section cut out of the original path
How to Add a New Anchor Point
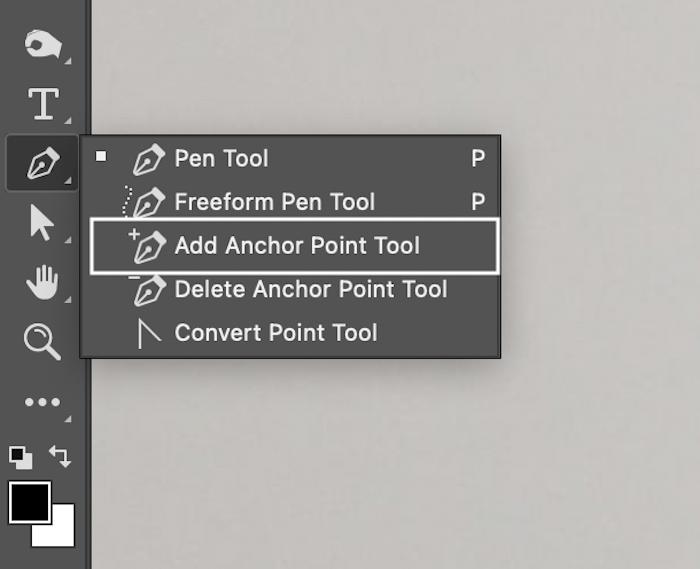
To add a new anchor point to your path, click on the Add Anchor Point tool. It's in the exact location as the Pen tool.
Click anywhere along the path to add a point.
Hold down your click if you want to add a curve to and from your point automatically.
You can use the Direct Selection tool to edit the placing of your new point.
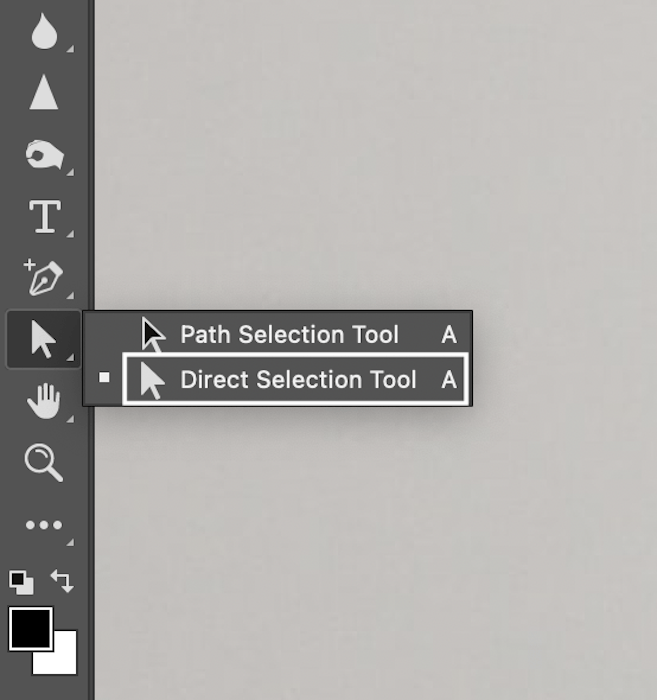
Double-click the anchor points you want to move with this tool selected. When the handles come up, you can click and drag the anchor points.
How to Remove an Anchor Point
Select the Delete Anchor Point Tool from the Pen tool selection to remove an anchor point.
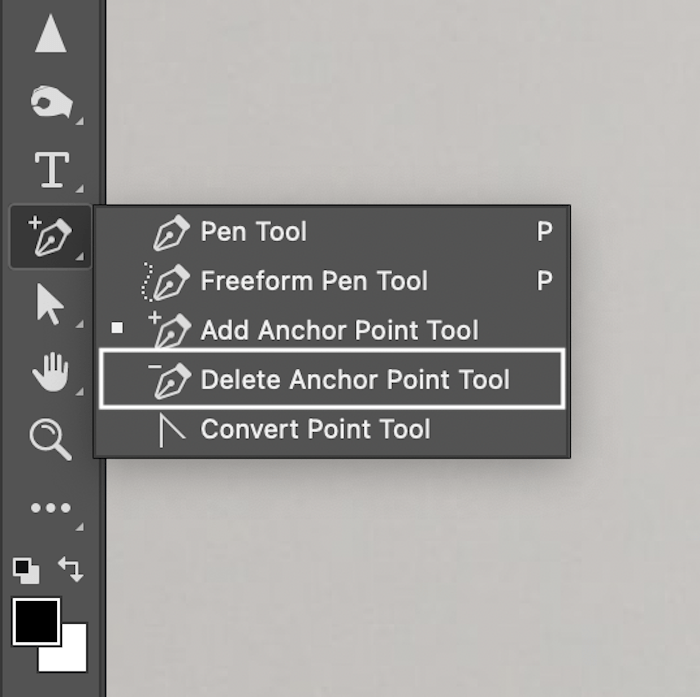
Hover over a point and click to delete. Be careful. Deleting an anchor point also deletes the curvature that passes through it.
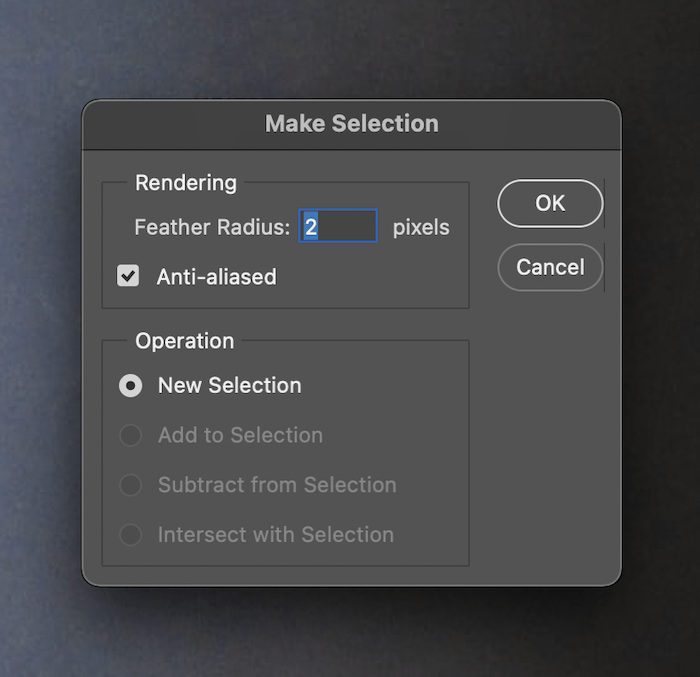
How to Make a Path a Selection
After we close our path, we most likely want to make it a selection. Go to the top toolbar and press "Selection."

This will bring up a new dialog box. If you strictly want the path to start or end along your set line, choose a zero-pixel feather radius. I usually have a two-pixel feather radius because the blending can look more natural. Anti-aliased should already be auto-selected.
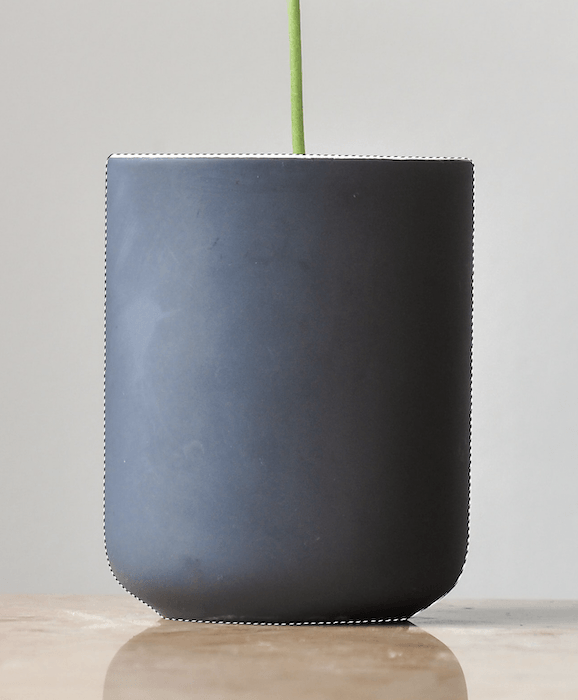
“Marching ants” will appear around our selection. After making the selection, we can create layer masks and edit the subject in many ways!
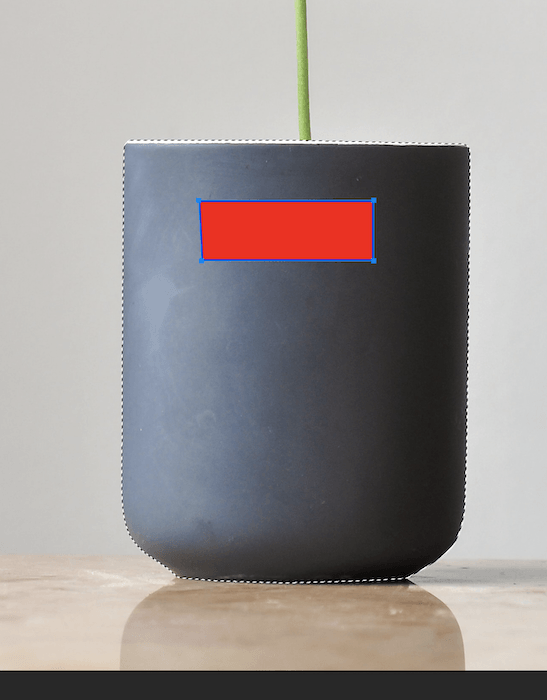
How to Make a Shape
Making a shape is the same as making a path. We start by selecting the Shape mode along the top toolbar.
![]()
Here, we select the shape's stroke (outline) and fill.
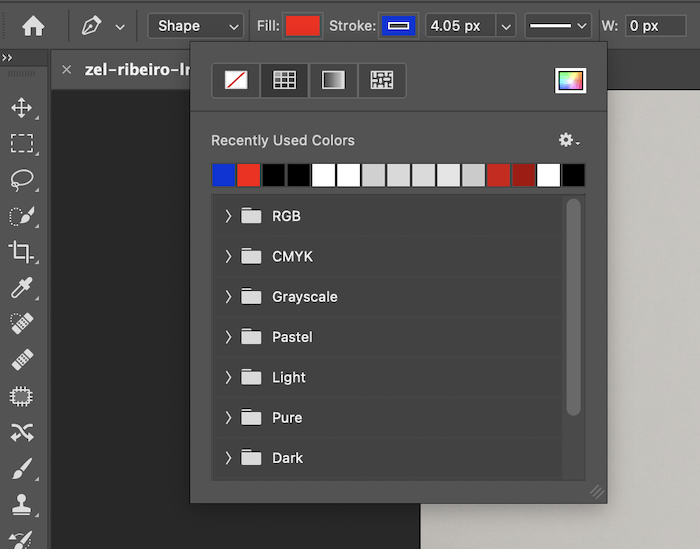
After we make these settings, we can shape them the same way we make a path. Hold down the Shift key before placing your next point to make shapes with straight lines.
Conclusion
The Pen tool is crucial for making selections in Photoshop. And for professionals, these selections need to be pixel-perfect. It may seem like a long, laborious process. But the more you do it, the more it will become second nature. You'll wonder how you ever managed to edit images without the Photoshop Pen tool!
Try out our Digital Dreamworlds e-book to create stunning digital collages!


