White balance is one of the most important aspects of photography, and it’s also one of the easiest to adjust in Photoshop. In this tutorial, we’ll show you how to master Photoshop white balance.

Understanding Photoshop White Balance and Its Importance
Often, the colors of our images precisely match the scene you are capturing. But other times, the picture looks much warmer or colder than in reality.
If the colors look off, then setting your white balance in-camera is the best way to go. Doing so ensures that the lighting in your image matches the scene you’re photographing.
Your camera has built-in white balance settings that automatically change the image color for you. But it also has custom options that let you adjust everything according to your specifications. Furthermore, you have the opportunity to tweak your files even more in post through Photoshop or other editing software.
Understanding Color Temperatures
Light ranges from warm (yellows and oranges) to cool tones (blues), and every situation is different. For instance, the color casts are about 1,700 K for a match flame. Then it goes all the way to 10,000 K for a partly cloudy sky.
The chart below shows the color temperatures of various light sources.
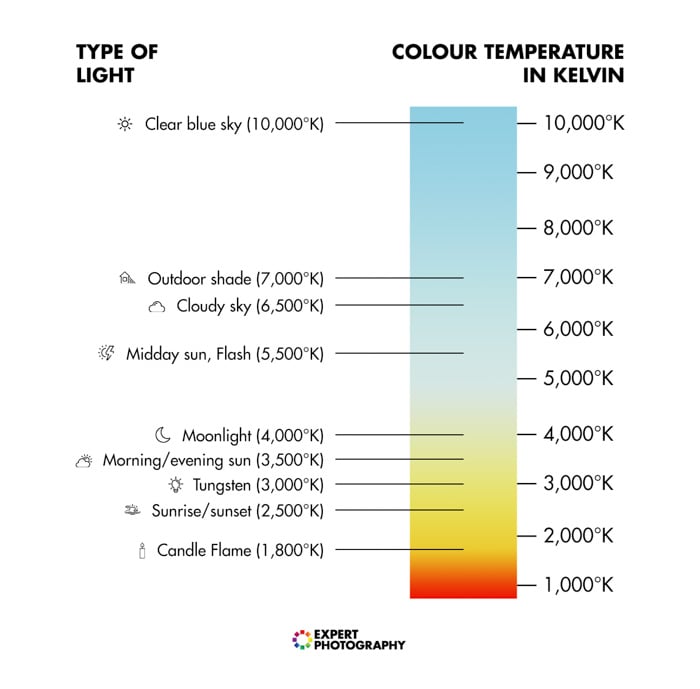
Tungsten or Incandescent lamps produce yellow and warm light.
Fluorescent lamps typically emit white or bluish light.
Halogen lamps are brighter and whiter than regular fluorescent lamps.
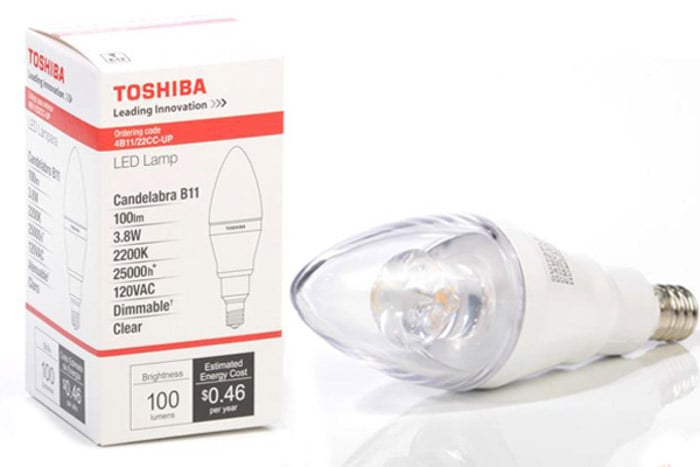
Sometimes, you can see the Kelvin color temperature on the bulb’s packaging. Use it as a guide to help you set the WB correctly on your camera.
How to Adjust White Balance with a Color-Checker and Grey Card
How do you fix white balance in-camera? Apart from the auto WB settings, you can also use the color checker and the grey card.
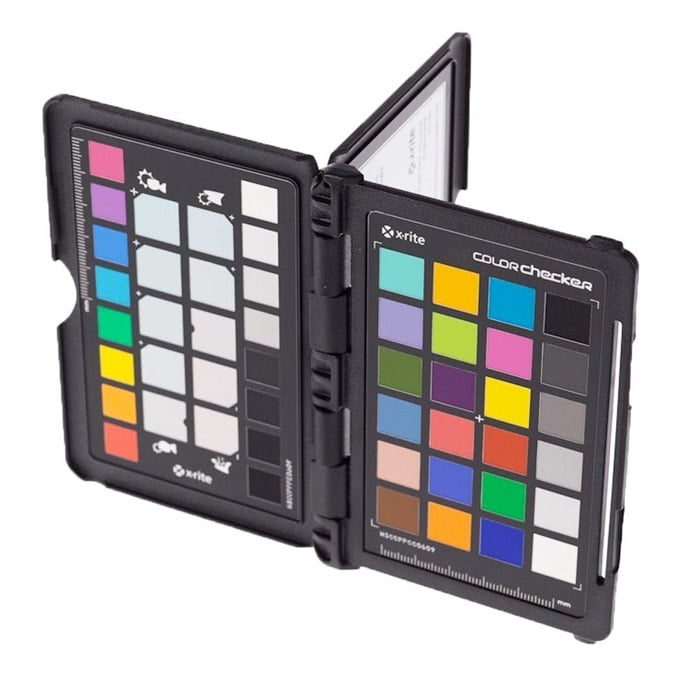
A color checker is a great tool to help you achieve color accuracy.
This tool is a card that opens up to show an array of colors. You typically photograph it in front of the lighting setup before you begin the shoot. You later use it as a reference in PS when setting your WB.
A gray card works similarly to a color checker. It helps produce consistent image exposure and color in photography.
We recommend the Lightdow 12 x 12″ White Balance 18% Gray Reference Reflector.
How to Adjust the White Balance in Photoshop
So how do you adjust the white balance in Photoshop?
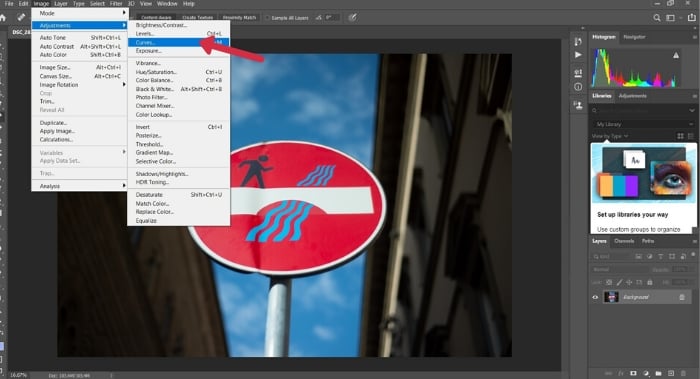
The best way to correct the light is by using Curves. You can find it in Image > Adjustments > Curves.
Set the White Point
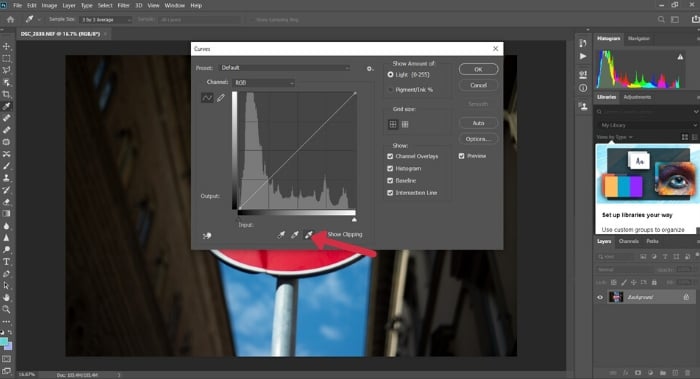
You’ll see a few dialog boxes pop up. But right now, all we need to focus on are the eye droppers at the bottom.
On the far right, we have the highlights eyedropper you can use for setting the white point. Click on it to select it.
Your cursor should turn into an eyedropper tool. Now find the whitest part of your image. If you have a color-checker, find the corresponding box and click it.
Set the Grey Point
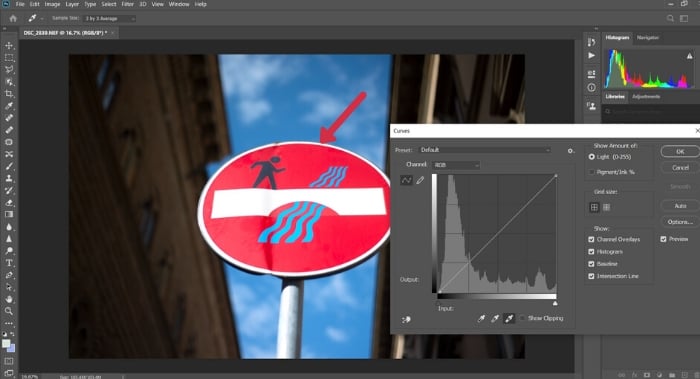
Next, click on the middle eyedropper icon. We use this for setting the grey point in the mid-tones of the image. If you have a grey card, this would be perfect for it.

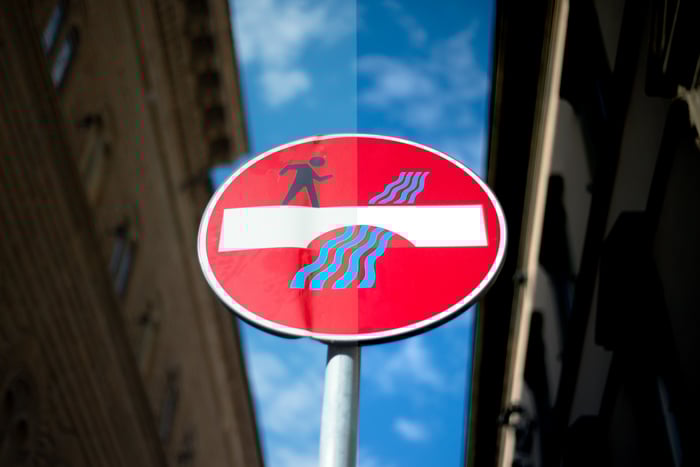
If you don’t have a grey card, find an area that has a moderate amount of color and light. In this image, I clicked on the street sign pole.

Set the Black Point
Next, select the left eyedropper icon. You use it to set the black point in the image.

Find the darkest part of your picture (preferably black) and click on it. Here, I selected the black area around the house to the left as my sample point.
I picked this area as it has the most amount of shadow in the image.

You may find that this changes your digital image, and makes it much darker than you would prefer.
So, we use the curves to tweak the outcome.

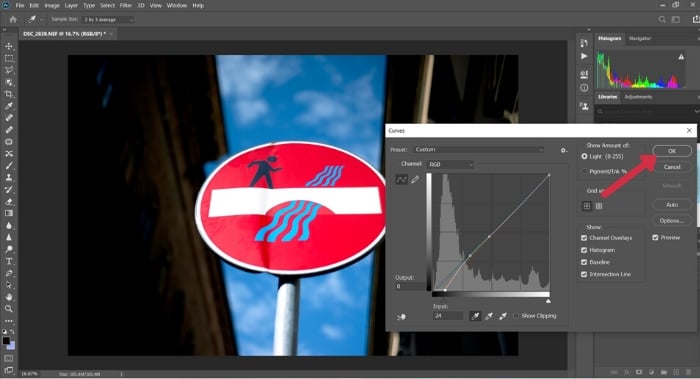
Click and hold onto the small box in the bottom left corner of the curve box, and drag up. This way, we add a little more light to the scene. By moving it up vertically, we increase the exposure.

Increase until you feel happy with your image and press OK.
Here is our photo, with a before (left) and after (right). The changes are subtle, but as you will find, everything looks more vivid and realistic.
Conclusion
It’s crucial that you color correct the white balance in Photoshop for all your pictures. Doing so allows your pictures to have a more precise rendition of the colors you see in real life.
If you’re doing paid photography, invest in a color checker or even just a grey card. These simple tools will help you reach accurate tones, especially in high-contrast photos.