Photography is painting with light. Understanding light for photography is absolutely crucial.
Portrait and other studio photographers study light to control it more precisely. Landscape and other outdoor photographers recognize different types of light. They plan and take advantage of naturally occurring illumination.
In this article, we will explore 12 photography lighting facts covering the basics. By the end, you will understand how to use light in photography to make your best images.
1. There’s No “Good” or "Bad" Light For Photography
Despite what others may say, there is no such thing as "good" light or "bad" light. There is only light. It may be the type of light you want. Or the light might have a characteristic that you do not like. The light itself is what it is.
You decide whether it is right for your photography or not. You can look at a scene and decide that the light is not what you are looking for. But another photographer may find the same light fascinating.
Some photographers like shooting into the sun for flares, while others avoid this type of light.
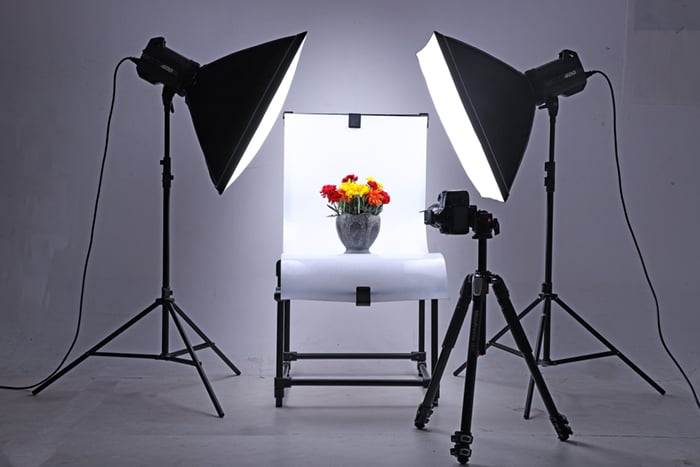
2. Know the Difference Between Natural and Artificial Light
Photographers distinguish between a natural and an artificial light source. The sun is the most obvious naturally occurring light source. It is used by landscape, travel, and wildlife photographers. Outdoor portrait photographers who use few or no speedlights refer to themselves as natural light photographers.
Artificial light is anything manufactured, including studio lights, flashes, and household lightbulbs.
However, light behaves similarly regardless of where it comes from. So approach them in the same way.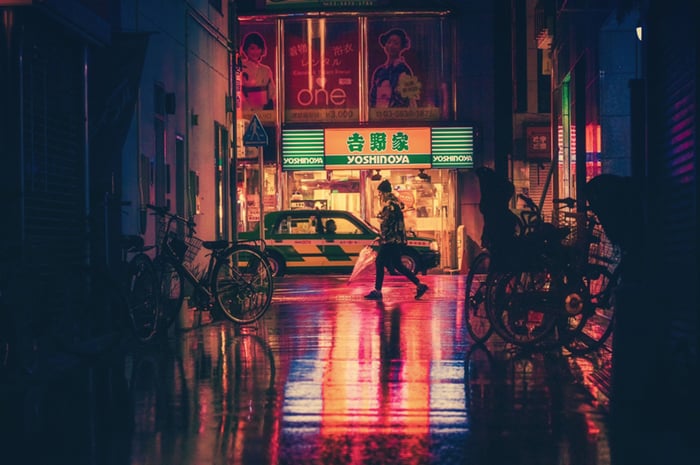
3. Use Soft or Hard Light Depending on Your Desired Outcome
Light has a hard or soft quality. You can see this quality of light in the shadows it creates. Hard light creates shadows with sharp edges. The shadows made by soft light are more diffuse. At first, you may not even see the latter because light gradually falls away from a person or object.
Portrait photographers usually favor soft light because it’s more flattering. It can be created by bouncing light with either a reflector or a diffuser. You can also make your own DIY reflector easily at home.
Outdoor photographers find softer light in the mornings and evenings. Light is usually harsh in the middle of the day. But clouds are natural diffusers and create soft light.

Hard light makes a distinct line and shadow.
4. Use Side Lighting to Show Texture and Depth
The position of a light source to your subject matters. A light source placed to the left or right side of your subject shows surface texture. This is called side lighting. We see the texture because the light casts shadows. Many portrait photographers avoid this type of lighting because it shows skin texture, like wrinkles or acne. But side lighting is used when photographing athletes to show muscle contour.
Shadows created by side light increase drama and add more depth to a scene. You can decide whether they are flattering or unflattering. In some types of photography, the shadow can be the subject of the image. But long shadows under the eyes and nose are often avoided.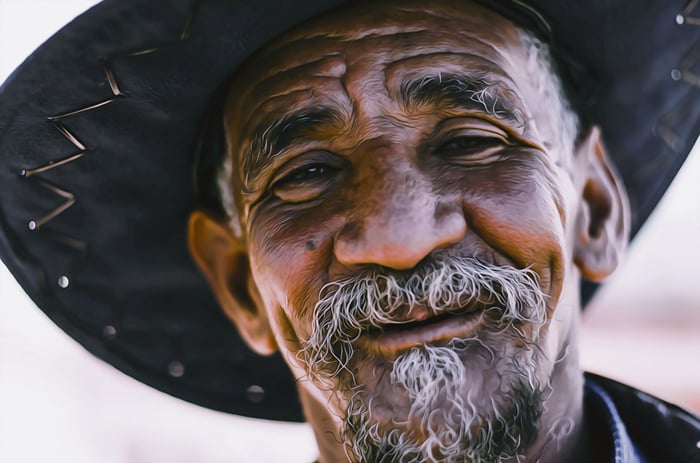
5. Use Front Lighting to Flatten A Scene
A broad light source positioned in front of a model reduces shadows. Without shadows, there is no depth. The look is flat. This is one reason portrait photographers use off-camera lights instead of a flash mounted on their camera. The camera flash in front of the subject creates an intense and harsh light.
Off-camera lights are often placed to the front and side of the model. This splits the difference. You get some depth, but minimize unflattering textures.
The midday sun produces flat light for a similar reason. The sun positioned directly above a scene does not cast shadows. There is no depth or texture, so the lighting is flat.
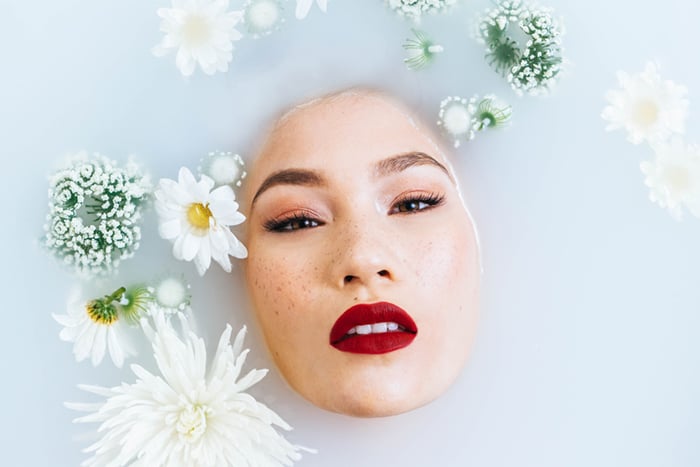
Front lighting de-emphasizes shadows and texture.
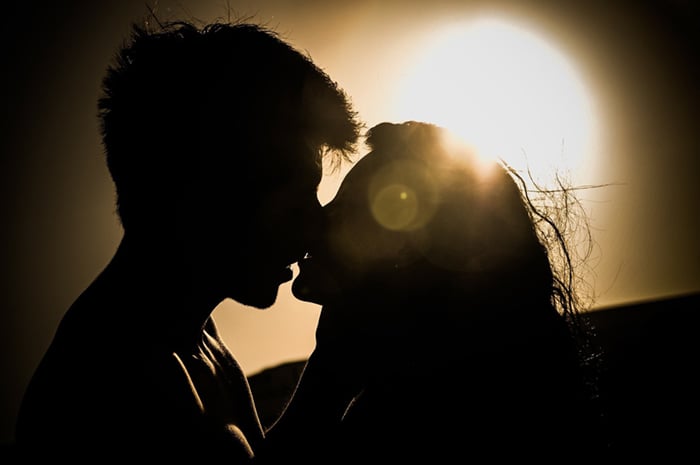
6. Use Backlighting to Create Silhouettes
Backlighting is when you place the light source behind your subject. The light is blocked, creating a silhouette.
A silhouette shows the outline or form of your subject. But the detail in the front, away from the light, is in shadow. You can create dramatic silhouettes by placing the sun behind your subject.
With studio lighting, photographers sometimes use backlighting to highlight hair or emphasize form. But a light behind the subject is usually not the primary light.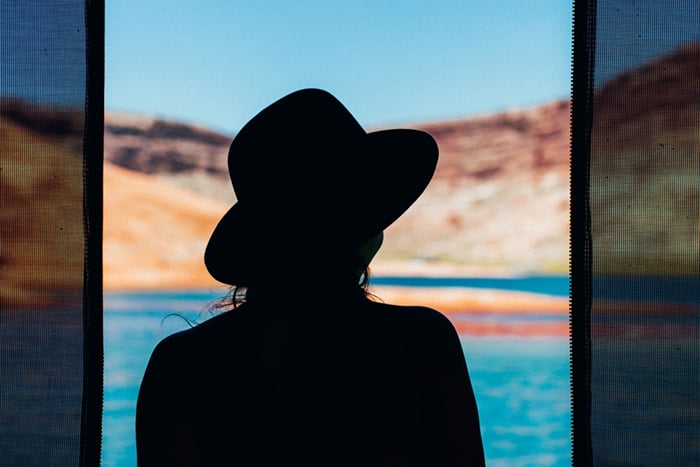
7. Find Reflections of Light to Add Depth, Dimension, and Sparkle to Images
Some surfaces absorb light. Others, like water and glass, reflect light. Photographers often use reflections to add depth and dimension to a composition. A drop of water can reflect an entire world.
Landscape photographers use reflections that occur naturally in lakes or rivers. Street photographers look for reflections of urban street scenes in a puddle of rainwater or a window.
Portrait and wildlife photographers love to see catchlight in the eyes of their subjects. They are a reflection of a light source on the surface of the eye.
But reflected lights can be a challenge for product photographers when shooting surfaces like metal. A highly polished car reflects studio lights and other things in the immediate environment.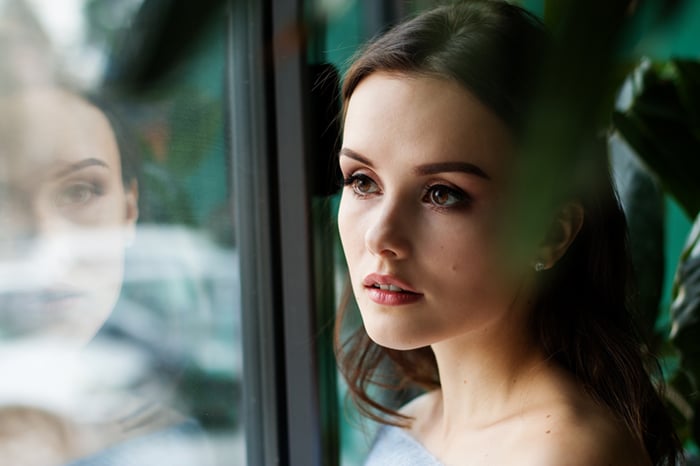
8. Know How Light Bends to Create Different Effects
Light moves in a straight line unless it meets an object or substance that causes it to bend or refract. Any light that moves through water, plastic, or glass bends and creates interesting effects. For instance, a glass of water against a graphic background creates distorted patterns because light waves bend when going through the water. Crystal balls refract light waves, flipping a scene upside down.
Diffraction is when light bends around an object. For example, at a high aperture, light coming into your camera squeezes through the aperture blades inside your lens to get through the small opening. This creates a starburst effect.

Light bends in water, distorting the limes behind the pitchers.
9. Bounce Light Off Surfaces to Spread and Soften It
Surfaces do not need to be reflective to bounce light. Aim a light source at a white wall. The light will bounce and spread. This is a favourite trick of portrait photographers.
A speedlight mounted on the camera will create flat light if it is aimed directly at the model. But twist the flash to face a wall or straight up at the ceiling to bounces light off the surface. The light softens and hits the model at a more flattering angle.
Reflectors do something similar, and they are flexible to use. Use reflectors to bounce light from the sun onto a subject to lighten shadows. Outdoor macro or nature photographers can use reflectors to fill in shadow detail.
Light bounces off a white wall to illuminate the model.
10. Know How the Color of Light Affects Your Subject
All light has color. Different light sources have different colors. The color of light is referred to as its temperature or white balance. Temperature is measured along the Kelvin scale, and it is described as warm or cool. Warm light has a yellowish tint. Cool light has a bluish tint.
The most obvious place to see the tint is on white surfaces. Our minds adjust what our eyes see. Even if there is a color cast, our minds know the surface should be white and compensates for the tint. But our cameras faithfully record the light's color.
When light hits a colored surface, it picks up a tint. For instance, portrait photographers need to be aware of the green tint in light if taking pictures of a model on grass. The light tints the skin with an unflattering green.
Most photographers adjust the white balance in post-processing. They aim for true white or can artistically adjust the light to be warmer or cooler.
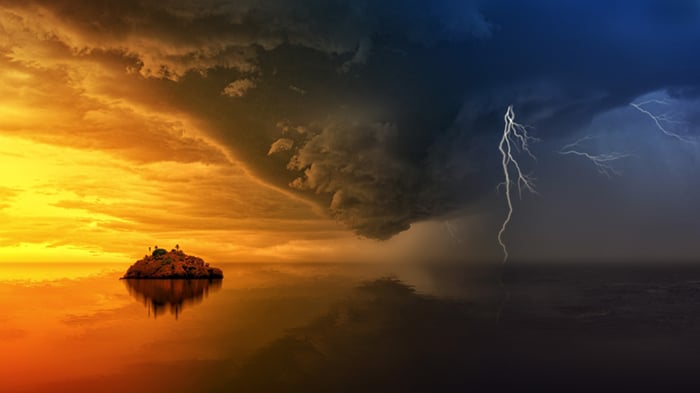
Light can be warm like on the left side or cool like the right side.
11. Change a Light's Intensity By Moving It or Using Diffusers
Each light source has a certain intensity. With studio lighting, there are many ways to vary the strength. Most studio lights let you change the strength of the light. They are measured in watts per second (e.g., 200 w/s). More expensive studio lights will generate a more powerful light.
Distance also affects the strength of the light. It makes the lighting dimmer. In a studio, moving a light further away from the model weakens the light. But the light also spreads out, creating a more diffuse light. So, more of the area around the model is lit, including the background. This is called “light falloff.” To avoid it, bring the light closer. This also intensifies and creates a broad light source.
In an outdoor situation, the light in the shade is dimmer because some of it is blocked. A diffuser placed between the subject and the light source also blocks light. This can eliminate squinty eyes. At the same time, the diffuser is spreading out the light for a more flattering look.
In low-light situations, photographers can use camera settings to make the image brighter. For instance, higher ISO technology allows you to collect more light.
Light is more intense when placed close to the subject.
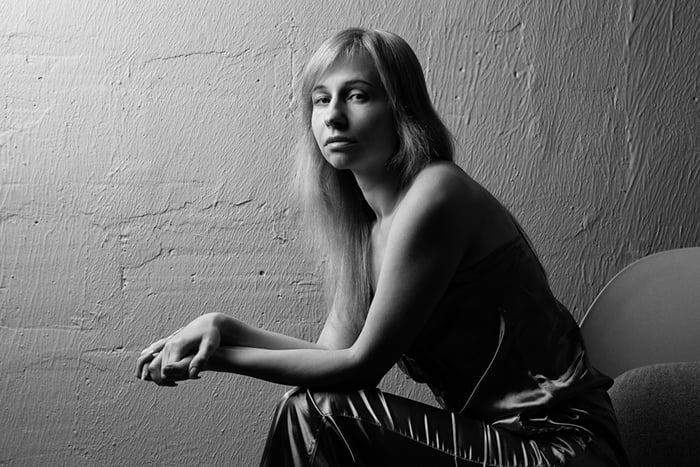
12. Block Out Light to Create Patterns
You can create patterns with shadow and light by blocking some of the light. Patterned light is called Chiaroscuro lighting after the technique used by Renaissance painters. It translates to "light” and “dark."
Photographers look for patterns created by architecture or environmental shapes. Or they can create patterns in the studio. Light and shadows become graphic elements in the frame.
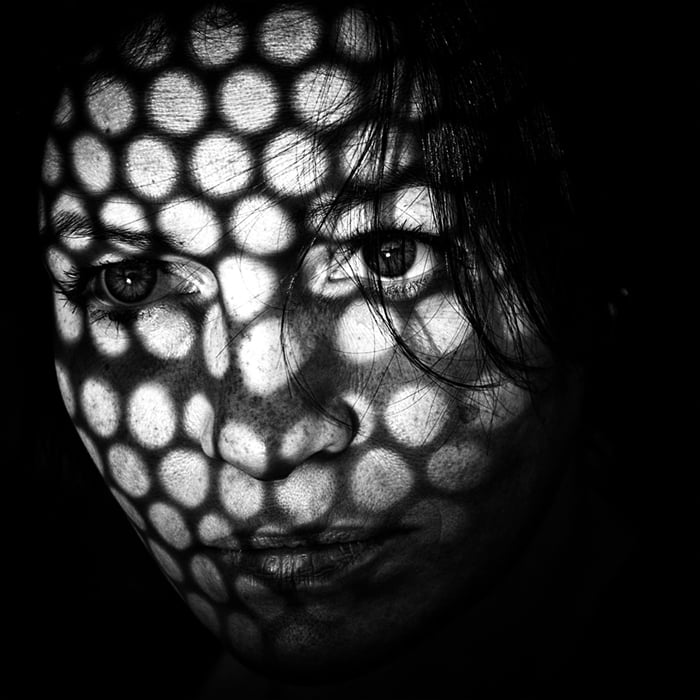
Patterned front light creating graphic elements on a face.
Conclusion
Understanding light for photography basics is essential. These 12 photography lighting facts show many ways to see, use, and manipulate light to create amazing images. Now, you have to decide how to use light in your photography best. We hope a better understanding of how light works helps you create your best images.
Do you want to learn the correct way to capture light trails in images without overexposing the lights?
Check out our Infinite Exposures course to learn how how to take stunning long-exposure images.


