Lighting gear prices can push into the four digits. But a photography reflector is as little as $20. And you can use it to manipulate light for some serious pop.
So how do you take a piece of shiny material and turn it into a tool capable of delivering pro-level images?
Here's a quick guide on how to use for photography.
Benefits of Using Photography Reflectors for Light Control
A photography light reflector bounces existing light. And re-directs it back onto the subject. Reflectors are excellent tools for adding fill light. They can also create catch lights in portraits. And prevent a silhouette or enhance a product photo.
And they are also affordable accessories. They don’t even need batteries, buttons or cords.
Photography reflectors are stepping stones to introduce beginning photographers to lighting. But many pros use them for their ability to create soft, flattering light. Right next to their very expensive studio gear!
There is nothing easier than using reflectors in photography. Unwrap and use it to bounce the light to where you want it to go.
How To Use Light Reflectors For Photography
1. Which Photography Reflector Should You Use
Photography reflectors are very simple tools. But there are a few different types. All reflectors bounce light, but a few subtle changes will affect how that light bounces.
Size is the biggest consideration. The larger a light source is, the softer the light. This is a concept that applies whether you are using a strobe with a softbox or a reflector.
A larger photography reflector will have soft light. This creates a softer transition between the light and dark areas of an image.
With a large reflector, the shadows are less noticeable. Additionally, larger reflectors tend to be more flattering for all skin types. You may want to keep this in mind for portrait photography.
Smaller reflectors create hard light. This means more noticeable shadows. And less transition between the light and dark areas of the image.
The photography light reflector also needs to be a bit larger than the subject. A 45-inch light reflector will work for one or two people, but not large groups.
Larger light reflectors are more common because of the soft light. Remember though, the larger the light reflector is, the harder it is to hold it without asking for help.
A 40-45 inch reflector is a great size. Anything over 50 inches gets hard to manage without recruiting some extra hands.
You can use smaller reflectors for smaller subjects and to create that harder light.
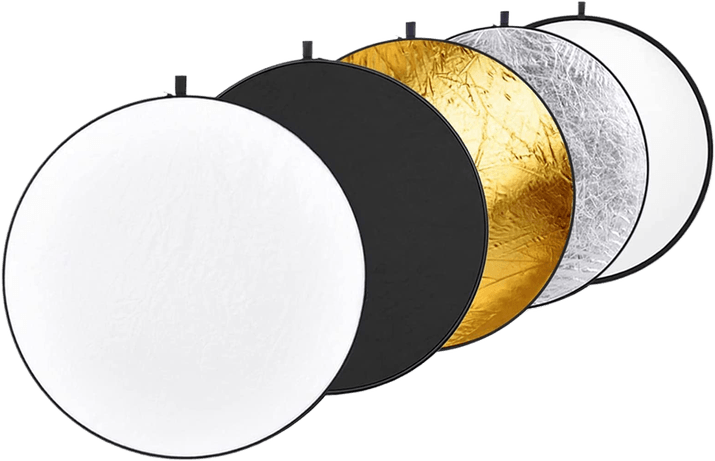
The color of the reflector also affects the look of the light that bounces back. A solid white reflector will produce a very soft light.
A reflector with a silver side will reflect more light back than the white. This creates a harsher but more powerful light. A gold reflector is like the silver reflector, only it will give the subject a warm glow.
Many light reflectors come in a five-in-one kit so that you have all those colors available. You can also opt of a collapsible reflector, like this Westcott Photo Basics kit.
It folds down to 1/3rd of its open size and is lightweight. This makes it easy to carry with you when you’re not doing studio photography.
So what are the other two reflector colors? They aren't actually "reflectors” if you get technical.
The black side of the photography light reflector will block light. This can help you create your own shade.
A semi-transparent white is a diffuser. Place this between the light and the subject to soften the light, not reflect it.
You can easily find a reflector kit online. For example, 5-in-1 reflectors are readily available on Amazon and, also, very affordable.
I spent less than $30 on my first five-in-one, and it was still a rather large 42-inch size.
Shape isn't quite as essential as size and color. But there are several different shapes of light reflectors available.
The shape of the reflector will change the shape of the catch lights in a portrait. So choose the shape that you'd like to see reflected in the subject's eyes.
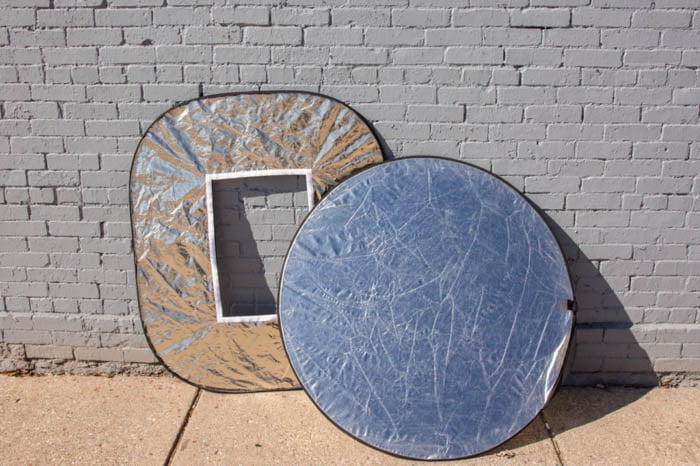
There's one more type to consider: shoot through reflectors. These are regular reflectors with a hole cut in the center. You stick your camera through it.
Shoot through reflectors work great for backlighting. And they tend to be easier to manage yourself. But they’re also pricier. (Yes, you could cut a hole in a cheap reflector and make your own).
2. How to Check the Light in Your Scene: Intensity and Location
Photography light reflectors bounce back existing light. You need to determine how intense that light is and where it is coming from.
This way you’ll find out how to use that light to create your image. Reflectors can bounce back any type of light. This includes studio lights, as long as there's enough light there.
Sunlight, a window or door and existing manmade lights in the scene also work. Flashes and strobes, can also work with photography reflectors.
First, make sure there's enough light to use the reflector. Camera reflectors for photographers can't create light, so there has to be enough light to begin with.
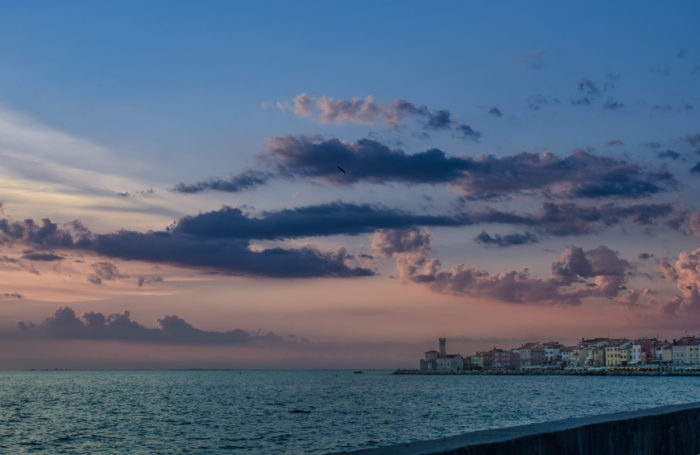
On a sunny day, I can use my reflector as a fill flash for backlighting or adding creative lighting effects.
On a cloudy day, there's not enough light to create dramatic effects. But I can still use my reflector in more subtle ways to fill in shadows.
Indoors, reflectors work well with window light and alongside flashes and strobes.
The direction of the light will tell you where to place the photography reflector. It has to actually bounce back the light. So first things first, note where the light is coming from.
You'll get the brightest reflected light straight across from the light source. You can use the light reflector at an angle to that original light source as well.
Pop that light reflector open, and if you are using a five-in-one, choose your color. With a five-in-one reflector, you'll also want to consider how intense the light is.
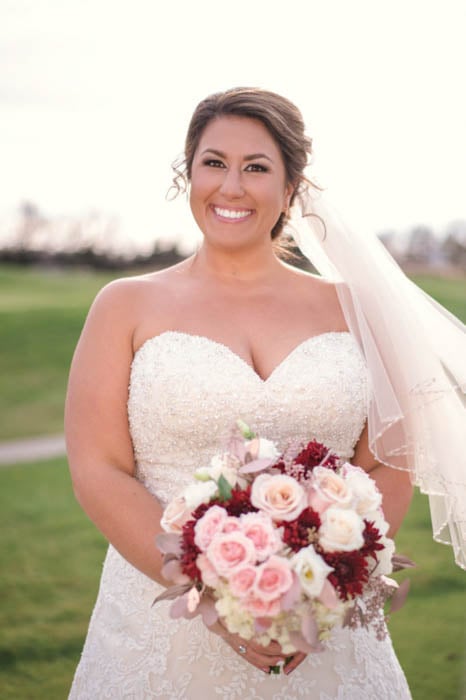
When the sun is low in the sky and not as harsh, I use a silver camera reflector for portraits.
Earlier in the day, try a silver reflector for photography and a bright sun. This can actually be strong enough to make a portrait subject squint.
If the sun is bright and higher in the sky, I'll use white instead.
3. How to Find the Reflective Angle
With the angle and intensity of light in mind, next find the best angle for reflecting that light.
Small changes to the position of the reflector can make big changes in where the light falls. As you adjust the reflector, watch how the light changes.
But where do you start? You’ll hold most photography reflectors across from the light source. But there can be some variation.
There are several different positions that often work well with a reflector:
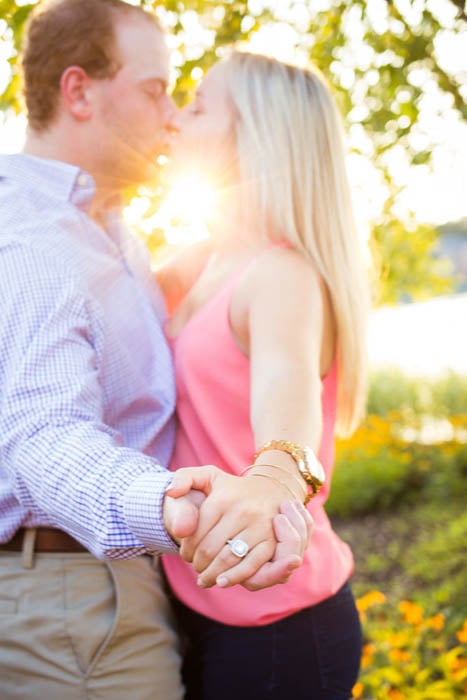
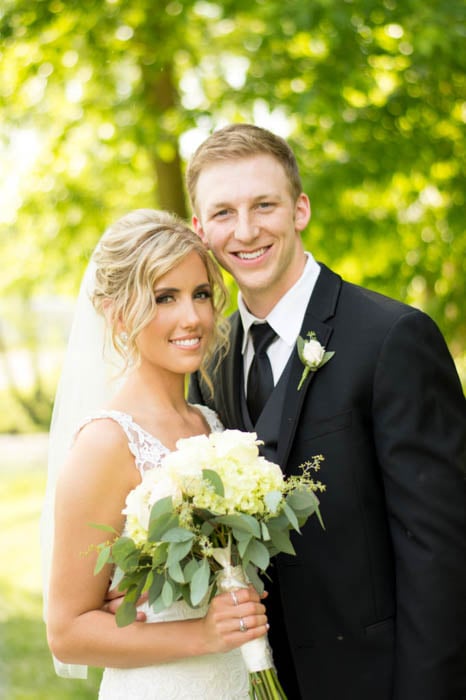
- Directly across from the light source. This will reflect the most light. It’s excellent for using backlighting. Only when the light source is right behind the subject. By reflecting the light back on the subject, you will keep the subject well lit. And still leave the details in the sky intact. This is my go-to camera reflector position when shooting portraits during golden hour. That’s because of the beautiful soft lighting and catchlights.
- At an angle to the light source. You can't stray too far to the side from the light source or there won't be any light to reflect back. But you can experiment and step a bit to the side of the original light source. Adjust the angle of the reflector to direct the light towards the subject. You also don't need to hold the reflector 90 degrees from the ground either. Try moving the top or bottom of the reflector forward to angle the light back where you need it.
- Parallel to the ground. Holding the reflector parallel to the light source isn't the only option. When taking a portrait, place a reflector on the ground or have the subject hold the reflector on his or her lap. This will fill in under-eye shadows. This position isn't as dramatic as holding the reflector right across the light source. But it can lead to a more flattering portrait by brightening up the eyes.
Where to hold the photography light reflector depends. Check where the original light source and the subject are.
Across from the light source reflects the most light. But try adjusting that angle, even until the reflector is parallel to the ground. This can fix unflattering shadows.
4. What’s the Right Distance for Your Reflector
You've found the right position for the photography reflector. But how close should the reflector be to the subject?
First you need to understand one of those universal lighting laws. The closer the light is, the softer it is.
Sunlight is hard light (despite the big size) because the sun is millions of miles away. Luckily, the distance of the reflector is within your control.
You need to find a position that's not so close that the photography light reflector is in the picture. But that’s not so far that its light doesn't even cover the entire subject.
Between those two extremes, distance will lead to some subtle changes. These affect how the shadows fall off.
If you bought a large reflector but want to try a look with harder light, move farther from the subject.
Want that soft portrait look? Move the reflector as close as possible. You might be holding the reflector yourself. In this case, you can use different lenses to still get the desired composition.
Another option is to recruit a friend to hold the photography reflector. This opens up more possibilities in the reflector's position.
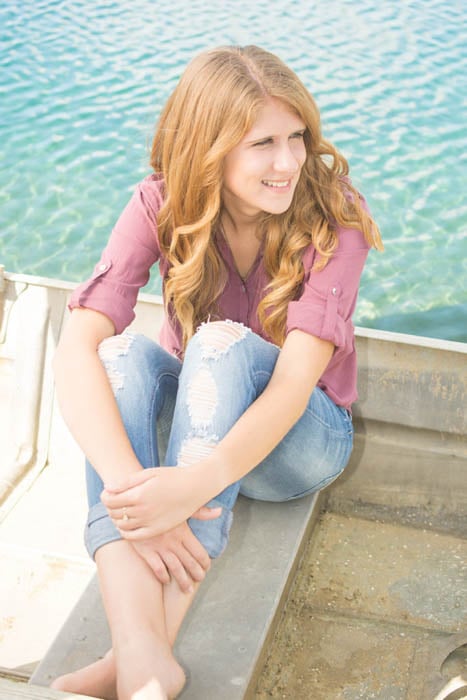
This image was taken on a cloudless day with the sun high in the sky. I made my own shade by having someone hold up a black reflector over the subject.
Check you have the right reflector. That it’s at a flattering angle and from an appropriate distance. Now you're ready to take the shot.
Compared to a reflector-less shot, you'll end up with an image with more pop and well-lit details.
Experimentation is always a great idea whenever learning a new photography technique. Try taking several images with the photography light reflector at different angles.
This is a great way to fine-tune while expanding your understanding of reflectors.
5. How to Get Creative With Reflectors
So far we've covered the traditional use of a light reflector as a fill or key light. But they have many more creative possibilities.
Especially if you picked up a five-in-one reflector.
Once you've mastered the basics, here are some other photography reflector tricks to try.
- Flex the sides of the reflector. Most reflectors are flexible. You can adjust the angle of the light, but also bend the sides in to further shape the light.
- Deepen the shadows with the black "reflector." Black absorbs light rather than reflecting it. Use this to make the shadows in the image darker by placing this black piece on the shadow side of the subject. The difference is often subtle, but helpful for creating dramatic shadows.
- Create your own shade with the diffuser. Sun high in the sky, without shade? Make your own using the semi-transparent white panel. To do this, hold it between the light and the subject. This only works with smaller subjects or a single person rather than a group. But it can make otherwise impossible images flattering.
- Reflectors can double as small backdrops. In a pinch, a reflector can also work as a small backdrop using the black or white side.
- Learn to look for natural reflectors. You don't have to have a reflector to reflect light. Understanding reflectors help you recognize natural ones while out shooting. A large white brick wall or light colored cement driveway is reflective. Standing on top of black pavement is like standing on top of that black reflector. You can't move bricks and blacktops like you can a reflector. What you can do is learn to spot good shooting spots that already have a reflector built in.
- Use a reflector with studio lights. With a reflector, a single studio light can create some two-light lighting set-ups. Place the reflector opposite a flash or a studio strobe. This can fill in those shadows for softer studio lighting.
Conclusion: Photography Reflector
In short, reflectors are a cheap gateway to photography lighting. An under-$30 photography light reflector was my introduction to lighting.
With that inexpensive accessory, I learned how to work with backlighting. And how to create catchlights and creative lighting effects.
I now have two off camera flashes to create those same effects. And yet, I often still dig out my reflector.
A reflector will bounce back natural light. This makes it easy to match the fill light with the rest of the light in the scene, no buttons and dials necessary.
A large reflector will also create a soft light that works great for portraits. It’s also useful in product photos and many other types of photo shoots.
For beginners, photography reflectors are excellent introductions to creative photography lighting.
We have a great tutorial on how to create a DIY Lightbox you should check out too!
And check out this video on using a reflector for professional photography.