Most photographers dream of owning their photography studio. But in most cases, they’re also often intimidated by the logistics and the expense.
Our short guide will help you navigate studio photography without overwhelming you.
Here’s our list of the tools you need and some tip on setting up your studio space!
The Ideal Spaces for Studio Photography
People often imagine a photo studio as a large space complete with a cyclorama and all sorts of equipment. But the truth is, you don’t always need to have a large place to take studio photos. It all depends on what
type of photography you want to shoot.
A studio doesn’t have to be big if you like doing beauty shots.
For instance, if you only do beauty and headshots, a studio the size of a 250-square foot bedroom should be enough. Of course, if you’re doing full-body shots, you need to have plenty of room for a large backdrop as your lights. In most cases, a space about as big as a two-car garage will suffice.
Since you’re only taking photos of faces for beauty shots, the space you need is smaller.
When looking for space for studio photography, also consider the number of windows on the property. If you’re a natural light photographer, you will need plenty of windows. But if you want to use artificial lighting exclusively, it would be preferable to have a place without windows at all to avoid window lights from interfering with your lights.
In reality, most photographers use both window lighting and artificial lighting. If that’s the case for you, then look for a space that lets you block out the windows when you don’t need the ambient light.
Light Sources
When starting your photography studio, consider the type of lighting you need to use. Do you often work with natural light,
flash photography, or both?
If you are a natural light photographer, then you need to have plenty of windows. That way, you have plenty of available light throughout the day.
For flash photography, it’s often ideal to have a windowless photography studio. That way, you don’t have to deal with sunlight interfering with your lighting setup.
And how about if you like mixing natural and artificial lights? Then you need to have a way to block the windows when you don’t need ambient light.
Artificial lights are useful for creating consistent results in the studio.
If you want to shoot only with ambient light in your photography studio, then a reflector or a
V-flat is all you need. As the name suggests, the reflector bounces back the light from the window back to your subject. That way, you don’t have contrasty pictures with
deep shadows.
There are tons of options for artificial lights. It mostly depends on your budget and the size of your photo studio. We’ll go through your choices below.
LED Lights
If you want to transition from ambient light to artificial lights, then LEDs are the best option for you. You can think of them as regular light bulbs with dimmers. Unlike flash, you can see how the light affects your subject in real-time.
An LED light.
These days, LED lights are cheap. You can buy studio-grade lamps for less than 200 US dollars. But keep in mind that the higher the wattage and the light output, the more expensive they tend to be.
One disadvantage of using LED lamps is that they aren’t as bright as a flash. Even when LEDs are at full power, you still may have to use high
What Is ISO? (And Why it Matters in Photography!)ISO to ensure you end up with correctly exposed images.
Speedlights
If you have a small photography studio, consider using speedlights. Apart from being brighter than LEDs, they’re generally cheaper. They’re also small enough to carry in your backpack in case you need to work outside of your photo studio.
Most people use speedlights by attaching them to their camera’s
hot shoe. But you also have the option to trigger them wirelessly especially in a studio setting.
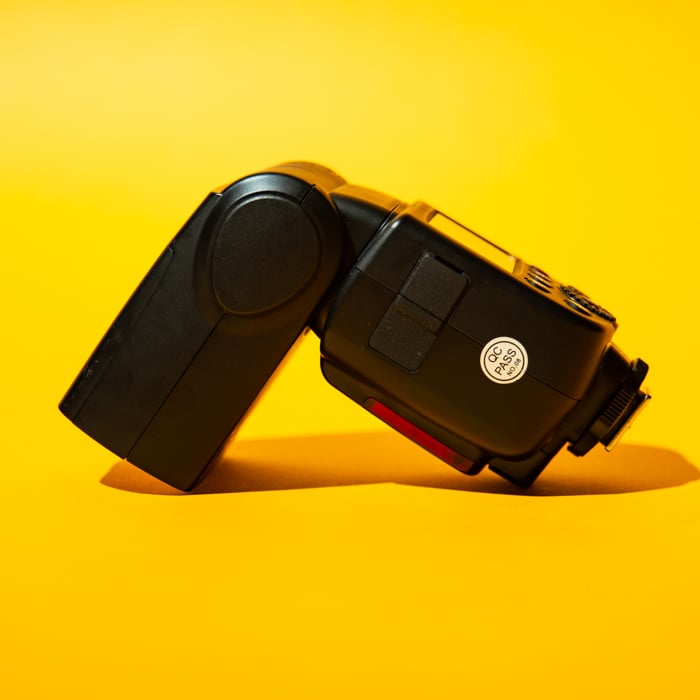
A speedlight.
Years ago, people had to buy remotes (such as the Pocket Wizards) to activate flash remotely. But these days, you can buy flashguns that have built-in triggers. Just make sure the ones you buy have a wireless feature because not every speedlight has it.
The most obvious drawback of using speedlights is that you can’t see the light they emit in real-time. So you have to do a lot of test shots to make sure they’re illuminating your subject properly. These flash units also don’t have enough power to light up large spaces. But as long as you’re aware of what they can and can’t do, they’re still a great option especially if you’re on a budget.
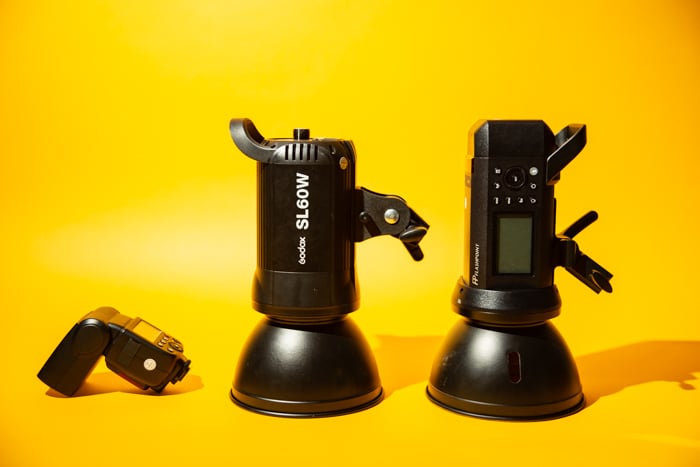
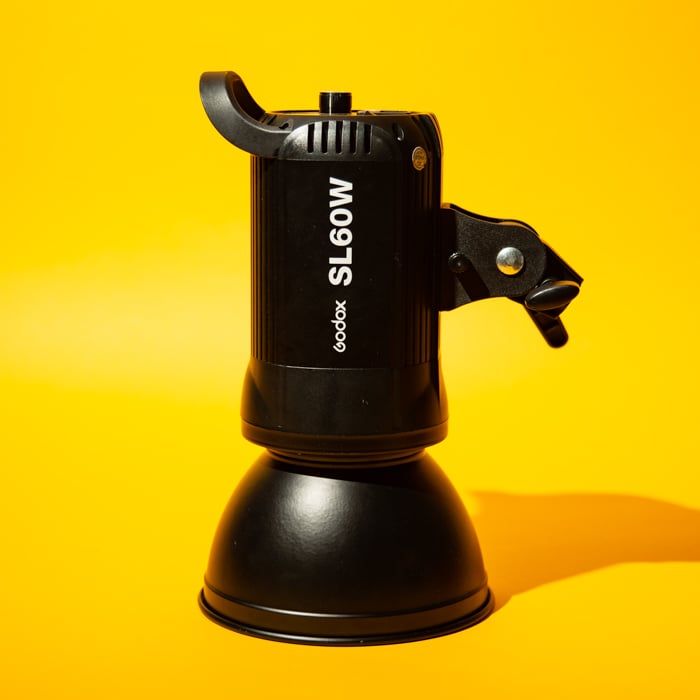
Monolights
Monolights are the best lighting option for your photo studio.
You can think of them as a combination of a high-powered Speedlight and an LED lamp. Even though they’re strobe lights, they also include a modeling light. That way you can see how your light is affecting your subject in real-time.
A moonlight’s light output is at least three times more powerful than speedlights or LEDs. They’re also perfect for large photo studios because they can illuminate large spaces.
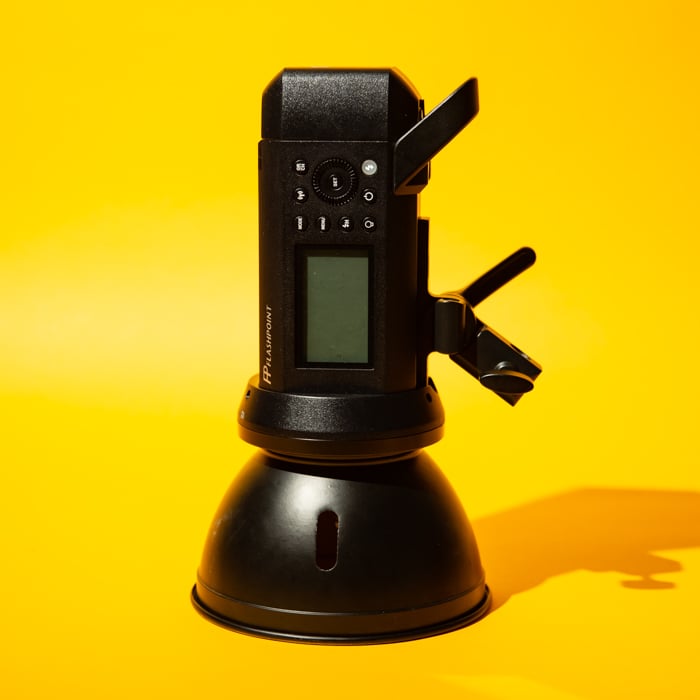
A monolight.
Of course, it’s worth noting that a monolight’s power depends on its wattage. Anywhere between 150 to 300 watts is perfect for small spaces. 400 to 600 watts would be ideal for medium-sized studios. And for large rooms, 800 to 1,200 watts may be necessary.
Unfortunately, monolights tend to be more expensive than either LED or speedlights. Apart from that, they also tend to be bigger and heavier. But if you have the budget, these lights are still the best option for studio photography.
Light Modifiers
Apart from studio lights, you’ll also need light modifiers. These pieces of lighting equipment diffuse the beam coming from your light source to create softer, more elegant results.
You can use many types of lighting modifiers in your photography studio, and they all diffuse light differently. Let’s discuss some of the most common options below.
Standard Reflector
You can think of the standard reflector as that small parabolic dish inside a flashlight. It concentrates the beam so it creates a tighter spot around the subject.
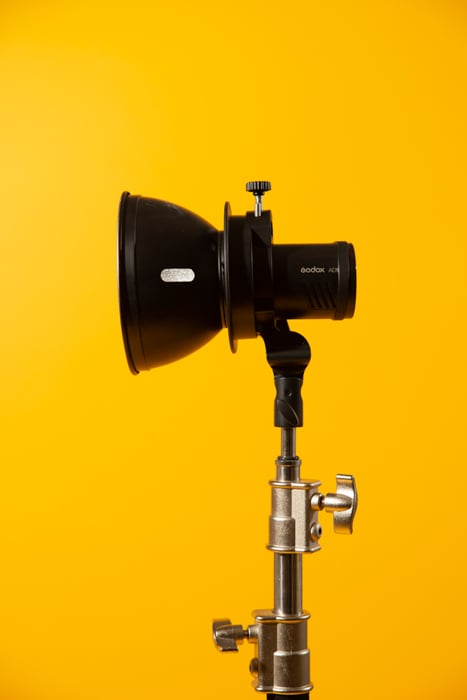
A reflector acts like a spotlight that creates a vignetted effect.
The reflector doesn’t have a diffusion material. That’s why it’s perfect if you want to recreate the harsh lighting of the sun in your photo studio.
Umbrella
If you’re not into harsh lighting, you might want to consider using an
umbrella instead. If you want to try portrait photography in your photo studio, this is the best first option for you. It’s not only cheap, but it also creates a beautiful soft light that envelopes your subject.
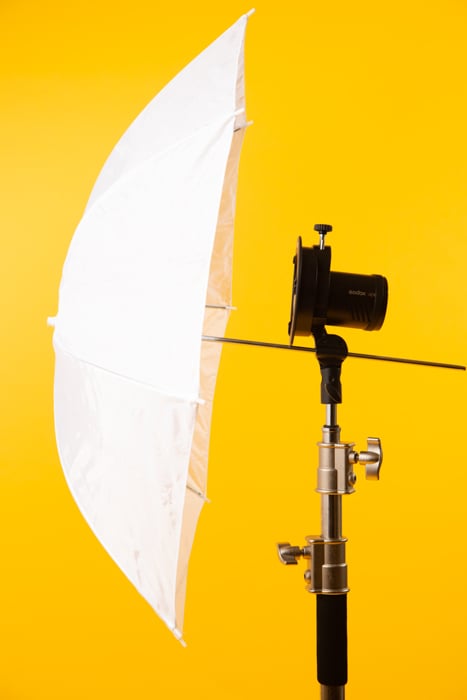
An umbrella has an open structure, allowing light to fill the entire room.
There are many types of umbrellas. Some are reflective and act more like a softbox. But there are also others that let you shoot directly through the diffusion material. The former works more like a softbox with more
directional light. The latter allows you to spread the light everywhere.
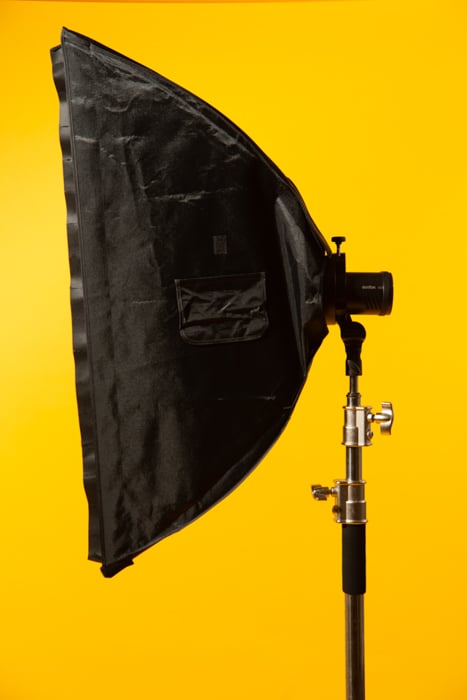
Softbox
To a degree, a softbox works much like an umbrella. The only difference is that, unlike an umbrella, it has an enclosed structure. As a result, it creates
soft lighting that tends to be more concentrated and directional.
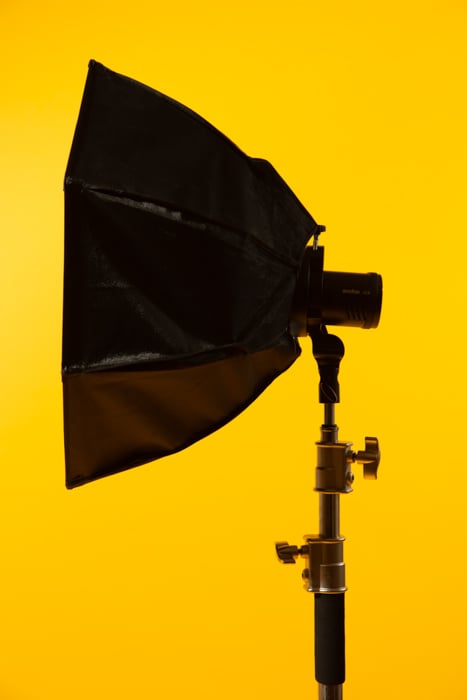
A softbox has an enclosed structure, allowing you to focus your light better.
What makes a softbox better than an umbrella is that you can better control the light spilling out of it. Since it produces directional light, it lets you create more dramatic results.
Stripbox
A stripbox is a specialised
light modifier commonly used in professional studios. It’s essentially an elongated softbox that projects light vertically.
A stripbox creates a narrow beam of light perfect for lighting the edge of a model’s body
Stripboxes are often used as a hair light to illuminate the edge of the hair and the back of your model’s head. And for still life photography, it’s perfect for lighting the edges of objects.
Of course, there are more light modifiers than what we’ve listed. But these options are perfect choices when first setting up a studio.
Studio Photography Equipment
Apart from the lighting equipment, you’ll also need other essential studio tools. Let’s take a look at some of them below.
Light Stands
These are necessary to support the lights and light modifiers you use in the studio. They come in different designs and have specific load capacities. Make sure that your light stands can support your heaviest lights and modifiers.
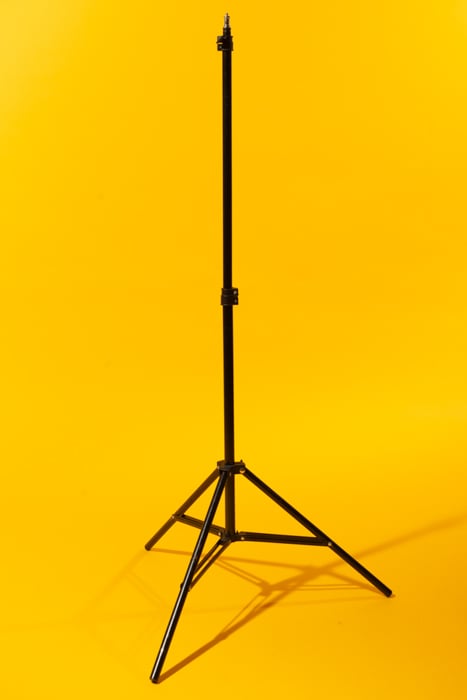
A light stand is perfect for small lights especially speedlights and small LED panels.
C-Stands
These are beefed-up light stands. They’re larger, heavier, and support more weight than regular light stands. We recommend them if you use large monolights. That way you can ensure your lighting setup remains stable at all times.
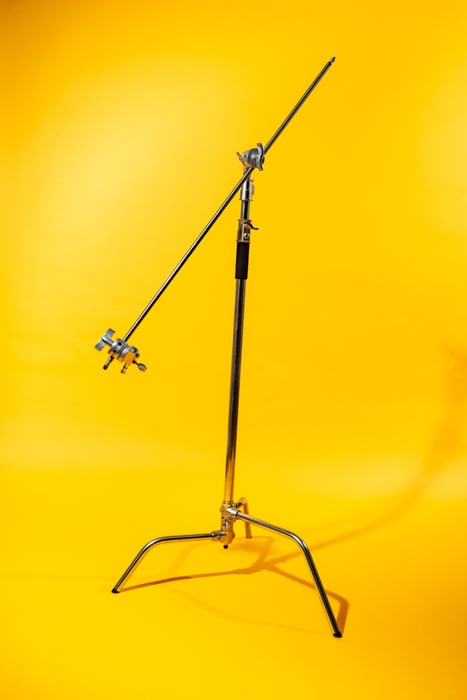
A light stand is perfect for small lights especially speedlights and small LED panels.
V-Flats
These are reflectors that bounce back the light from your light source to the subject. That way, you don’t end up with dark shadows and uneven lighting.
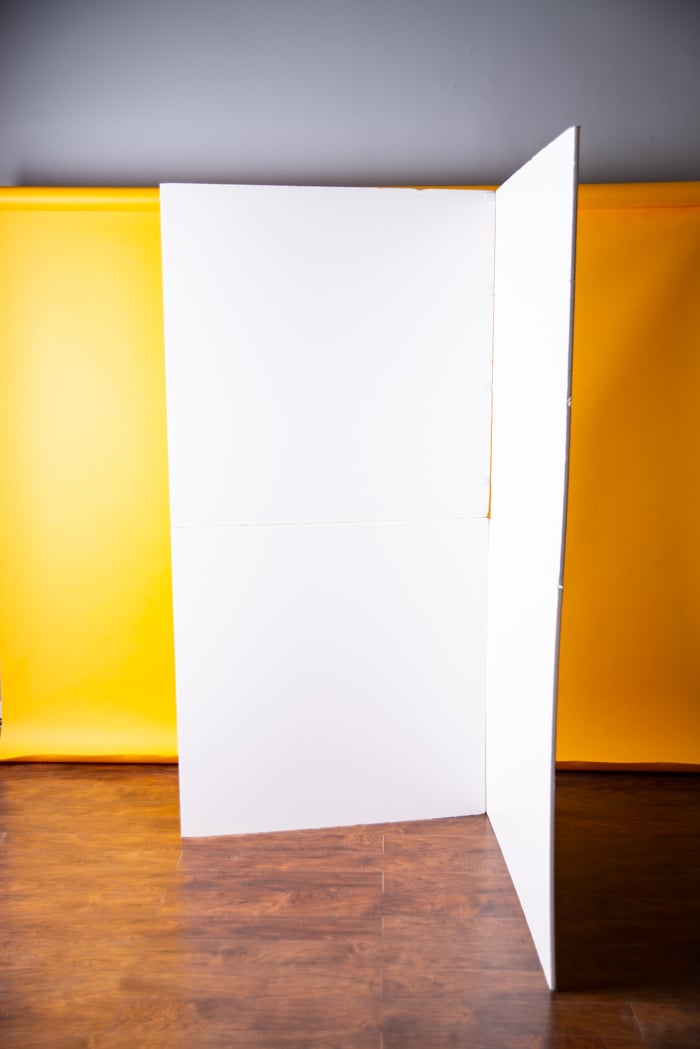
An assembled v-flat is large enough to cover an average-sized model.
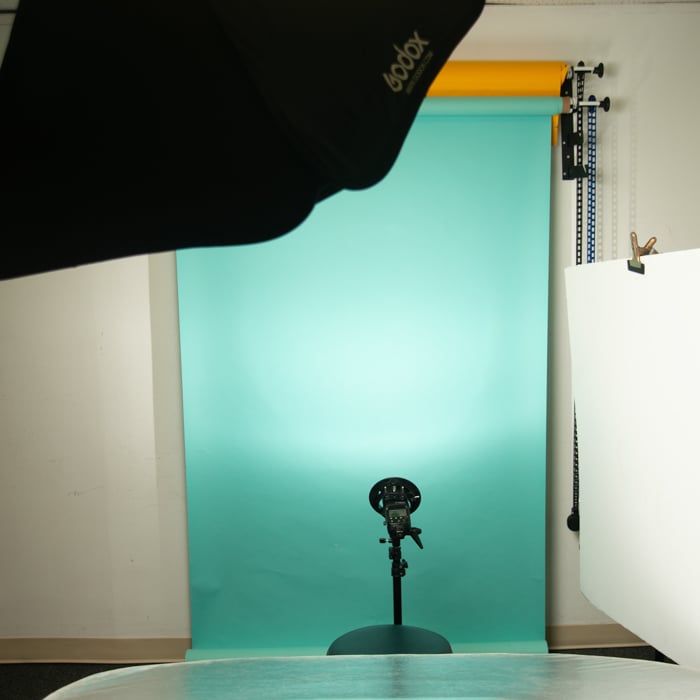
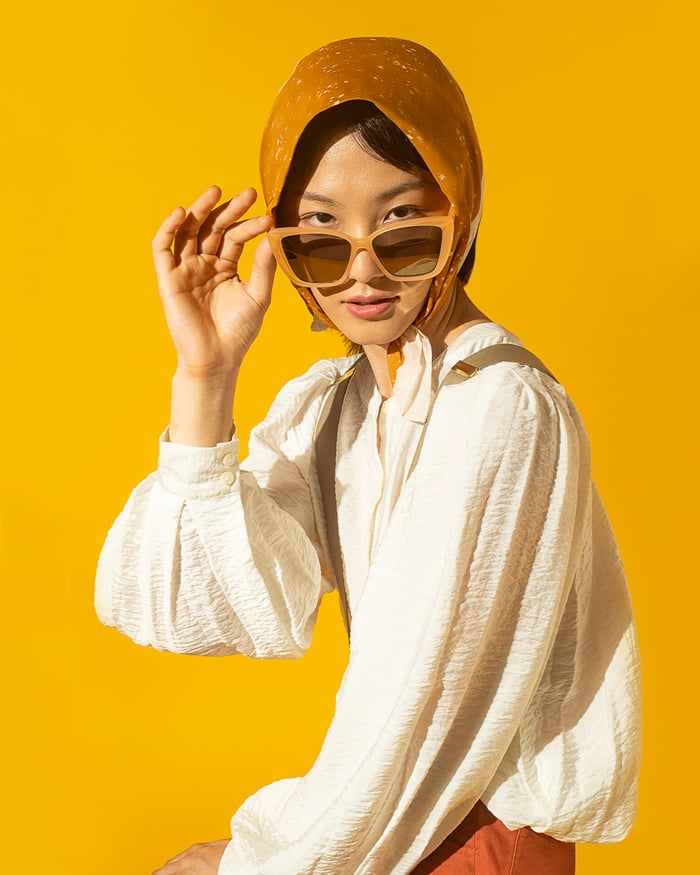
Photography backdrops
Backdrops let you change the studio’s scenery without painting the walls or changing locations. They come in many different forms. Some are basic cloth or paper backgrounds, while others are made of vinyl or other material.
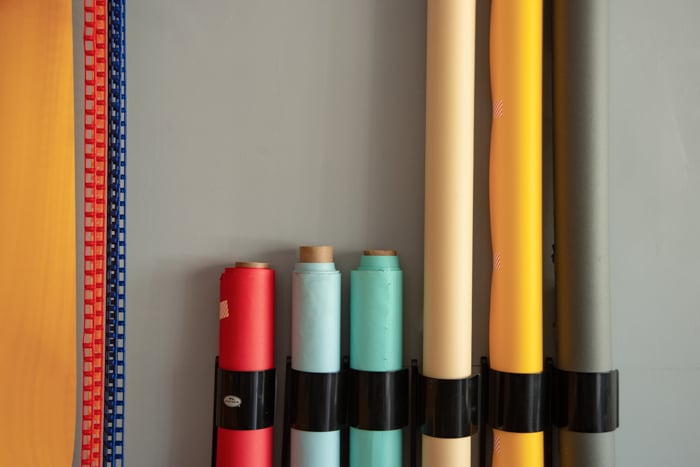
Seamless paper backgrounds are the best choice for studios photography.
Setting Up Your Photography Studio
Now, let’s discuss the steps you need to take to prepare your studio for a studio photography shoot. It’s a simple process that you’ll find useful even when you find yourself working in other studios.
1. Set Up the Background
First, you’ll need to assemble the background stand. Make sure the stands are at least four to eight feet apart depending on the length of your backdrop.
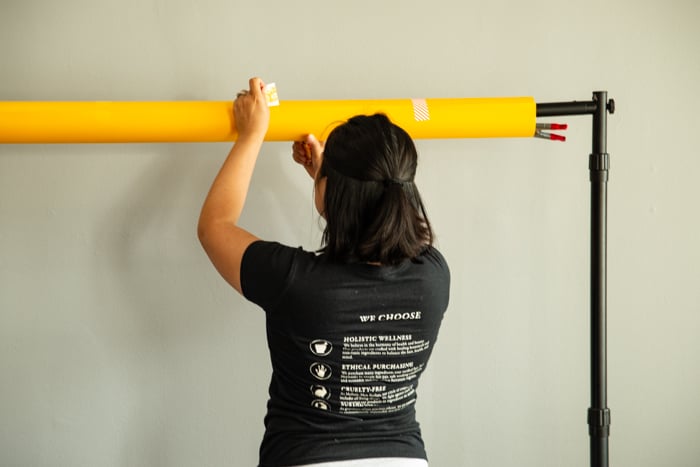
Be careful setting up seamless paper since it will rip if not handled properly.
Next, insert the horizontal pole into your roll of seamless paper and install the pole on top of the stands.
At this point, you can adjust the height of your background stand and unroll the paper. You can use sandbags or tape to secure the corners of your seamless paper roll to the floor.
2. Set Up the Lights
Now that your backdrop is ready, it’s time to prepare your lighting equipment. First, attach your light source to your light modifier. You then install them onto your light stand.
Before setting up your lights, think about what type of lighting you need.
For simple portraits, a single light and a v-flat/reflector would be enough. But if you want to do
glamour shots that need more complex setups, you may need between two to five lights.
If you want to learn more about different types of
studio lighting, check out our article
here.
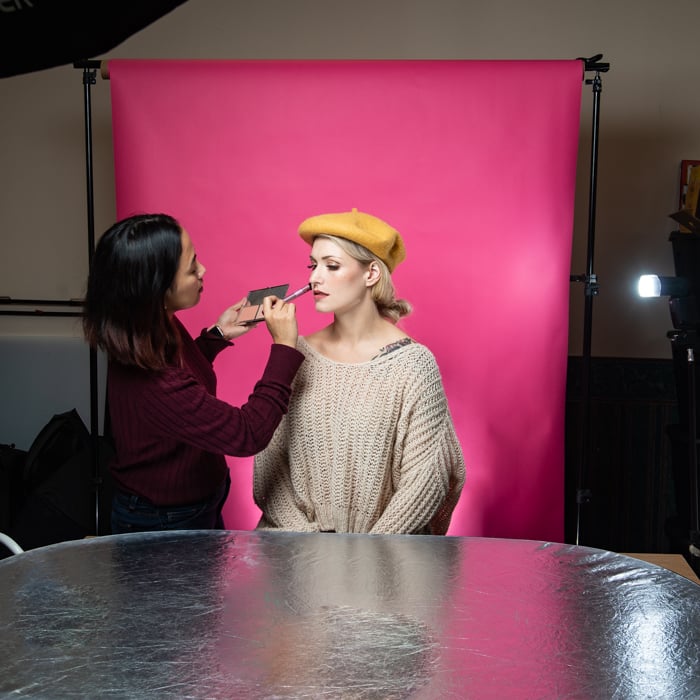
3. Test Lighting and Equipment
Before you start shooting, take some test shots to see what you need to do with your lighting equipment. This is the perfect time to adjust the position of your lights and check your camera’s
exposure.
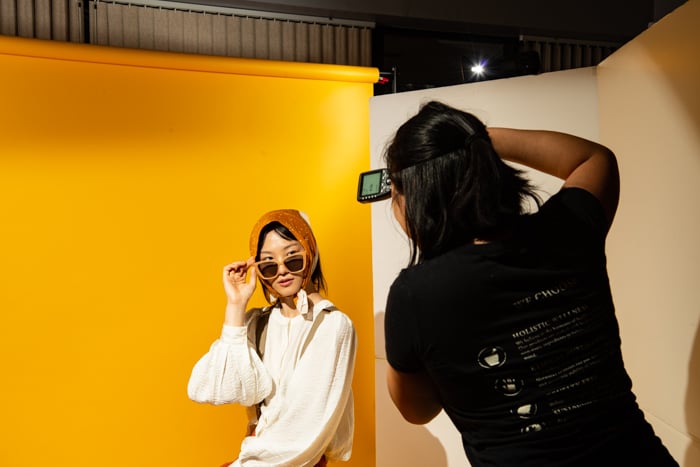
Test your lighting to achieve the correct exposure every time.
If the shot is dark, you have the option to change the settings of either your light or your camera. We usually set the camera first and then adjust the lights until we achieve the correct exposure.
Remember that you will need to test continuous light and flash differently. LEDs produce a constant beam you can see so it’s easier for you to adjust your
camera settings. With strobes, you only see the beam they produce at a fraction of a second. So you’ll have to do some test shots until you achieve the correct exposure.
Once you’ve tested everything, you can start shooting!
Conclusion
It’s overwhelming to see the equipment list if you’re starting with studio photography. But remember that you don’t need to buy all the items on our list right away. The truth is you can start with just a background and background stand. As long as you have plenty of window light, you should be okay.
With the correct lighting, you can achieve professional results with even the smallest studio.
As you earn more, you can then consider buying artificial lights. You can start with one light and modifier first. After that, you can grow your kit to more lights you need to achieve more complicated lighting.
It’s crucial to start slow. You’ll need time to get used to the equipment, anyway. And don’t worry. Before you know it, you have a full-size photography studio that can do everything you need!
If you want to learn how to put your new studio to use with
product photography, check out our
Products In Focus eBook!