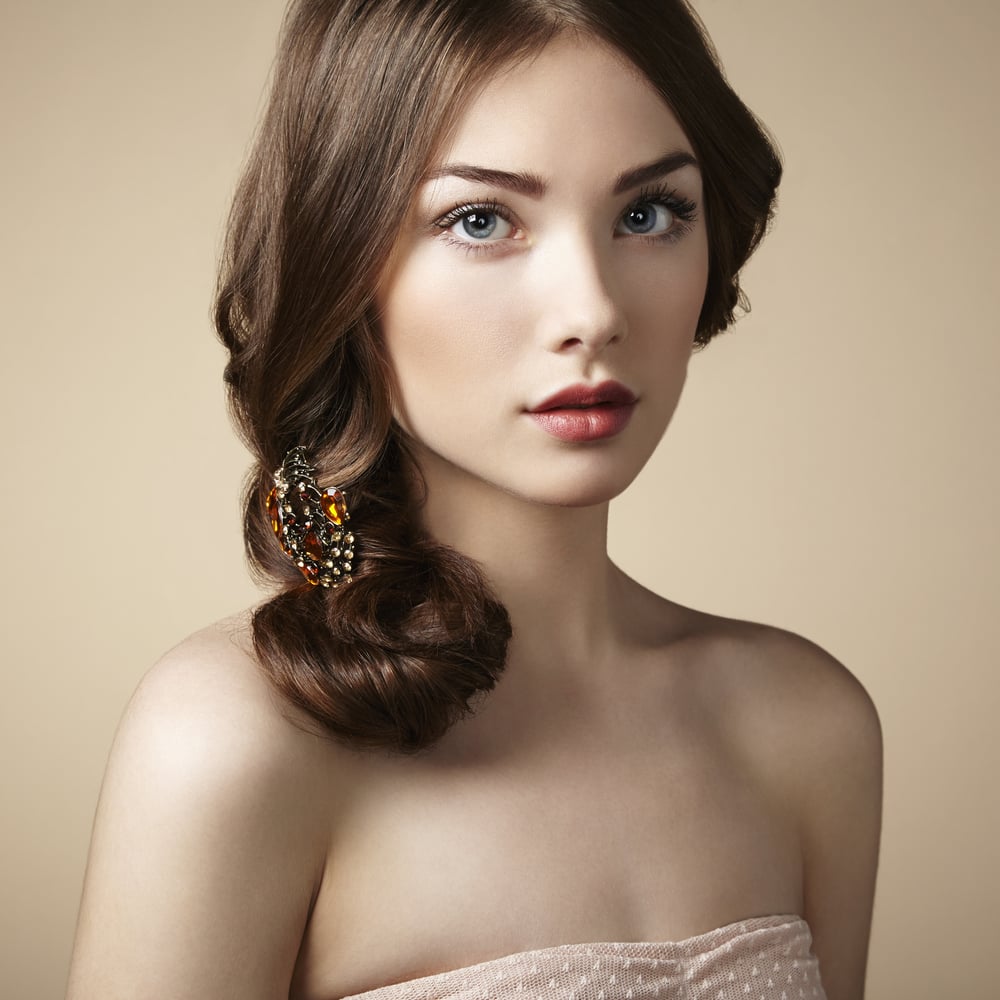
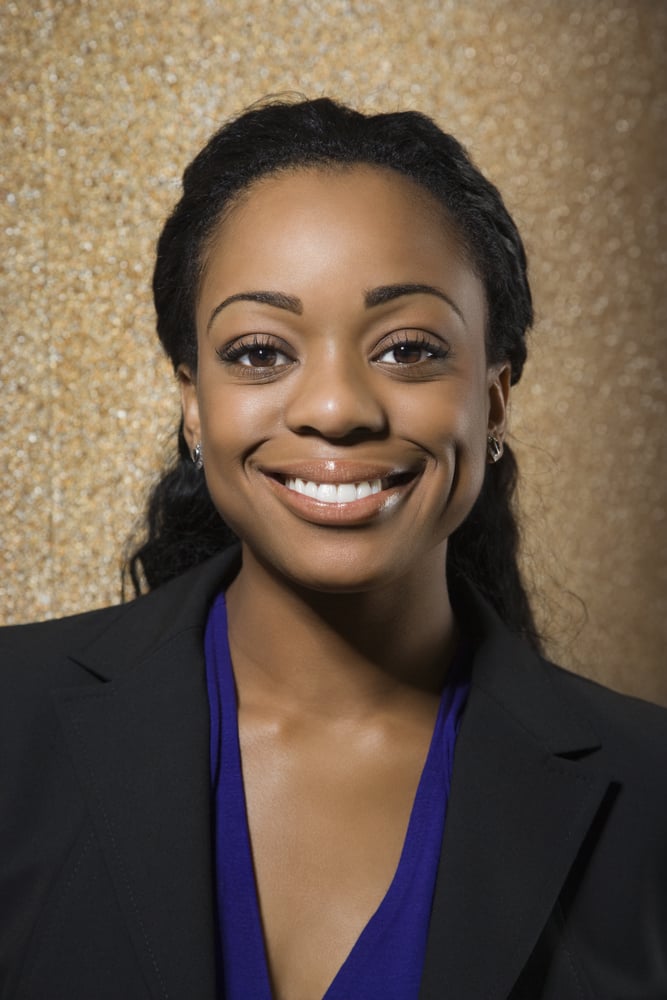
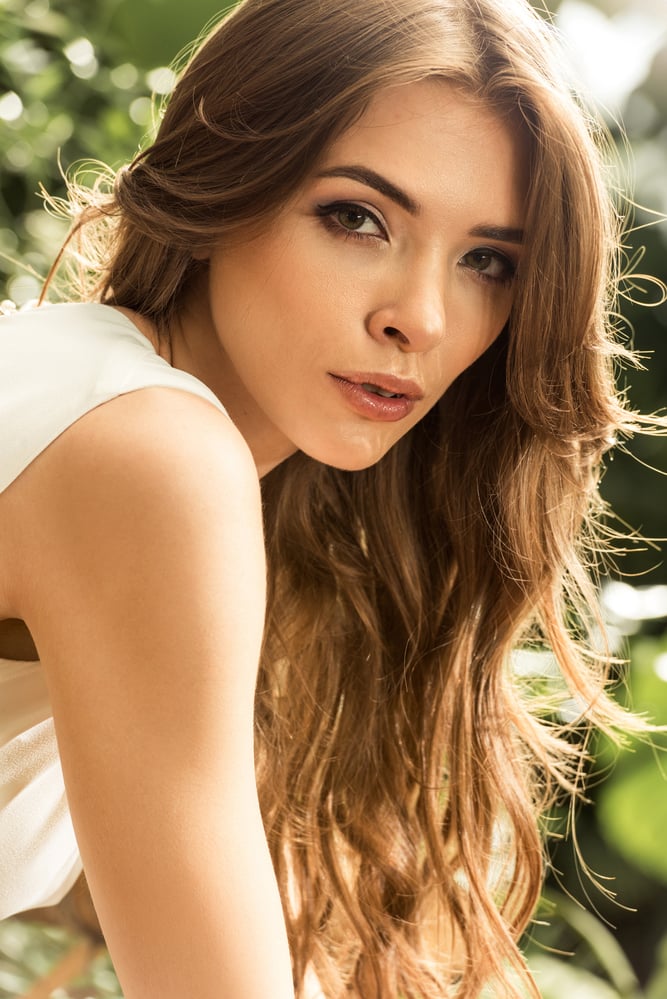
Clamshell lighting has the power to draw out some details and obscure others. It sculpts the cheekbones, defines the chin line, creates a sparkle in the eye, and leaves shadows soft.
It’s popular in beauty photography, portraits, headshot photography, and model headshots. This two light setup creates a soft, flattering light.
Clamshell lighting is also simple to create. You can even create the look with a single light and a reflector.
Here's how to create clamshell lighting for portraits.
What You’ll Need to Create Clamshell Lighting
Clamshell lighting doesn't require a crazy amount of gear. Along with a camera and lens, you'll need:
- A flash, studio strobe or continuous light;
- A modifier for diffusing the light, like a softbox, umbrella, or beauty dish;
- A light stand;
- A second light, modifier, and stand OR
- A large reflector.
Note that you need either two lights, or a single light and a reflector. You don’t need both.
Clamshell lighting is a two-light setup. But you can replace that second light with a reflector.
How to Create Clamshell Lighting
4. Place the First Light at a 45-degree Angle Above the Subject
You should place the key light directly in front of the subject. Use a light stand to ensure that the key light is above the subject's head. Have the light tilted back down towards the subject at a 45-degree angle.
There's no hard and fast rule to just how high and how far from the subject the light needs to be. The height should be above the subject's head. Don’t position it too high or the light won't create catchlights.
The higher the light is, the more prominent the shadows that help sculpt the cheekbones will appear.
Remember that the closer the light is to the subject, the softer it will be. In clamshell lighting, the key light is only a few feet from the subject.
Next, soften the key light with a modifier. Softboxes are the most popular for this setup.
You can use any type of modifier that softens the light. An umbrella or beauty dish will also work well.
3. Set the Key Light Settings and Take a Test Shot
With the first light in position, adjust the settings on the light itself. You can use a light meter to get the proper exposure on the first try. Or you can estimate the light settings, take a test shot, and adjust from there.
The exact light settings will vary based on the studio space and the camera settings. You should set these based on your vision for the shot.
The key light should be set so that the image is properly exposed while keeping the light soft.
Once you've set the first light, take a test shot. The image should be properly exposed, but with dark shadows underneath the chin.
If you don't see catchlights in the subject's eyes, that means your light is too high. Lower the light stand until you get a bit of reflection in the eyes.
2. Set the Second Light or Fill Light
Clamshell lighting gets its name from the clamshell-like shape that the two lights make together. Imagine one light is at the top of the clamshell and the other is at the bottom. That’s how you get clamshell lighting.
How to Create a Second Light in the Clamshell Setup
Add a Reflector
To fill in the shadows under the chin, add in a reflector. A silver reflector will create minimal shadows, while a white reflector will have a bit more shadow, though still rather subtle.
The easiest way to add the reflector is to have the subject hold the reflector about waist level. The reflector should also be at a 45-degree angle, bouncing the light up like the bottom of that clamshell. That means the edge of the reflector farthest from the subject should point up slightly.
Using a reflector is an easy way to create clamshell lighting with minimal gear. However, with the subject holding the reflector in place, you may be more limited in your poses and composition. If the reflector is too limiting, you can use a second studio light as the fill instead.
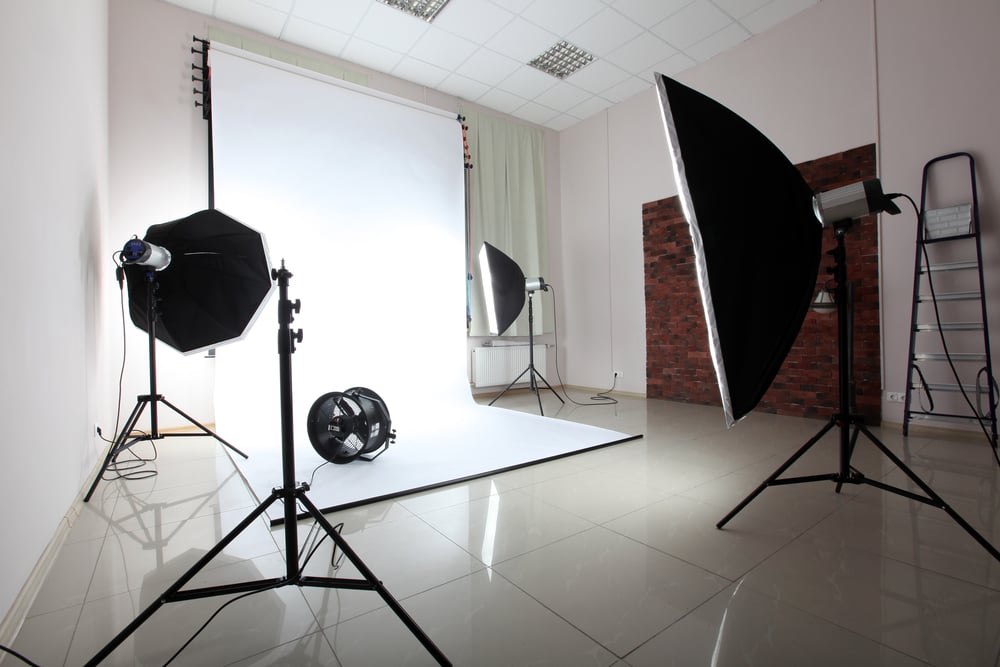
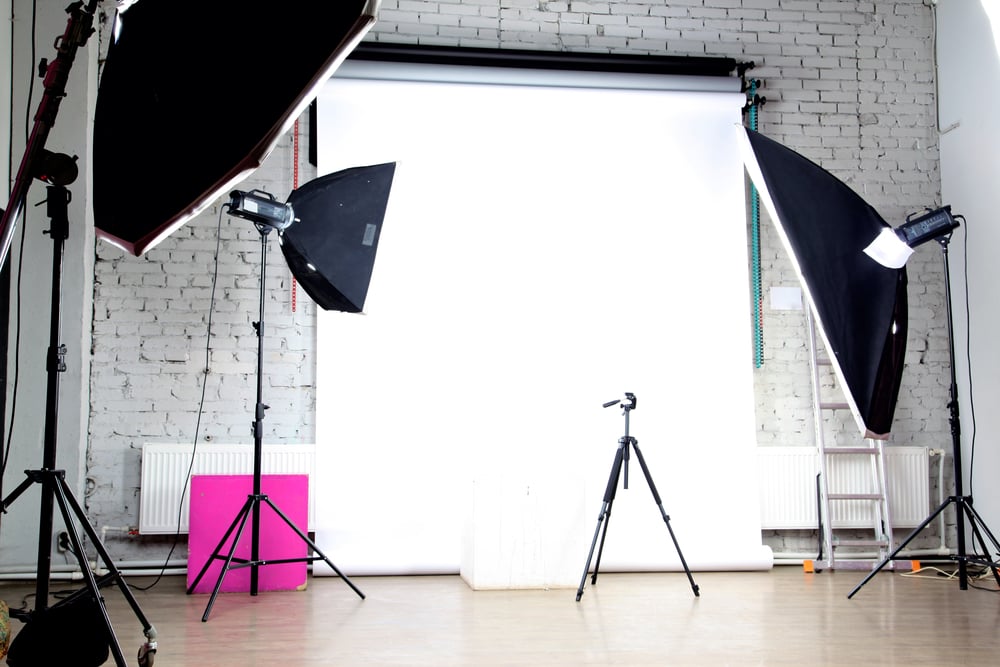
interior of a modern photo studio
Use a Second Studio Light
Fill the shadows under the chin with a second studio light. Position the light on a low stand a foot or two off the ground. Point it up about 45 degrees towards the subject.
The second light should look like the mirror image of the first. This is the bottom half of the shell to the first light.
The fill light should also have a modifier to soften the light. Ideally, this is the same type of modifier until you're confident enough in the clamshell lighting technique to vary the modifiers.
Most importantly, the second light needs to be set at a lower power than the first light. Start with the second light about two stops lower than the first. Make adjustments up or down from there.
The two lights can be set at even powers. The lower light should never be at a higher power than the taller key light. If it is, the image will have unusual shadows from being lit from below.
interior of a modern photo studio
1. Shoot and Troubleshoot
With the two lights in place, you're ready to take a shot. Clamshell lighting has some options for variations. Once you see the shot, you can make adjustments to get that exact look you are going for.
For softer shadows, increase the power of the bottom fill light. If you are using a reflector, switch from a white to a silver reflector or move the reflector closer to the subject's chin.
For darker shadows, decrease the power of the bottom fill light. Or you can use a white reflector instead of silver.
If you don't see catchlights in the eyes, the key light is too high and should be lowered.
If the light doesn't seem to be bringing out the cheekbones, try making the key light taller.
Conclusion
Once you've experimented with clamshell lighting, it’s easy to see why the lighting setup is common for beauty, portraits and model headshots.
The light helps to sculpt the face. But it’s still soft enough to avoid exaggerating skin imperfections.
With a minimal amount of gear from just a single light, stand, modifier, and reflector to a two-piece studio kit, the clamshell lighting pattern is a good one for lighting newbies to try.
With two lights or a single light and reflector, clamshell lighting is both simple and rewarding.
We’ have great posts on DIY photography lighting or three point lighting to check next!


