Learning to use a softbox for photography can improve the lighting in your pictures. They’re useful when the available light is low. And are great for filling in shadows when the light is harsh.
Softboxes are most useful for subjects where you have some control over them and the situation. This can be for portraits, still life, product photography, etc.
Softbox lighting, as the name implies, is diffused and gentle. Photography lighting using studio strobes or flash that's not modified is harsh. The light will produce hard shadows on your subject.
With softbox photography, the light scatters and creates softer shadows. Here’s how to make the most of using a softbox in your images.
How To Use A Softbox?
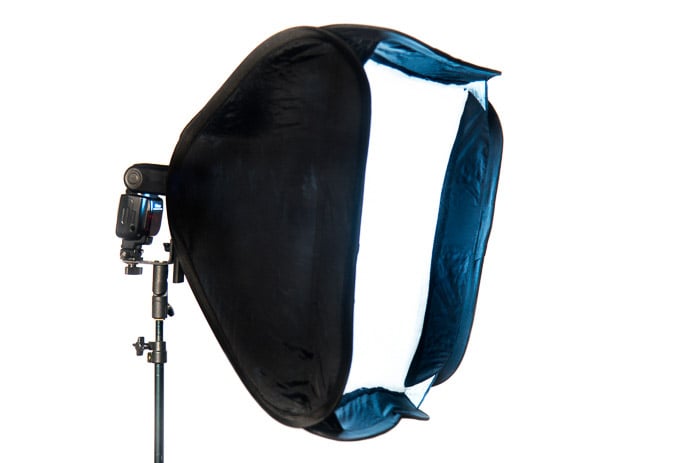
A softbox is an attachment for a photography studio light or flash. Softboxes are made of opaque polyester or nylon and have reflective interiors.
The front of the softbox is made from translucent white nylon. Some softboxes also have a white nylon baffle inside to further soften the light.
At the rear of the softbox is an opening in which the light source is placed. When the light is opened the light is diffused by the reflective interior and nylon baffles.
Light is contained within the box and emitted through the front covering about a 90-degree angle.
Photographic umbrellas are another popular way to diffuse light. They do tend to spread light over a wider area of about 180 degrees.
Softboxes come in various shapes and sizes. The bigger the softbox is the softer the light will be. You can adapt some softboxes for further modifications.
These will soften the light even more or make it more directional.

© Kevin Landwer-Johan
One softbox directly behind the subject.
How To Use a Softbox
A softbox can be used as a main, or key light. You can also use softbox lighting as a secondary or fill light.
Working in a studio setting, or anywhere a softbox will be the main light, you need to consider:
- the proximity of the softbox to your subject;
- where you will place the softbox;
- how Powerful the softbox light is;
- other lights you may be using;
- how reflective your subject is;
- subject to background distance.
Keep in mind the style of lighting you are wanting to create for your photos. This will help you determine the answers to most of these things.
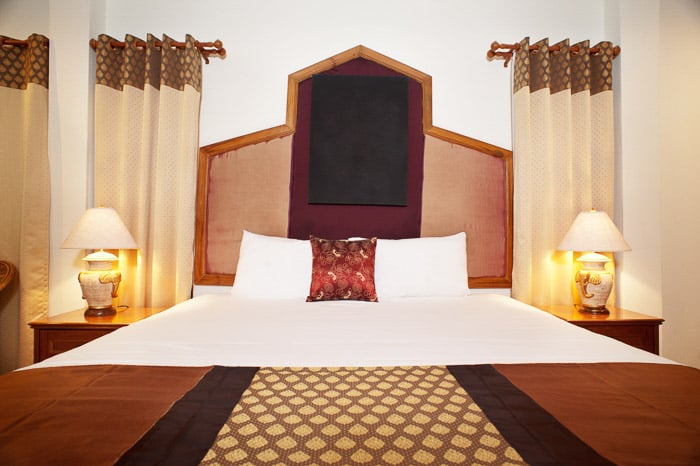
© Kevin Landwer-Johan
One softbox above the subject in a studio.
How Far Should the Softbox Be From the Subject?
You need to position the softbox far enough from your subject so that it is evenly lit. If the softbox is too close to your subject it may not be illuminated well enough.
Look to see that the light is not dropping off at the extremities of your subject.
Placing your softbox as close as possible to your subject will provide you with the softest light. The farther away your softbox is, the harder edges the shadows will have.
Bringing the softbox in very close to your subject will help eliminate most of the shadows. This is important when your softbox is your only light source.
What's the Best Angle for Softbox Light?
The angle at which you place your light will influence the look of your photo.
When shooting portraits you want to keep the softbox on your subject's best side. This is where it will provide the most flattering light.
If you position the softbox above your subject it will cast shadows over their eyes and under their nose and chin. Finding the best angle for softbox placement requires you to look at where the shadows will be.
Working with studio strobes with modeling lights or continuous lighting makes this easier. You can see the shadows.
When you're using a flash you will need to take a series of test photos. Review them to see where the shadows are falling.

© Kevin Landwer-Johan
One large softbox in a studio setting.
How Much Light Output Do You Have?
This depends on how powerful your softbox light is. There will be considerably less light if you are using an unmodified light source.
Each softbox will differ in the amount of diffusion and output. Having a powerful light gives you more flexibility when using softbox photography lighting.
How to Use a Softbox as a Secondary Light
If you are working with more than one light source the answers to the previous questions will be different. Adding in one or more lights will influence the amount and quality of the light.
When you are working outdoors with a softbox you will need to take into account the effect of sunlight on your subject.
You can choose to use your softbox as the main light or as a fill light. The sunlight will balance with your exposure.
Use additional light sources to help fill in shadows. You can use more than one softbox or any other light source that you have available.
© Kevin Landwer-Johan
One softbox and one reflector with a second flash bouncing off it.
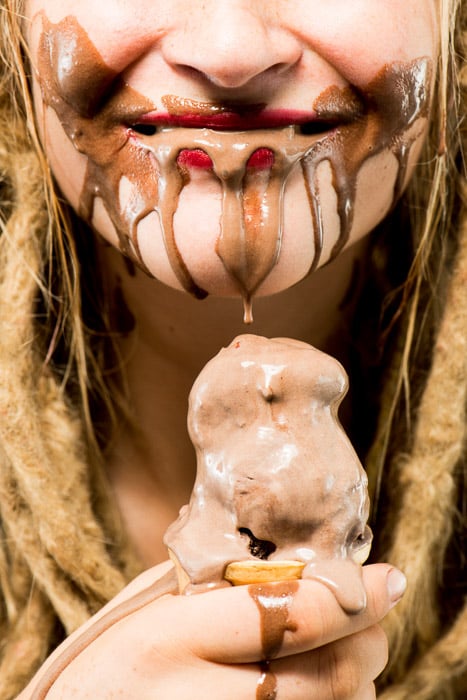
What Does the Reflection of Your Softbox in the Subject Look Like?
A highly reflective subject will bounce the light back into your camera. Because the light source is large it can be more noticeable.
A softbox reflection in someone's eyes will be noticeable. You need to consider how this looks. If you don't like it you will need to move the softbox to a different angle or farther away.
For still life or product photography, it's important to pay careful attention to how the reflection looks. This is even more important when you are photographing glass or other highly reflective surfaces.
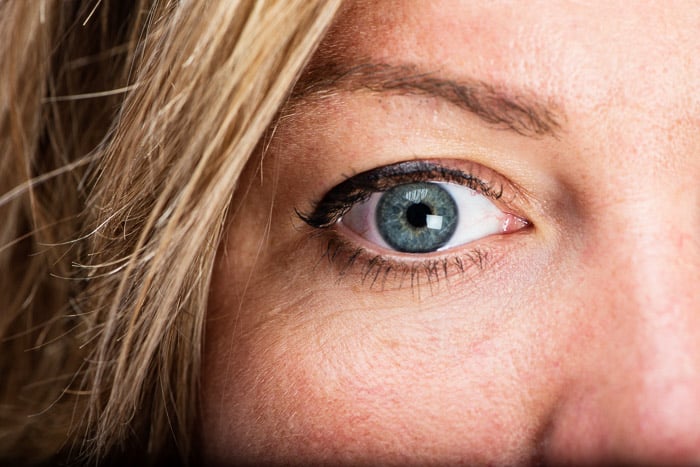
© Kevin Landwer-Johan
One softbox to my right and one above. Note the catch lights in her eye.
Is Your Subject Far Enough Away From the Background?
The light from your softbox may cause a shadow on the background if your subject is too close to it. Separating your subject from the background can help alleviate this problem.
If you can, move both your subject and your light source farther away from the background. You can also try changing the angle of the light to avoid seeing a background shadow.
DIY Photography Lighting
Softboxes are readily and cheaply available in many shapes and sizes. It's also possible to make your own DIY softbox.
One of the best photography accessories I own is the small softbox I use with my flash. I used larger softboxes for years in the studio and on location.
In the studio, they are versatile and produce lovely light. Bigger softboxes on location are often not practical.
My small softbox is 60 cm square and folds away in a small package. With a bracket, you can mount it on a light stand. I have an assistant hold it for me.
Using it outdoors as a main light or a fill for the available light brings a whole new dynamic to photographs. Typically flash used outdoors is unmodified and therefore harsh. With the small softbox, you can balance the soft light very well.
Why not try it yourself? Either make your own softbox or purchase one online. The diffused light output is much more acceptable in many situations than using a harsh light source.
Why not check out these cool ideas for autumn or winter photography next!


