Finding the best light for photos is important no matter what genre you’re working in, and this is even true with landscape photography.
Landscape photography lighting is fairly simple. You don’t need all the extra equipment you do with studio portraits or product photography. But getting the lighting right can make a huge difference to your landscape images. And having the right knowledge about landscape lighting gives you more creative control.
This article will help you understand landscape photography lighting. You learn the right times of day to get different lighting effects. You’ll learn how to use natural light. And we’ll teach you how to shoot landscapes at night.
© Michelangelo Amoruso Manzari
Best Light for Landscape Photography
Shooting at the right time of day is a crucial aspect in landscape photography lighting. Shooting in midday gives you bright, often harsh sunlight, while you get softer light in the morning or evening. You also have the golden hour, giving you deep yellow tones.
But landscape lighting isn’t just about the time of day. You can use natural light in different ways, and the can also directional light to make your images more striking.
This article is an introduction to landscape photography lighting and we only touch on each subject here. If you want to learn more, click on the links in the text to see full, in-depth articles on each topic.
You can also see our complete guide to landscape photography for even more information.
Natural Light
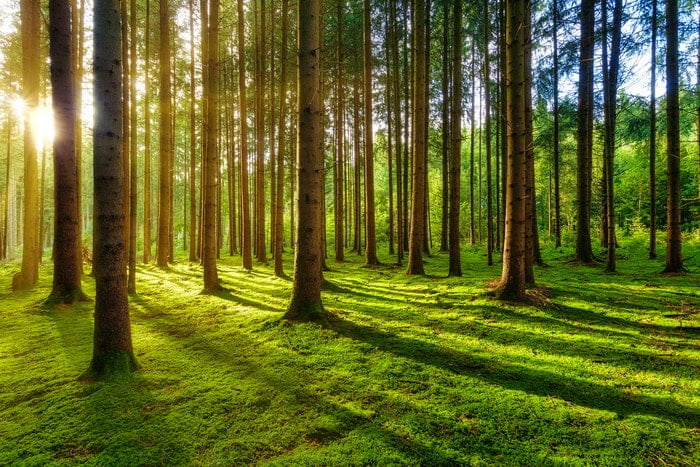
Natural light is one of the best sources for stunning photography. Shooting during the golden hours of sunrise and sunset provides soft, warm light that flatters subjects. Midday sun creates harsh shadows that can be used for dramatic effect.
Experiment with different angles, like side lighting to highlight contours or backlighting for a glowing effect.
Reflected light from surfaces like walls or the ground can add a unique touch to your images. Dappled light filtering through leaves creates interesting patterns and textures.
When shooting indoors, turn off artificial lights and use window light instead. Overcast days provide even, diffused light that’s easy to work with. Use a polarizing filter to bring out colors and soften harsh midday light.
Natural light photography offers endless creative possibilities for stunning images.
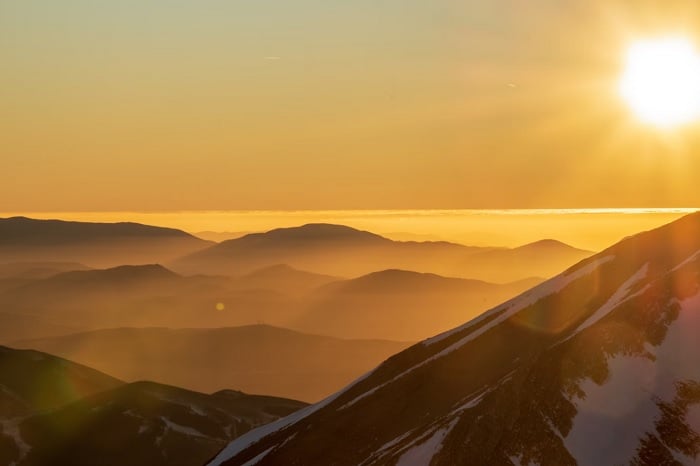
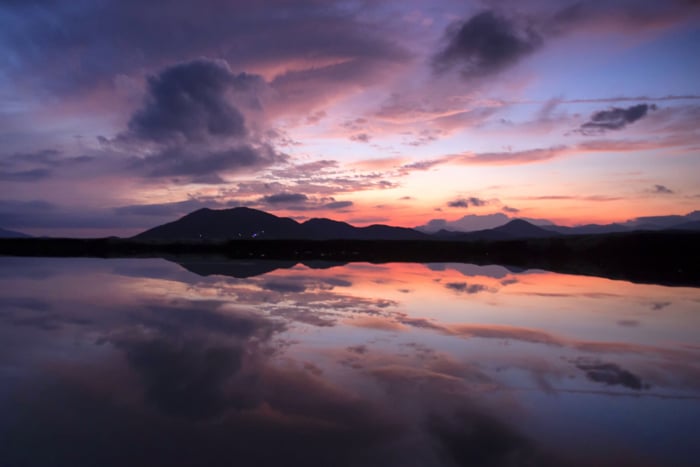
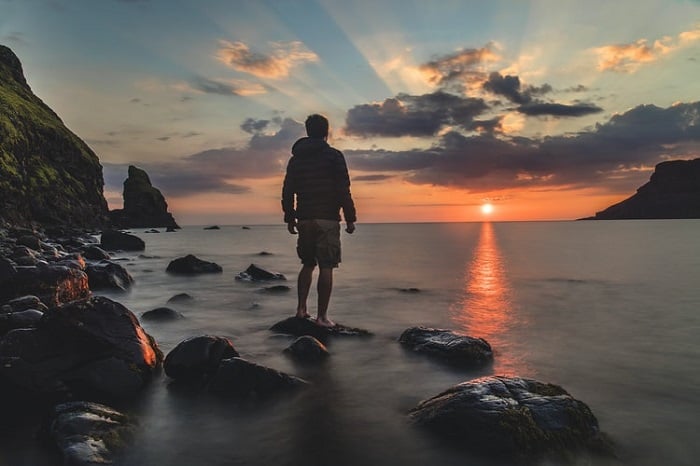
Golden Hour
Golden hour photography captures the warm, soft light around sunrise and sunset. The sun’s low angle creates a magical glow that makes everything look its best.
To make the most of golden hour, arrive early and position your shot so the sun is to the side or behind your subject.
Use manual mode or a semi-manual mode like aperture priority with spot metering to nail the exposure. A reflector or low-powered flash with a diffuser can help balance the backlight.
Golden hour is perfect for creative techniques like silhouettes, starbursts, and using long shadows in your composition. The warm colors add a positive, dreamy feel to any subject.
Golden hour photography can make everyday sights magical and is a stunning time to capture sunrises and sunsets.
© Victoria Ellis
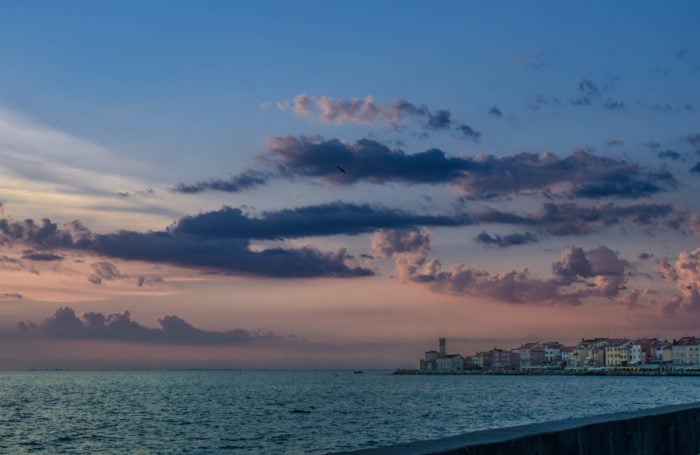
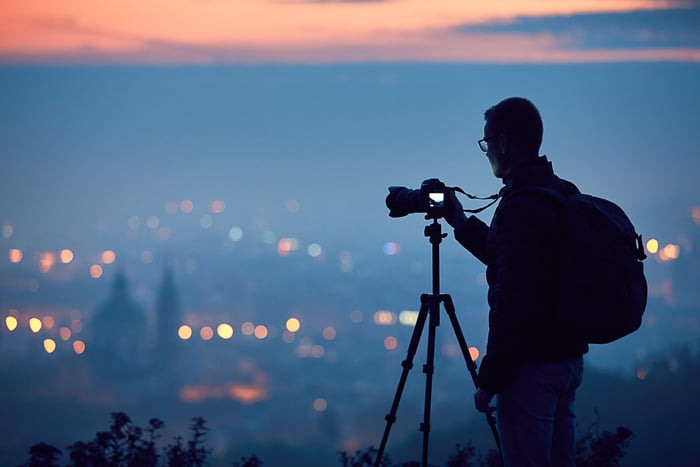
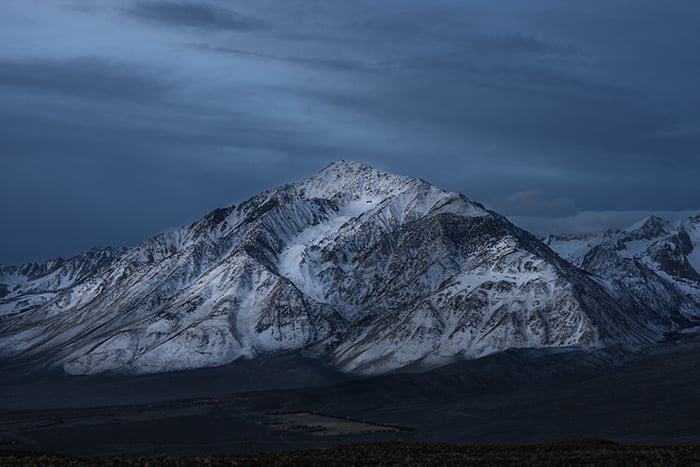
Blue Hour
The blue hour is a magical time for photography that occurs just before night falls. The sky turns a beautiful blue color, creating a stunning backdrop for your photos.
To capture the best blue hour shots, arrive early at your location and use a tripod to keep your camera steady in the low light.
Experiment with different settings to achieve your desired look. A narrow aperture like f/8 will keep the entire scene sharp, while a wider aperture like f/4 allows you to use a faster shutter speed to freeze motion. Don’t forget to lock up your DSLR’s mirror to avoid camera shake blur.
Blue hour photography is a great way to improve your low light shooting skills and add some stunning images to your portfolio.
Dramatic Lighting
Capturing stunning landscape photos takes skill and knowledge. Shoot during the golden hour before sunset or after sunrise for the best light. Visit locations at the right time of year to capture seasonal changes like autumn colors or snow.
Check local weather conditions and revisit previous locations to capture new angles.
Always bring a tripod for long exposures, bracketing, and sharper images. Include a main subject like a lone tree, lighthouse, or person to create interest and tell a story.
Make sure the horizon line is level using an electronic or bubble level, or fix it in post-processing.
Edit your photos in post-processing using digital blending, enhancements, sharpening, and noise reduction. Use the correct camera settings like f/8 or f/11 aperture for sharp focus across the frame.
To learn more about dramatic landscape photography, check out this in-depth guide.
Side Lighting
Side lighting is a technique where light hits the subject from one side, creating a dramatic effect with clearly defined shadows. This type of lighting emphasizes the subject’s shape, brings out textures, and adds depth to the image.
Side lighting is perfect for conveying emotions and adding drama to a photo. It works particularly well for low-key portraits taken in a studio setting.
You can also find examples of side lighting in landscape and nature photography, especially during sunrise and sunset when the sun is low on the horizon.
To achieve the best side lighting for portraits, place the light source around 45 degrees from the subject. Experiment with the subject’s face turned slightly or completely to one side to highlight specific facial features.
If you’d like to learn more about side lighting, there are many great resources available that dive deeper into this fascinating technique.
Moody
Moody landscape photography is about capturing the feeling of a scene. Cloudy or foggy weather can create a haunting atmosphere perfect for this style. Adjust your camera settings manually and use a tripod to avoid taking dull photos.
Shoot through objects like branches or grass to add depth and frame your subject. You can also convert your images to black and white for a more dramatic look.
Use the Graduated Filter tool in Lightroom to enhance the moodiness of your landscapes.
To learn more about moody landscape photography, check out this in-depth guide that covers everything from camera settings to post-processing techniques.
Sunsets
Capturing stunning sunset photos requires the right techniques. Use a camera with high resolution and dynamic range for the best results. A wide-angle lens is ideal for capturing broad sunset scenes.
Shoot in manual mode to adapt to changing light conditions. Set your white balance to daylight and use a narrow aperture like f/16 for a wide depth of field. A low ISO and slow shutter speed will give you strong colors and sharp details.
A tripod is important to avoid camera shake with slow shutter speeds. An ND filter can help balance exposure in high-contrast scenes.
Sunset photography requires planning and the right location, so arrive early and use clouds to add visual interest to your shots.
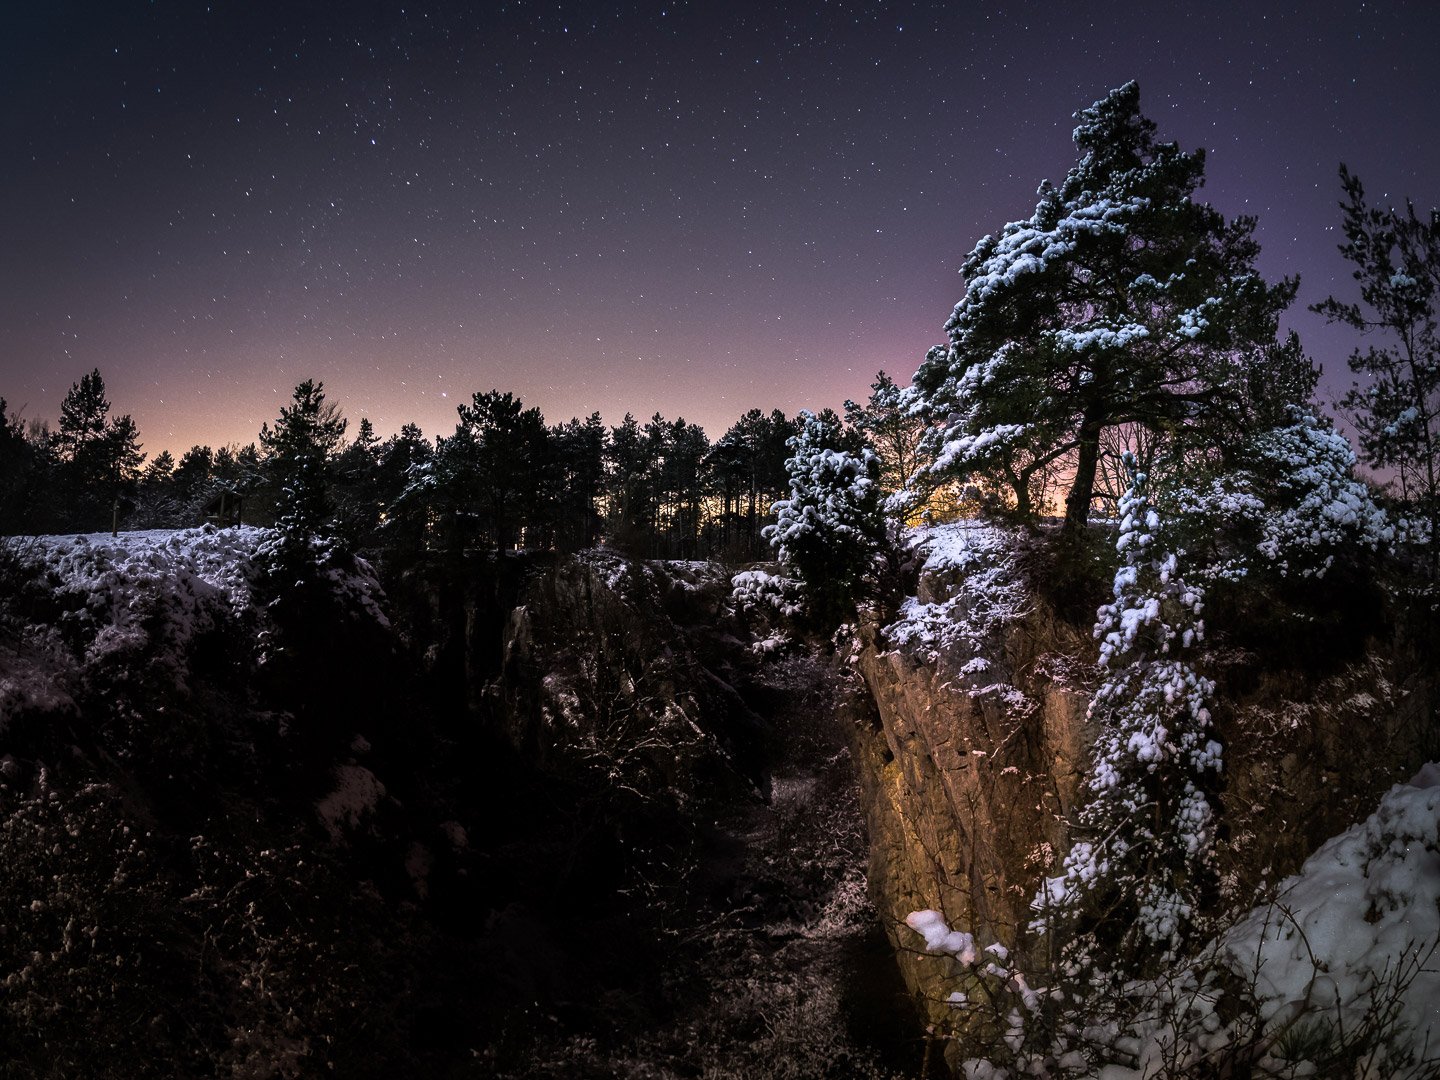
Night Landscapes
Night landscape photography can be challenging due to the lack of natural light. To capture stunning nighttime landscapes, you need to find a location far from city lights and light pollution.
Use apps and websites to find dark skies and plan your shoot based on the moon phase and Milky Way visibility.
Bring a sturdy tripod, a wide and fast lens, spare batteries, and a remote shutter release.
Use the 500 rule to determine the longest exposure time to avoid star trails: divide 500 by your lens focal length. Then adjust your ISO to get a proper exposure.
Light pollution reduction filters can help cut through the orange glow in the sky. Compose your shot with an interesting foreground, like trees or rock formations.
You can also light paint the foreground or capture star trails for creative effect. To reduce noise in your photos, shoot multiple exposures and stack them together in post-processing using multi-frame noise reduction techniques.
Night landscape photography takes practice, but with the right tools and techniques, you can create beautiful images of the night sky.