Photography lighting equipment falls into three groups: light sources, modifiers, and supports. Flashguns and studio strobes produce a brief burst for still photos. Continuous lights stay on, so you can use them for both photos and video. Reflectors, softboxes, and other modifiers change where the light goes and how it looks.
You do not need every item in this guide. Start with the light that suits what you shoot, then add a compatible modifier, secure support, and a trigger if you use off-camera flash. The sections below explain the equipment, its limits, and how to put it to work.
Best Photography Lighting Equipment
A useful lighting kit solves a specific problem. Before choosing equipment, decide whether you need to fill shadows, light a moving subject, photograph small products, or record video.
- Window-light portraits: start with a reflector to return some light to the shadow side of the face.
- Events and mobile still photography: a compatible flashgun gives you a portable light source. A head that tilts and rotates lets you bounce light when a suitable wall or ceiling is available.
- Controlled portraits and products: use off-camera flash or continuous light with a modifier and stand. Build around one main light before adding more.
- Video and calls: choose continuous light. An ordinary flash burst cannot illuminate a whole video clip.
The main light is often called the key light. A fill light or reflector reduces shadow contrast. These describe jobs in a setup, rather than separate types of equipment.
Camera Flashguns
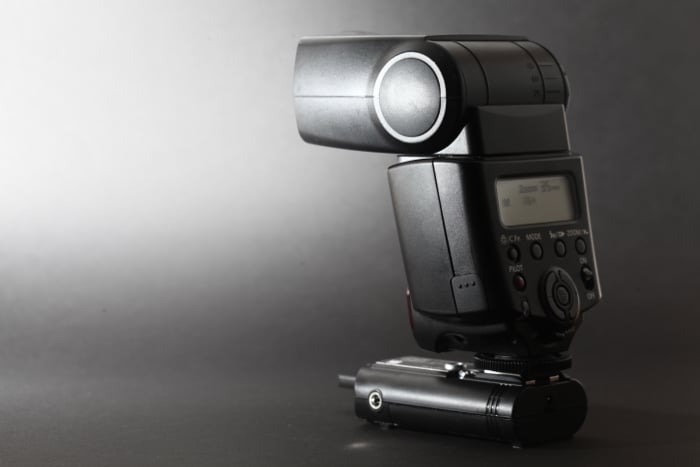
A flashgun mounts on a camera's hot shoe or works away from the camera with a suitable trigger. It produces a short burst timed to the exposure.
Check compatibility with your exact camera model. A flash that physically fits the shoe may still lack automatic exposure or high-speed sync support. The same check applies to a wireless transmitter.
Flashes and Speedlites
Flashguns, speedlights, and Speedlites are names commonly used for small camera flashes. They are useful for portraits, events, and products because you can take the light with you.
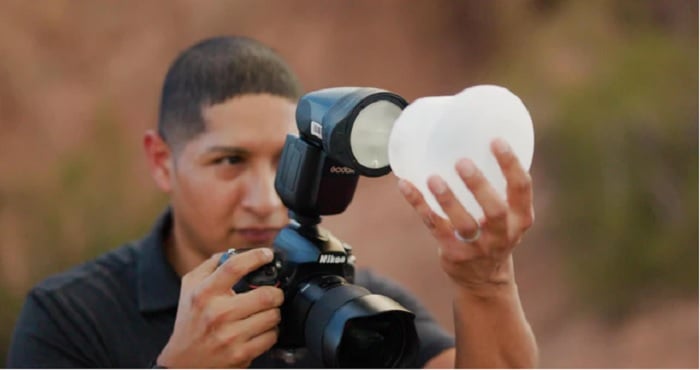
A tilting and rotating head lets you aim the flash at a nearby neutral wall or ceiling. That surface becomes a larger light source. Colored surfaces can tint the light, while a very high ceiling may return too little of it.
Off-camera placement gives you control over light direction. Look for manual power control, a suitable mounting bracket, and a triggering system you can use with your camera.
Our camera flash guide compares flashgun options.
Speedlite vs Strobe
Both speedlights and studio strobes are flash sources. Speedlights are compact and usually fit a camera's hot shoe. Studio strobes are designed for stand-mounted use, with power supplied by mains electricity, a battery, or a separate pack, depending on the model.
A larger strobe can provide more flash energy and accommodate larger modifiers. That can help when you need light over a wider area or through diffusion. Power, recycle time, and portability vary; a strobe is not automatically faster or better for every job.
Flash energy is commonly specified in watt-seconds (Ws). A speedlight's guide number describes its reach under stated conditions, including ISO and beam coverage. Those figures are not directly interchangeable.
For a closer comparison, read speedlight vs strobe.
Flash Triggers, TTL, and Sync
A wireless transmitter sits on the camera and tells a compatible off-camera flash when to fire. A built-in receiver may remove the need for a separate receiver, but the transmitter and flash still need to use the same system. Matching radio frequency alone is not enough.
TTL uses through-the-lens metering to set flash exposure automatically. Manual flash lets you set the output yourself, which is useful when the subject and light stay in fixed positions.
For ordinary flash, use a shutter speed within your camera and flash system's supported sync range. High-speed sync (HSS) can permit faster shutter speeds with compatible equipment, but it reduces the flash's effective reach. Check the camera's shutter-mode restrictions as well as the flash manual.
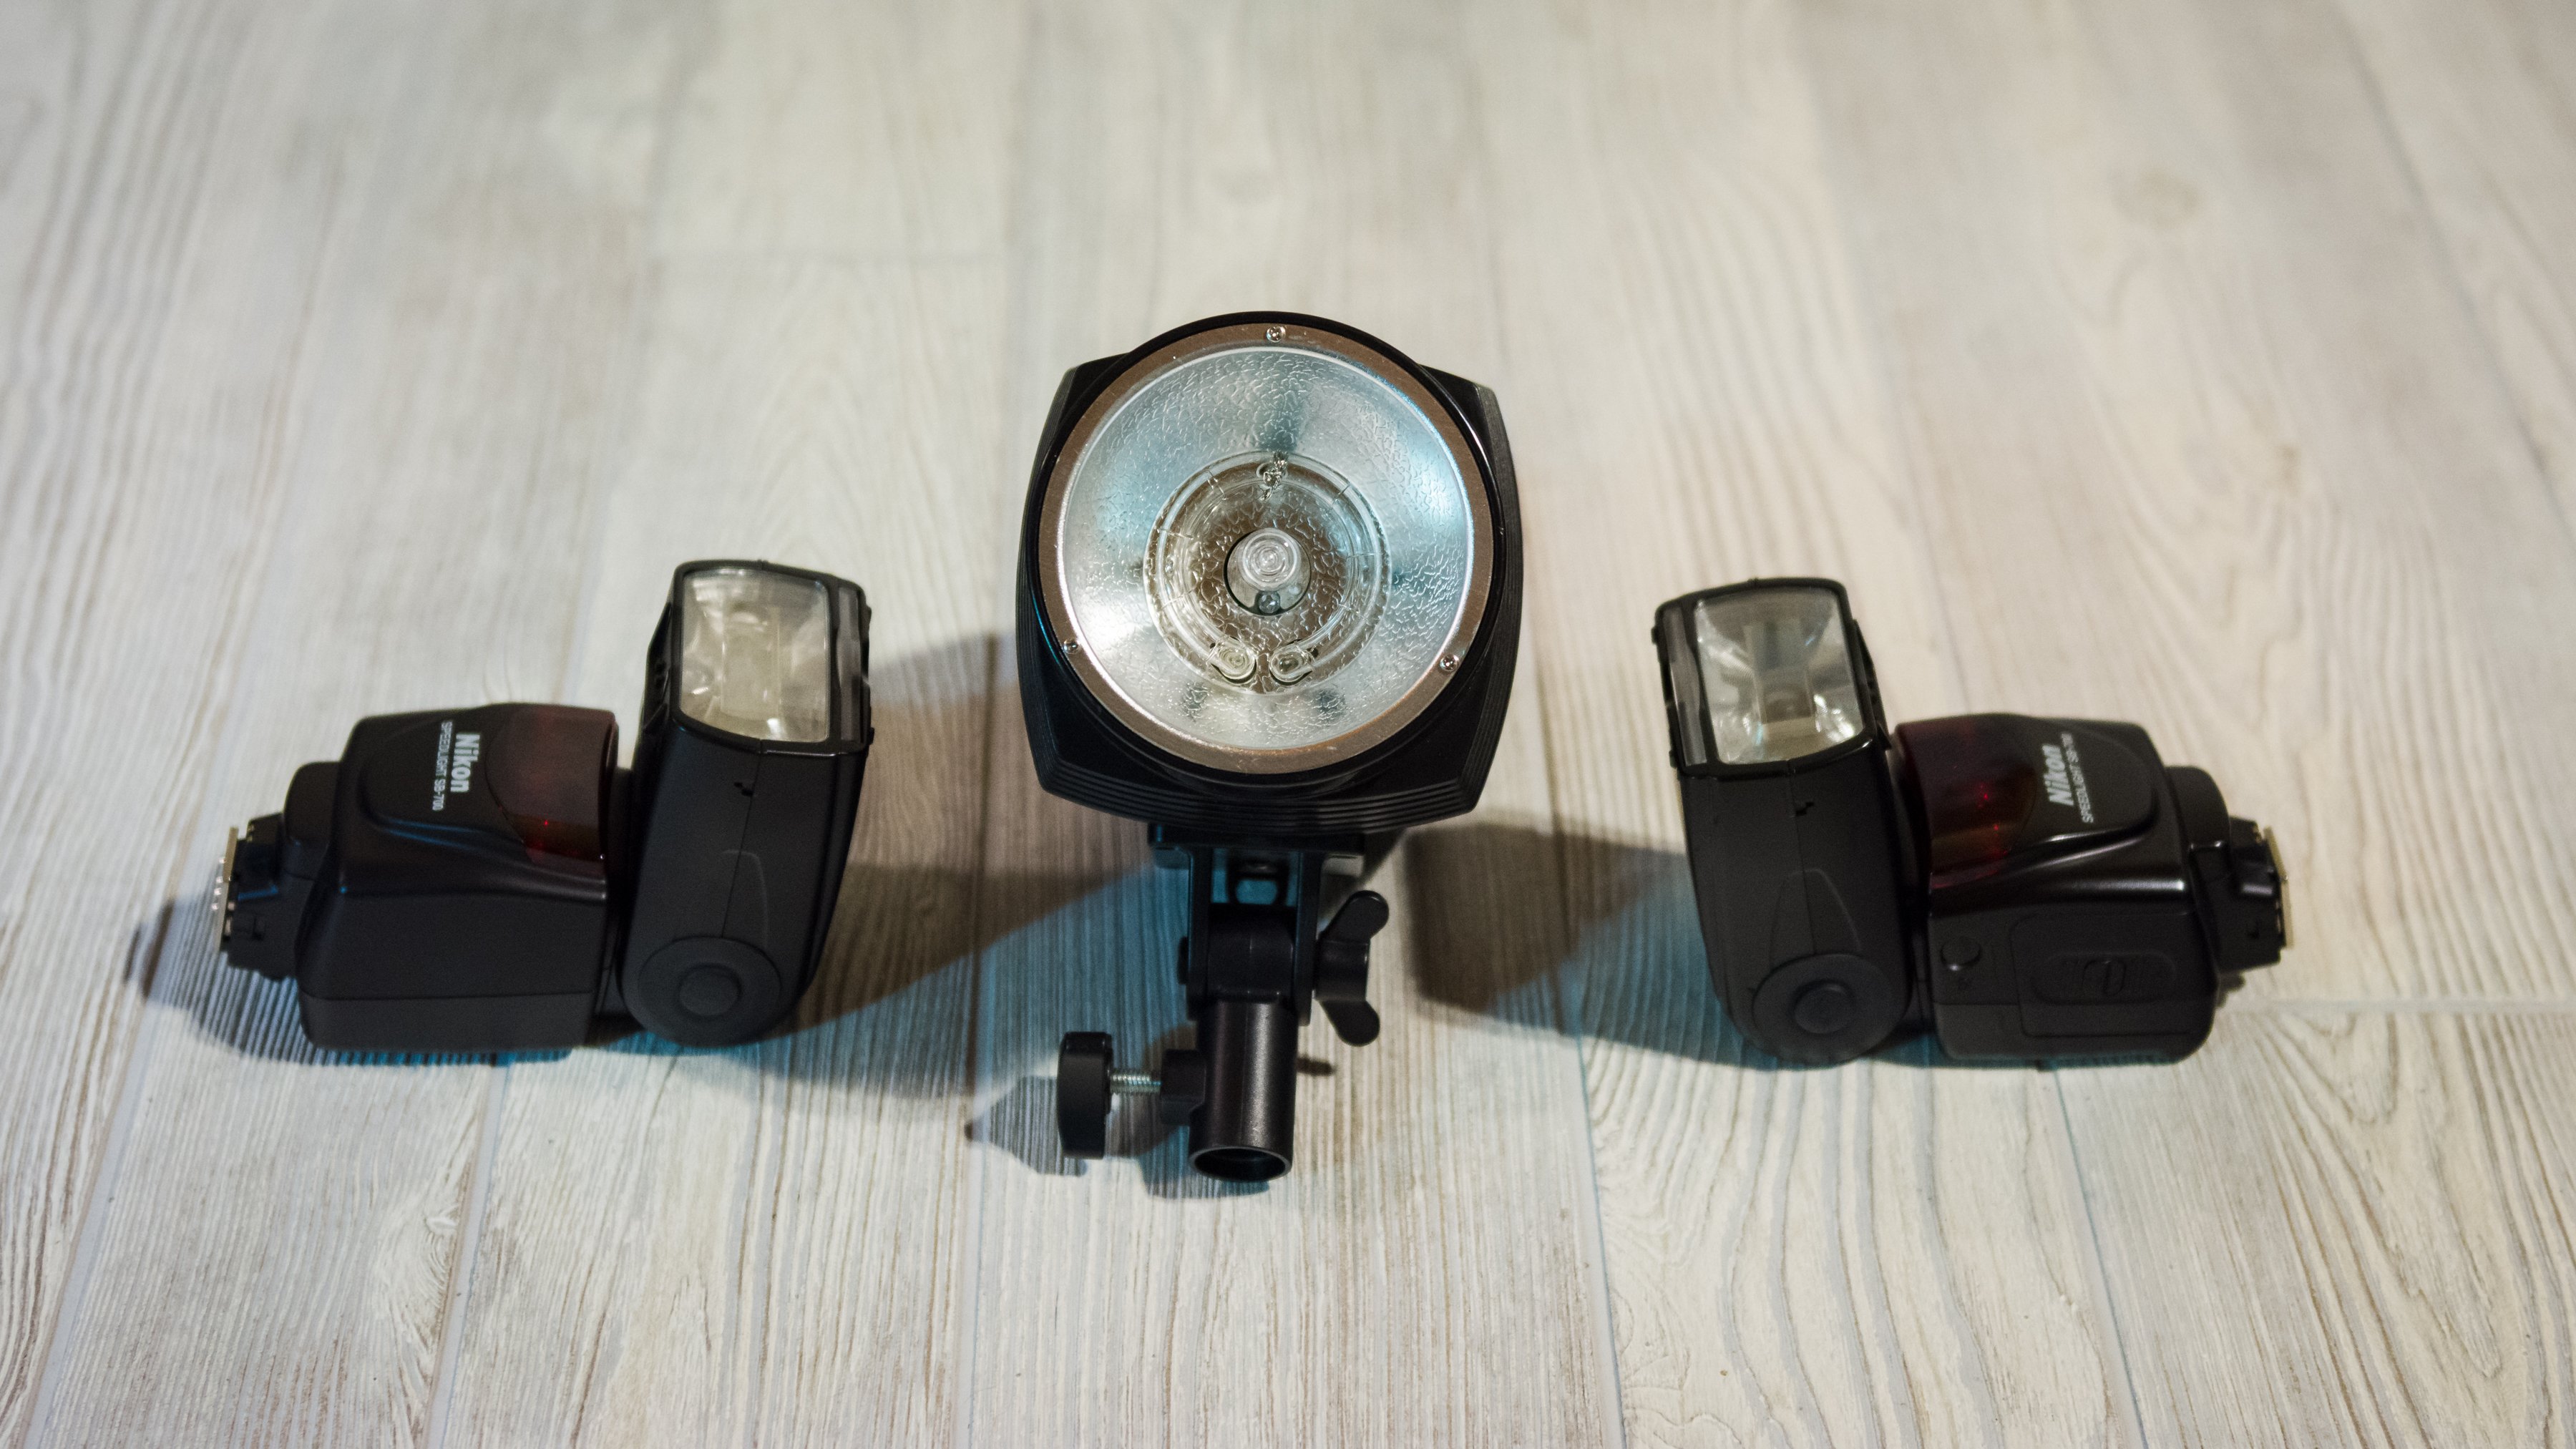
Flashguns
An external flashgun gives you more choices than a built-in flash. You can change its direction, bounce it, or move it off-camera.
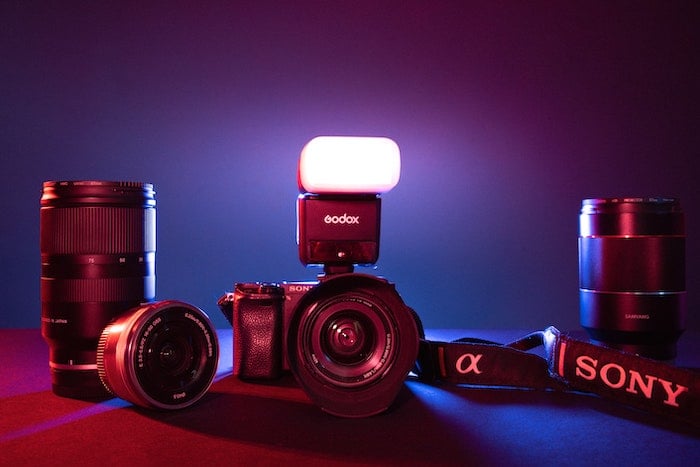
The Godox V860III-S is the Sony version of this flash. It supports TTL, manual flash, and HSS with compatible Sony cameras, and has a built-in Godox radio system.
Choose the version for your camera rather than assuming every V860III has the same shoe and camera support. Also check the size of the flash head before buying a fitted modifier.
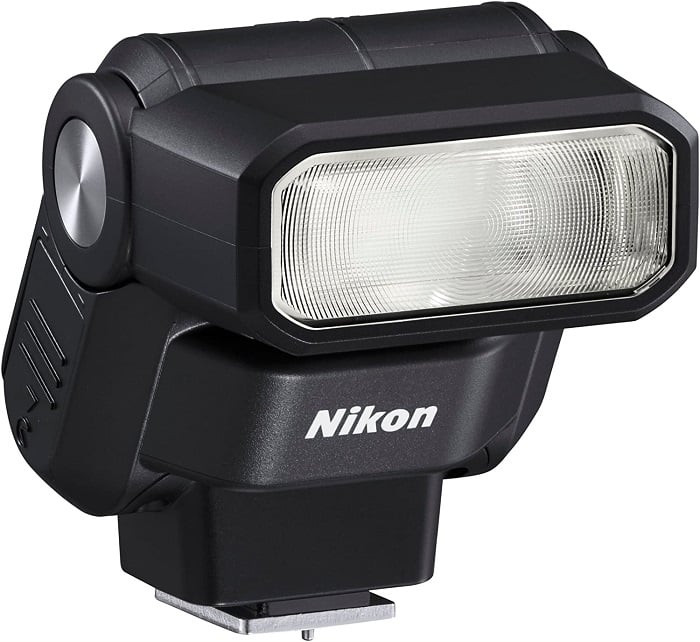
Canon Flashes
The Neewer Z1-C is a Canon-fit round-head flash. Its radio system uses NEEWER's compatible Q-system equipment.
The Canon Speedlite 600EX II-RT supports Canon's radio and optical wireless flash systems. Use the required compatible controller for the mode you choose. Do not assume that the Canon and NEEWER radio systems work together because both are wireless.
For on-camera use, check that the flash supports your particular EOS camera and hot shoe. For off-camera use, check both camera control and flash receiver compatibility.
See our guide to flashes for Canon for more options.
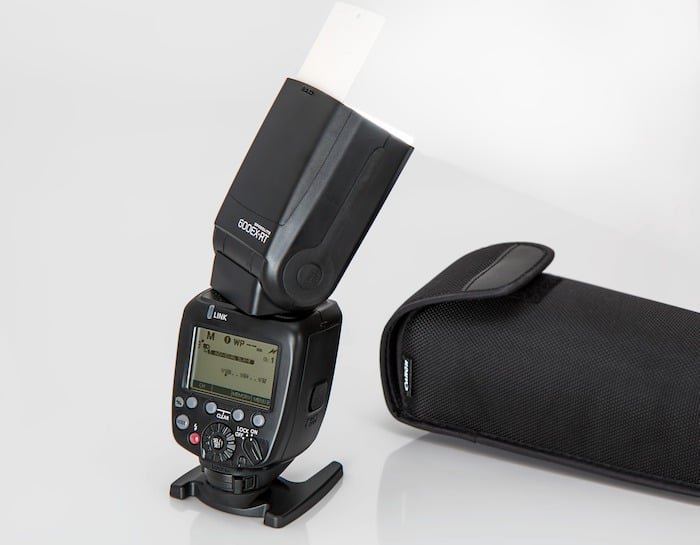
Nikon Flashes
The Nikon SB-5000 supports optical and radio Advanced Wireless Lighting. It also has a cooling system for repeated flash use. Radio control requires a compatible camera and controller setup.
The Nikon SB-700 supports Nikon's optical wireless system. It should not be treated as a flash with the SB-5000's built-in radio receiver.
The smaller Nikon SB-500 combines flash with an LED light for close-up stills or video. These are separate light functions; the LED does not provide the same burst as the flash tube.
Use our best flash for Nikon cameras guide to compare the options, then check your camera's supported features.
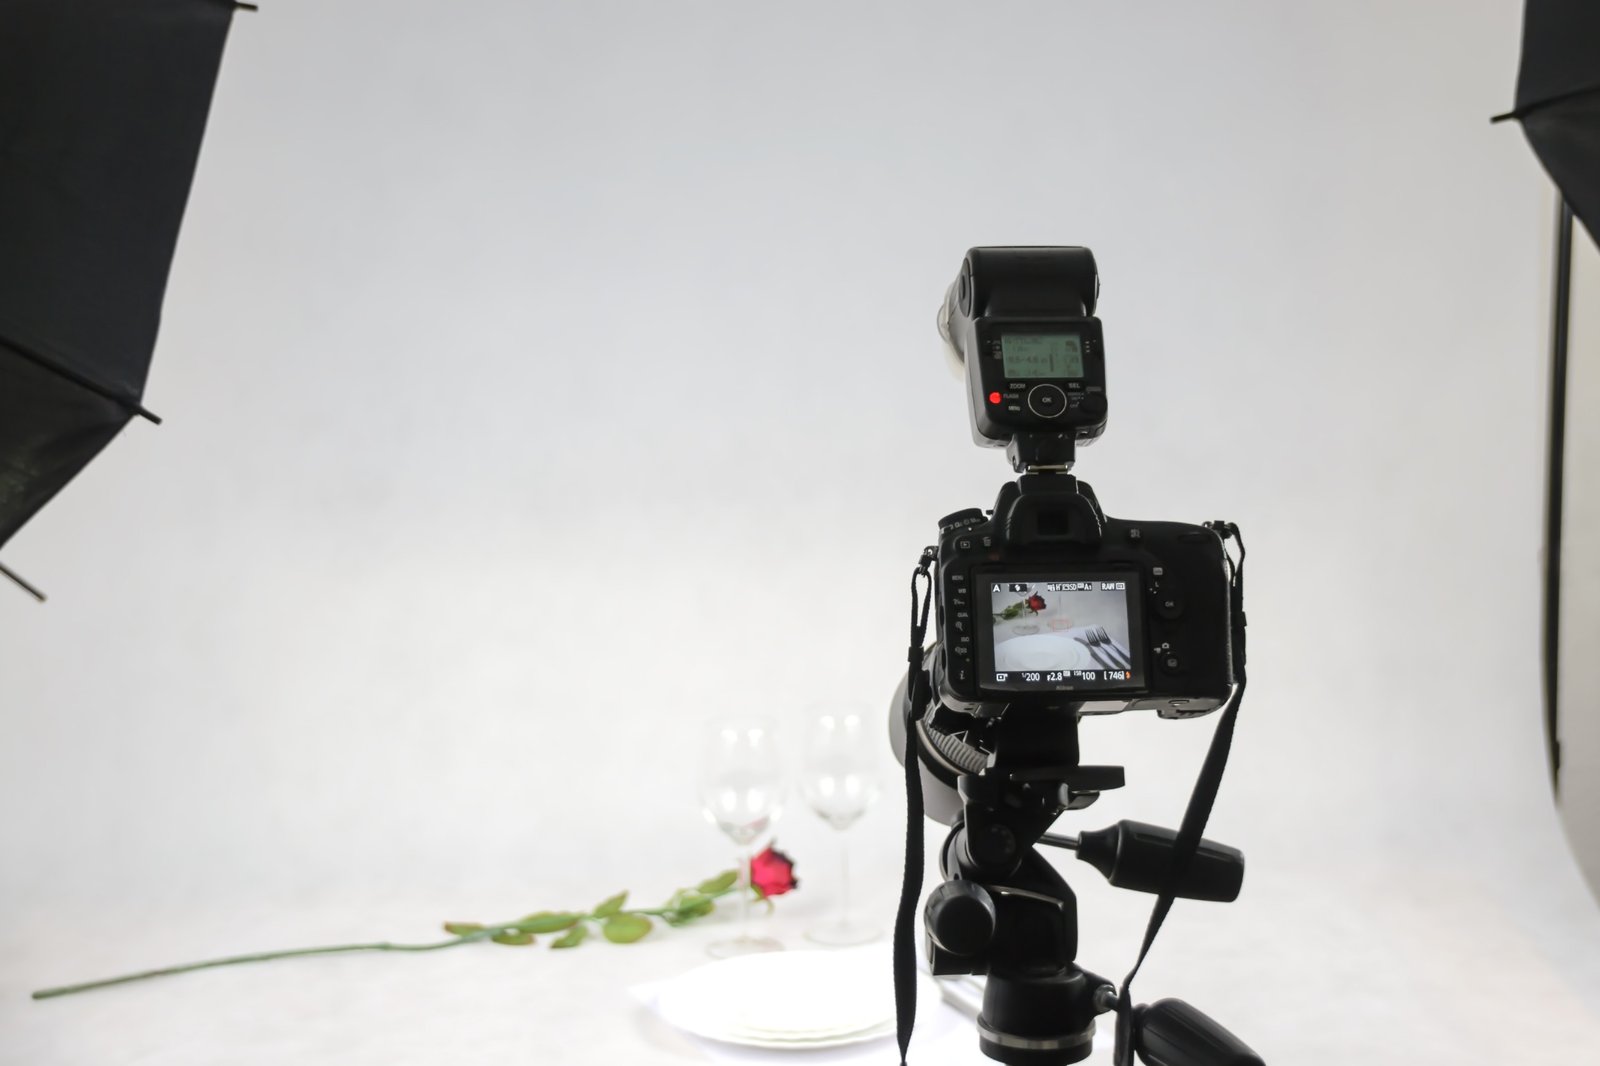
Sony Flashes
The Godox V860III-S is designed for compatible Sony cameras. It offers TTL and manual flash, HSS, and Godox radio triggering.
Its LED modeling lamp has ten brightness settings. The lamp helps you assess lighting before a shot; it is a separate source from the flash itself.
For a simple portrait setup, move the flash to a stand and use a compatible Sony-fit transmitter. Take a test frame after each change in position or power rather than relying only on the modeling lamp.
Ring Flashes
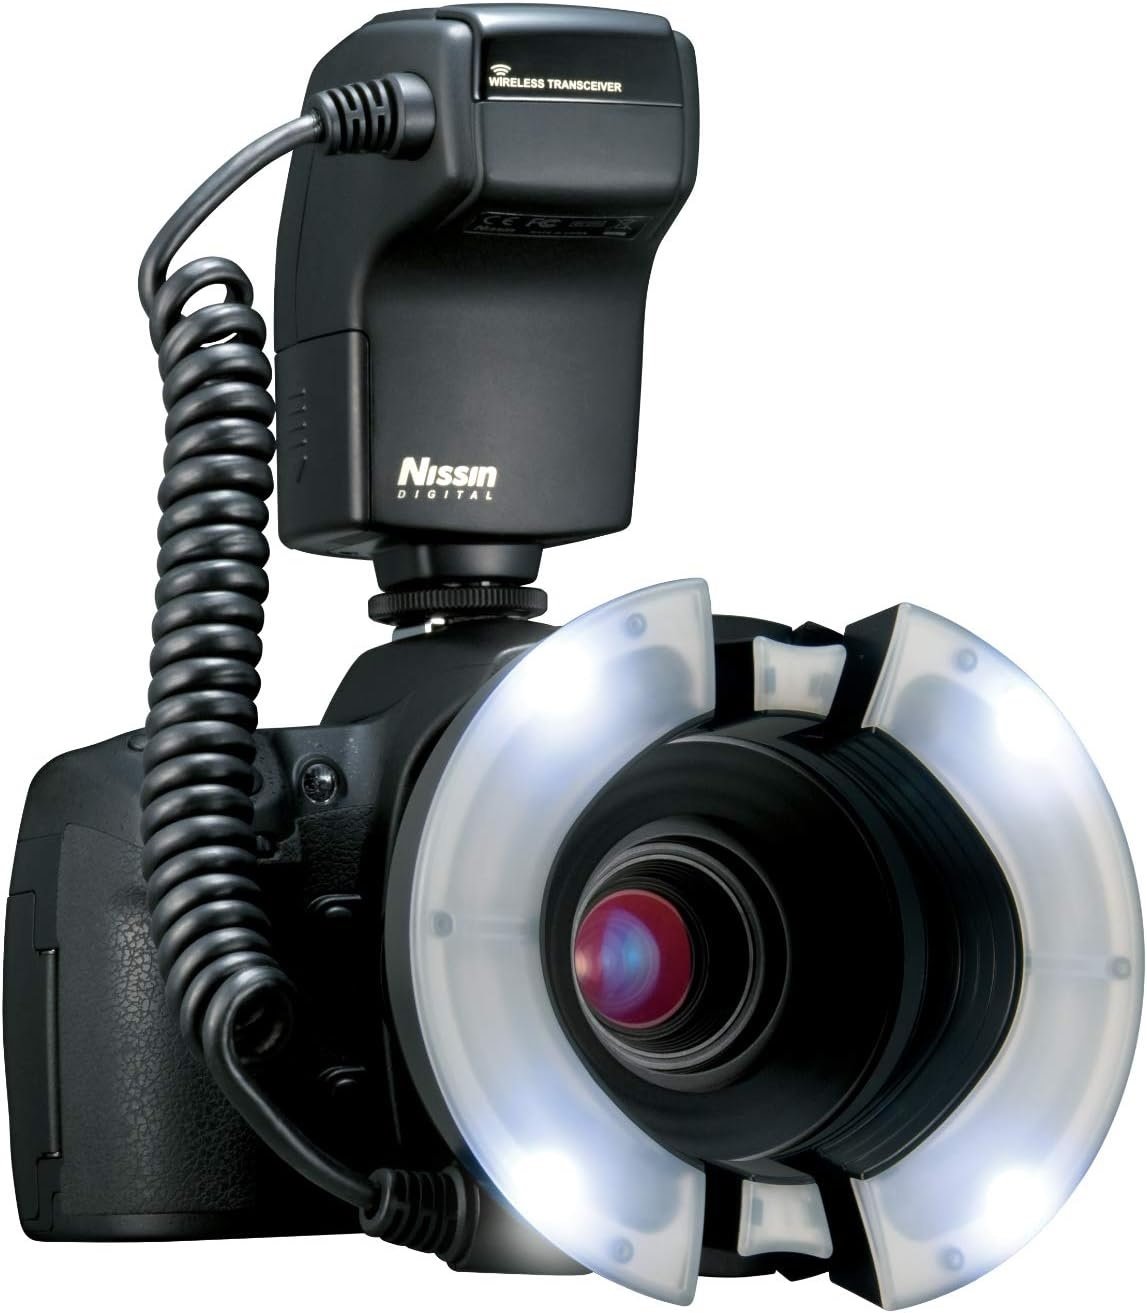
A macro ring flash surrounds the front of the lens. This position can reduce prominent side shadows when you work very close to a small subject. It is an option for macro photography, rather than essential equipment for every close-up.
The Godox MF-R76 Macro Ring Flash uses flash tubes for the exposure and LEDs for focus assistance. The original MF-R76 is a manual flash, distinct from the later camera-specific TTL versions.
Check camera triggering compatibility and the lens adapter size before buying. Its supplied adapter rings do not make it compatible with every camera and lens. Adjusting the left and right flash output separately lets you introduce more direction than equal output from both sides.
Godox V860III-C and X2T-C
The Godox V860III-C flash is the Canon version of the V860III. It supports Canon E-TTL II and manual flash, with HSS on compatible cameras. The X2T-C transmitter is also Canon-fit and can control compatible Godox X-system flashes off-camera.
Check the exact camera model, firmware, and shared functions before combining units. A transmitter for Canon does not provide universal on-camera compatibility.
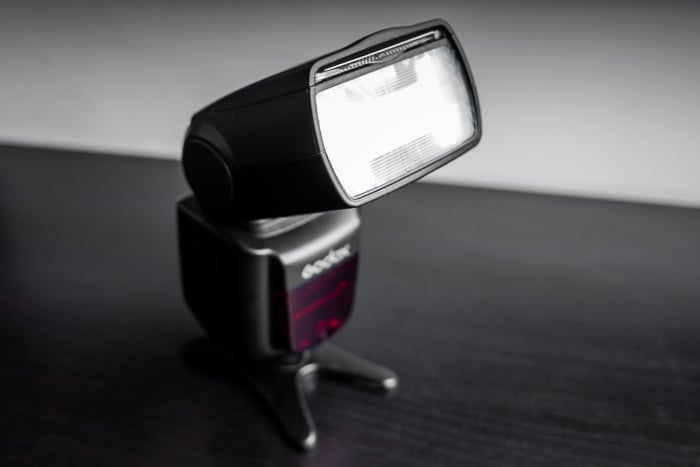
The photograph and our Godox V860 II review below are from our earlier V860II coverage. That older model is different from the V860III-C linked above.
Profoto A1
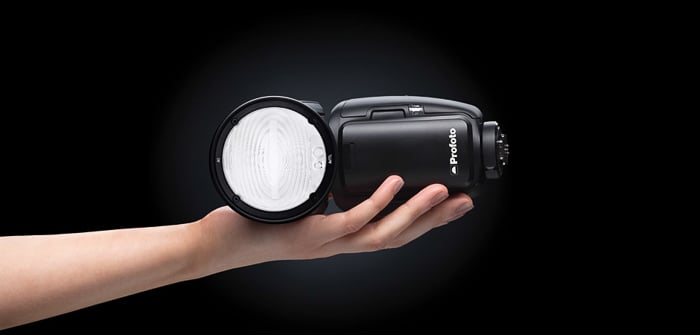
The Profoto A1 is a compact round-head flash with a modeling light and a magnetic modifier mount. It can be used on-camera or within a compatible Profoto Air setup.
A round head describes the shape and distribution of the beam. It does not, by itself, turn a small flash into a large soft light source. Bounce the light or use an appropriate modifier when you want broader illumination.
The camera-fit version matters for on-camera operation. Read our Profoto A1 review for more detail.
Profoto B10
The Profoto B10 is a battery-powered off-camera flash rated at 250 Ws. It also has adjustable continuous LED light that can be used for video or modeling.
A compatible Profoto Air transmitter provides camera triggering; the Profoto app can control the light over Bluetooth. App control and camera synchronization are different jobs.
Choose the compatible camera transmitter and light-shaping tools for your setup. The B10 itself is not a camera-specific hot-shoe flash. Our Profoto B10 review covers it in more detail.
Lighting Modifiers
Modifiers alter a light source; they do not all create light themselves. A reflector redirects available light, diffusion spreads light through a surface, and a flag blocks it.
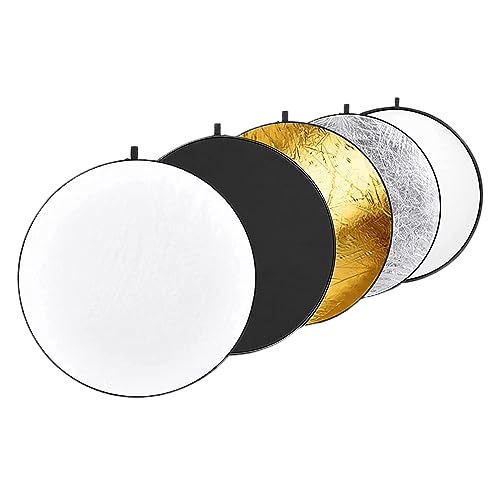
The NEEWER 5-in-1 Circular Light Reflector is an example of a portable reflector kit. The Altura Photo Flash Diffuser Softbox and Triopo KS55 Portable Octagon Softbox Umbrella are examples of fitted flash modifiers.
Choose according to the effect you want and the mount you have. A small attachment will not produce the same lighting as a large illuminated surface close to the subject.
DIY Flash Modifiers
A sheet of white card can return light into shadows. Black card can block spill, and a simple card snoot can confine a flash beam to a smaller area.
Use these as experiments in directing light. They are not guaranteed substitutes for commercial modifiers, and a small piece of material over a flash does not automatically make its shadows soft.
Keep homemade materials clear of flash tubes, lamps, and vents. Do not put paper or plastic over a hot continuous light.
Our DIY Speedlight modifiers article has more ideas.
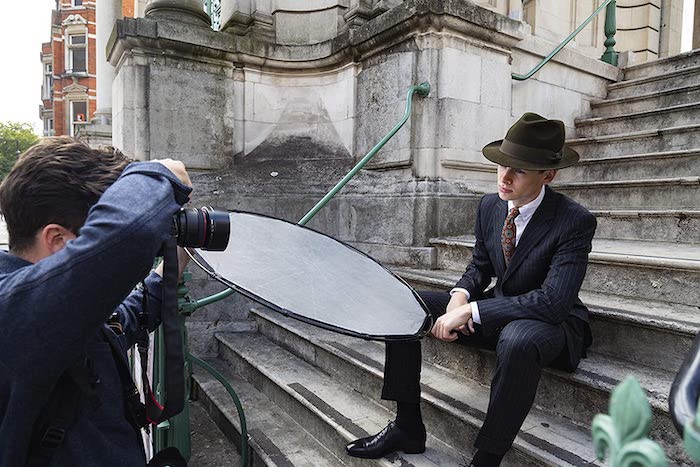
Reflectors
A reflector returns some existing light toward your subject. It can lift the shadow side of a portrait without a second powered light.
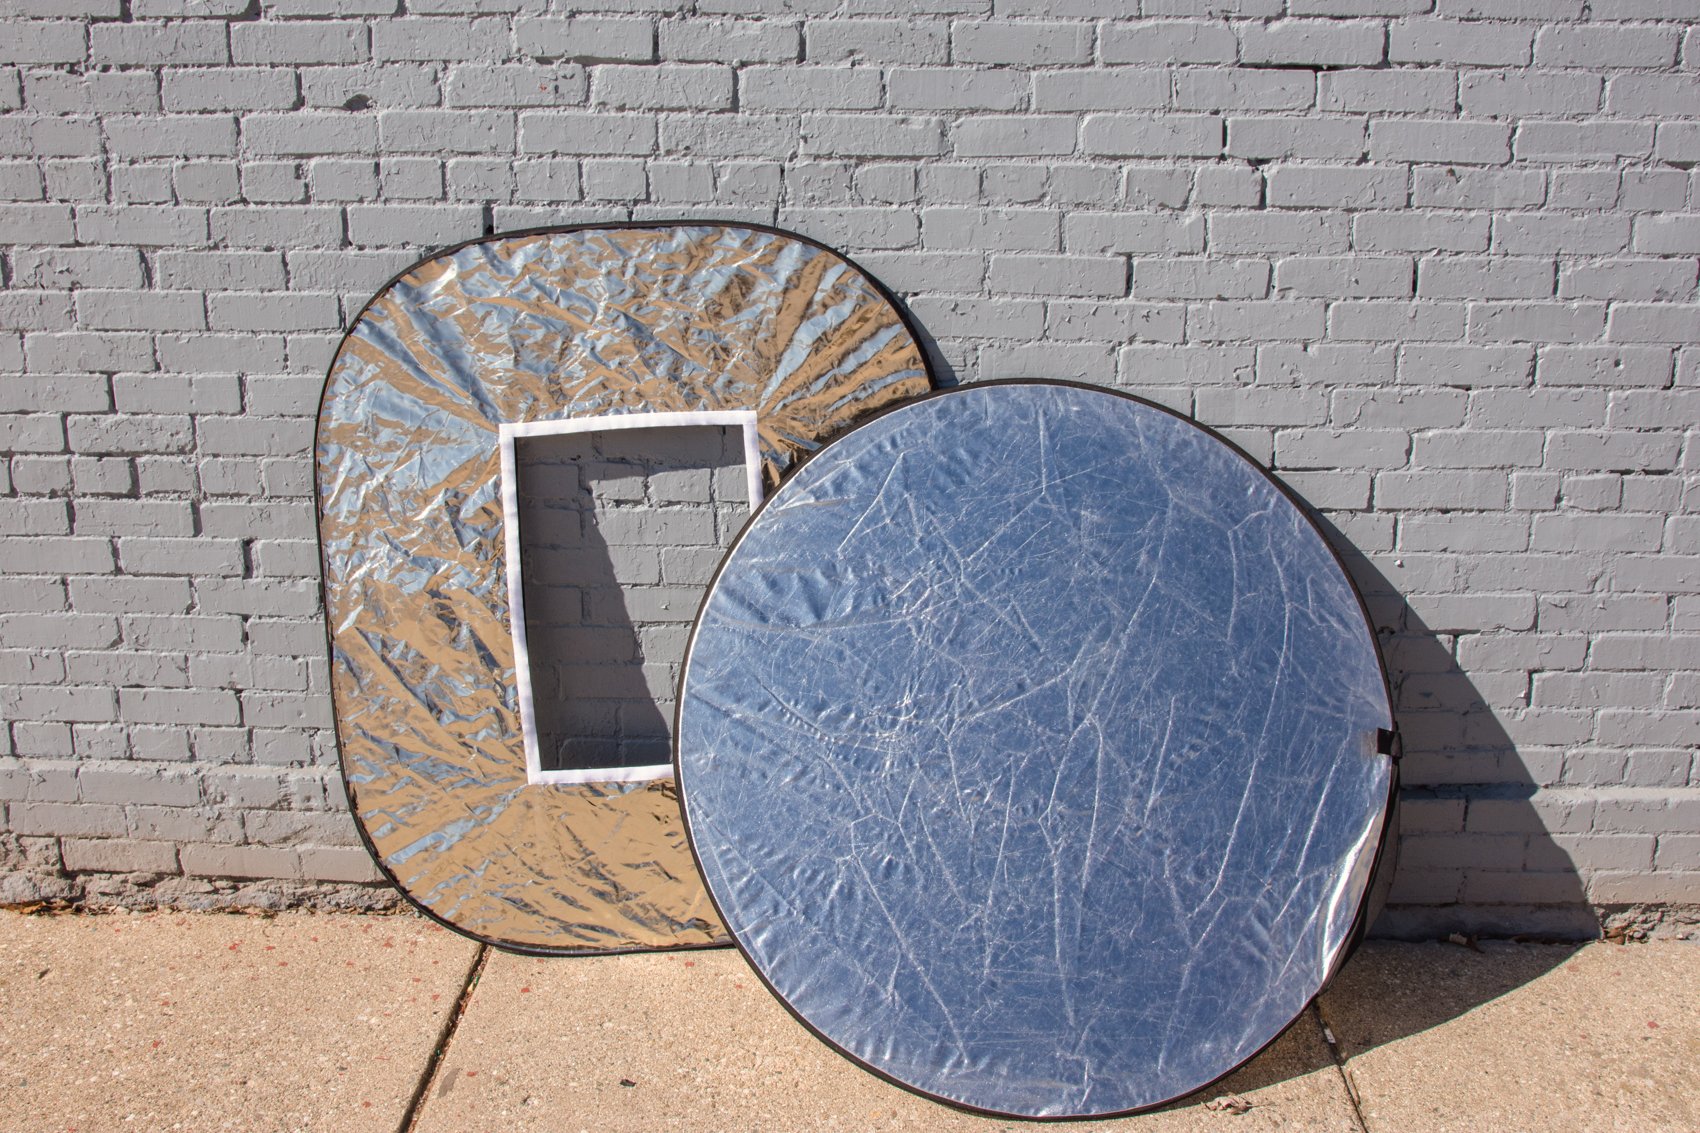
White, silver, and gold surfaces give different results. White produces neutral fill; silver gives a more pronounced reflection; gold adds warmth. The black surface in a multi-surface kit absorbs light for deeper shadows. Its translucent panel diffuses light passing through it.
Choose a size you can position where it is needed. A larger surface covers more of a person or product, but is harder to hold steady on location.
Portable Softboxes
A portable softbox mounts around a flash and presents an illuminated front surface to the subject. It is useful when you want more control than a bare flash provides.
For the Triopo KS55 Portable Softbox, check the bracket, flash-head fit, and package contents before assembling your kit.
Place the modifier deliberately and take a test photo. A portable softbox's effect depends on how much of its surface is lit and where you put it, rather than the product name alone.
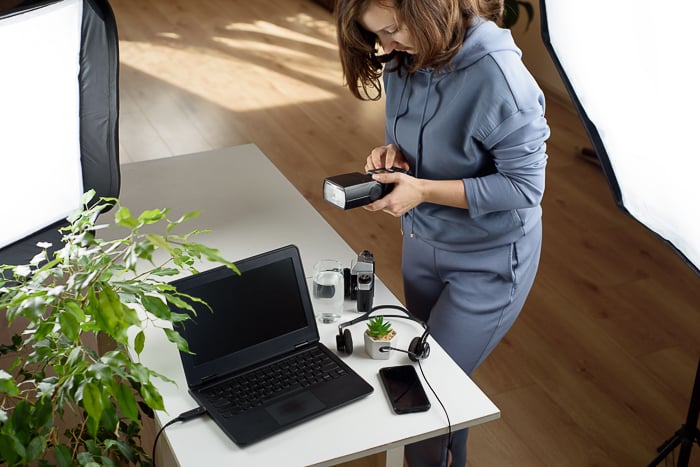
Diffusers
Diffusion changes the way light passes through a surface. For a broad soft-light effect, the illuminated surface needs to appear large from the subject's position.
The Altura Photo Flash Diffuser Softbox and Neewer Universal Mini Soft Diffuser are compact attachments. Check their fit on your flash rather than assuming that “universal” guarantees a secure mount.
A small diffuser can spread light, but it does not guarantee shadow-free portraits. In a room, light returned by nearby walls or a ceiling may contribute much more to the result than the attachment's size.
Light Boxes
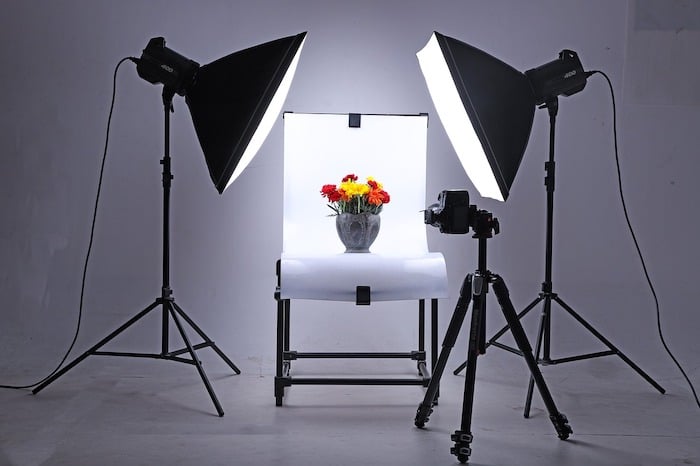
A tabletop light box surrounds a small product with a controlled shooting space. It helps keep the background and lighting position consistent across a series of pictures.
Before choosing the DUCLUS 16 x 16 inch Portable Photo Studio Box, check the usable interior space and how the lights are positioned. Your product needs to fit with room around it for the view you want.
Glossy objects can still show reflections of lights or openings. Move the object and camera to control those reflections, and leave enough space around the product to avoid a cramped view.
Our guide to light boxes for photography compares the best ones to buy.
How to Use Light Modifiers
First decide whether you want to spread light, confine it, return it into shadows, or block it. Then choose the modifier for that job.
A softbox or umbrella can provide a broader source. A grid or snoot restricts spill. A reflector adds fill, while a flag keeps light off part of the scene. Gels alter color; a gobo or patterned cutout can alter the projected shape.
Our lighting modifiers guide explains the tools in more detail. The following sections focus on placement.
Reflectors
Put a reflector on the side where you want more light. For a window-lit portrait, start opposite the window and angle the surface until you see fill reach the face.
Move it closer for a stronger effect, then reduce the reflection if it flattens the face too much. The result depends on the incoming light, surface, and angle, so there is no single position that is always brightest.
Use black material near the shadow side when you want to reduce bounced fill. Put the translucent panel between direct light and the subject when you want diffusion; this reduces the amount of light reaching the subject.
Read about photography reflectors for more placement examples.
Beauty Dish
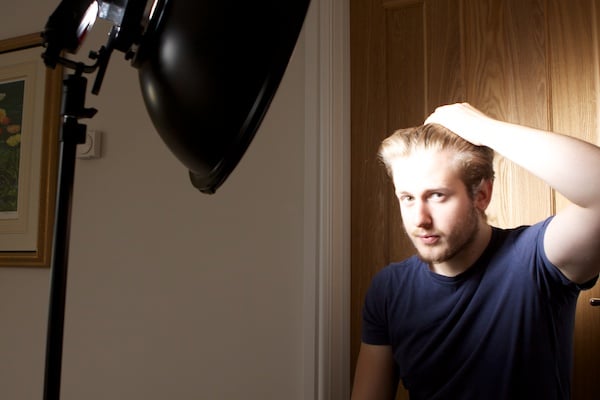
A beauty dish uses a deflector to redirect the flash into the dish. It is often used for portrait lighting with defined facial contours and catchlights.
Its effect depends on the dish, distance, and any diffusion fitted to it. Avoid treating “harder than a softbox but softer than an umbrella” as a fixed rule for every setup.
Start above eye level, angled down toward the face. Move the dish and turn the subject's face while you watch the nose and cheek shadows. This is a starting position, not a required angle.
A compatible grid limits spill onto the surroundings. It does not automatically create a vignette in the photograph. See our beauty dish guide for examples.
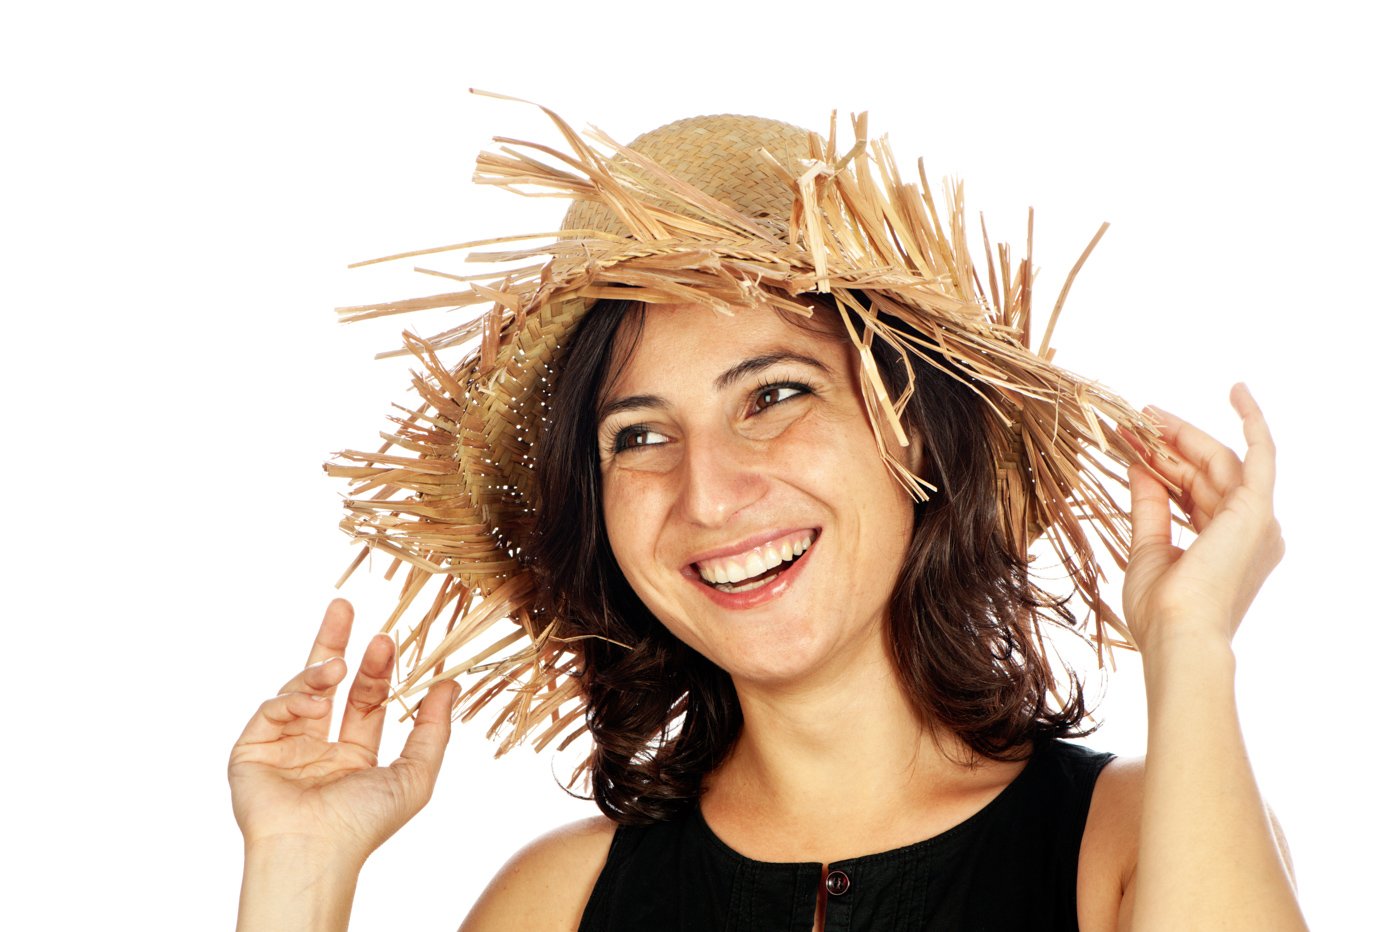
Softboxes
A softbox spreads light across a diffusion surface and helps contain spill. It is useful for portraits, still life, and products when you can control the light's position.
For softer shadow edges, the illuminated front should look large from the subject's position. A large softbox far away can act harder than a smaller one close by. Changing distance also changes exposure, so take another test frame after moving it.
Position the light to suit the shape of the subject. For a portrait, begin to one side and above eye level, then adjust the angle until the shadows look right.
If you want to use a softbox on location, check the mounting system and stability of the complete setup.
Umbrellas
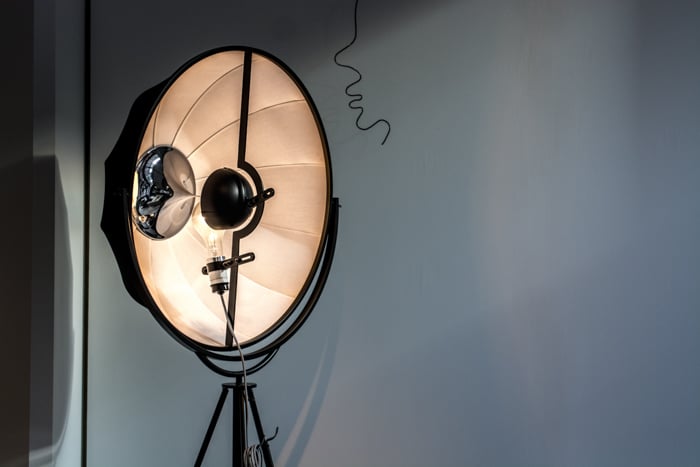
A shoot-through umbrella sends light through translucent fabric toward the subject. A reflective umbrella returns light from its inner surface. Reflective versions may have white or silver interiors with a black backing; they are not simply “black umbrellas.”
Aim the light into the umbrella so it illuminates the surface. Fit the shaft securely in a suitable bracket and check that the flash or lamp is positioned correctly.
Umbrellas are useful when you want broad illumination, but spill can also reach the background and walls. Our photography umbrellas guide explains how to use the different types.
Softbox vs Umbrella
Choose between these modifiers according to spill control, setup, and the space available. A softbox's enclosed sides help contain light. An open umbrella often spreads it more widely and is quick to assemble.
Neither is always softer. The illuminated area, diffusion, and distance matter. Not every softbox has two diffusion layers, and some umbrellas can be fitted with diffusion covers.
Use a softbox when you need to control where light falls. Use an umbrella when broad coverage and simple setup suit the shot. Compare softbox vs umbrella in our dedicated guide.
Ring Lights
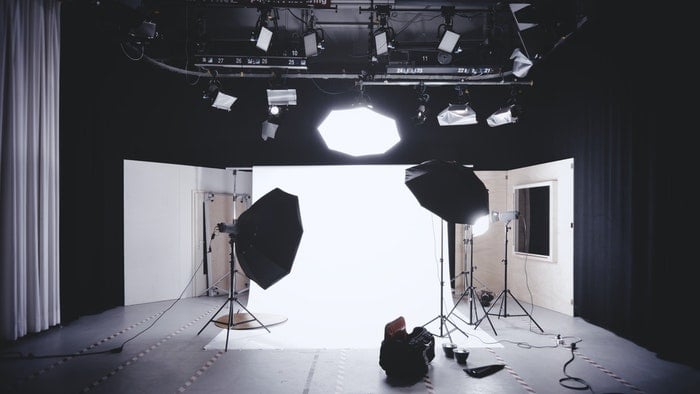
A continuous ring light stays on around the camera or phone's viewing position. A macro ring flash fires a brief burst around the lens. The similar shape does not make them interchangeable.
Near-axis ring lighting can reduce visible side shadows and create circular catchlights. It does not remove every shadow or reflection. Changing the light's position changes the result, and a small ring farther away does not guarantee soft light.
For macro work, check the working distance and whether the light leaves space around the front of the lens. Our ring light for photography guide has more examples.
Gobos and Flags
A flag blocks light from a part of the subject, background, or camera lens. Use one to keep a bright patch off a surface or reduce spill.
A gobo or patterned cutout can create shapes in the light. A sharply projected pattern may require a suitable optical attachment; cardboard near a broad light source will not necessarily produce crisp window-like shadows.
A gobos kit is one option. For simple blocking, position black card on a secure support and check the result. Keep it away from hot lamps.
Gels
Gels alter the color of the light passing through them. Correction gels help bring different sources closer in color, while colored gels can create an intentional effect.
For example, an orange correction gel can warm a daylight-balanced flash toward tungsten light. Set white balance for the lighting you want to look neutral, then check the subject and background together.
Use material rated for the light and follow its mounting instructions. Account for the light lost through the gel when setting exposure.
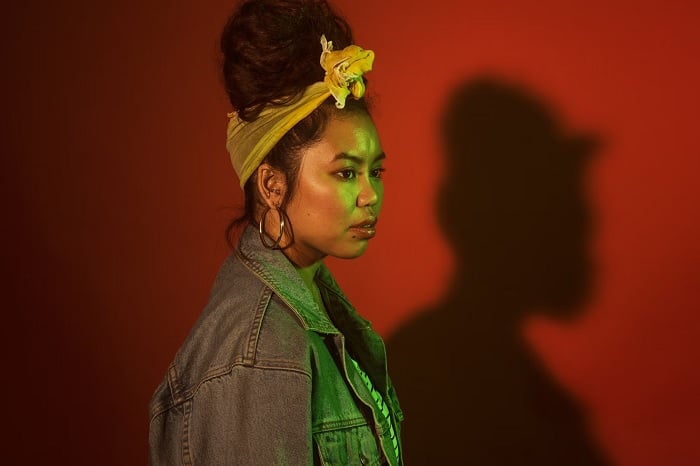
© Jessica Felicio
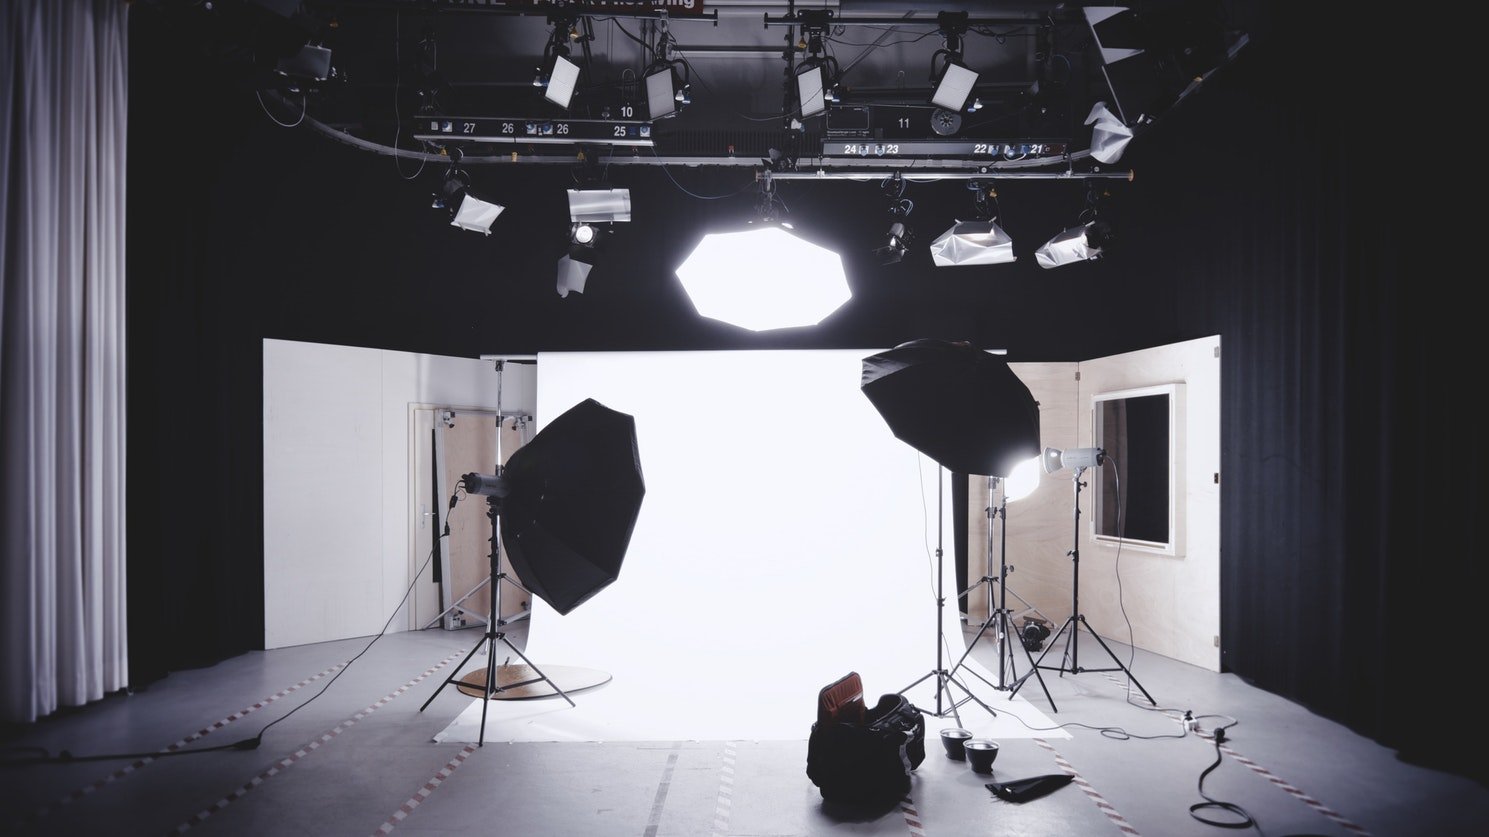
Studio Lighting
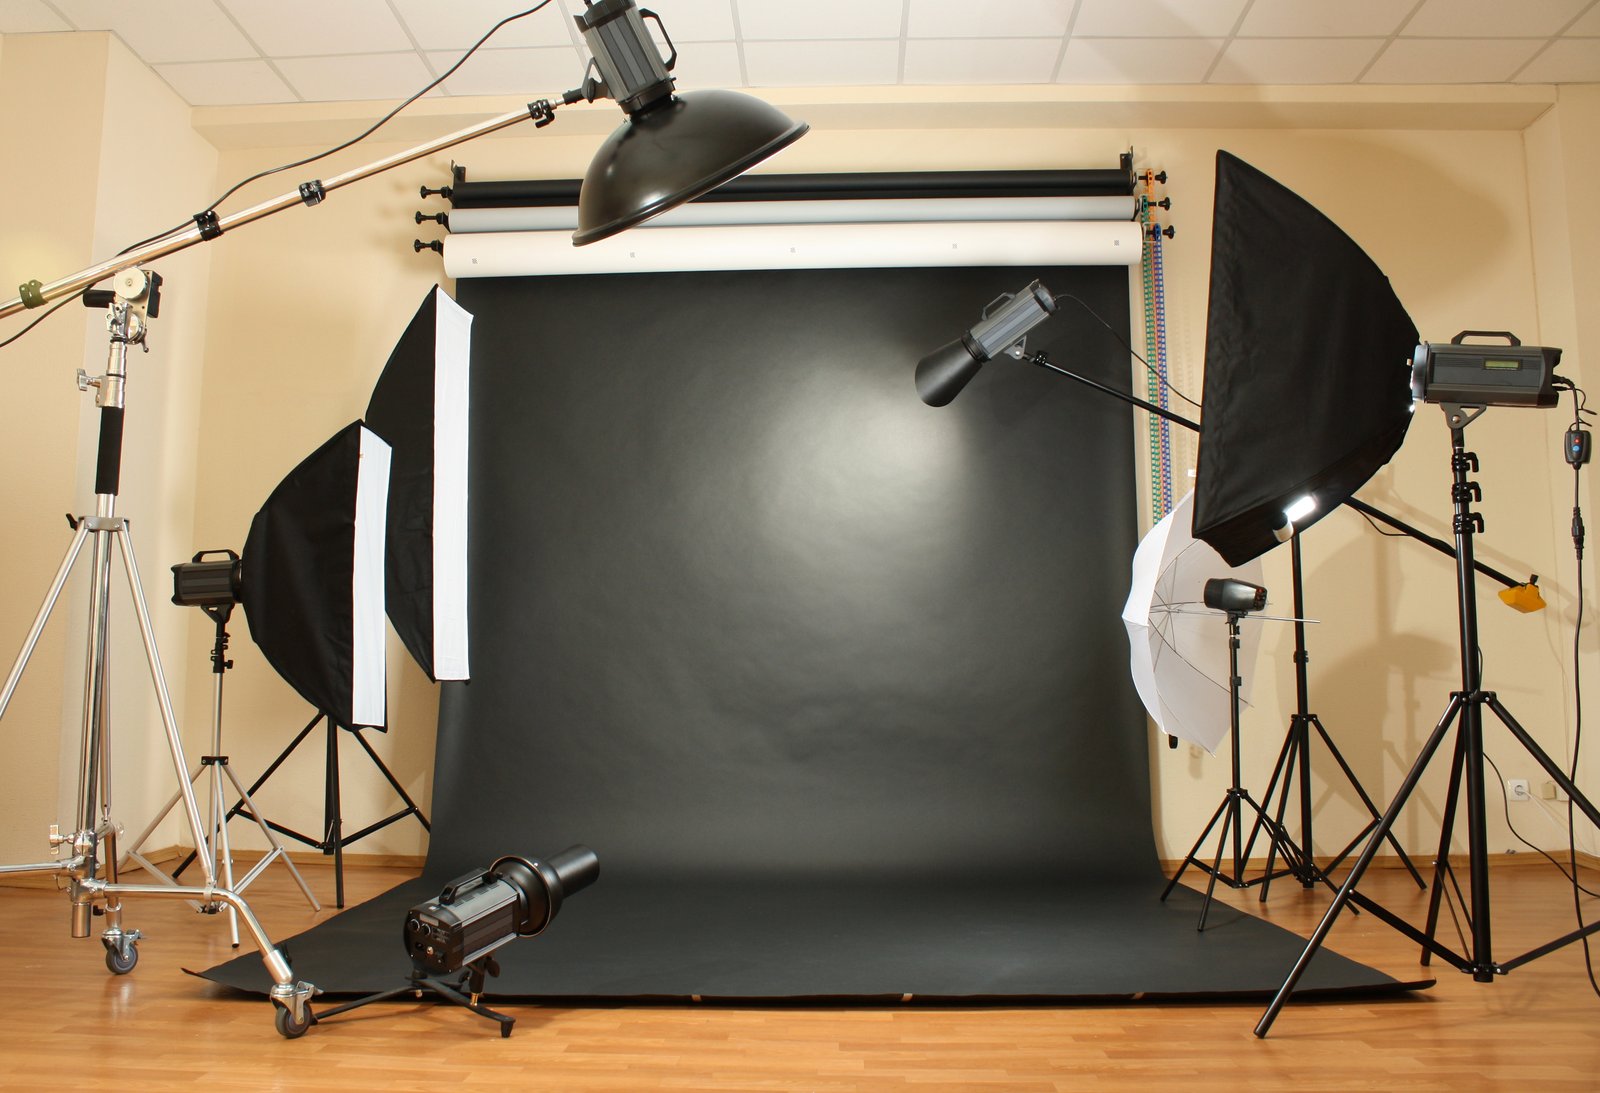
Studio lighting can be flash or continuous. The distinction is how the source operates, not whether it is used indoors.
Continuous sources include LED, fluorescent, and tungsten lights. An LED can be a small hard source or a large panel; LED technology alone does not make the light soft. Some lights offer adjustable color temperature, while others have a fixed setting.
Tungsten lamps can become very hot. Use only compatible modifiers and keep heat-sensitive material clear. LEDs also need ventilation, even though their operation differs from tungsten lamps.
Read our Studio lights guide for the source types.
Lighting Kits
A lighting kit should include the parts needed to use the light: a compatible modifier and mount, support, power supply, and a transmitter where required. A listing for one flash head does not necessarily include all of them.
The Godox AD200 Pro is a portable battery flash rated at 200 Ws, with interchangeable heads. This is flash energy, not 200 watts of continuous output.
The Profoto D30 500Ws Monolight is a mains-powered 500 Ws flash. Plan for a power connection as well as suitable support and light-shaping tools.
The Godox AD600 Pro II Lighting Kit is based around the battery-powered 600 Ws AD600Pro II. Check the seller's exact bundle contents, including any optional AC supply, before buying.
Our Photography lighting kits guide compares kit options.
LED Lights
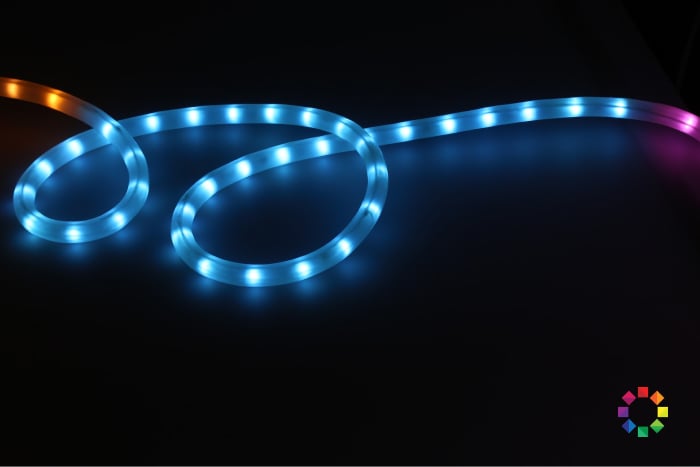
Continuous LEDs let you see the lighting before taking a picture and keep that light available during video recording. They include panels, ring lights, tubes, and point-source fixtures used with modifiers.
Choose according to output, beam shape, color control, and power supply. A small background strip is a different tool from a light intended to illuminate a person's face.
Take a test photo or clip at the settings you will use. Check exposure, color, and any visible flicker or banding. A light that looks adequate to your eyes may still be too dim for the shutter speed or aperture you need.
See LED lights for photography for options.
LED Panels
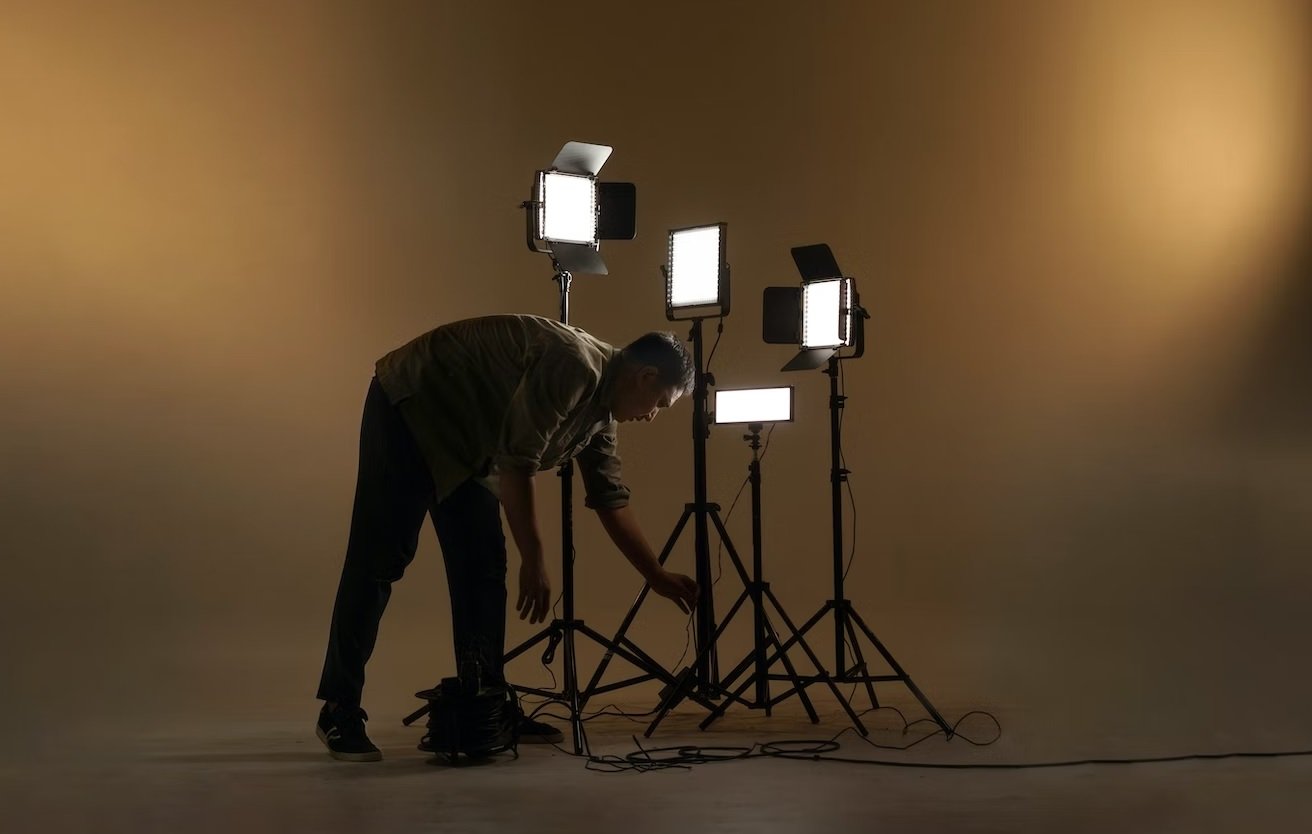
An LED panel puts a group of LEDs across a flat fixture. Panels vary in size, diffusion, output, and color control. Some are designed to sit on a camera; others need a stand.
Check whether the panel is fixed-color, bi-color, or full-color. Adjustable brightness does not automatically mean adjustable color temperature.
Before a video shoot, test it at the intended frame rate and shutter speed. Check the battery or mains power requirements as well.
Our LED light Panels guide compares the different designs.
Light Stands
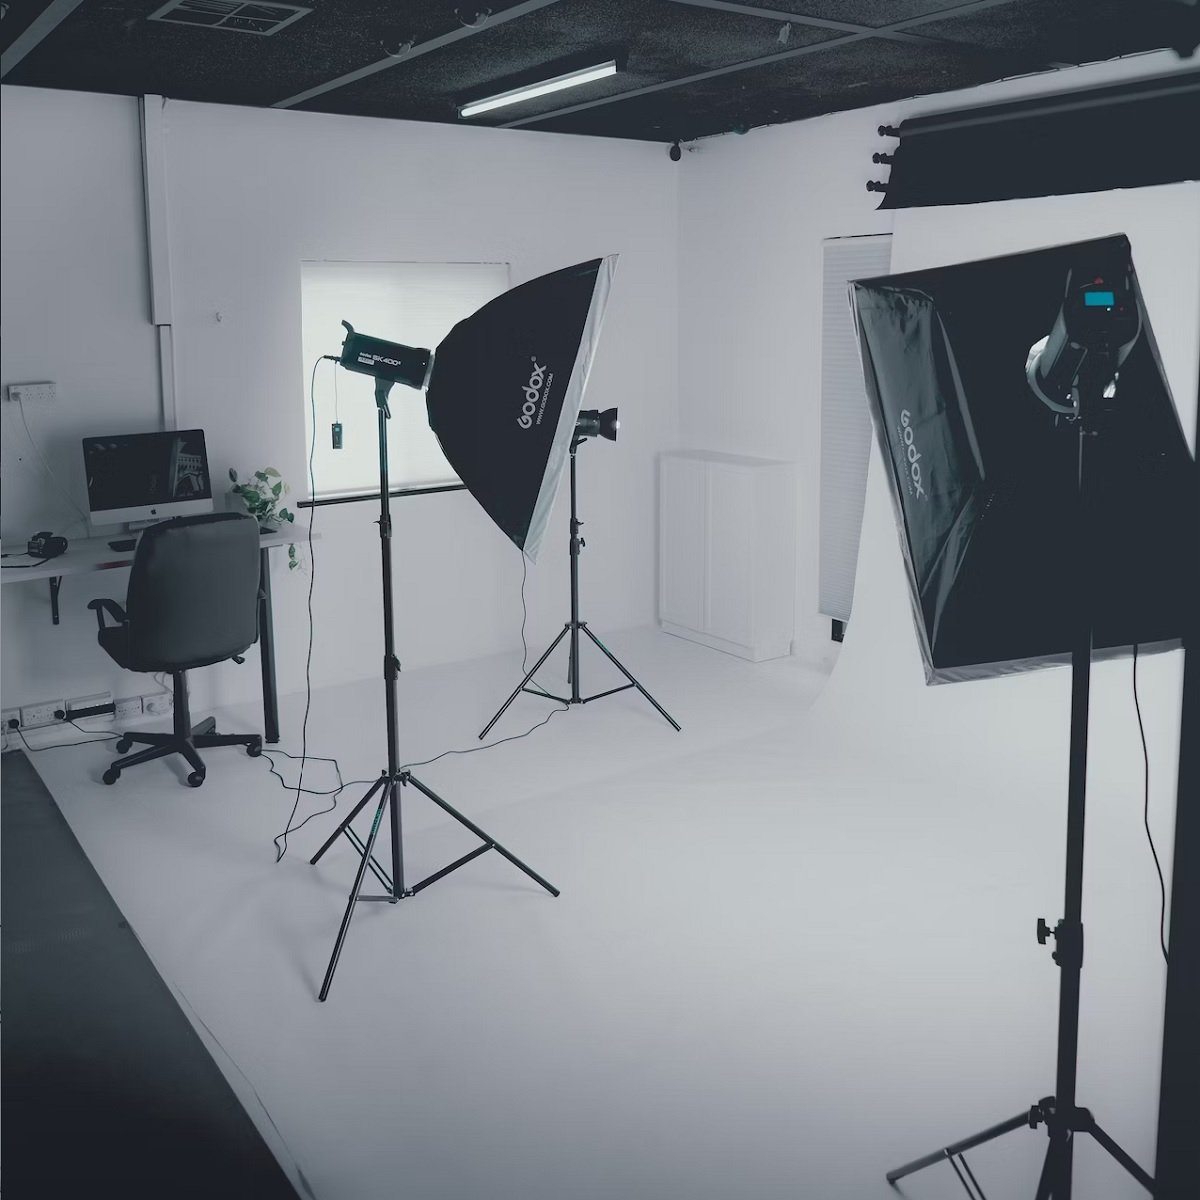
A light stand holds the source where you want it. Choose one with a suitable load rating, height, and attachment for the complete light and modifier.
Check the mount separately. A speedlight may need a cold-shoe or clamp bracket; a softbox may need a speedring or bayonet mount. A stand's spigot does not make every modifier fit every light.
Open the legs fully and secure each adjustment before use. Add appropriate ballast, especially with a large modifier. Wind can turn an umbrella or softbox into a sail, so reassess stability when conditions change.
A boom places the load away from the column and needs suitable support and counterbalance. Do not use a normal vertical load rating as proof that a stand can support the same load on an extended arm.
Video Lights
Video needs continuous illumination. Choose a light that stays on throughout the recording and gives enough output at the position where you will use it.
The Neewer CN-160 is a compact LED panel. For any panel, check camera or stand mounting, power requirements, and the controls on the exact model.
Record a short test before the full shoot. Look for uneven exposure, unwanted color casts, reflections, and flicker. If the light has a fan, also check whether the microphone picks it up.
Ring Lights
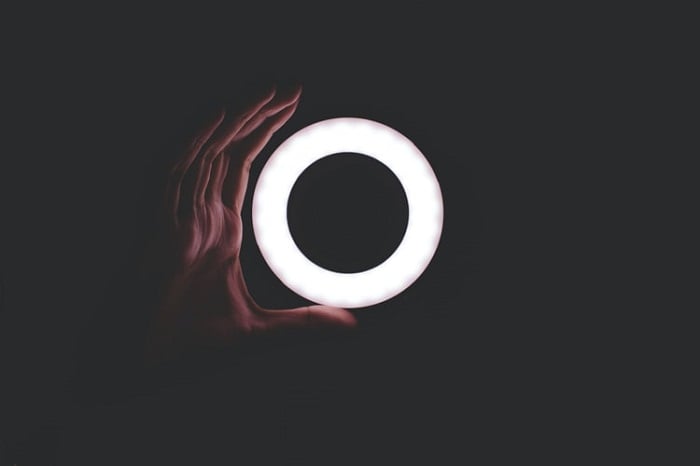
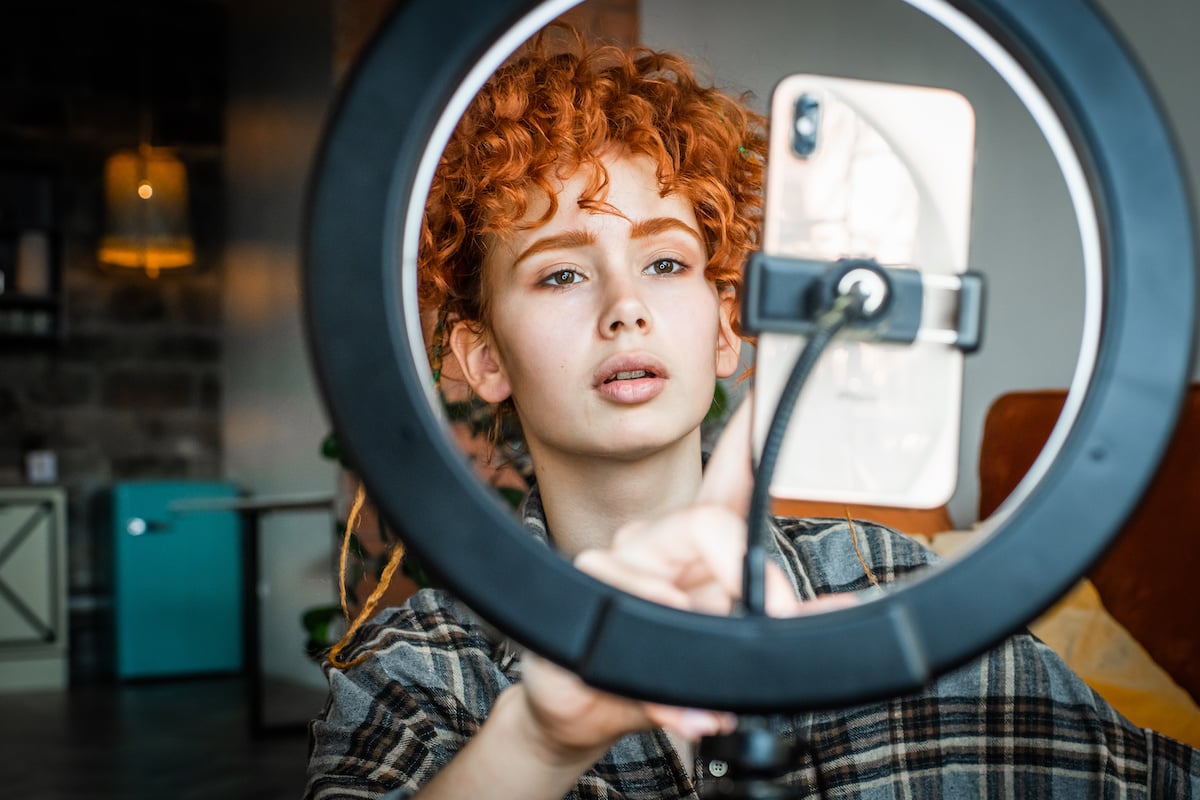
For face-to-camera video, a ring light can provide fairly even frontal illumination. It also produces circular catchlights and may reflect in glasses.
For the Sensyne Ring Light with Tripod, check the included support and camera or phone mount against your recording setup.
Place the light at a comfortable working distance and adjust brightness while you watch the recorded image. If the face looks flat or glasses catch a bright ring, change the angle or use a panel to one side.
Tiktok Lighting
For TikTok, light the person first and then decide how to light the background. A clear face and consistent exposure matter more than the number of colored lights in the room.
LED strip lights can add background color, but they may not provide useful main light for a face.
The Neewer 18-inch ring light can provide frontal light when positioned near the camera. Check its controls, power supply, and included mounts against your recording setup.
Read about TikTok lights for more options.
Video Calling
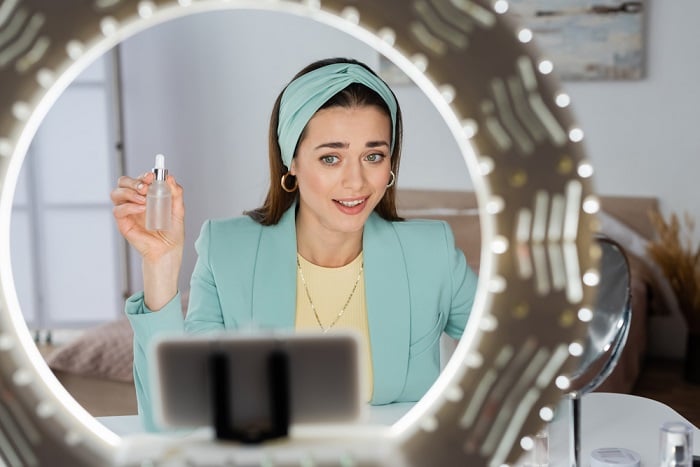
For a video call, begin with one continuous source near the screen. A window, ring light, or panel can work. Avoid a bright window directly behind you if it leaves your face dark.
A ring light such as the Lume Cube Ring Light Pro can sit around the camera. A panel, such as the Neewer 13-inch Bi-Color LED panel, can be positioned to one side for more directional light.
Start slightly above eye level and adjust the angle while looking at the call preview. Check for reflections in glasses and reduce brightness if the face is overexposed.
Build Your Lighting Kit One Step at a Time
Choose the source for the task: flash for a timed burst in still photography, continuous light for ongoing illumination, or a reflector when you want to redirect light you already have.
Add the mount, modifier, and support that let you place it safely. For off-camera flash, confirm triggering and camera compatibility. Start with one light, make a test image, and add equipment only when you can name the problem it will solve.