Need to take photos of your products for an e-commerce website, but you don't have a camera?
Don't worry. Your smartphone camera will do just fine. Read these simple smartphone product photography tips to get started.
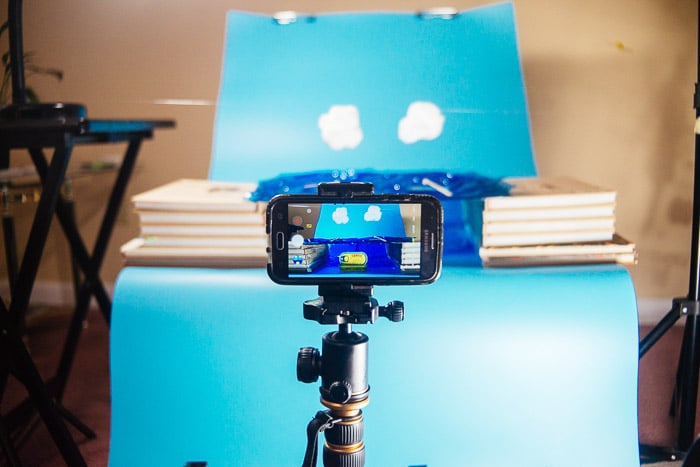
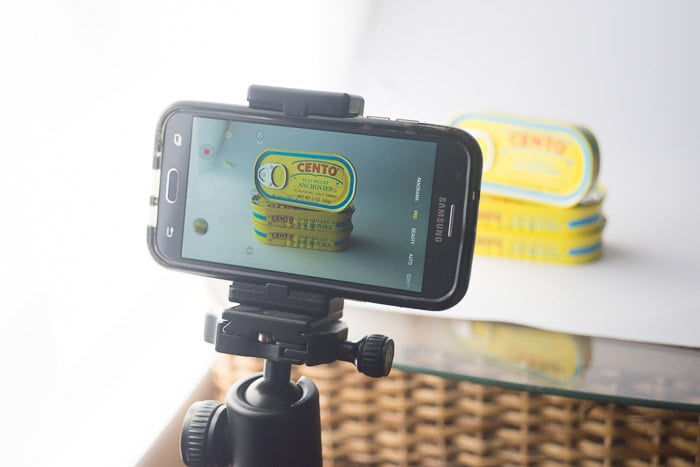
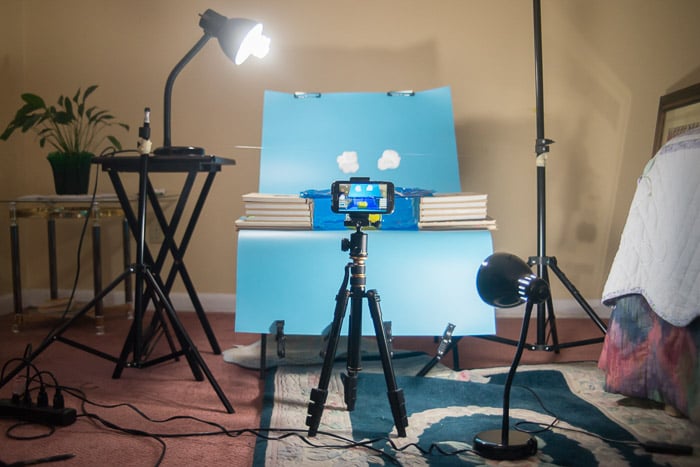
Smartphone Product Photography: Set Up Your Phone on a Tripod
A tripod is an essential piece of equipment you'll need for your smartphone product photoshoots.
Why? Mostly because it allows your phone to stay in the same position. Keeping the height and angle of your shots consistent makes your product photos look neat and professional.
This is especially important when you have to display different items on your e-commerce website.
Another advantage of using your tripod is that it lets you shoot in low light without motion blur. When you're in a dim environment, the camera's aperture stays open longer to gather more light.
If you move it, the image it records will turn up blurry. The tripod prevents this from happening by keeping it stable.
Any regular tripod would work for smartphone product photography. Just make sure you have a phone mount to let you attach your device to it.
Gorillapod and tabletop tripods are also perfect options, especially when shooting small items. Just set them up on a table or flat surface and you're all set.
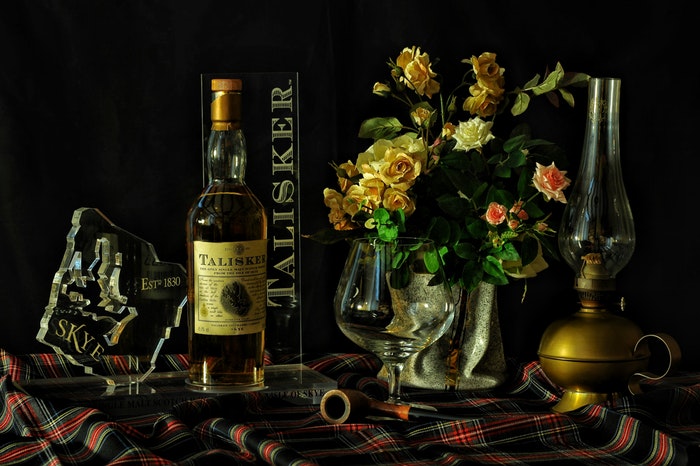
Use White Backdrops for More Professional Product Photos
The next step is to collect different types of backdrops for your smartphone product photos.
It's best to use a white backdrop for professional smartphone product photography. For small items, white construction paper will suffice. For larger objects, you can use a white blanket, instead.
If you're in the mood to experiment, you can also buy construction paper in different colors. Doing so will give your product photos a livelier look.
When it comes to lifestyle product photography, you can use any background that fits the look you want. For a rustic appearance, you can try wooden tables for textured surfaces. And if you want a more stylish approach, you can try marble or slate, instead.
Feel free to look at different materials that would be perfect for your needs.
One crucial tip to consider is that your background shouldn't overpower your product. If it's too distracting, then you're better off not using it.
Try to use backdrops that are plain to make it easier for customers to find your main subject.
Best Settings for Smartphone Product Photos
For the most part, shooting smartphone product photos is similar to using a regular camera. The secret is to tweak your settings, so you get the most out of your images.
First, let’s talk about the most critical iPhone camera setting: the ISO. In simple terms, this value changes your camera's sensitivity to light.
The higher you go, the more light your phone captures. The only caveat is that using high ISO also creates more image noise. So for best results, stick to ISO 100.
Next, choose your aspect ratio. To help you figure out what type of orientation to use, check your e-commerce website's images.
Are they square or rectangle? Once you find out which option to use, then select the correct size on your phone.
Finally, make sure you use your camera's autofocus to keep all your images sharp. Simply tap the part of the screen where your product is, and the phone will adjust the lens for you.
Once you check off all these settings, then you're on your way to taking awesome product photos.
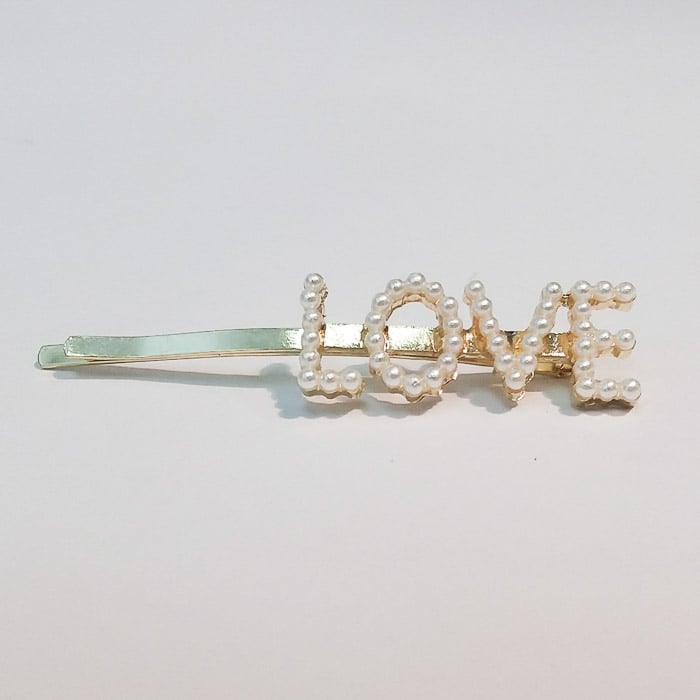
Attach a Macro Lens for Close-Ups
Your phone lens is only capable of shooting sharp images up to a certain distance. If you get too close, it will yield blurry results.
But there's no need to worry because you can always use a macro lens attachment to solve this problem. All you have to do is clip it in front of your lens and start shooting.
While attaching the macro lens, make sure it doesn't cover the phone lens. Even a partial blockage would cause vignetting which is undesirable.
If you're using a phone with two lenses, ensure that Portrait mode is off to disable the other lens. Next, figure out which one remains enabled in normal shooting mode and place your macro attachment over it.
Don't worry if everything looks blurry at first. The object you're shooting will get sharper as you get closer to it.
Most macro lenses require you to be a few inches away from your main subject so adjust your distance accordingly.
Take More Creative Photos With Portrait Mode
In product photography, it's essential to keep everything sharp at all times. This is especially true when it comes to catalog-style shots.
But that doesn't mean you can't experiment with shallow depth of field at all when shooting products.
When doing lifestyle product images, feel free to try Portrait Mode for that blurred background effect.
All you have to do is select Portrait Mode in your camera and follow the directions on your screen.
Your phone may ask you to move closer or farther away from the subject until it can blur the background successfully.
Once you're at the right distance, check your composition and take a photo as you would normally.
Shoot Near Windows to Take Advantage of Natural Light
When most people think of product photography, they often imagine top-dollar large studio lights.
But you don't always need expensive lighting equipment when you're shooting with your phone. Windows are all you need to create quality images.
In many ways, windows act much like the large softboxes you see professionals use. They diffuse harsh light to produce even exposure and soft shadows.
If you want, you can even use curtains to soften further the light coming through the glass. This will help you create that classic studio look that most product images have.
Another great alternative is to use a pop-up diffuser. It functions just like a curtain, except that you can freely move it around to experiment with different effects.
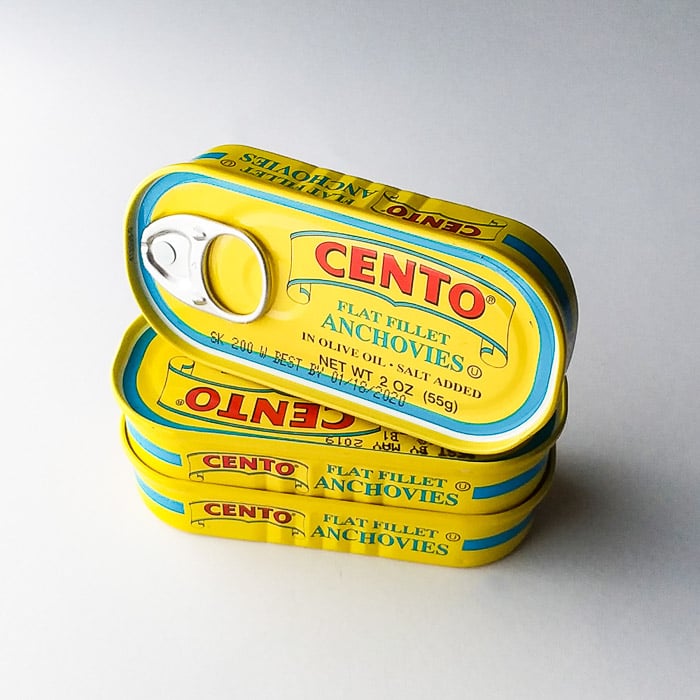
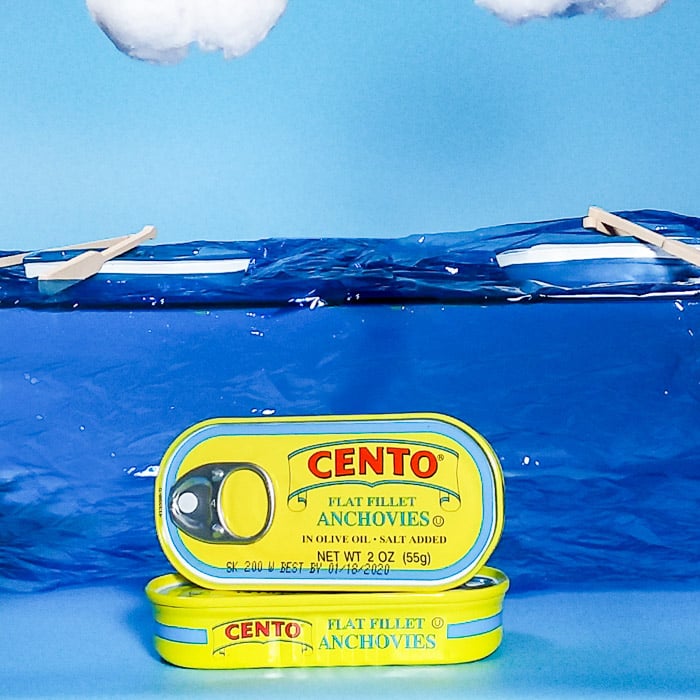
With this simple set up, you won't even need an iPhone camera to achieve professional results. The photo below taken with a Samsung J3 is the perfect proof.
Because of the beautiful lighting, it looks like it was taken in a studio with a DSLR.
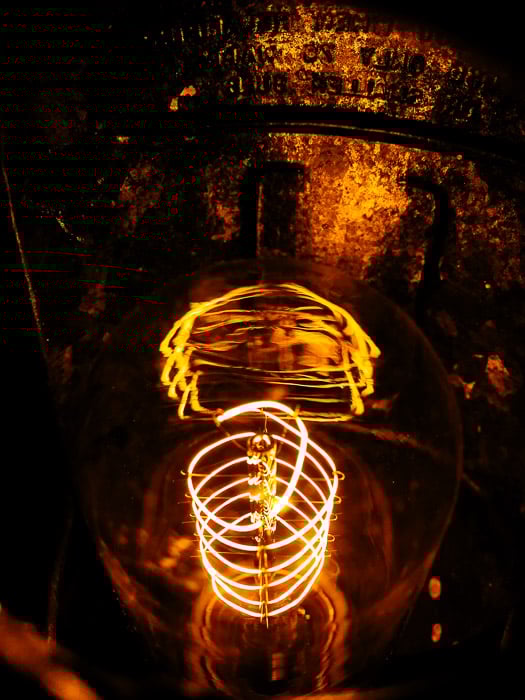
Use Table Lamps as a Source of Artificial Lighting
What if it's too dim to take pictures? You can always use table lamps, instead.
You’ll want lamps with bendable necks. That way, you can move them around and direct the light where you want them to go.
When using two lamps or more, you need to make sure that the color temperature matches.
If you're using a white bulb, then all the other lamps need to have the same type of bulb as well. Otherwise, you'll end up with unnatural colors.
Move your lamp around to figure out which angle works for your product. In most cases, it's best to place it about 45 degrees above the object.
Feel free to try other perspectives if you want to create moody results.
You can also tape parchment paper over the mouth of the lamp for better results. The material acts as a diffuser that softens the light and the shadows in your image.
Just beware that regular desk lamps are not as bright as natural light or professional rigs. Make sure your phone is on a tripod. You’ll need to use slow shutter speeds.
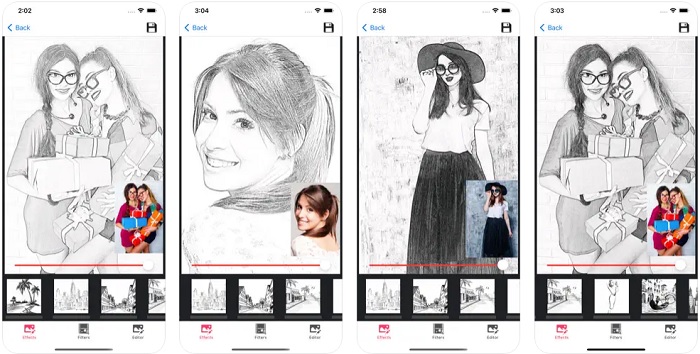
Editing Apps for Quick Product Photography Retouching
There are tons of powerful phone apps you can use to edit your images. Some of the best include Adobe Lightroom, VSCO, and Snapseed.
Although the editing apps I mentioned have similar editing capabilities, they also have features that make each one unique.
If you want simple color correction and minor exposure adjustments, the best app to use is VSCO. It offers presets that changes the overall look of your images. But it also allows you to adjust elements such as contrast and sharpness.
For more extensive editing, you'll need Adobe Lightroom. Apart from the basic exposure adjustments, it also lets you remove blemishes in the image.
All you have to do is tap on the spots you want to delete, and the app will do the rest.
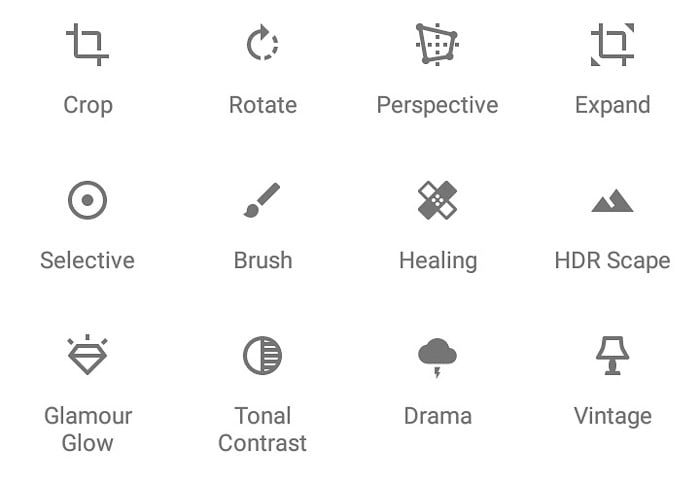
Another app that's perfect for retouching is Snapseed. It has dozens of customizable presets that allow you to do anything from color correction to healing (removing blemishes).
You can even use it to experiment with selective focusing or adjusting your image's perspective.
When editing your images, the first step you need to go through is color correction. To do this, look for your White Balance slider and move it up and down until the hues look natural.
Next, adjust the basic exposure settings such as brightness and contrast. Your goal is to ensure the image is exposed correctly and the colors look perfect.
Finally, remove the blemishes using your healing tools. Just tap and swipe the areas where you want to remove the ugly spots.
Conclusion
All the essential elements you need for product photography is already on your phone. It has a camera that can take high-resolution images. It even has the necessary apps to help you edit your files like a pro.
Those features aren't enough to help you create awesome pictures. The secret to shooting perfect product photography with your smartphone is proper lighting.
Always keep that in mind, whether you're working with artificial or natural light. If you do it correctly, people won’t even notice you took those amazing product photos using a smartphone camera.
Learn how to shoot smartphone pet photography or set up a product photography business next!