Abstract photography revolves around topics that aren’t always easy to understand.
You can use all kinds of tools to create unusual and creative abstract photos. One of these tools is colored paper.
What You’ll Need for Abstract Photos
Unlike other types of photography, colored paper photography doesn’t require a lot of unusual tools. It’s likely that you already have most of these at home.
The Necessities
- Different colored paper – choose colors that complement one another so that your photos look visually appealing.
- Metal clips – these will help you hold the paper in place.
- A bright source of light – this can be either artificial or natural, depending on your concept.
- A macro lens – if you don’t have one, you can use your smartphone camera. Most smartphone cameras today have macro features.
- Weights – these can be books, cups, and anything that can hold your paper in place.
Optional Tools
These will make the shooting process much easier.
- A tripod – this will help you avoid taking blurry photos.
- A remote – this is another helpful tool that will prevent unnecessary motion blur.
- Tape – clips and weights, the tape will hold your paper in place if you need to create specific shapes.
First, Make Sure Your Camera Is Ready
You’ll need to organize and tape your colored paper to make it look good. You might even need to hold your paper as you take photos. Set up your camera beforehand to avoid stress.
Use a tripod to safely hold your camera as you shoot. You can also use a remote to take photos from a distance.
If you need extra help, ask a friend or family member to hold the paper for you. This can become a fun project for both you and your loved ones!
It’s important for your colored paper to be well-lit, so make sure the lighting isn’t constantly changing in your studio. If it is, your results might end up looking too overexposed or underexposed.
Create a DIY Studio Using Weights, Clips, and Tape
A colored paper studio is very easy to make.
Create the main background by putting up a sheet of colored paper. You can stick it to a wall or lean it against something solid, like a thick book. This will cover background distractions.
Then, create different layers by putting the colored paper in different parts of your frame. You can roll them up, fold them, etc.
Experiment with different shapes and layouts.
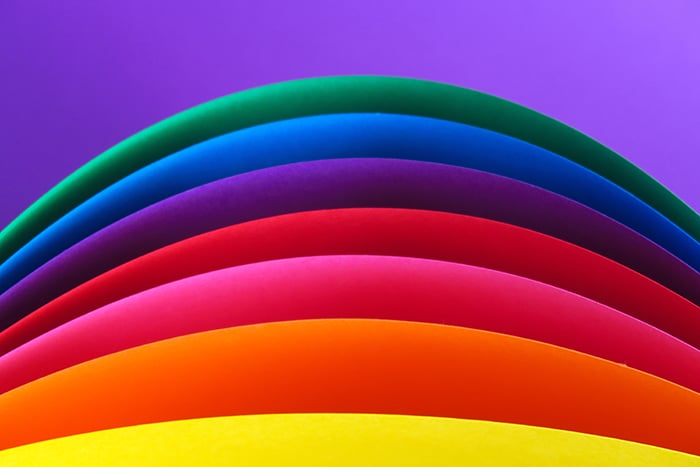
This colored paper “rainbow” was created with metal clips or weights. The sheets were bent and clipped at specific angles.
Lighting Tips for Colored Paper
For the best results, take photos next to a large window on a bright day. If it’s too bright, draw the curtains or shoot a little farther away from the window.
If there are too many shadows, use a reflector to give your paper a natural boost of light.
You can also use artificial light. The advantage of using artificial light is that it can be changed and controlled as much as you like. Unlike natural light, it won’t fade at the end of the day.
Make sure you pay close attention to your white balance when you work with artificial light. Too much warmth or coldness will alter the paper’s color and make it look unnatural.
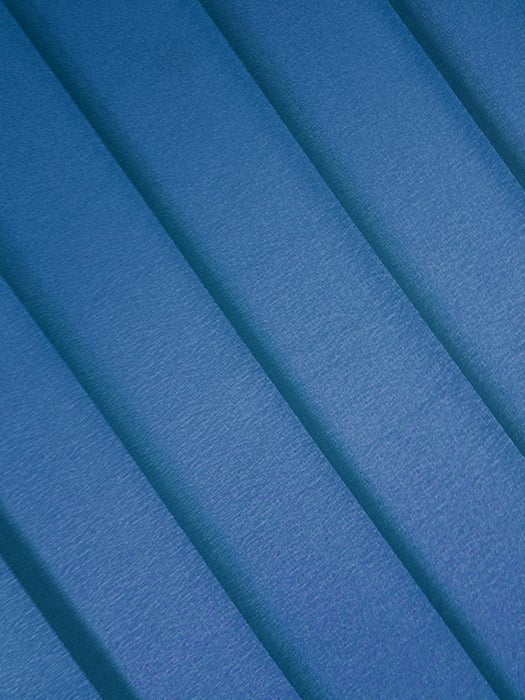
Window light is perfect for emphasizing colored paper’s textures.
What Camera Settings Should I Use?
Experiment with Different Apertures
There’s no right or wrong when it comes to the aperture in colored paper photography.
If you want every part of your photo to look sharp, use a small aperture, or large f-number, such as f/22.
Typically, a sharp abstract photo will make it more difficult for people to understand what’s going on in your photo. Some photographers prioritize this to make all the elements in their photos blend together and create a surreal look.
If you want to focus on a specific detail in your image, use a large aperture, or small f-number, like f/1.8. The larger your aperture, the blurrier your background will get.
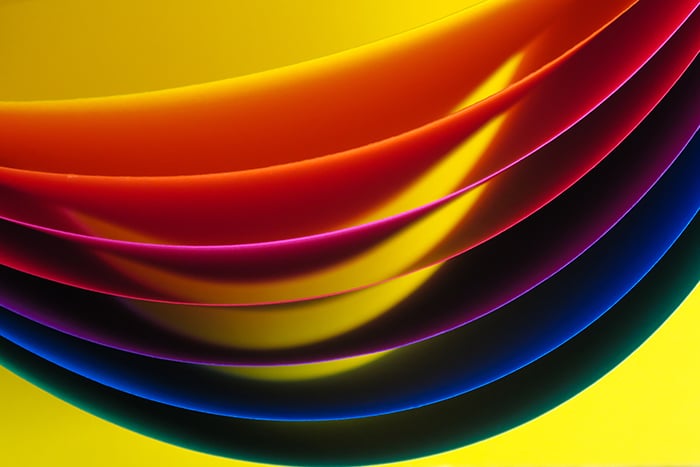
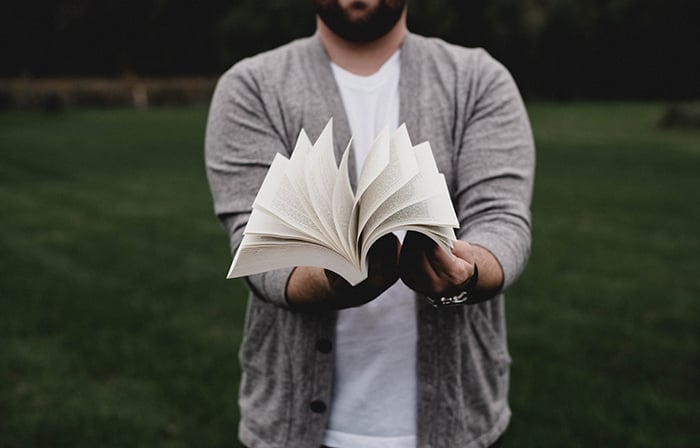
The photographer used a large aperture to focus on one part of this image. The blur separates the sheets of colored paper, making it easier to understand what exactly the subjects are. Nevertheless, this can still make for a great abstract image.
Use a Combination of Auto and Manual Focus
Once your aperture is set, you have to decide whether you’ll use autofocus or manual focus.
If you use the right autofocus points, you’ll be able to have a quick and smooth photoshoot.
If you place different layers of colored paper in front of your camera, it might get confused. It might focus on the wrong detail.
If getting the right focus isn’t your priority, you can freely use autofocus.
Manual focus will take more time and effort, but it will provide you with the sharpest results. You’ll be in full control over your images and freely focus wherever you like.

Ideas for Colored Paper Layouts
There are many creative ways to take photos of colored paper. Here are a few popular methods you can use to improve your abstract photography.
The Rainbow
You can create a rainbow-like pattern (similar to the one in the photo above) using a few sheets of colored paper. Unlike an open book, you’ll have to hold the paper on both sides.
Use a metal clip to hold all the sheets at the bottom. Then, spread them out carefully and hold them in place using weights on each side.
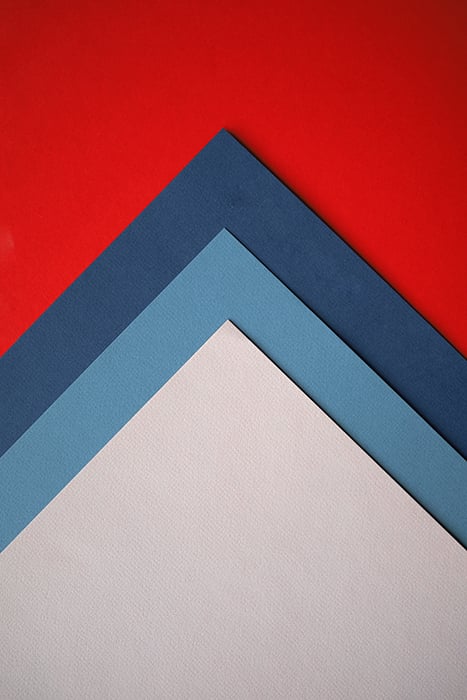
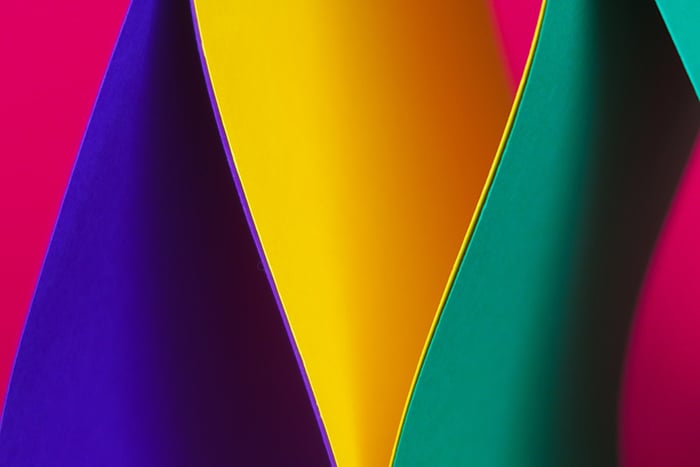
Tents
You can create triangular shapes by clipping the paper at the bottom. You can also use a metal clip to hold the top of the sheets to prevent them from spreading.
For an even more colorful effect, hold two sheets together (as pictured above).
Rolled Up
To achieve this effect, roll up a few sheets of colored paper. Place them in different parts of your frame.
If you want to be extra creative, experiment with different shapes and colors.
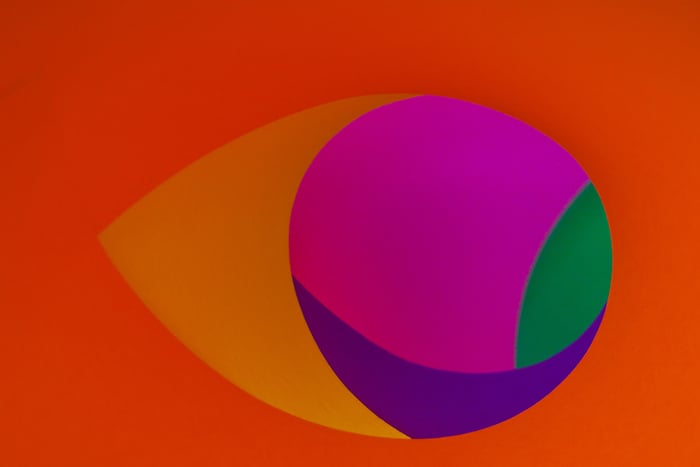
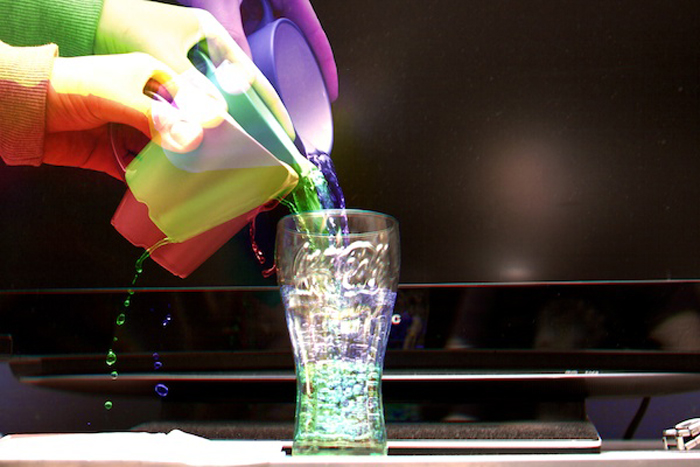
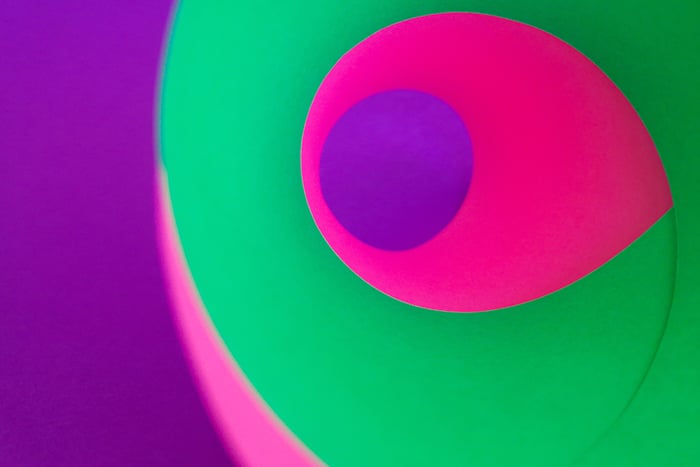
This photo consists of 5 sheets of colored paper. The main background is magenta. The yellow, green, and purple sheets are rolled to look like circles. The red foreground is also rolled.
Conclusion
Even though the colored paper isn’t often used in photography, it’s a great way to improve your abstract photography. You’ll learn to make the most out of simple objects.
Using a few sheets of colored paper, you can take surreal and abstract photos that look like incredible gallery pieces.