If you want to learn how to edit photos in Photoshop, you’ve come to the right place. In this tutorial, we’ll show you some of the best beginner tips for editing photos like a pro.
We’ll start by discussing some of the basics. Then we’ll move on to more advanced techniques, like layer masks and removing unwanted objects. By the end of this tutorial, you’ll be on your way to becoming a Photoshop pro!
10 Best Beginner Tips on How to Edit Photos in Photoshop
Practice these 10 tips to improve your editing skills in Adobe Photoshop.
1. Setting Up Your Workspace
Your interface may look different from most tutorials when opening up Photoshop for the first time. In Photoshop, you can lay out your interface in several ways to streamline your workflow.
You will find the Choose a Workspace icon in the top right of your application.
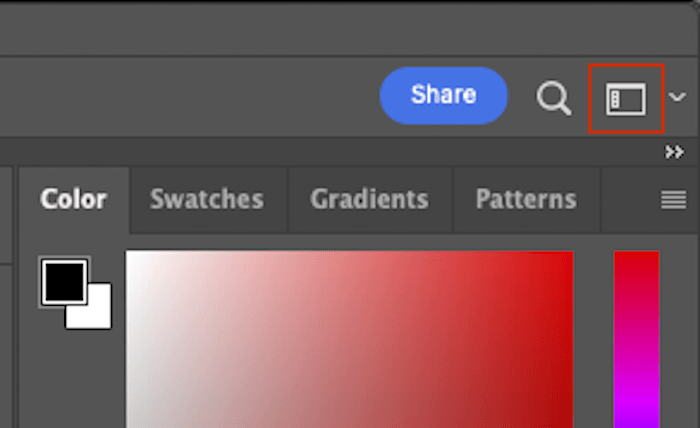
The Workspace icon
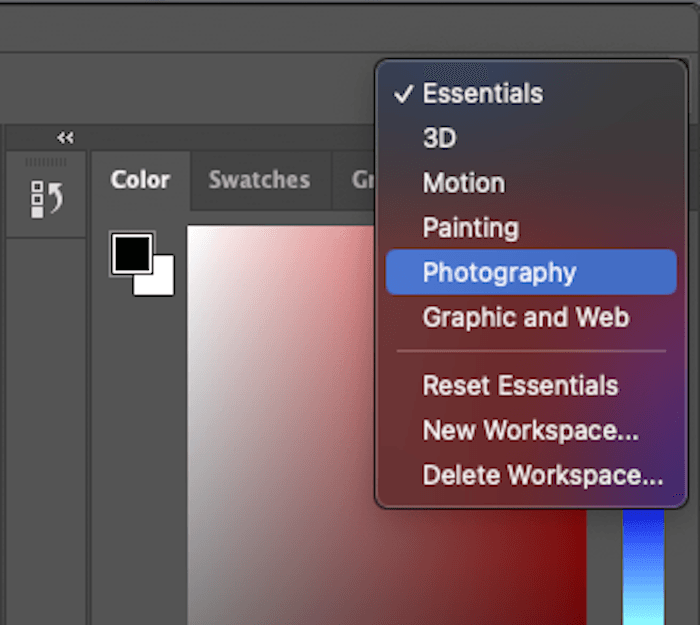
Click this and then select Photography.
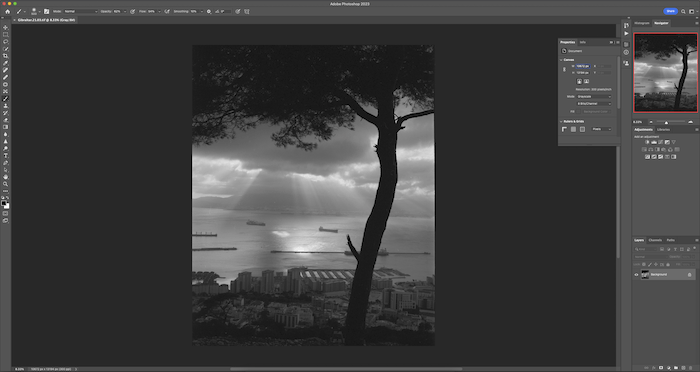
Now you can follow along with this article and many other Photoshop tutorials. You can always customize this to your preferred needs.
2. Making a Duplicate of Your Background Layer
When working in Photoshop, the most important point anyone will tell you is to work in a non-destructive workflow. This means to make sure you aren’t damaging your original picture.
If you work this way, you can always return to the original image. If you change and save the original file, you will never get the original image back!
Photoshop layers will always work from the top down. Think of it like a stack of papers, where the top one will always be on show.
If you had translucent pieces of paper, you could see through the stack to different layers. This is how layers work in Photoshop.
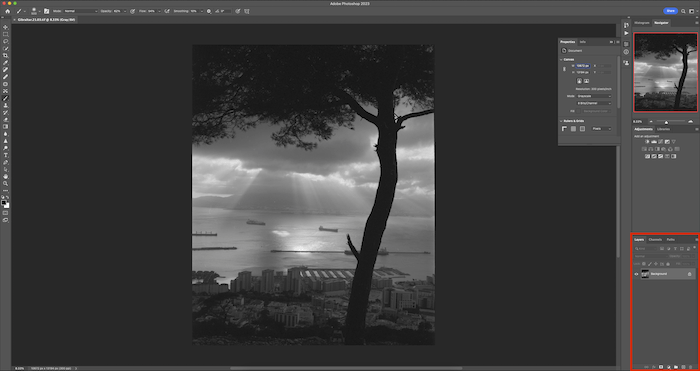
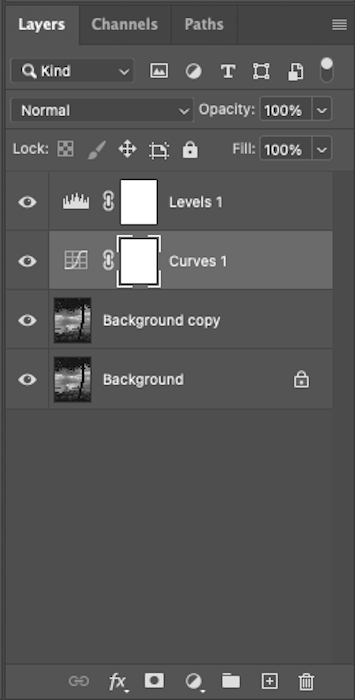
The layers panel is located in the bottom right
Making a new layer for each adjustment allows you to sort through your edit easily. You can always go back and make minor adjustments or delete the layer altogether!
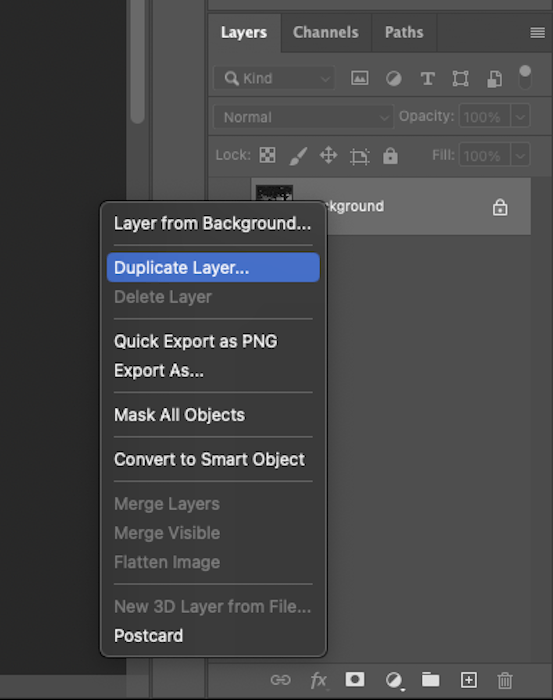
When you open up a new image in Photoshop, it will just have the Background layer. You will want to pick this layer, right-click, and then select Duplicate Layer…
You can also do this by dragging the background layer over the “create a new layer” icon at the bottom of the panel. It is the plus sign.
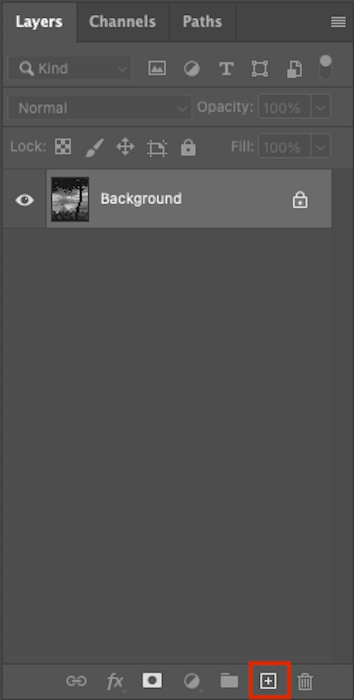
The “create a new layer” icon (plus sign)
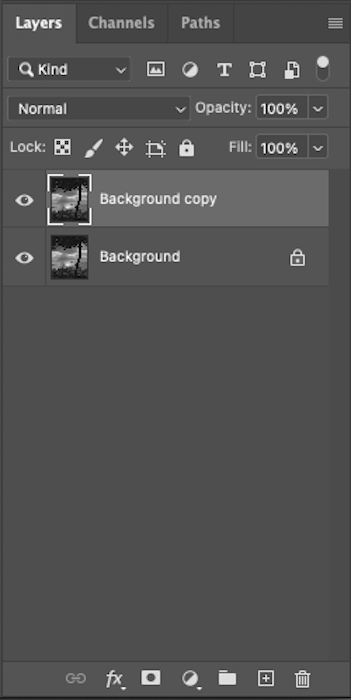
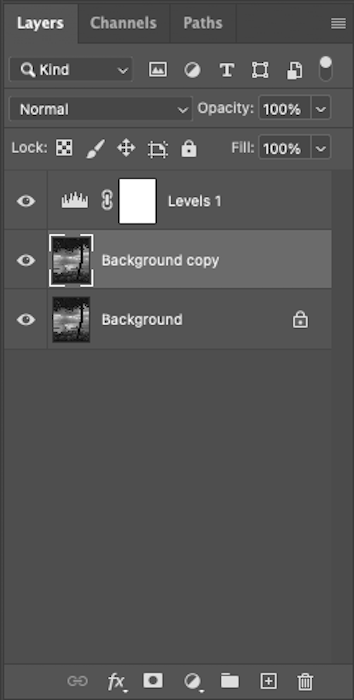
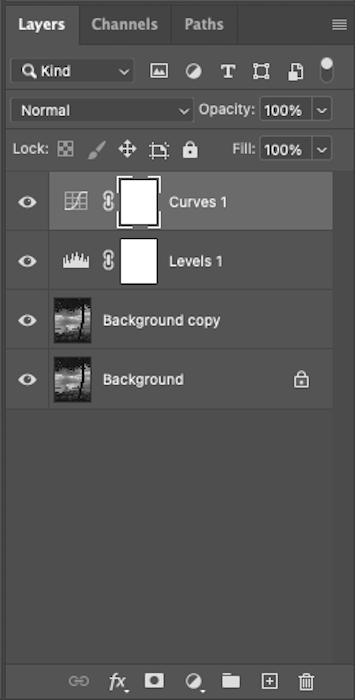
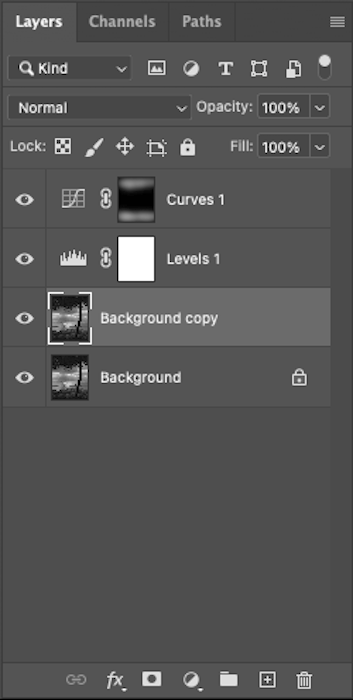
After you make a copy of your background, your layers panel should look like this.
3. Checking Resolution and Resizing Your Image
Maybe you plan on printing your images or doing something with them that doesn’t involve a small screen. If that’s the case, you must know how to adjust and check your image size.
The most important aspect to consider in image quality is the image’s dpi (dots per inch.)
We consider 72 dpi to be low-resolution. This is ideal for sending low-res images to clients or using images for the web. Anything above 300 dpi is considered high-res and will be suitable for printing.
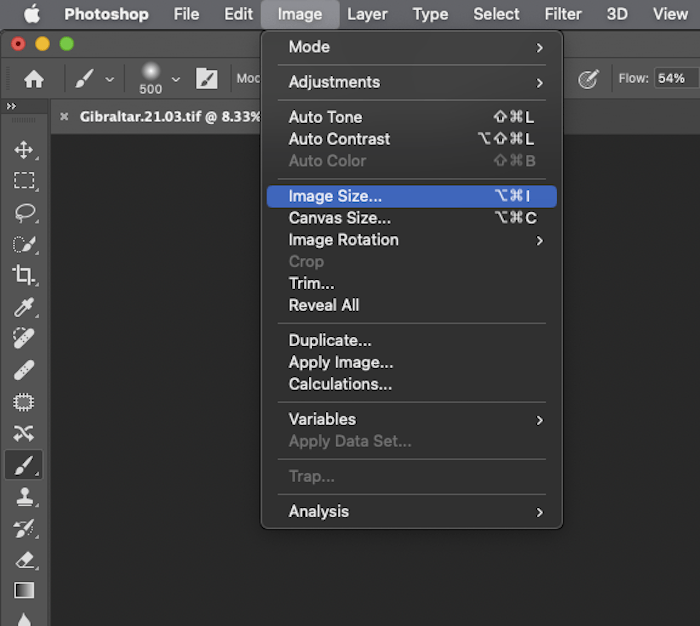
To check this, open your image in Photoshop and select Image > Image Size from the top toolbar. This will open up this box.
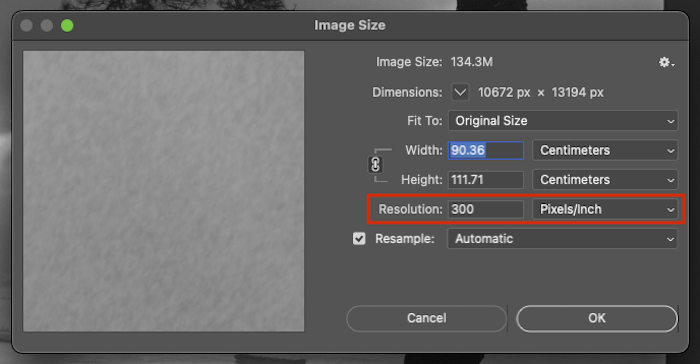
Check the Resolution box with the setting Pixels/Inch. You can adjust the size of your image here. This is useful for reducing the file size or getting your image ready for print.
4. Cropping and Straightening Your Image
One key point you will want to know is how to straighten your image. This is normally the first issue you want to sort out in your photo.
First, find the Crop Tool icon in the tools panel to the left of your screen. It looks like two L-squares overlapping.
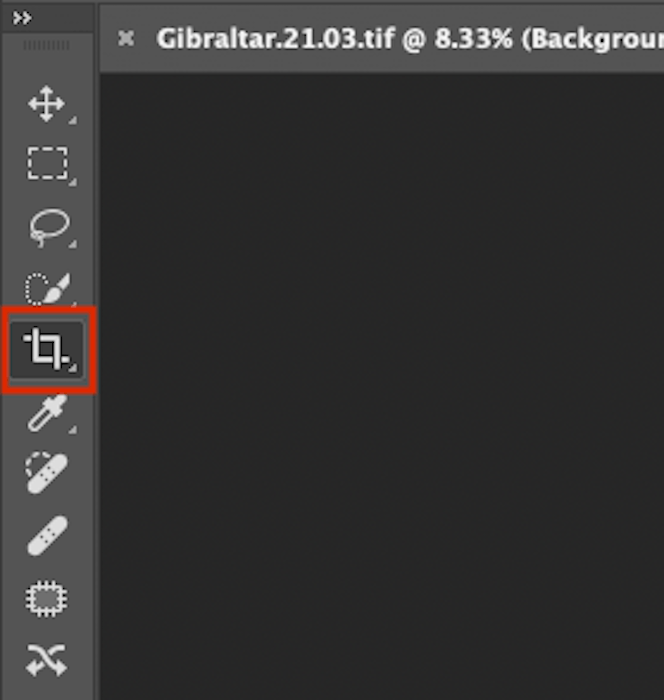
Crop Tool icon in the left-side menu bar
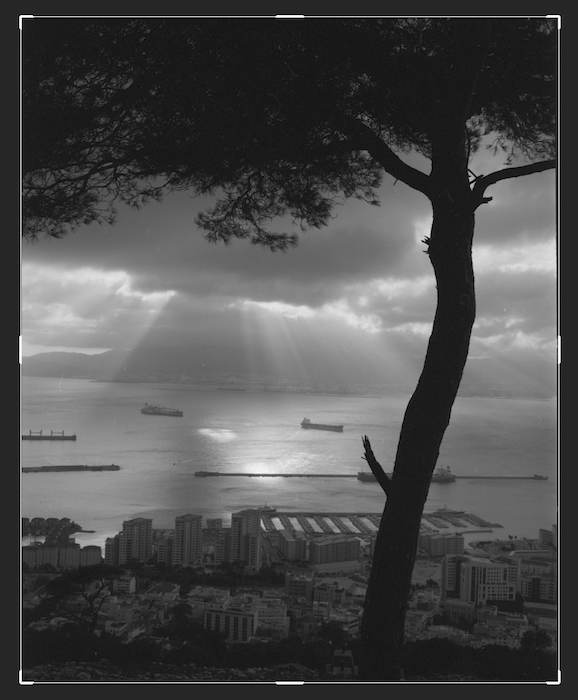
To crop your image, you simply drag the edges of your photo in.
Hold the Shift button while dragging the corners to keep your aspect ratio the same.
To straighten your image, you must have the Crop tool selected. Then find the Straighten icon of a spirit level along the top.
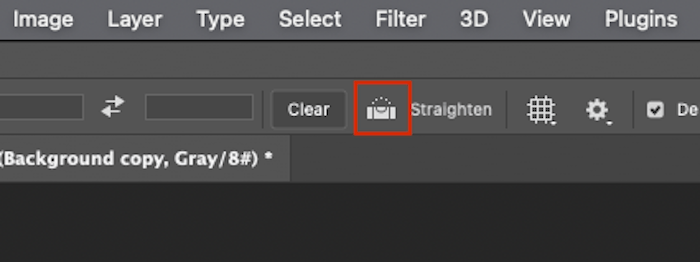
Straighten icon (spirit level)
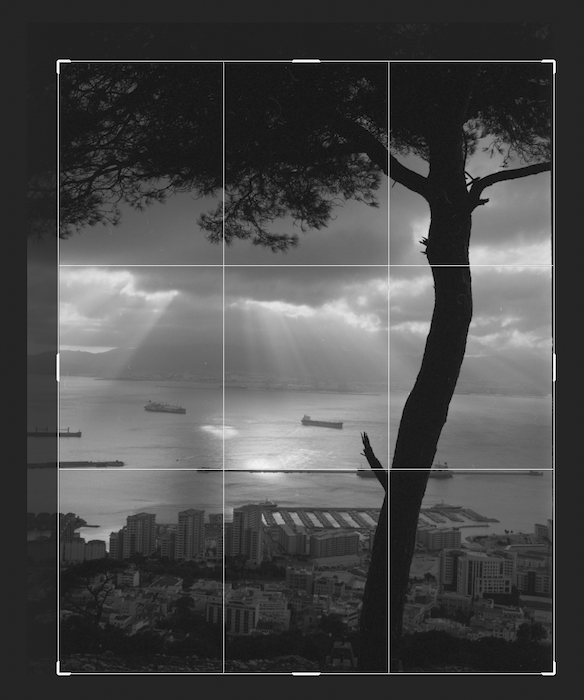
You will then want to identify a straight line in your photo. This will likely be the horizon line. You then click and drag the tool to match the line. This process works with both vertical and horizontal lines.
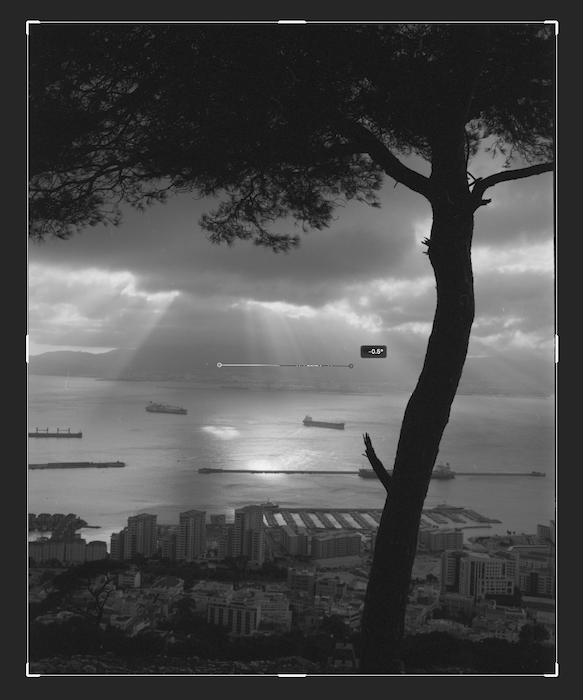
If it is hard to identify a horizon like this one, take note of the increment number when you draw the line. If it doesn’t look right when applied, go back and reduce or increase the tilt increment.

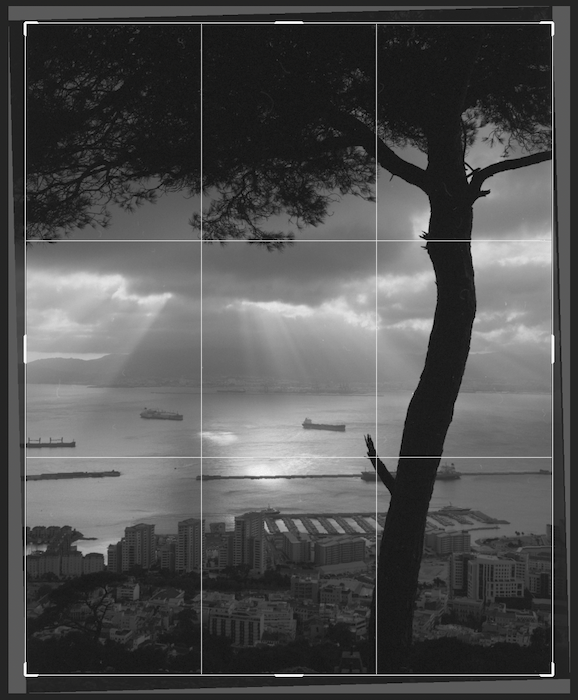
When you’re happy, press Enter to apply the new crop.
5. Applying Adjustments
Photoshop is all about making different adjustments to your photos. You can find the selection of adjustments on the right-hand side of your screen. It is a grouping of icons.

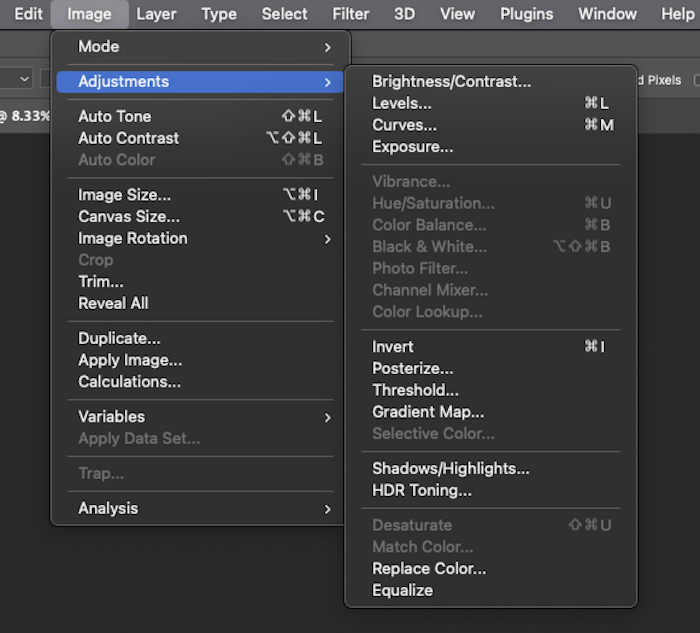
To see a list, go to the top toolbar and click Image > Adjustments. Then you can select any action you want to perform.
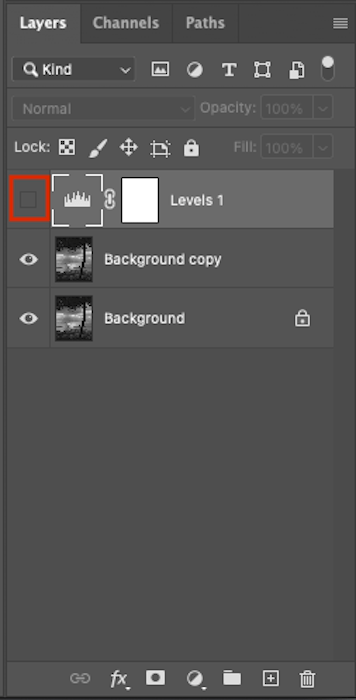
The adjustment layer you choose will appear in your Layers panel.
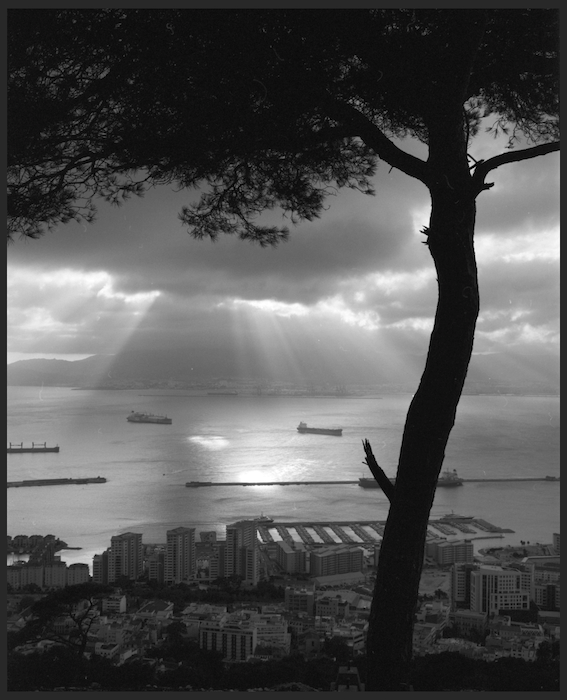
Here is an example of making edits to the Levels adjustment.
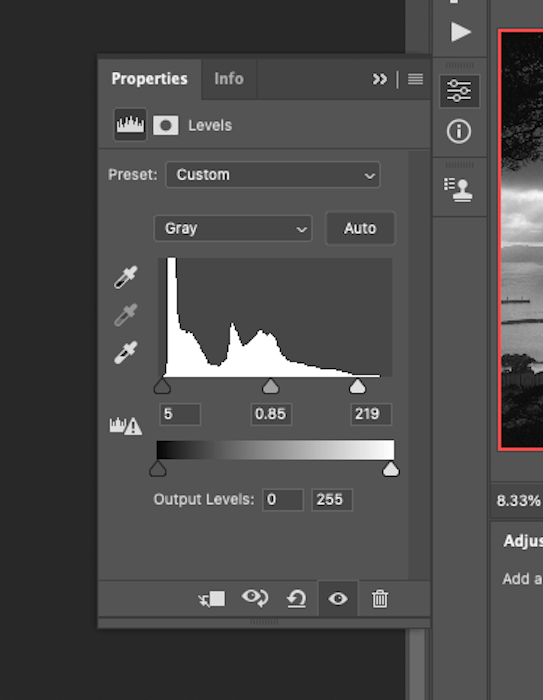
You can see your image without this adjustment by clicking the eye next to your layers panel.
6. Selecting Specific Parts of an Image
One of Photoshop’s biggest advantages is working on certain parts of the image while leaving others untouched. This gives you complete control and lets you create detailed and complex edits.
A selection is defined by a white and black line that is in constant motion.
You play with white and black when working with masks. White means that the pixel is active. So it is affected by the adjustment layer modifications.
Black means that you “mask it,” meaning the pixels are not affected by the adjustment layer.
Let’s look at some ways to select specific parts of your photographs.
Marquee Tool
You can find the Marquee Tool icon on the tool panel. It looks like a rectangle with a dashed outline.
Holding down the click on the icon allows you to choose between the Rectangular or Elliptical Marquee Tool.
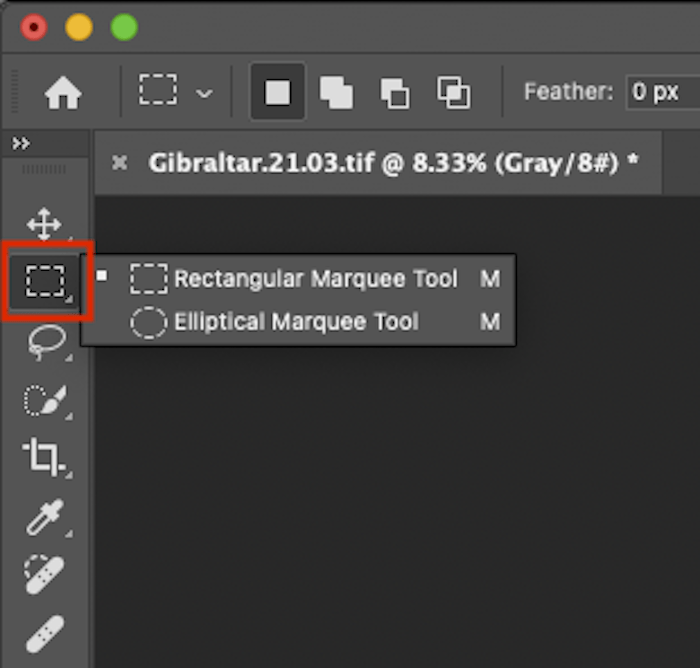
Marquee Tool options
Simply drag this over your image to make a selection.
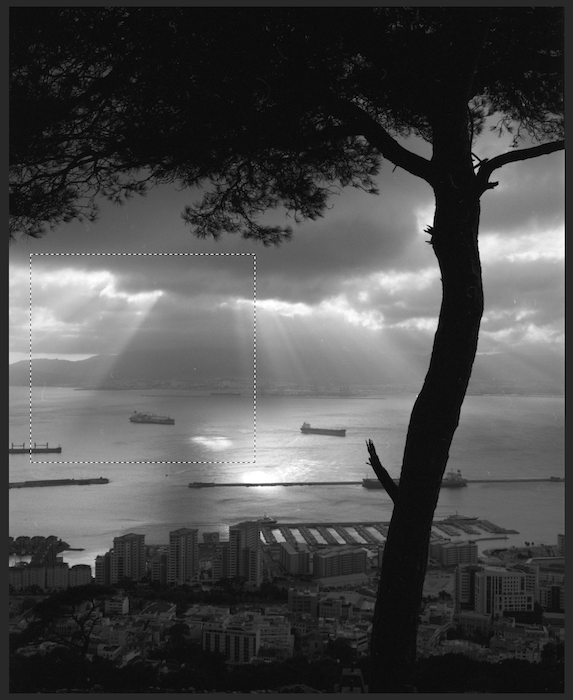
You can then click an adjustment you want to make. And a layer mask will automatically be applied to your selection.
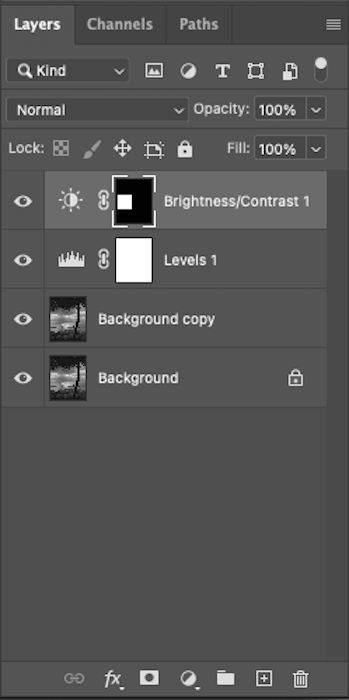
Brightness/Contrast applied to the selection
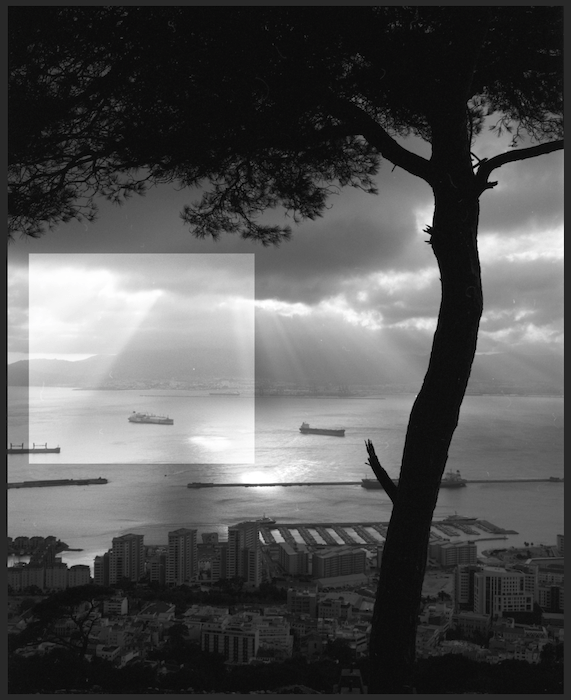
An example of applying a Brightness/Contrast adjustment
Lasso Tool
Below the Marquee Tool icon, you will find the Lasso Tool icon. It looks exactly as described.
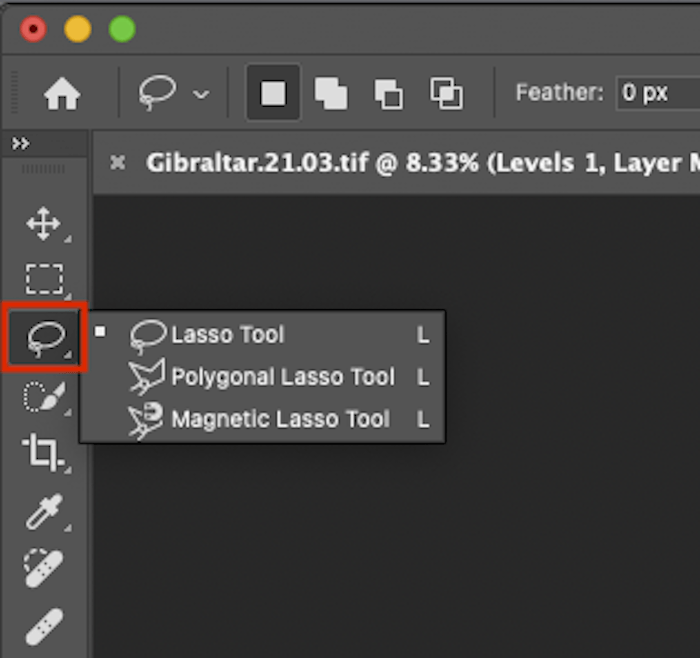
Lasso Tool options
This functions similarly to the Marquee Tool but allows you to draw a free-form line.
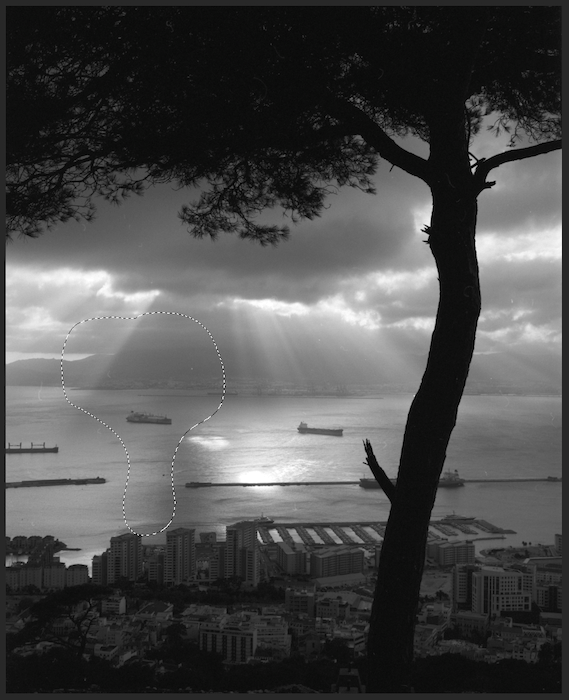
Quick Selection Tool
The Quick Selection Tool is most likely the selection tool you will use the most. This tool uses the program to identify different areas of your image.
It can create complex selection patterns easily and without too much intervention. You can find this tool underneath the Lasso Tool. It looks like a brush painting a dashed outline.
It is grouped with the Object Selection Tool and Magic Wand Tool.
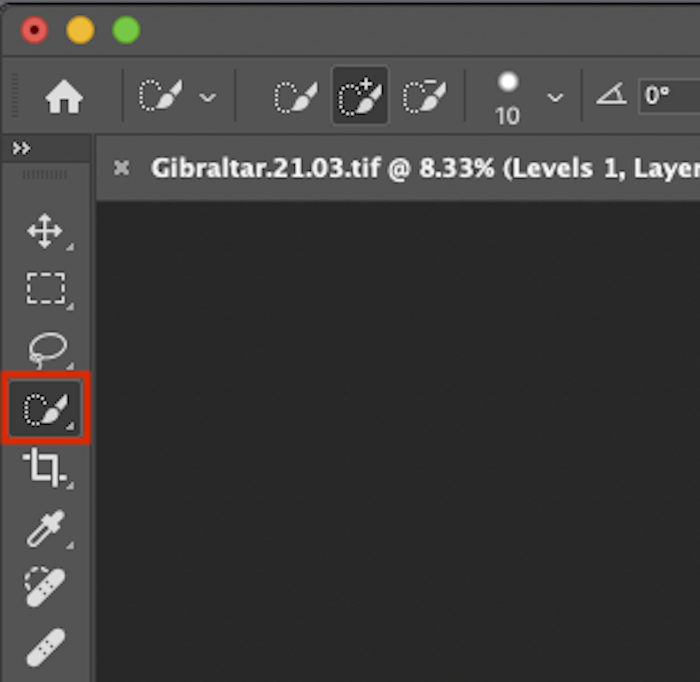
Quick Selection Tool icon
First, you should make sure you have the Background copy layer selected.
Then you will want to start drawing in the areas you want to be selected. It is best to zoom in while doing this to make it as neat as possible.
You will notice that the tool works best with sharp lines that differentiate the objects. If your selection chooses some wrong areas, you can take them out of your selection.
Do this by clicking the icon up top labeled “subtract from selection.” This has the Quick Selection icon with a minus sign.
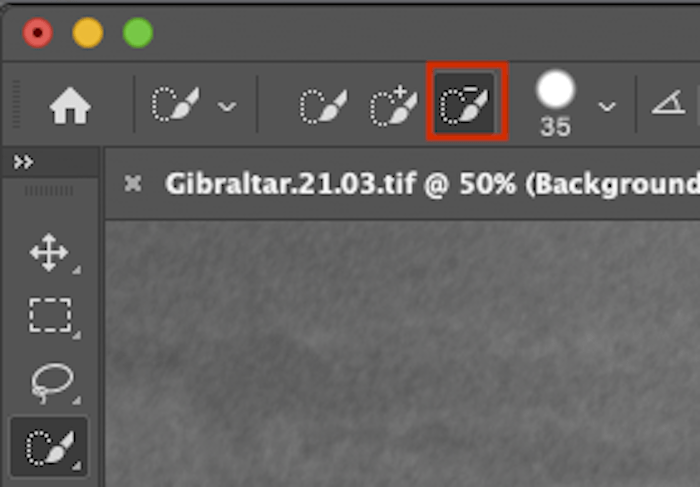
“Subtract from selection” option (minus sign)
You can next draw over the bits you don’t want to be selected.
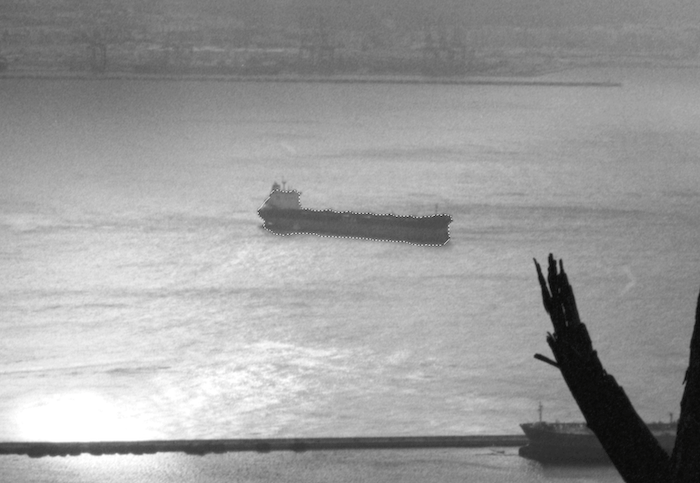
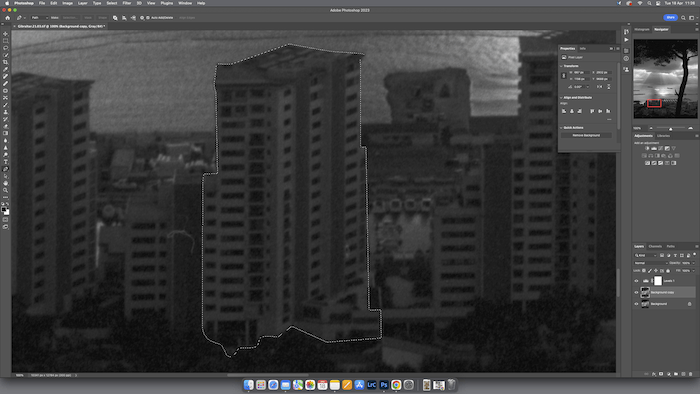
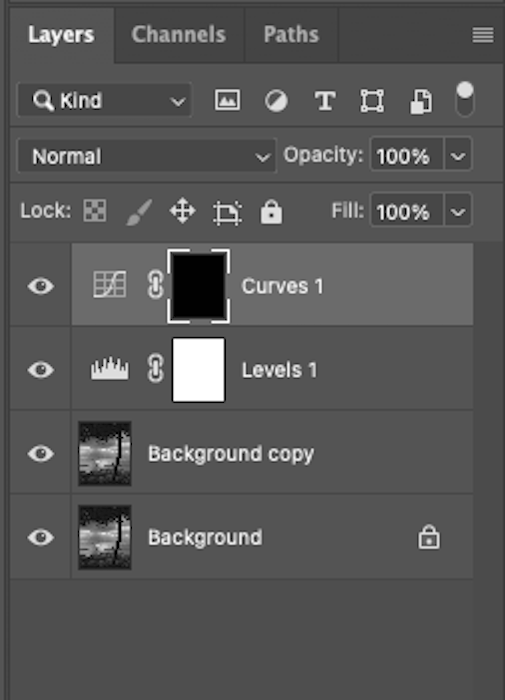
When you’re done, click the adjustment you want to apply to the selection. Here is an example using a Curves adjustment layer.
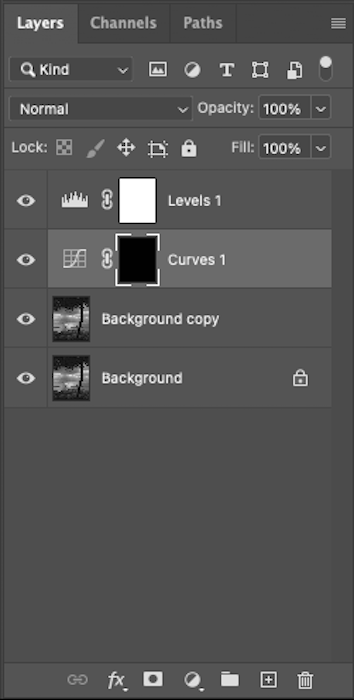
If you want to edit everything but the bit you have selected, inverse the selection before clicking an adjustment. You can do this by going to Select > Inverse along the top toolbar.
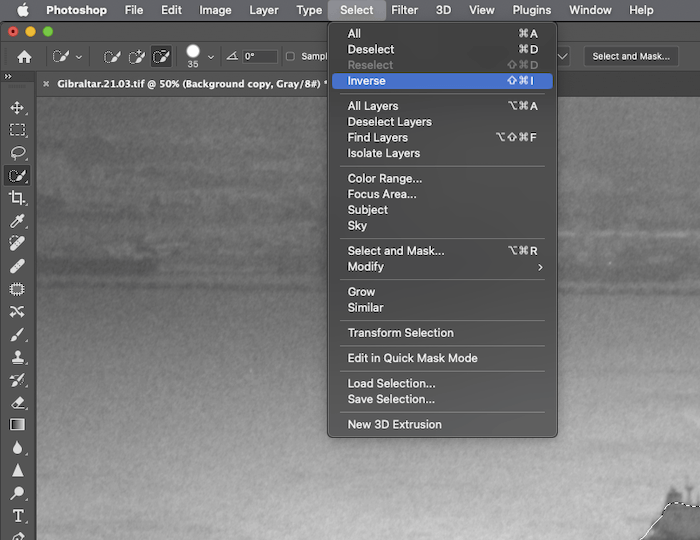
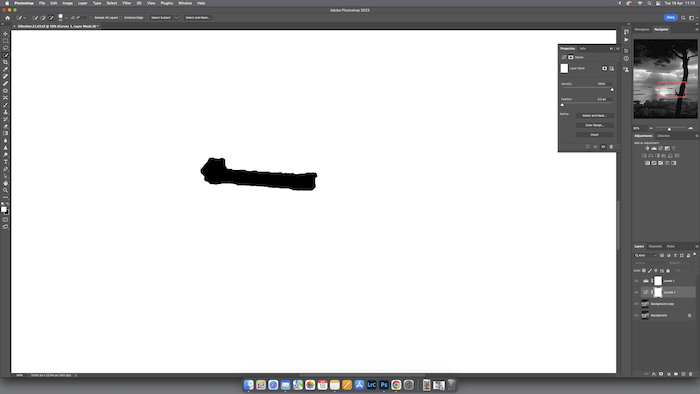
Now when applying your adjustment, it will look like this.
You can always hold down the Option (Alt) key and click on the mask to show your image with the mask over it.
Creating Your Own Path
Professionals will use the Pen Tool to create their selections. The Pen Tool allows you to make detailed paths that seamlessly fit around any object.
Find the Pen Tool along the left-hand toolbar. It looks like the tip of an old-fashioned pen.
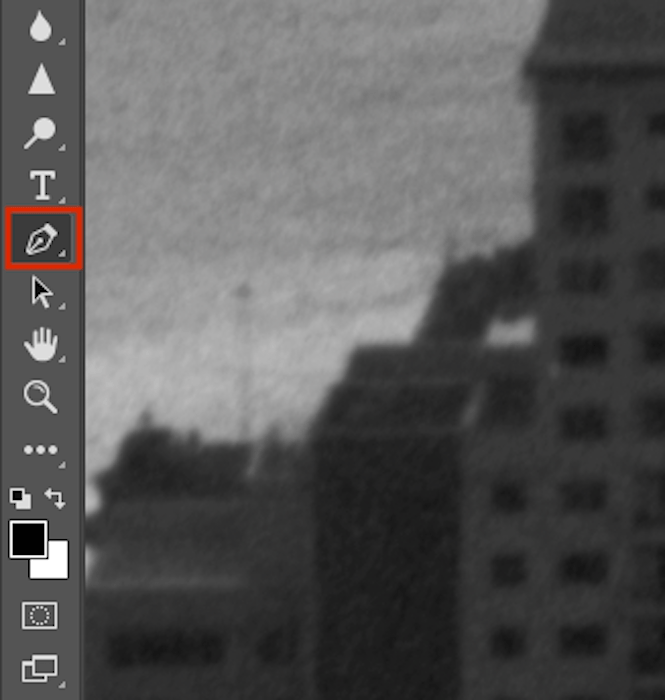
Pen Tool icon
Using the Pen Tool can take getting used to. You want to be zoomed in and start clicking along the shape of your object.
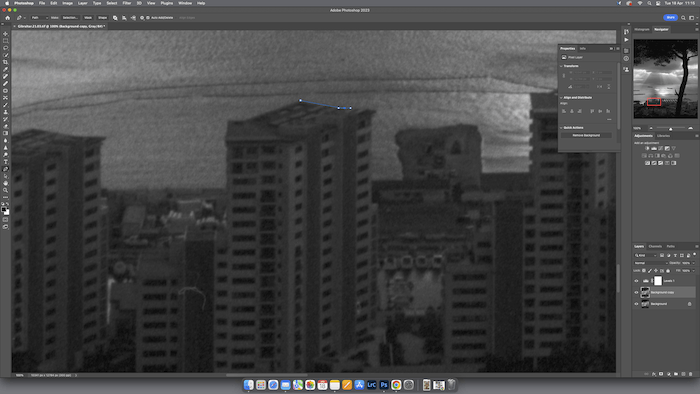
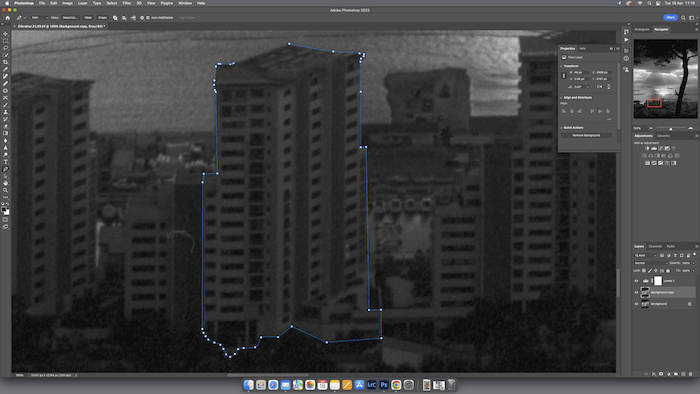
When dealing with a curve, first click a point at the beginning of the curve. Next, click a point at the end of the curve, hold it down, and drag it out. This makes the line you draw follow a curved trajectory.
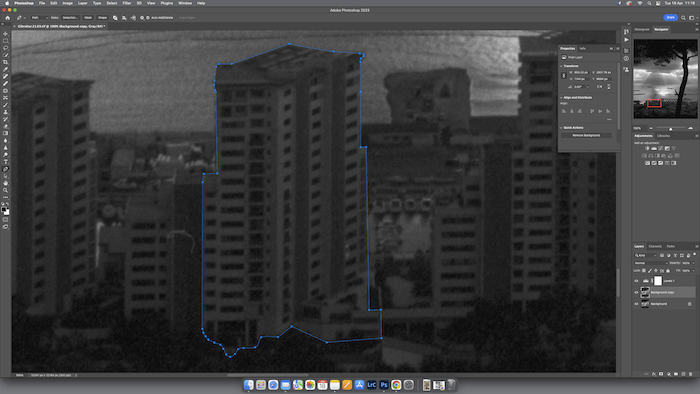
After tracing around your object, close the path by clicking on your first point.
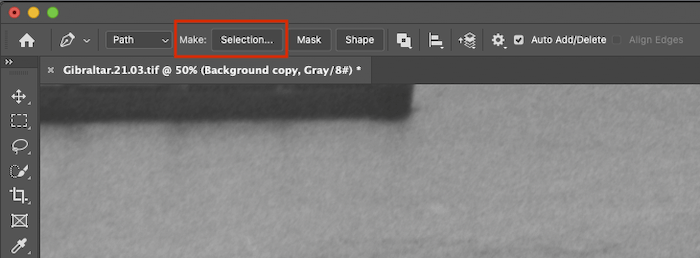
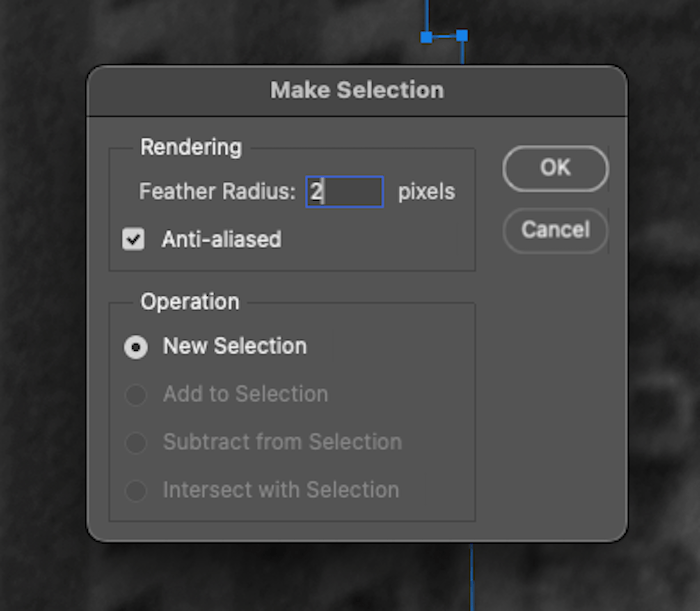
Then click the (Make:) Selection button up top.
Next, you will see a dialog box come up. This will allow you to adjust the Feather Radius.
The Feather Radius is a way to soften the edges so they blend into the photograph better. I will normally put a Feather Radius of 2 pixels.
Now you can follow the same adjustments as before!
7. Using the Brush Tool to Make Seamless Edits
The Brush Tool allows you to apply adjustments to your image in a less noticeable way. This is useful for making subtle adjustments across a section of your photo.
With the Brush Tool, you will want to select your adjustment first.
Find the Brush Tool icon on the left-hand panel.
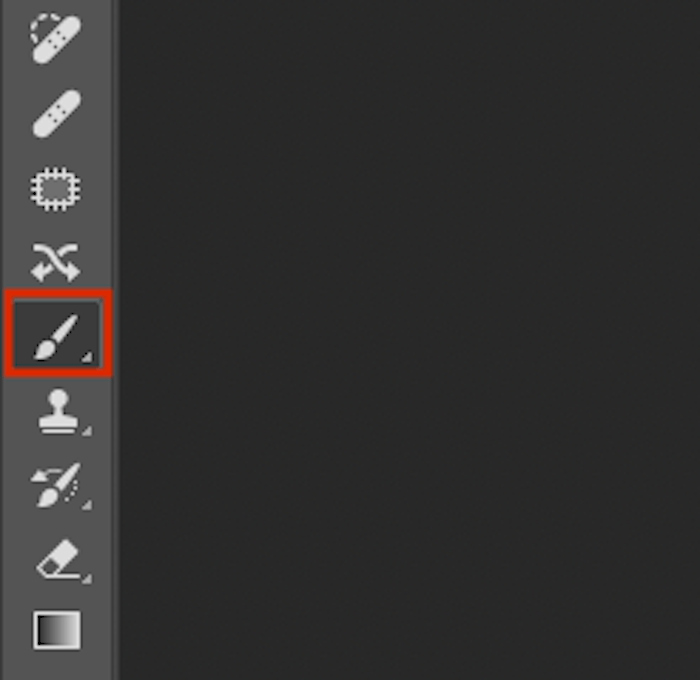
Brush Tool icon
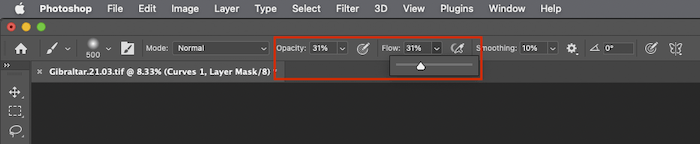
It’s best to set the Opacity and Flow of your bush quite low, around 20-30%. This is so you can slowly paint in your adjustment.
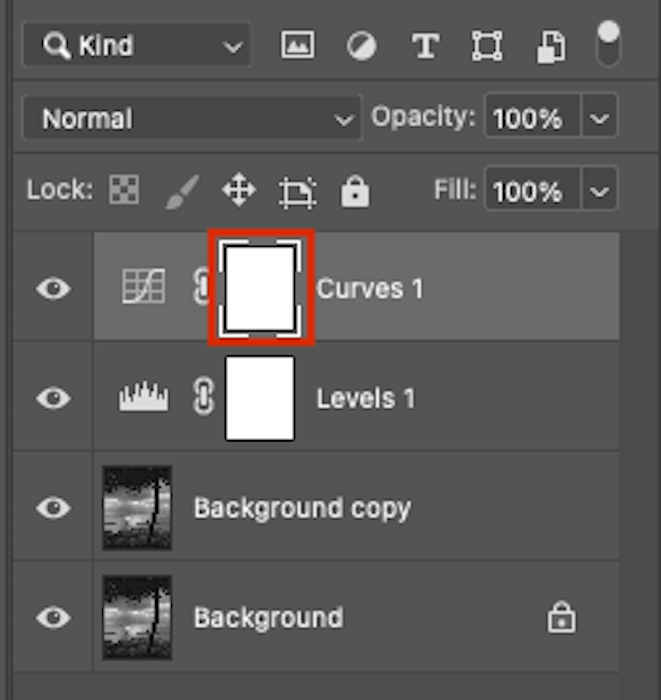
Make sure you have the layer mask selected.
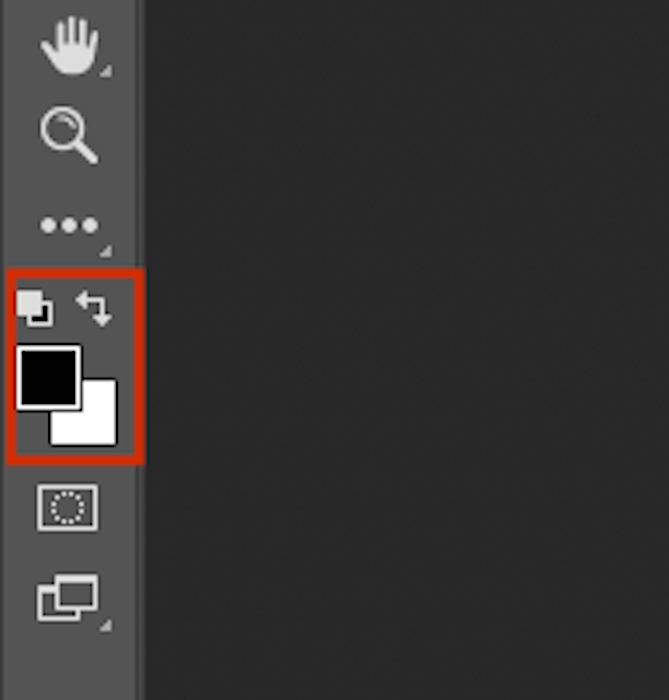
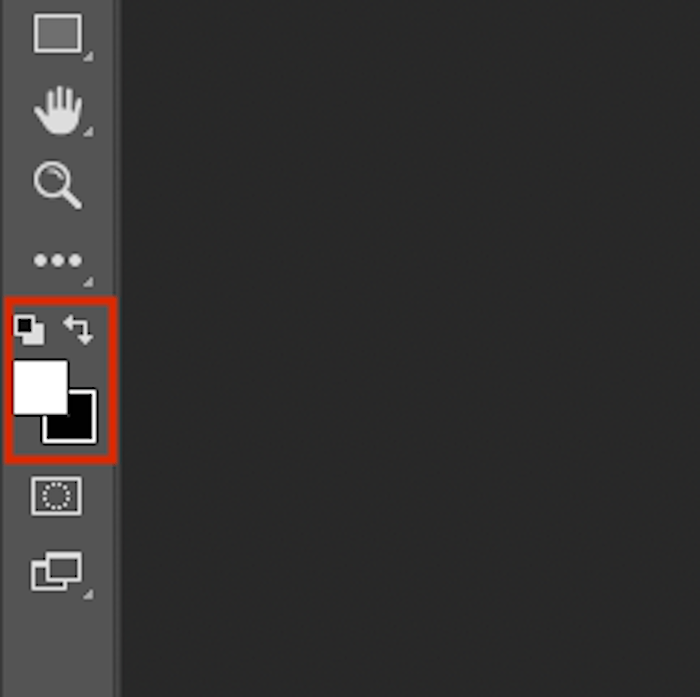
If you want to adjust most of the image, make the adjustment and ensure your brush is selected to paint with black. Click the arrows above to flip your selection.
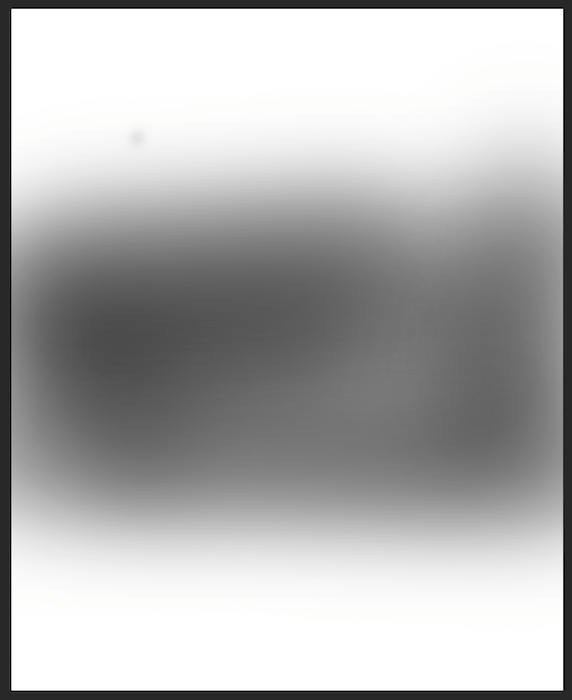
Then you can subtract the areas you don’t want to be affected. This is what my mask looks like.
Here is a before-and-after comparison.

Usually, you want to work the other way around. So you must make sure you paint white for this to work.
While your mouse is hovering over the layer mask, press Command (Ctrl) + Backspace. This will turn the layer mask black.
You will now want to start slowly brushing in your adjustment. This allows you to be controlled and subtle with your brushstrokes. It makes for a believable edit.
Here is what my mask looks like.
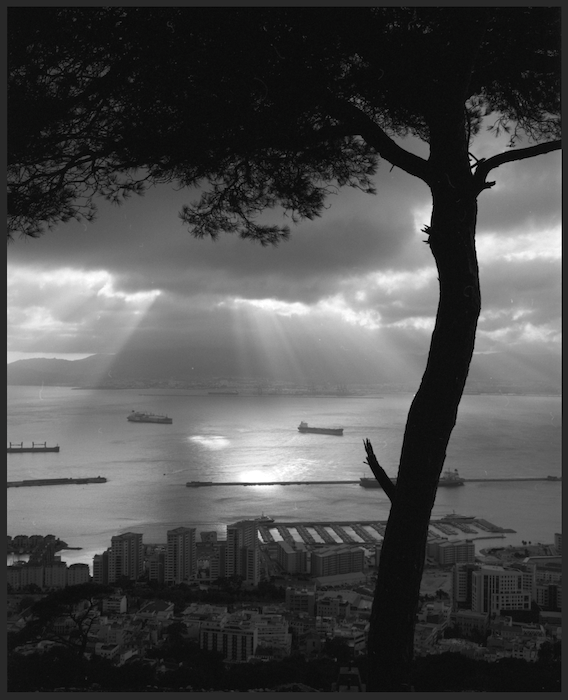
You can see how subtle the edits are before and after.

8. Removing Unwanted Objects
One of Photoshop’s biggest features is taking out image-ruining details to make the best image possible. This can be small elements like dust or taking out groups of people in the background!
There are a few ways to do this. And I will show you some different methods.
Removing objects is the main reason we work in a non-destructive workflow. All the edits you do here you will want to do on your Background copy layer.
Create and select a Background copy layer
Spot Healing Brush Tool
The easiest way to eliminate unwanted objects is to use the Spot Healing Brush tool. You can find this in the left-hand tool panel. It looks like a band-aid with a dashed semi-circle.
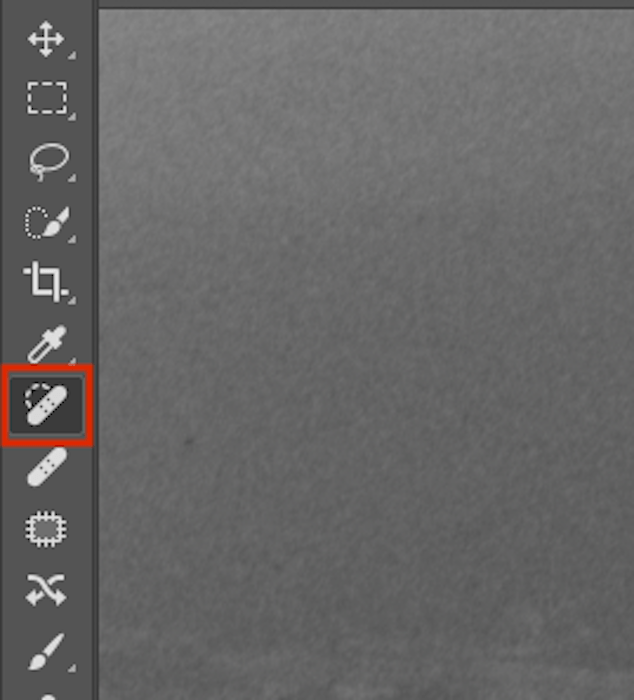
Spot Healing Brush Tool icon
All you need to do is click or draw over the object you want to get rid of. The software should be able to identify the object that is out of place and use “content awareness” to fill it in.
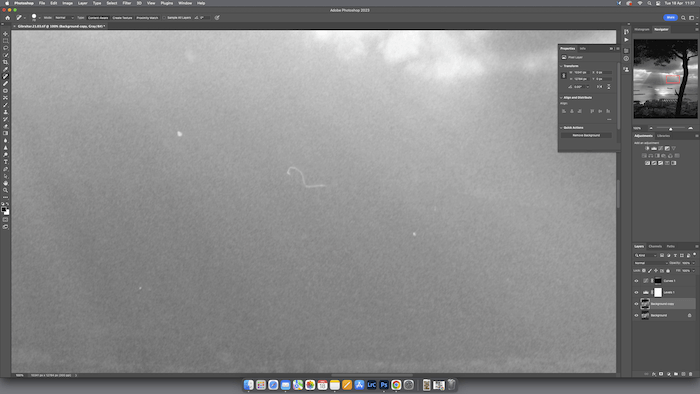
The spot healing tool is perfect for dust on an image
Spot Healing Brush selection

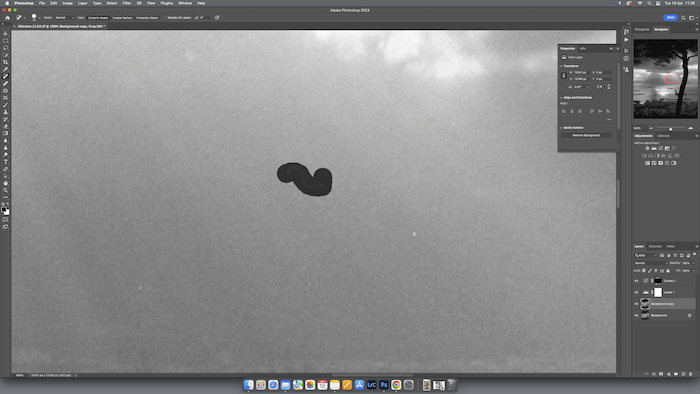
Clean image after using the Spot Healing tool
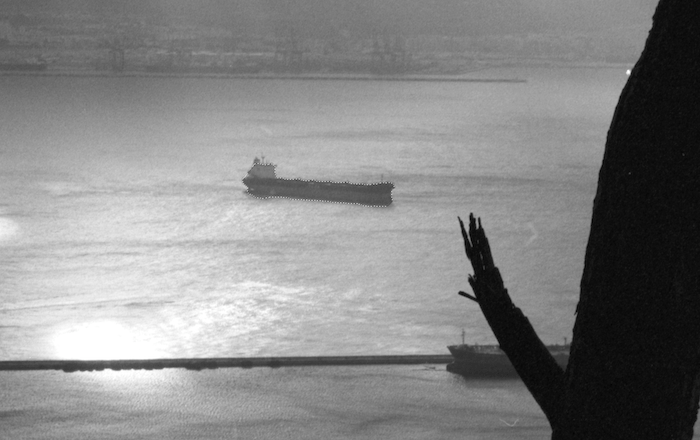
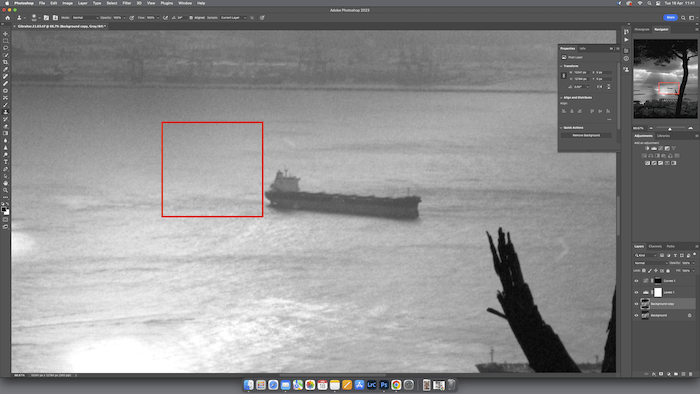
This works best on something that sticks out from the regular pattern of a photo. It may not work well if you want to get rid of something specific.
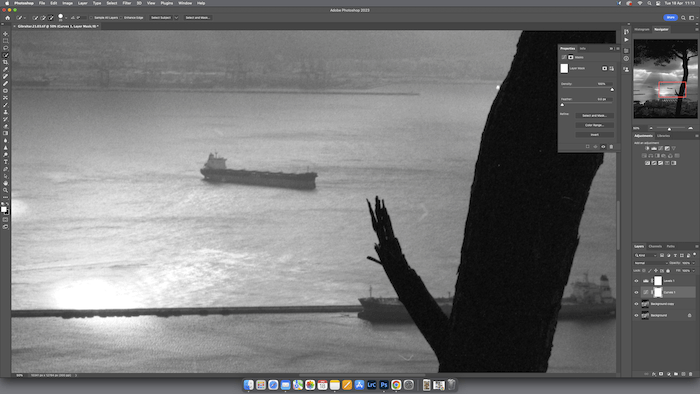
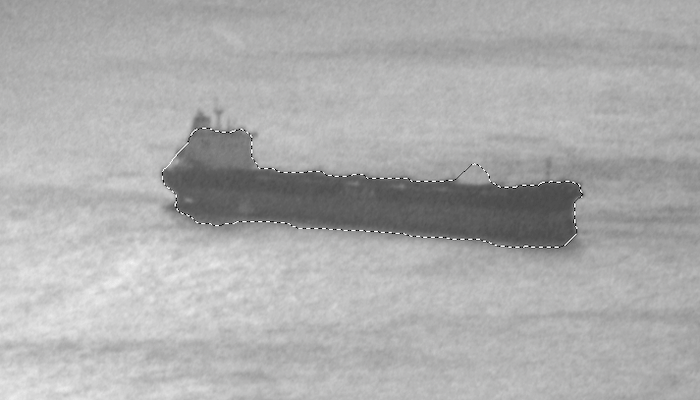
Going over the tanker with the Spot Healing Brush
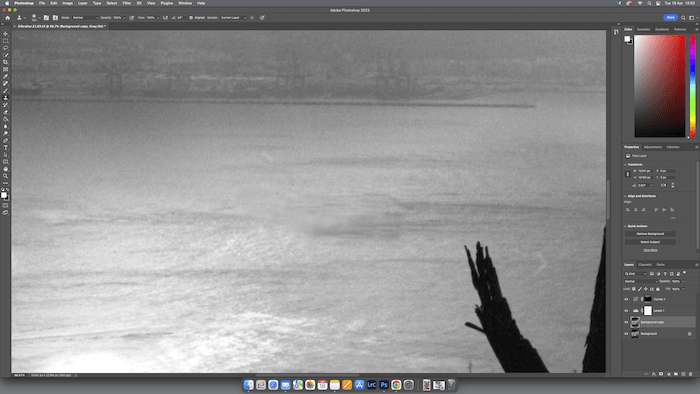
The tanker was removed, but there are some visible remnants in the water
Clone Stamp Tool
Using the Clone Stamp tool is the longer but more accurate way of doing this. You can also find this along the left-hand toolbar.
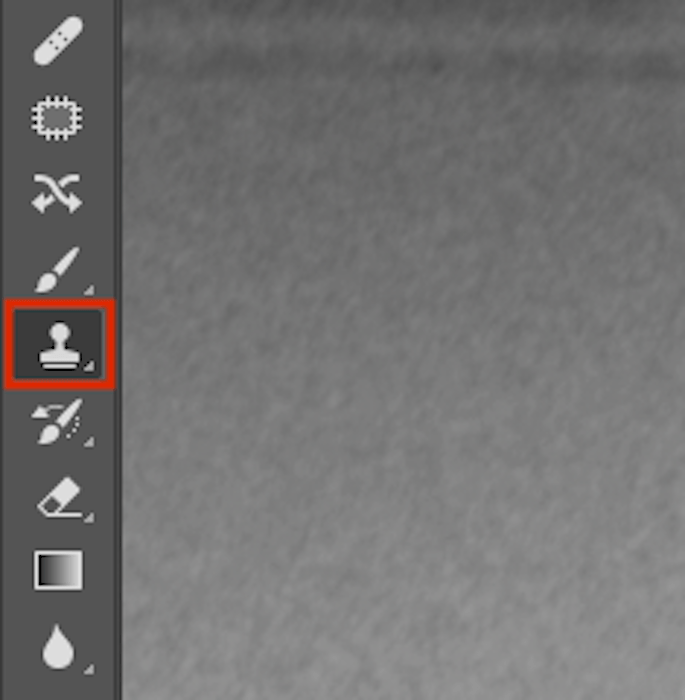
Clone Stamp Tool icon
The Clone Stamp tool allows you to select different parts of your image and draw in that selection at a different location.
You use the Option (Alt) key to select your reference area. After you have clicked the reference area, the brush will emulate what your selection looks like.
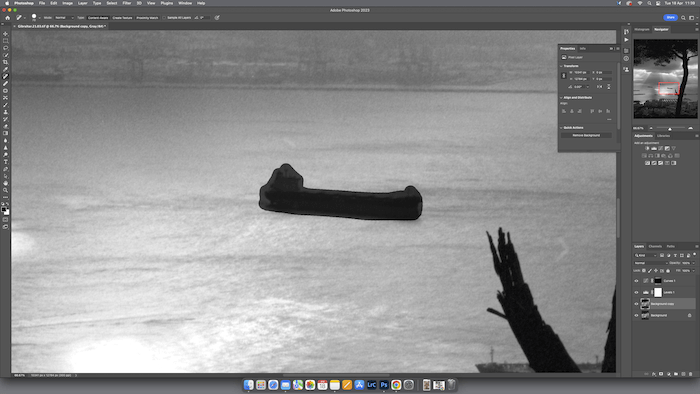
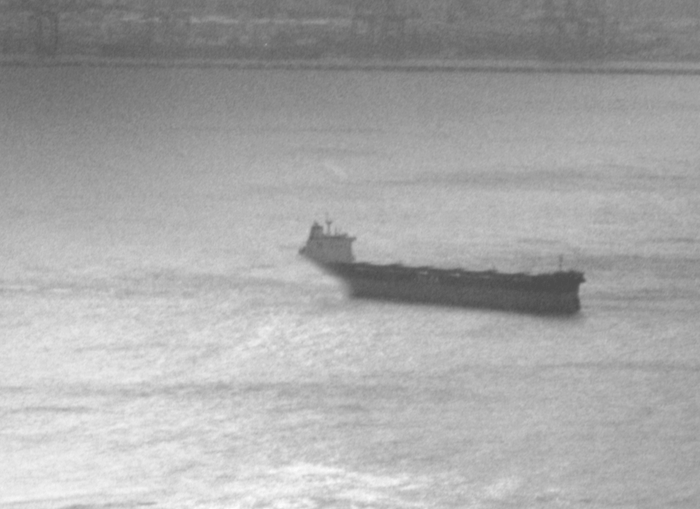
You want to select a reference area near the object you are replacing
Once the reference area is selected, draw in over the object you want to cover up. This will not work if you have selected a busy area as a reference.
The best reference area is one that matches the background behind the object you want to remove.
You will want to zoom in while performing these edits to make sure it looks believable. And I constantly change my reference point to get a mix of matching textures to make the object truly invisible.
You won’t notice any unusual patterns in your photo if done well.
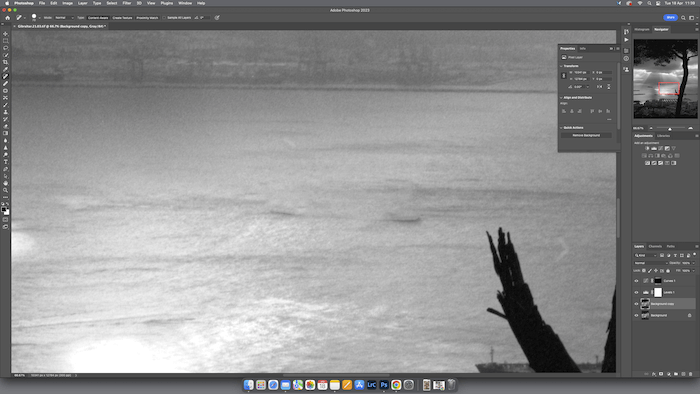
The after-image without the tanker in the middle
9. Saving Your File as a Photoshop File (PSD) or Other Format
You will want to save your edit when you finish editing for the day. Again, one of the key points about a non-destructive workflow is not damaging your original image.
To avoid this completely, you should make a PSD file of your edit.
Go to File > Save As… along the top toolbar.
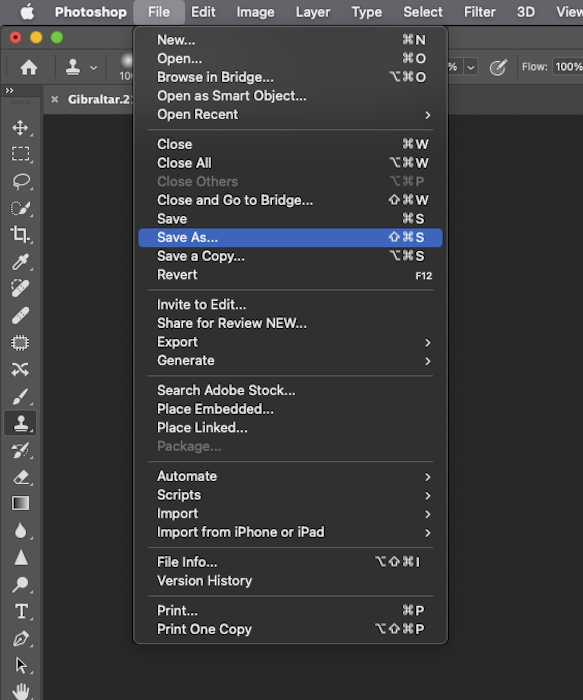
You now have a range of selections to save your image in. You can even make new folders on your computer to accommodate all your edits.
Most importantly, you can select the format your image will be saved in. PSDs and TIFF files will allow you to save your layers. I would save it as a PSD just in case your original file is a TIFF.
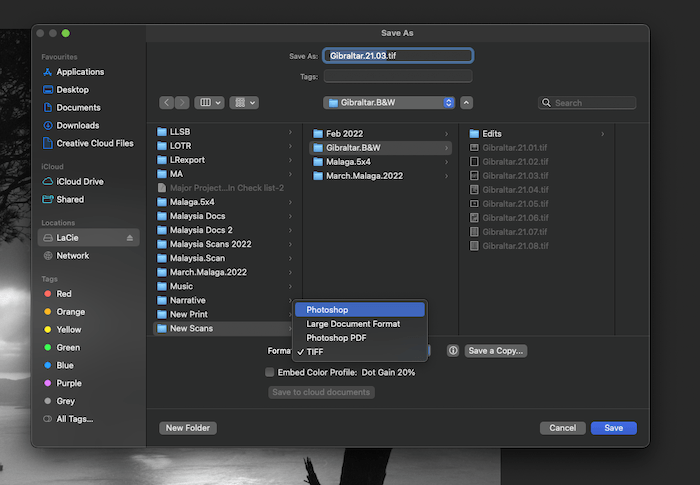
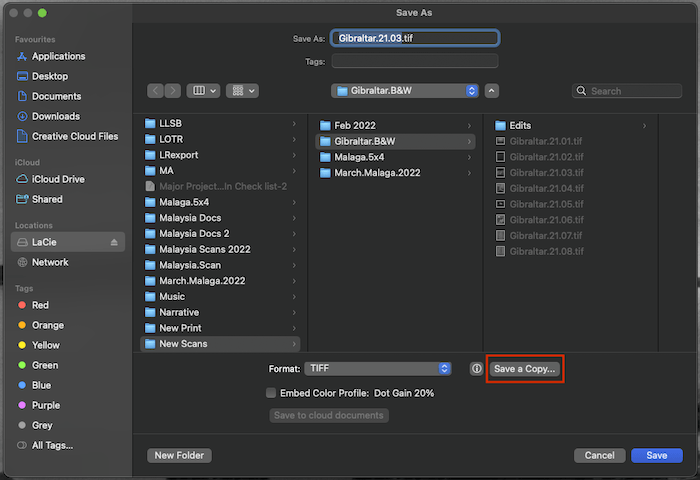
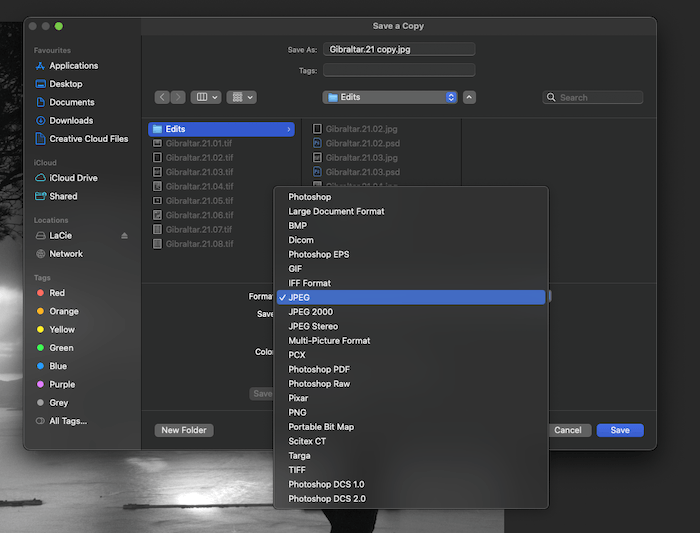
If you’re working on a particularly big image, it may not let you save it as a JPEG. You can click on Save a Copy… next to the format.
Now you have plenty more image formats to choose from.
10. Learn Adobe Photoshop Shortcuts
Once you have started using Photoshop, you will notice you return to the same tools and actions constantly. And Photoshop shortcuts are specific keys and strokes that quickly take you to them.
Shortcuts like pressing “B” for the Brush tools are easy to remember. And my most important shortcuts to remember are to go a step backward and to zoom in and out.
To undo a step, you press Ctrl (Command) + Z. But Adobe has changed how this shortcut works. I prefer the old way that the undo button worked. Each press went backward and forward.
The new version keeps going backward. To change to the old way, you need to go to Edit > Keyboard Shortcuts… from the top menu. Then in the settings, check off the Use Legacy Cannel Shortcuts box.
Zooming in and out is an important control you should use almost all the time, too. All you need to do is hold down Command (Ctrl) and the plus (+) or minus (-) signs to zoom in or out.
You may also want to adjust the size of your brushes quickly with [ or ], the square bracket keys..
Most actions will tell you the shortcut when hovering over buttons or next to the next in the list. Take note of the actions you keep returning to, and try their shortcuts to save you some time!
Conclusion: How to Edit Photos in Photoshop
Photoshop is an advanced photo editor that has many options. It is impossible to explain them all in a single article. But I hope that this selection of tips will help you begin to learn about photo editing.
Once familiar with the essential tools, you can start experimenting and get more creative. Be patient at first. It takes time to master your skills. But you will soon find yourself having a lot of fun editing in Photoshop!
Once you get to grips with Photoshop, you may also want to try Lightroom. Learn more through our Effortless Editing with Lightroom course.


