The Quick Selection Tool in Photoshop is one of the most effective tools. With it, you can quickly and easily select any part of an image.
But like all tools, the Quick Selection Tool has its own set of tricks and tips that can help you get even better results. In this article, we’ll take a look at some of the best ways to use the Quick Selection Tool to improve your Photoshop workflow.
The Quick Selection Tool in Photoshop: What is It?
The Quick Selection tool is one of many selection tools in Photoshop. When you choose an area, Photoshop detects and selects the edges, so you don’t have to trace them manually.
This tool works great for photos with high contrast and well-defined edges.
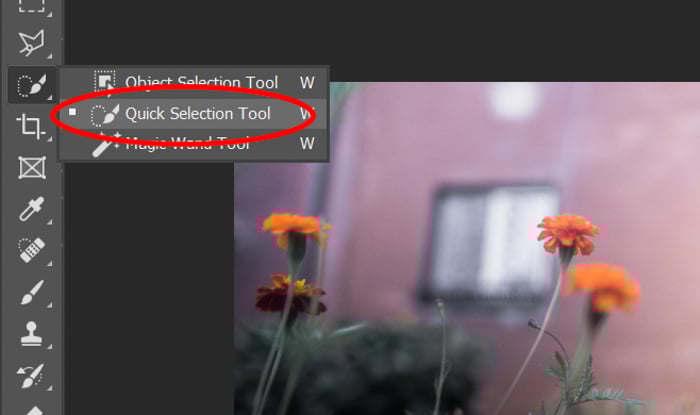
So, where is the quick selection tool, Photoshop 2020? You can find it on the tool panel on the left of your screen. It should be the fourth option below the Polygonal Lasso Tool. The quick selection icon should look like a paintbrush with dotted lines around the tip.
Apart from the quick selection tool, you’ll also find the object selection tool and the magic wand if you right-click on the icon. They all work similarly but with varying levels of precision depending on the subject.
The quick selection tool is perfect for choosing an object in the photo with an irregular shape. Meanwhile, the object selection tool is best for objects with uniform shape. And finally, we have the magic wand tool which you need to use for objects with lots of nooks and crannies.
How Do You Use The Quick Selection Tool in Photoshop?
Now, let’s go through all the steps for selecting objects using the quick selection tool.
Keep in mind that, in some cases, the quick selection tool doesn’t always create a clean cut. So we’ll also teach you how to clean your selection for better results.
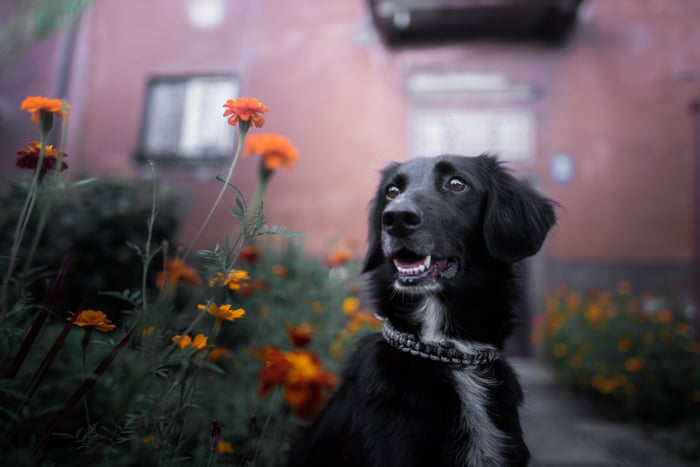
Craig Adderley- Pexels
1. Cut Out Your Subject With the Quick Selection Tool
Resize your image to a manageable size to keep your computer working efficiently. I resize to between 2500-3000 pixels on the longest side if I’m practising or experimenting with an image.
There are a few different Photoshop selection tools, as we mentioned earlier. But this one is called ‘quick’ for a good reason.
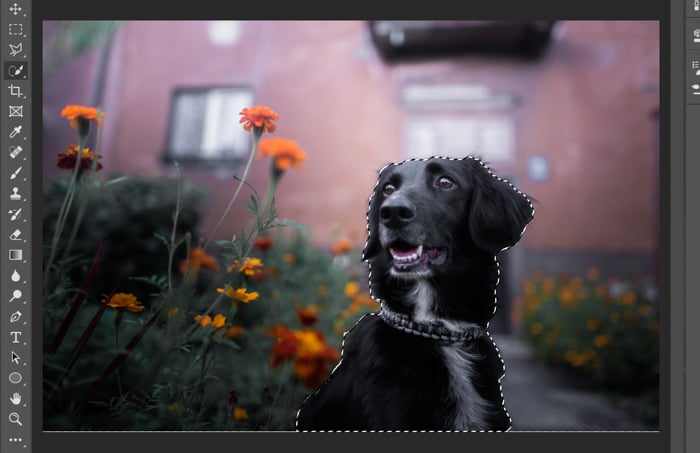
Click on the Quick Selection tool and drag the cursor in a part of the area you want to select.
You’ll see a line of ‘marching ants’ appear around the shape. Keep adding to it by continuing to drag the cursor within the area. It’s okay if it’s a bit rough in the beginning.
To deselect large areas, hold down the Alt (Windows) or Option (Mac) key as you drag the cursor around the area you want to remove.
The marching ants will disappear from that area.
2. Use a Layer Mask as Backup
It’s best to work with layers to avoid permanently deleting your selection.
That means that you hide parts of your image, then reveal them using the brush tool at any time.
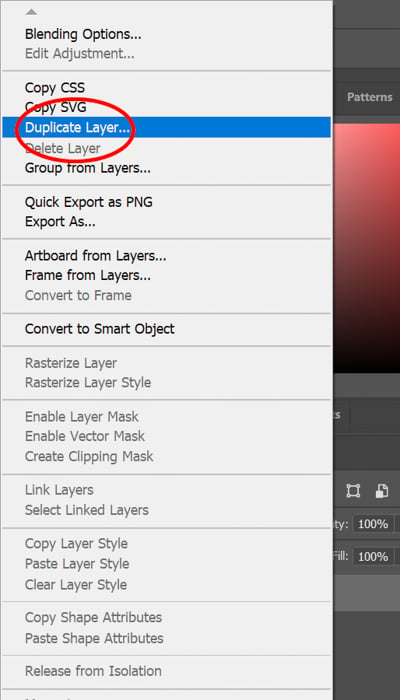
Duplicating a Layer
Unlock the Layer in the Layer menu at the lower right of your screen. Right-click on it and click Duplicate Layer. You’ll see another layer appear.
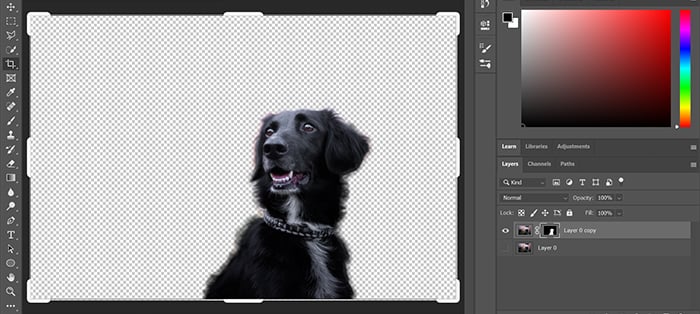
Click on the eye icon on the bottom Layer to hide it (this hidden lower Layer is a back-up in case of Photoshop disasters).
Revealing Your Selection
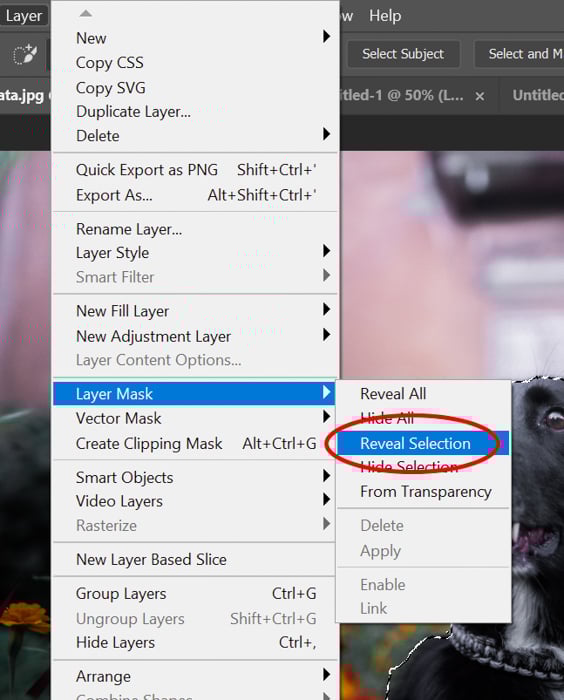
At the top of your screen, click Layer>Layer Mask>Reveal Selection.
This is the ‘aha!’ moment when your background will disappear, showing the rough cut-out shape you’ve selected.
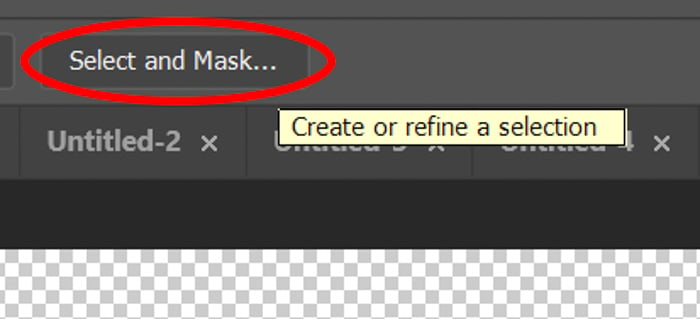
3. Select Tricky Areas With Select and Mask
Now, you must be wondering: How do I make quick selection tool more accurate?
At this point in the process, I tidy up my photograph using the Select and Mask tool. Click on the layer mask on the layer menu (that’s the black and white shape outline box).
Click on Select and Mask at the top of your screen. If you can’t see the button, make sure you’ve clicked on the Quick Selection tool button first.
Adjust the size, hardness, and spacing of the tool. Then slowly drag your cursor over the edges of the image.
My settings for the Select and Mask tool change depending on my selection. That’s why it takes a bit of trial and error.
I find the Select and Mask tool fantastic for fluffy edges or hair. I use the Brush tool for harder lines (more about that shortly).
4. Create a Background That Fits
Using the Quick Selection tool effectively isn’t much use if you don’t have a background ready. Sometimes it’s enough to create a simple neutral background in Photoshop.
If you’re keen to use a different environment, you’ll need to pay a little more attention to the process to make sure the final result is cohesive.
It would be best if the lighting in your background matches the selection. That way, it wouldn’t look fake.
If your selection has cool lighting, then you’ll need to look for a background with the same color temperature as well.
Furthermore, you should pay attention to the direction of the light. If it’s coming from the left side, then the lighting from your background should also be coming from the same direction.
And finally, the camera angle of your image should also match your selection.
You can’t use a background shot from a 45-degree angle if your selection was shot at eye-level. Even a small difference in the perspective can throw people off and immediately recognise the image is artificial.
Opening the Background
To ensure Photoshop displays both the background and your selection, check if the layers on the lower right of your screen are in the right order. Your background should be underneath your selection and layer mask.
To move the layers around, click on one of the layers and drag it up or down.
Adjusting the Background
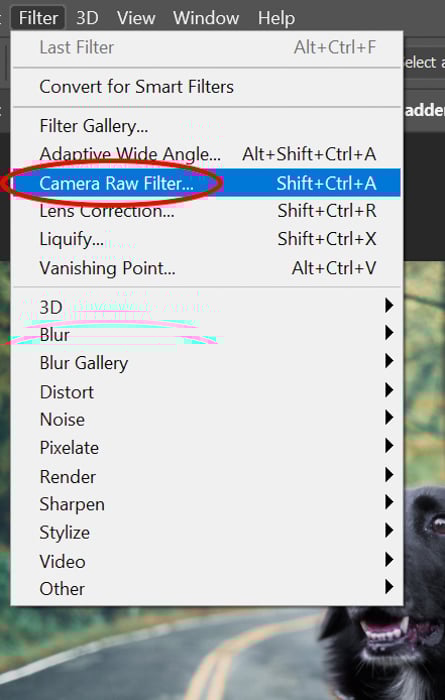
If the subject and background images look mismatched or inconsistent, use Lightroom or Adobe Camera Raw to make adjustments. Start with the temperature and brightness of one of the photos.
Sometimes adjusting saturation and luminance of individual colors also helps. If the images still don’t quite match, try converting both photos to black and white. But make sure the contrast, clarity, and shadows are the same.
Converting your image to black and white allows you to work with shades of grey and black. The elimination of color would help you better match your selection to the background.
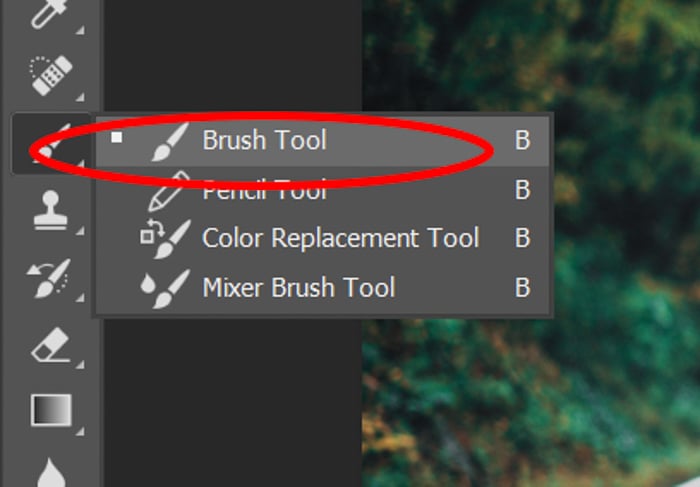
5. Apply the Brush Tool for a Seamless Result
It’s pretty unusual for me to use the Quick Selection tool without using the Brush tool too.
When your selection is in their new environment, check to see if you need to do a final tidy up of the edges.
Click on the layer mask on the layer menu, then click on the Brush tool. Zoom in (ALT+, CMD+) and carefully check around the entire edge of your selection.
Carefully brush the cursor over areas that you want to reveal or hide.
Switch between the ‘Foreground and Background Colours’ to alternate between hiding and revealing parts of the photo.
Use Selection Tool on Photoshop to Make Local Adjustments
Of course, the selection feature on Photoshop isn’t just about cutting out objects from photos. You can also use it to isolate objects to make adjustments in specific areas.
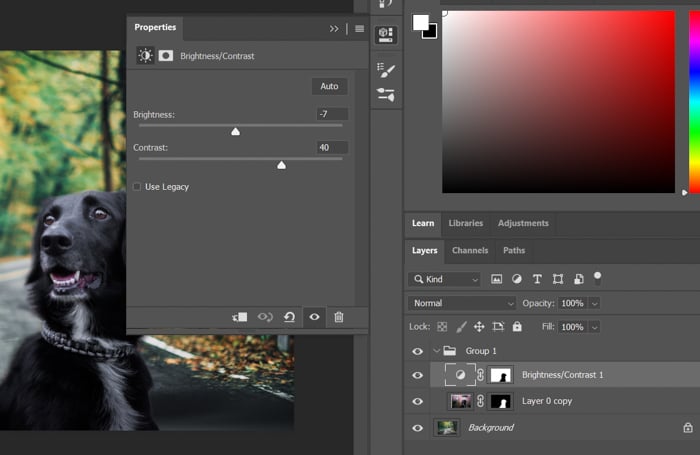
After you select the subject in your photo, all you have to do is open an Adjustment Layer.
Within the Adjustment Layer, you can choose the parameters you would like to adjust to fix your selection. It could be anything from White Balance to Hue/Saturation and Brightness/Contrast.
Remember that you don’t need to cut out your selection at all if you only need to make local adjustments.
As soon as you pick an adjustment layer, Photoshop automatically turns your selection to a layer mask. That way, any adjustments you make only applies to that particular area.
If you choose Brightness/Contrast, you’ll see your selection dim or brighten as you adjust the Brightness slider. But anything outside that selection will not change at all.
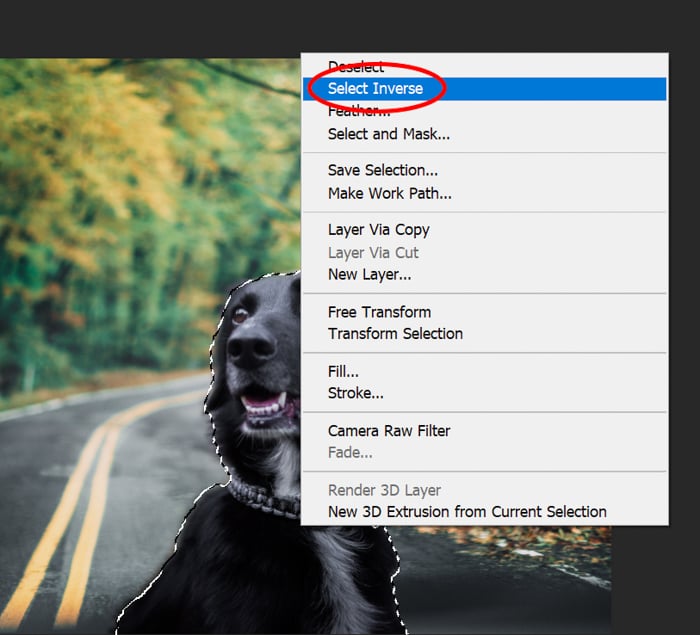
Now, what if your selection looks okay, but the rest of the photo needs some adjustment? Then you can right-click and choose Select inverse. Photoshop will then apply your changes to the rest of the picture but not to your selection.
Conclusion
I use the Photoshop Quick Selection tool to help tell stories in photographic artwork. It’s an easy way to transport my friends and family (and cat) to all sorts of exciting locations.
The Quick Selection tool has also helped to hone my Photoshop skills in general, and improve my attention to detail.
Like all Photoshop techniques, the best way to learn is to practice and make mistakes. Delve into your photo archives, dig out some photos where the background is less-than-perfect, and work some Quick Selection magic on it!
Looking for more awesome tips on Photoshop? Check out our posts on how to replace a face or how to add a sepia tone in Photoshop next!
Don’t forget to check out our course – Effortless Editing with Lightroom!