Today, we’re looking at the easiest way to perform a face swap in Photoshop. Adobe Photoshop allows us to get creative with our photography. A face swap is a great way to have fun with pictures of our friends or family.
A successful face swap can be tricky even though it only has a few steps. This article will cover all the points necessary for a seamless face swap. After some practice you will be able to create novelty images for your friends or picture yourself on holiday!
What are the Key Points to Consider with a Face Swap in Photoshop?
Although the process is fairly straightforward, there are key points to consider when picking your images. We will now review all the points you want to consider before your edit.
Position of the Head
The most important factor is the position of the head. You cannot perform a face swap where one of the model’s heads faces forward and the other to the side. This is because the body posture will not match up.
Therefore, you must find images where the head is facing in a similar direction relative to the camera. If a head is tilted, this does not matter. You can easily fix a tilt in Photoshop.
Lighting
Lighting is not as important as the position of the head, but it can still ruin a face swap. If one image has harsh light with strong shadows and the other has none, it is unlikely you could get them to match.
Therefore, look for images that have similar light sources and shadows. You can always flip your image if the light source comes from the opposite direction.
If you need two photos to match, you can use exposure controls to apply your own shadows. This can be a difficult task, but the burn tool is brilliant for this. We will touch on this action later.
Sharpness
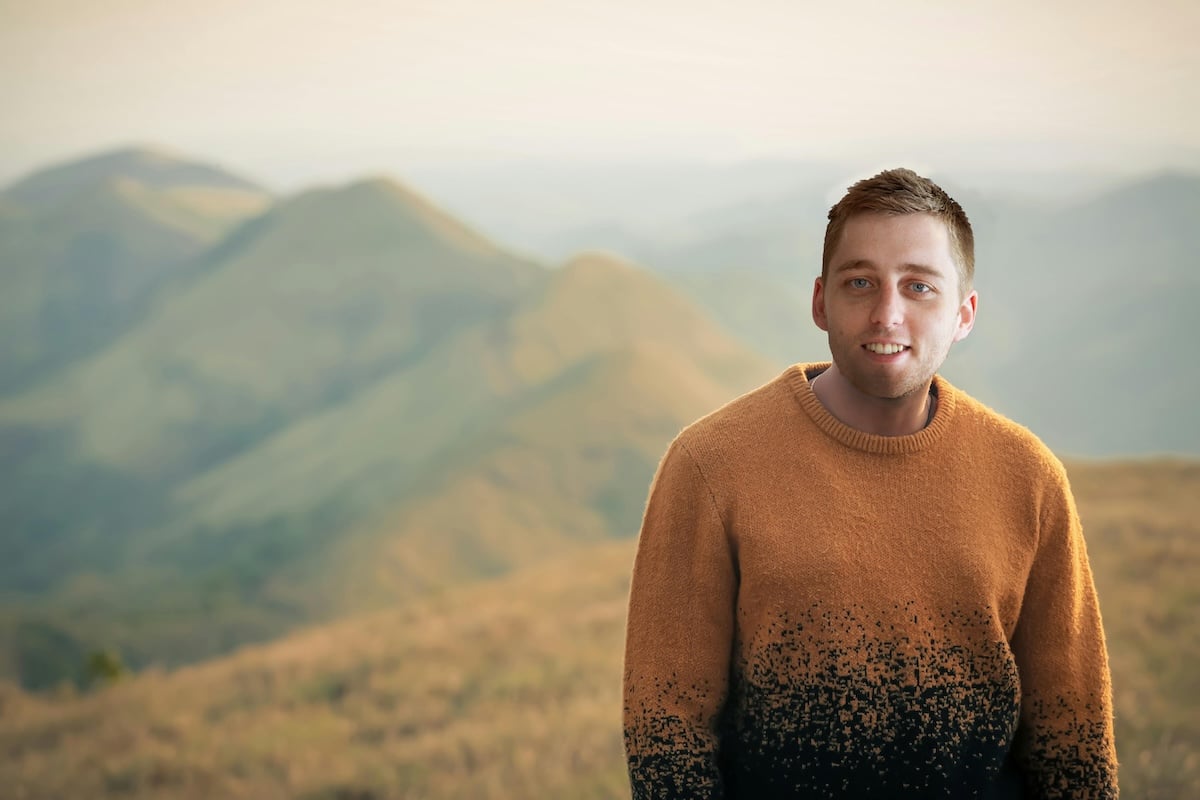
You will also want to ensure that there is no huge difference in image quality when selecting your photos. If you make a face swap from a 35mm scan to a high-quality image, you will notice it looks unbelievable.
This also applies to taking a face from someone in the background and putting it on a front and center body. The image in the background could look pixelated or not as sharp as a normal portrait. You can edit the image to reduce the sharpness, but this may be hard to replicate.

Unsuccessful Face Swap
Make A Face Swap in Photoshop
Let’s now guide you through the easiest way to perform a convincing face swap in Photoshop. We will include ways to fine tune your edit to make it as believable as possible.
Step 1 – Pick your Photos
First, you want to choose the photos on which you want to perform a face swap in Photoshop. Think of the kind of edit you want to create. Maybe your flight got canceled, and you want to show your friends you are still on holiday. Or maybe you want to create a novelty image for a birthday card for friends or family.
You also have the option to swap faces in the same photograph. This will make editing easier as the lighting and quality will be similar.
Remember to select images where the two people are looking toward the camera in a similar way. You will also want to ensure the lighting is similar.
It is worth spending some time thinking about which photos to use, as the success of the face swap will depend on this. Once you have selected your images, you can open them in Photoshop.


Step 2 – Cut Out Your Face
Go to the image you want to take the face from. We will cut the face out and then transfer it to our next image.
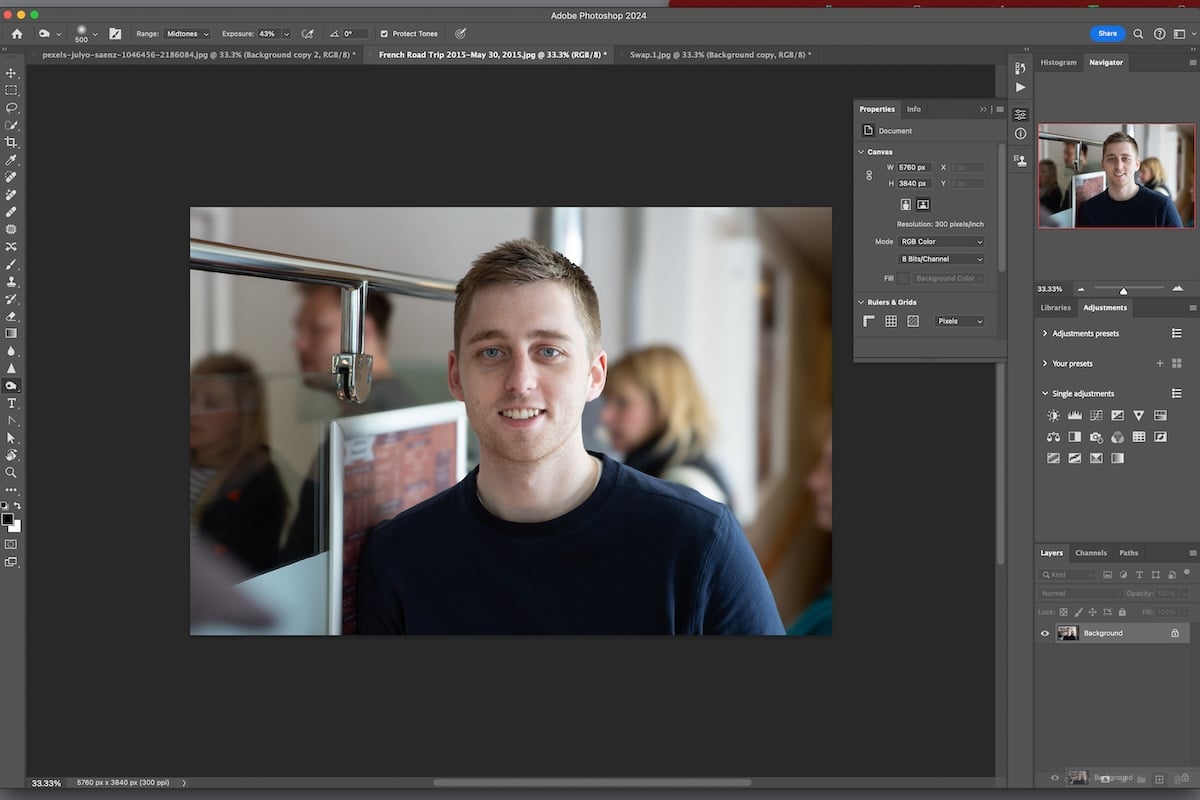
First, create a duplicate of your background.
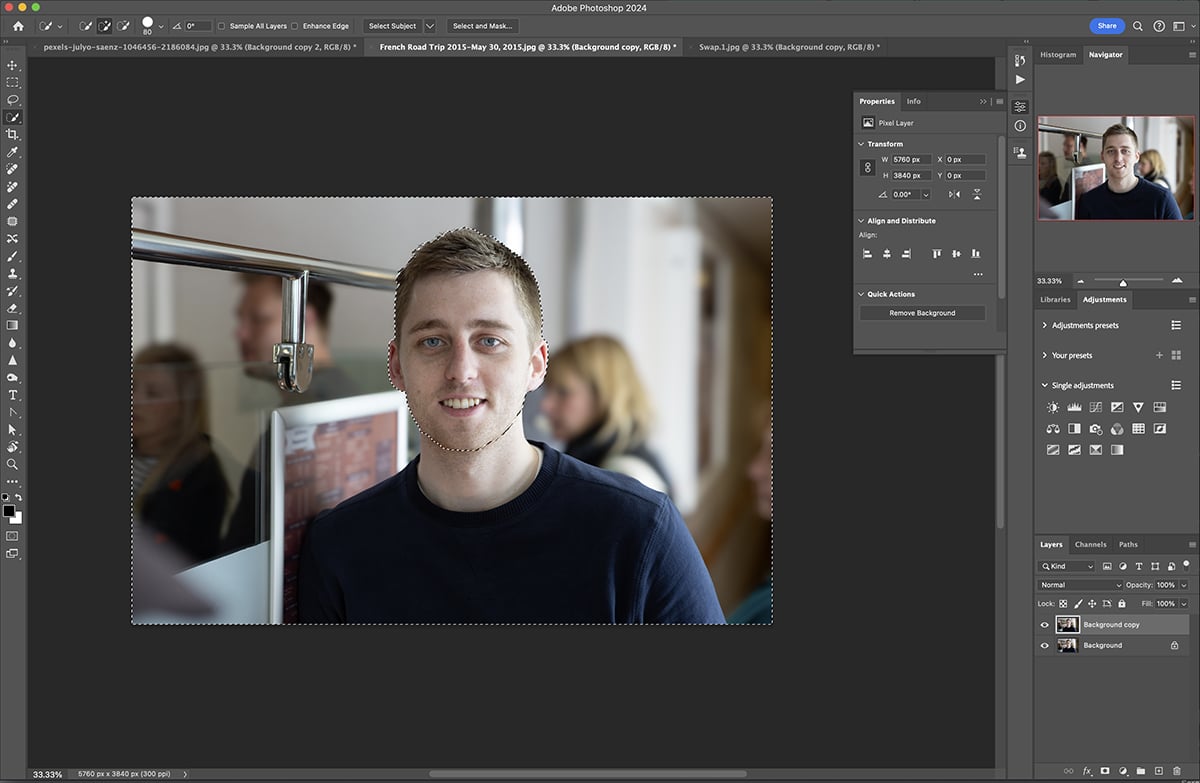
We now want to make a mask for our model’s face. You can use the Pen tool to create an accurate mask; click here to learn how to do this. We will use the Quick Selection tool to look at the easiest option.
For the Quick Selection tool, draw inside the areas you want to include in the mask. Stay calm if the selection goes outside of the face initially. You can swap between the ‘Subtract from selection’ and ‘Add to the selection’ brushes to fine tune your mask.
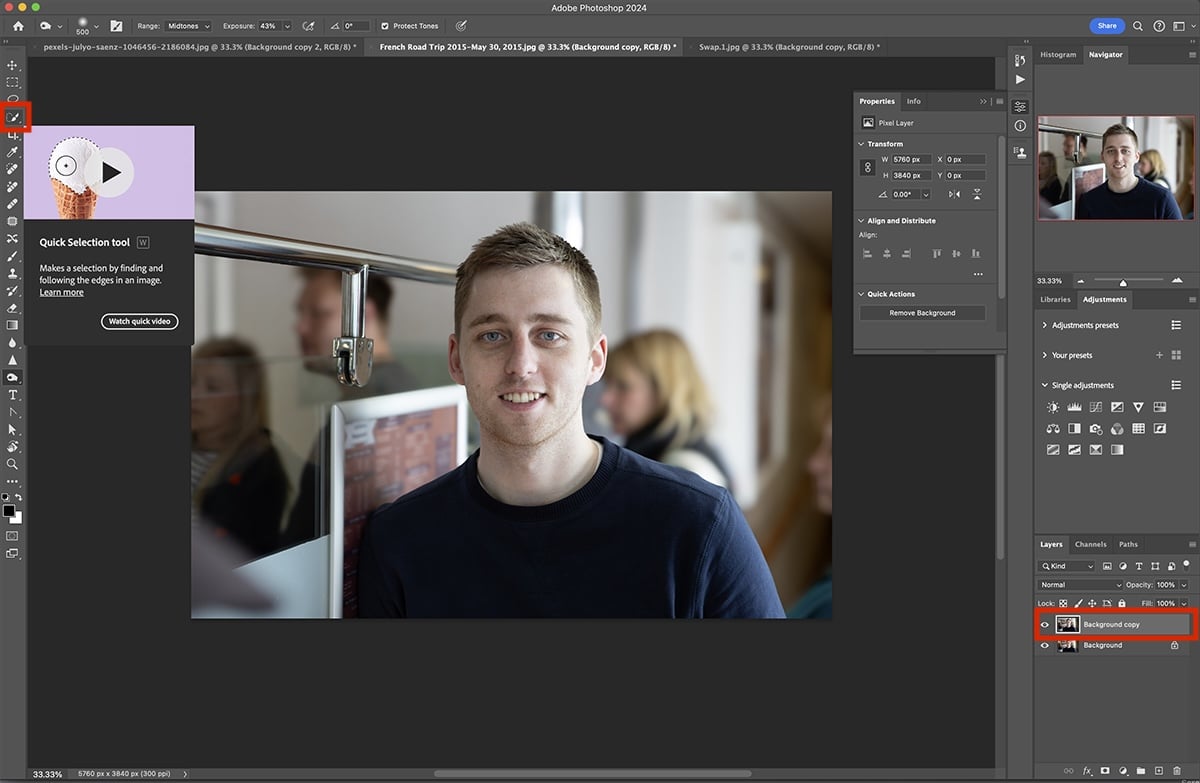

Once you have done this, you want to inverse your selection. You can do this by clicking Command + Shift + I (Control + Shift + I for Windows). You will know this worked when you see the moving dotted line around your selection and also around the edge of the photograph.
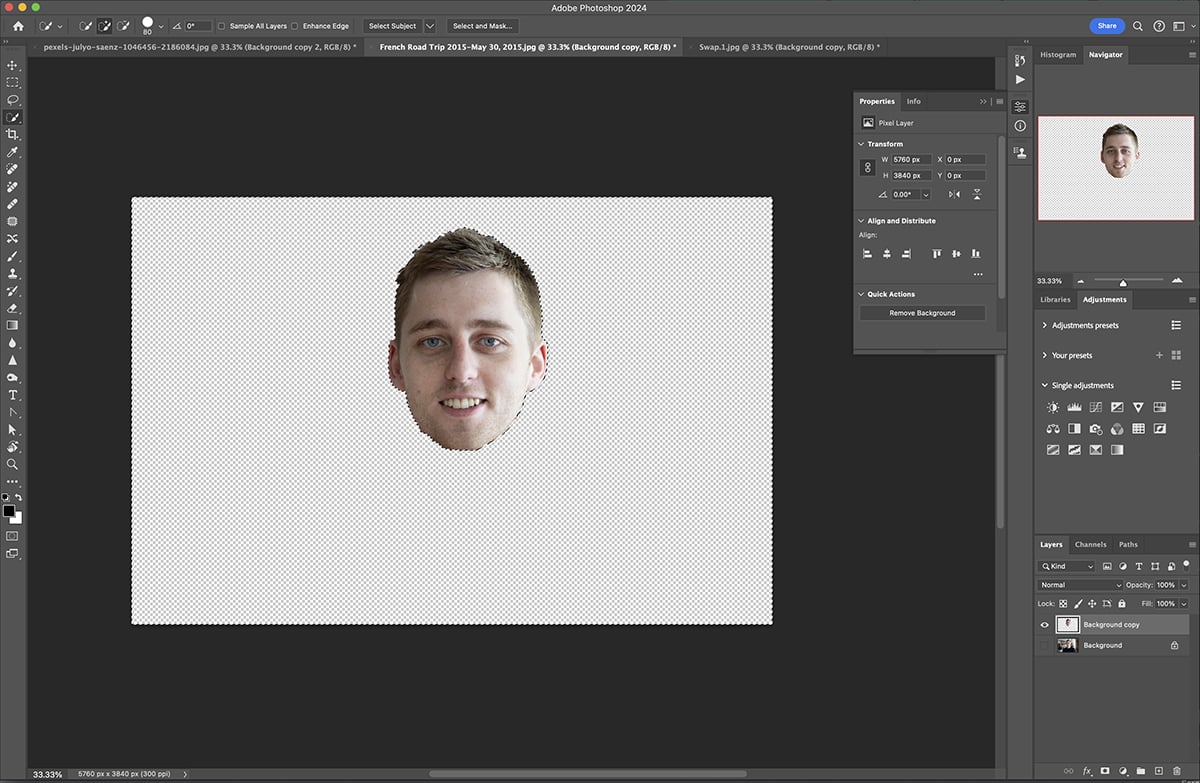
Now press backspace. This will delete your background from your layer copy. You are now able to move this layer to the next photograph.
Step 3 – Place the Face Into the Photograph
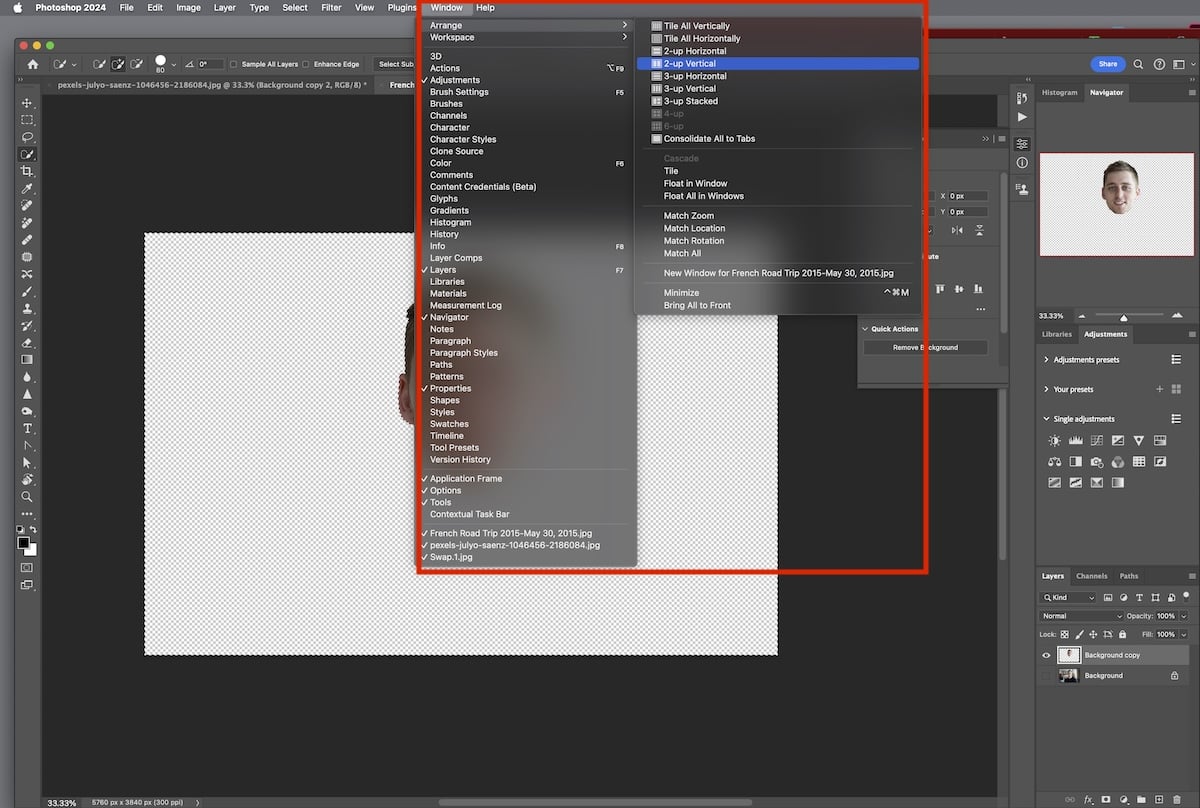
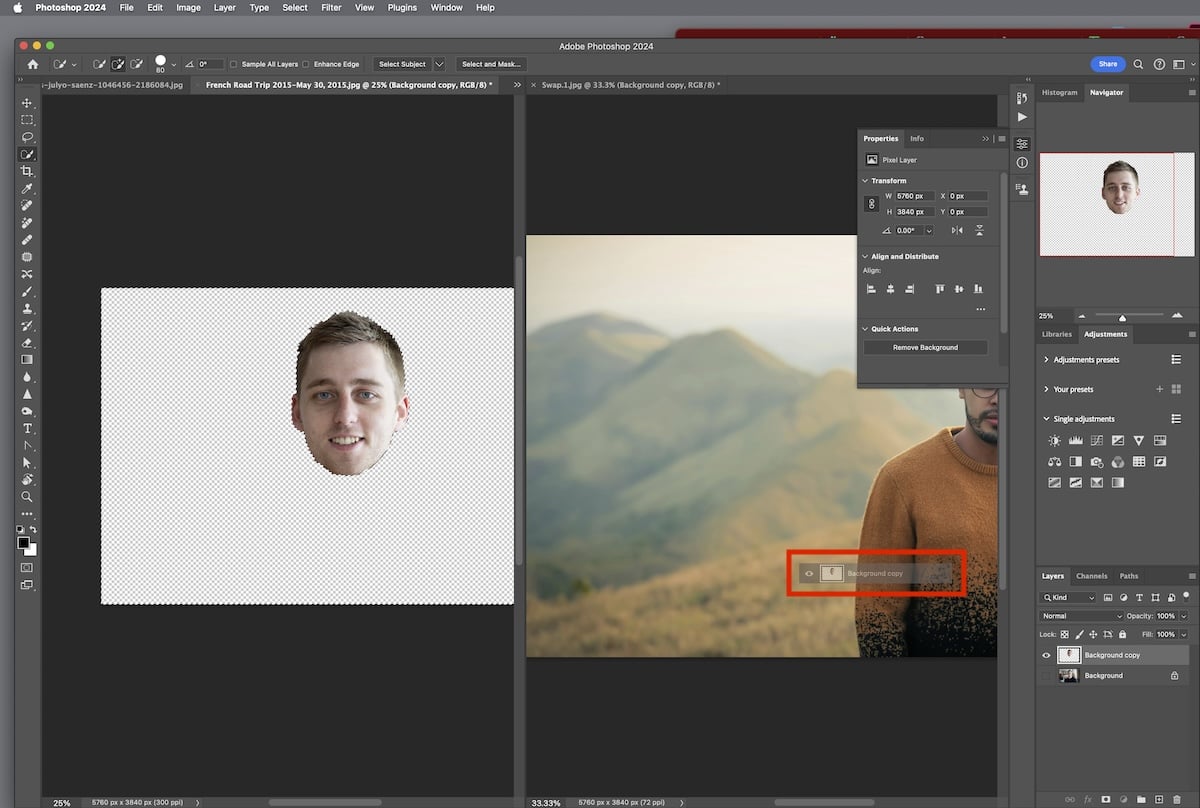
Now, you should drag and drop your new layer into the other photo in Photoshop. You can do this by dragging the layer to the top of Photoshop, where the name for your other image is. Once you hover over this, Photoshop should change the image.
You can also drag your photo from the top tool bar of Photoshop and drop the layer into the new image. In addition to this, you can go to Arrange at the top and choose a way to show different images. Then, you can drag and drop the layer from one image to another.
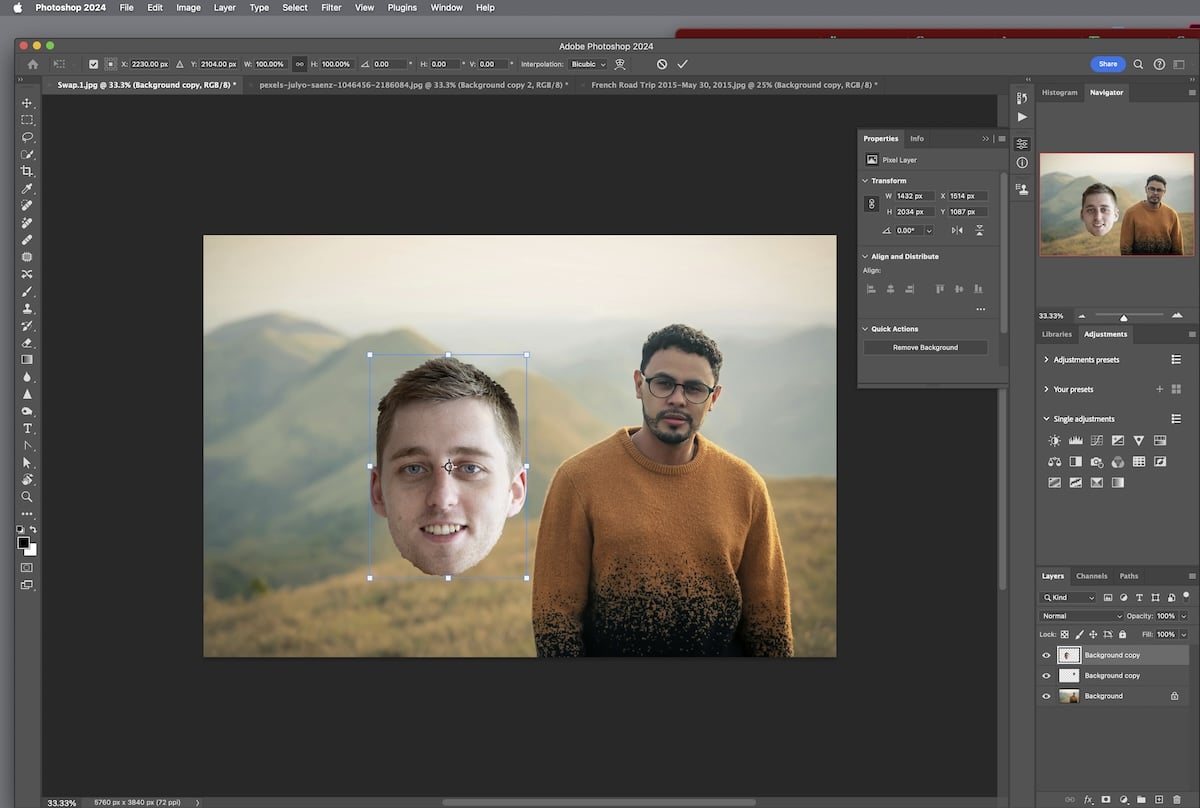
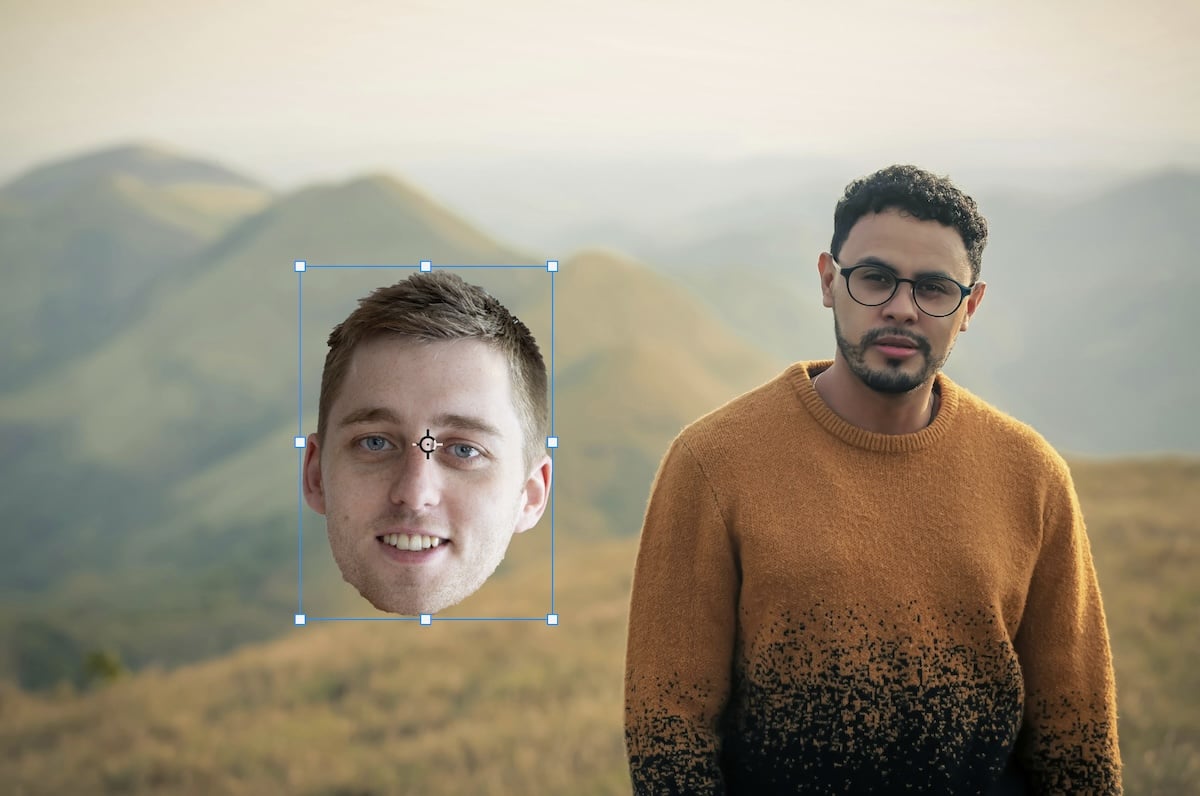
Step 4 – Move Your Face to the Right Place
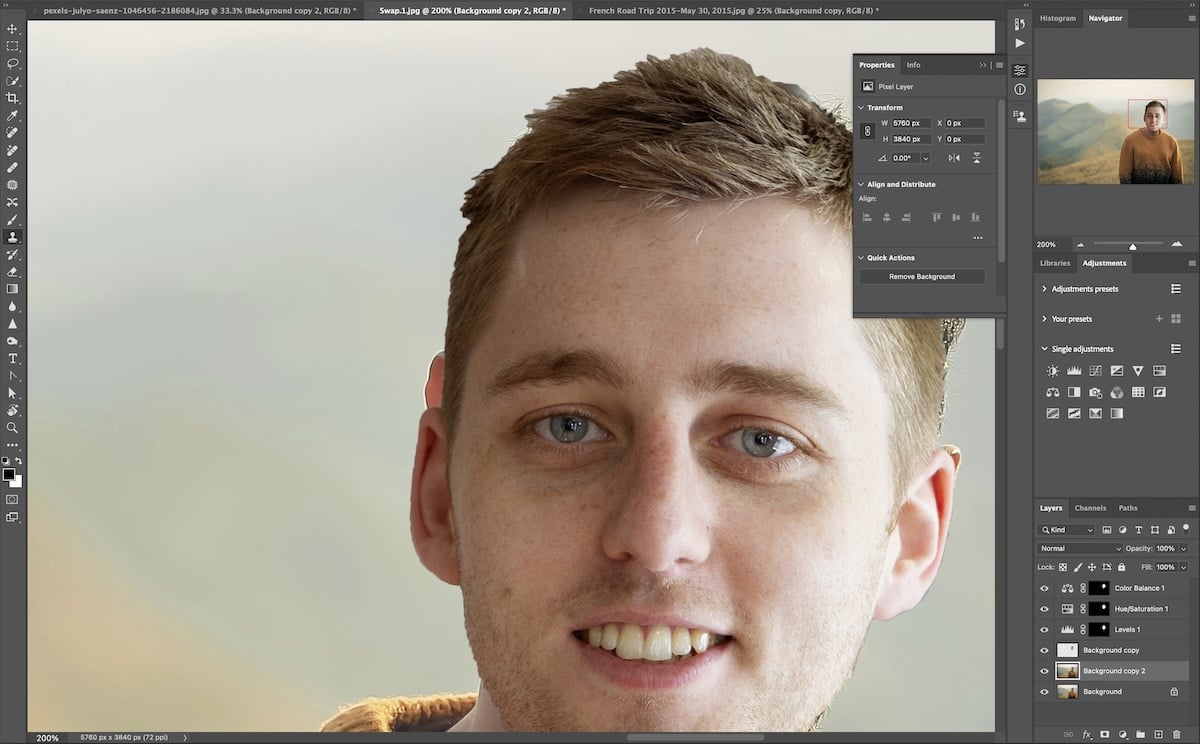
We want to get the face in roughly the right location. Once we have applied further edits, we can always fine-tune the placement.
Use Command + T (Control + T for Windows) to enter the Transform adjustments. You can now change the size of your new head to match the body you want to swap it with. You can also change the angle at which it sits.
Do not try to cover up the other figure’s features with the size. This will look unnatural. Instead, we can eliminate stray hairs and other features that may stick out later.
Step 5 – Apply Adjustments to Make A Convincing Edit
The most crucial process for making a face swap in Photoshop is to blend the two images. We can ensure they go together by editing our face swap’s color, tone, and saturation.
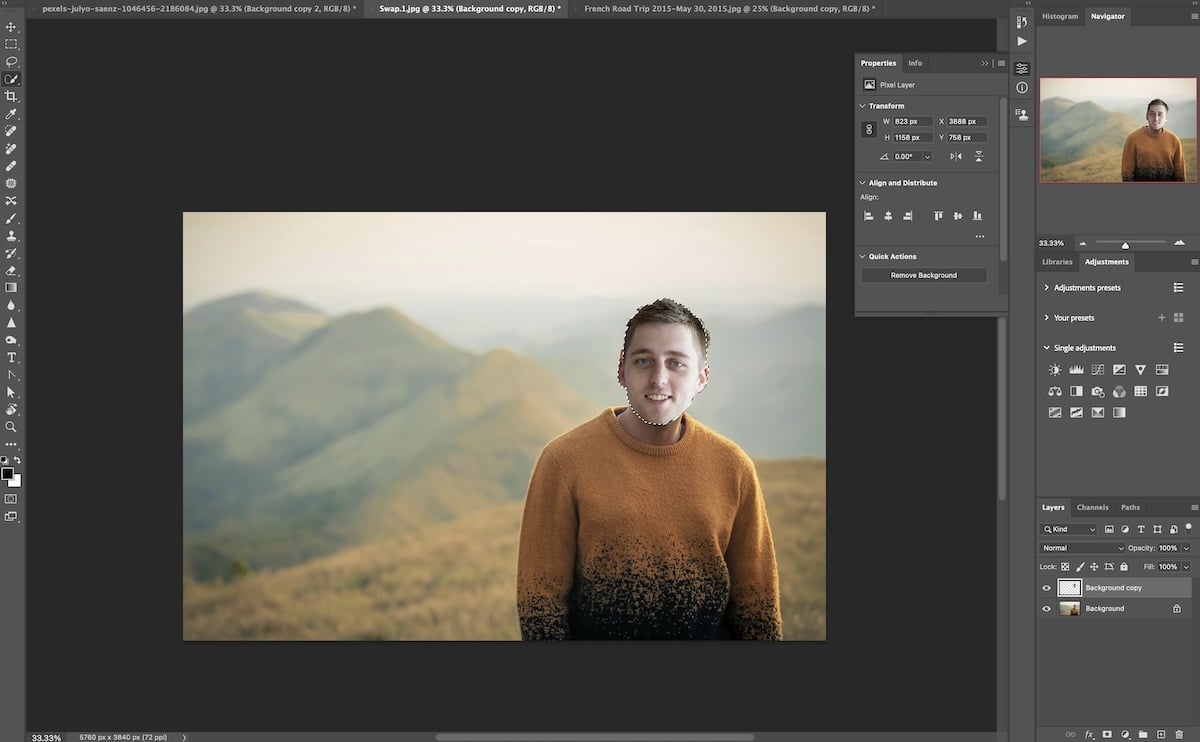
The first thing we want to do is create a mask. Get the Quick Selection tool and make sure your face layer is selected. Then, draw roughly in the face. The layer just contains the face, so it will only keep to this previous selection.
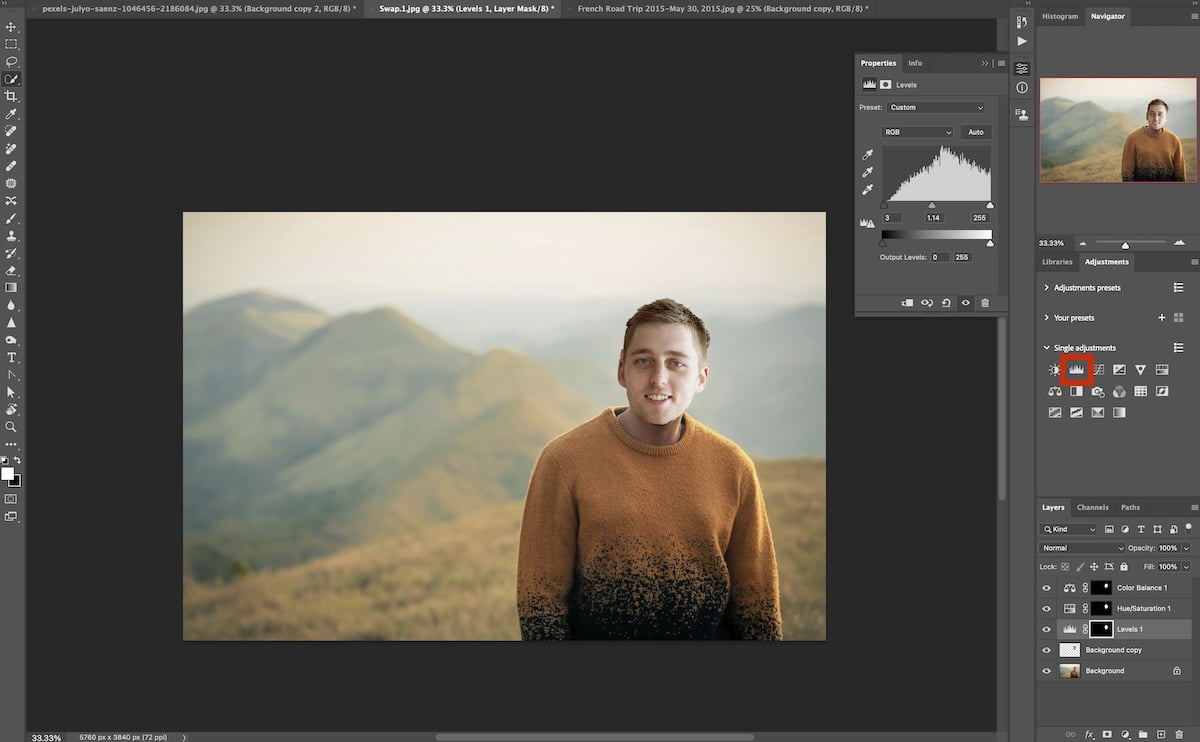
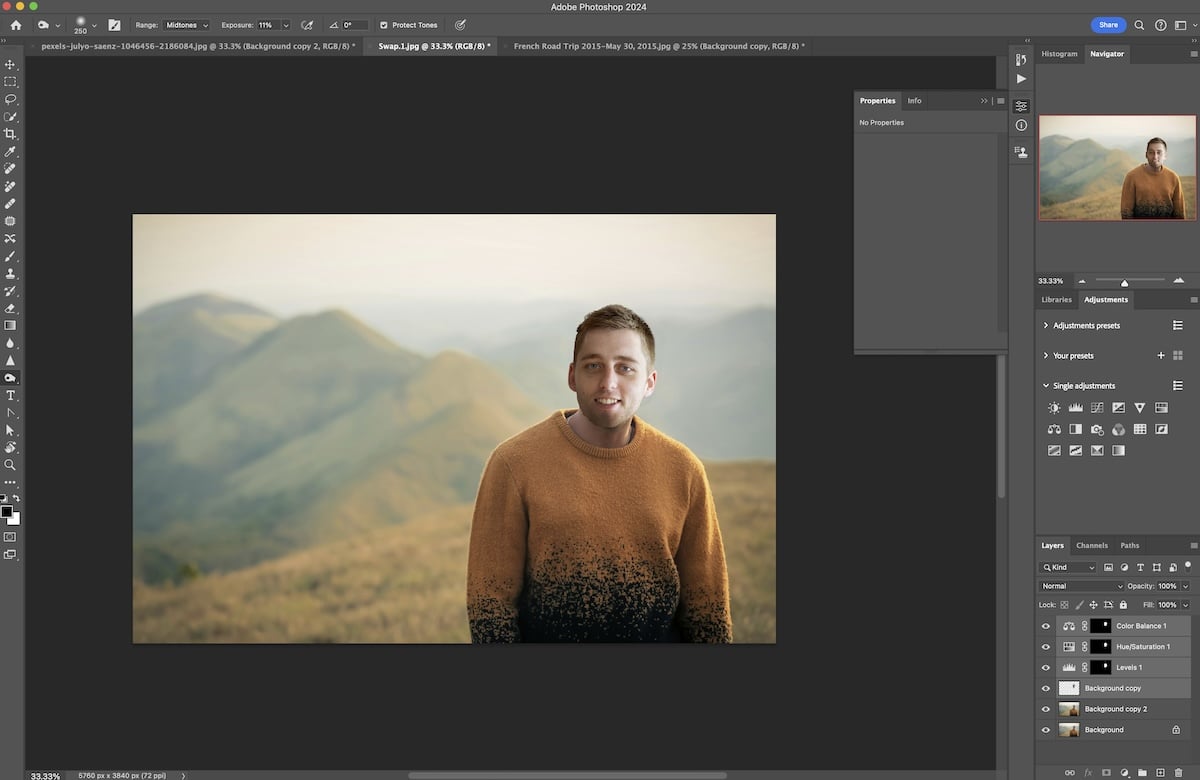
Now, you can click on an adjustment, and it will make a mask for this adjustment. I will always first try to match the color. The easiest way to do this is to use the Color Balance adjustment.
Here, you can try matching the two scenes. If the background image is warmer, add some yellow, and the opposite if it is cold. You may also need to play with the red/cyan colors, as these facial tones can be very noticeable.
Once you have done this, emphasize the blend using the Hue/Saturation adjustment. Make sure you use the Quick Selection tool to make a mask before selecting the adjustment. I would then make tonal adjustments using the Levels tool using the same process.


Step 6 – Fine Tune Your Edit
Now, we want to apply the final edits to the face swap. Let’s first remove any unwanted elements behind the model’s head.
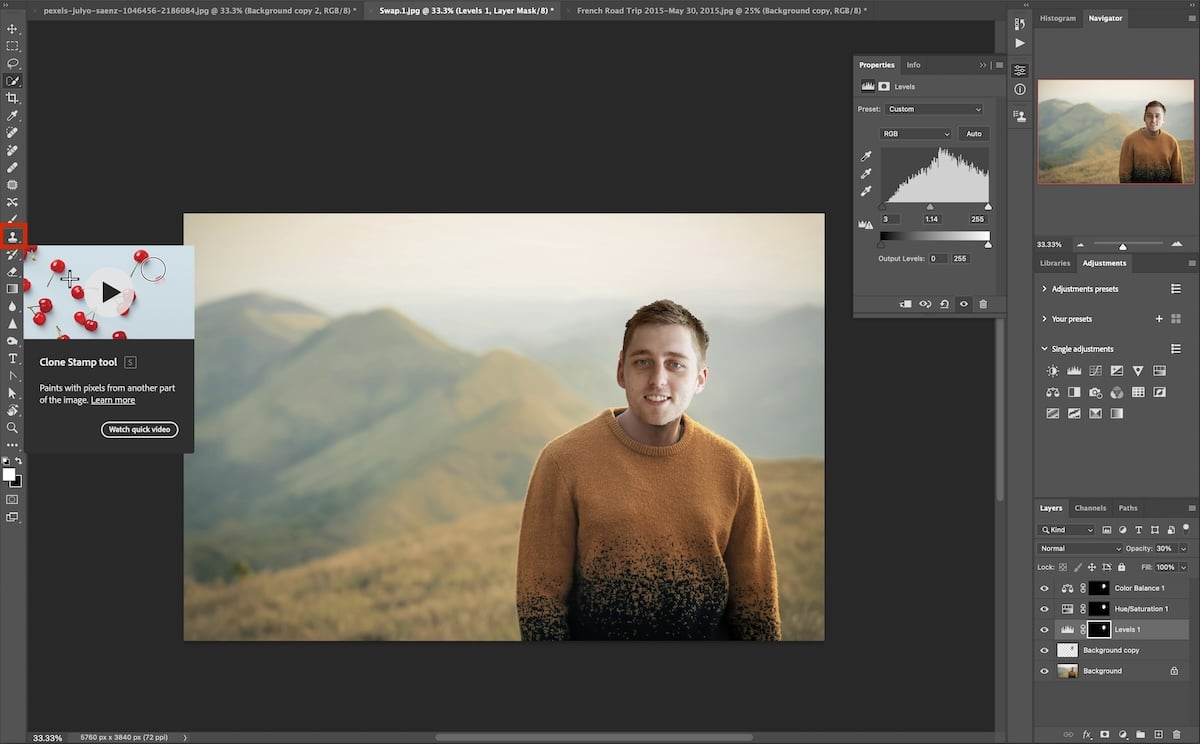
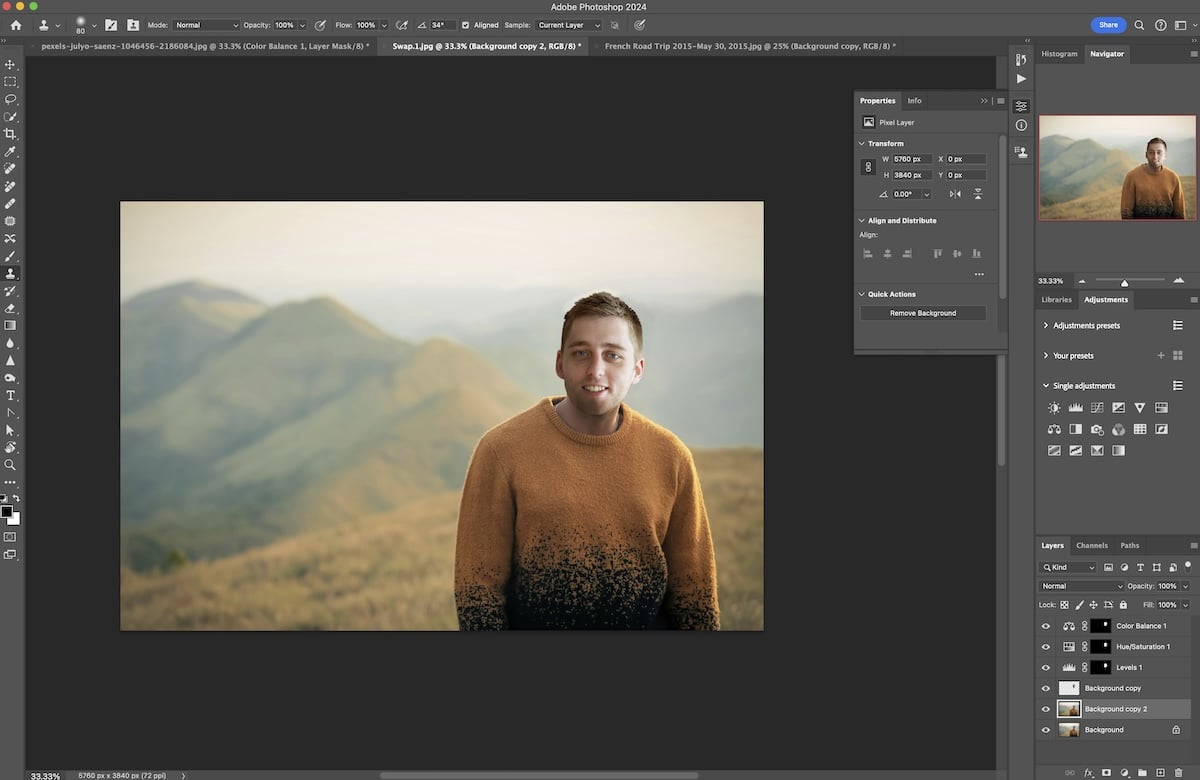
For this process, you will want to ensure that the background has a copy. You can do this by dragging it onto the New Layer icon at the bottom. Now, you want to get the Clone Stamp tool.
After ensuring the background copy is selected, start brushing away the unwanted elements from behind your new face. Option click (Alt on Windows) to select a replacement location for your brush. Select an area that has the same color and tones as what should be behind your head.

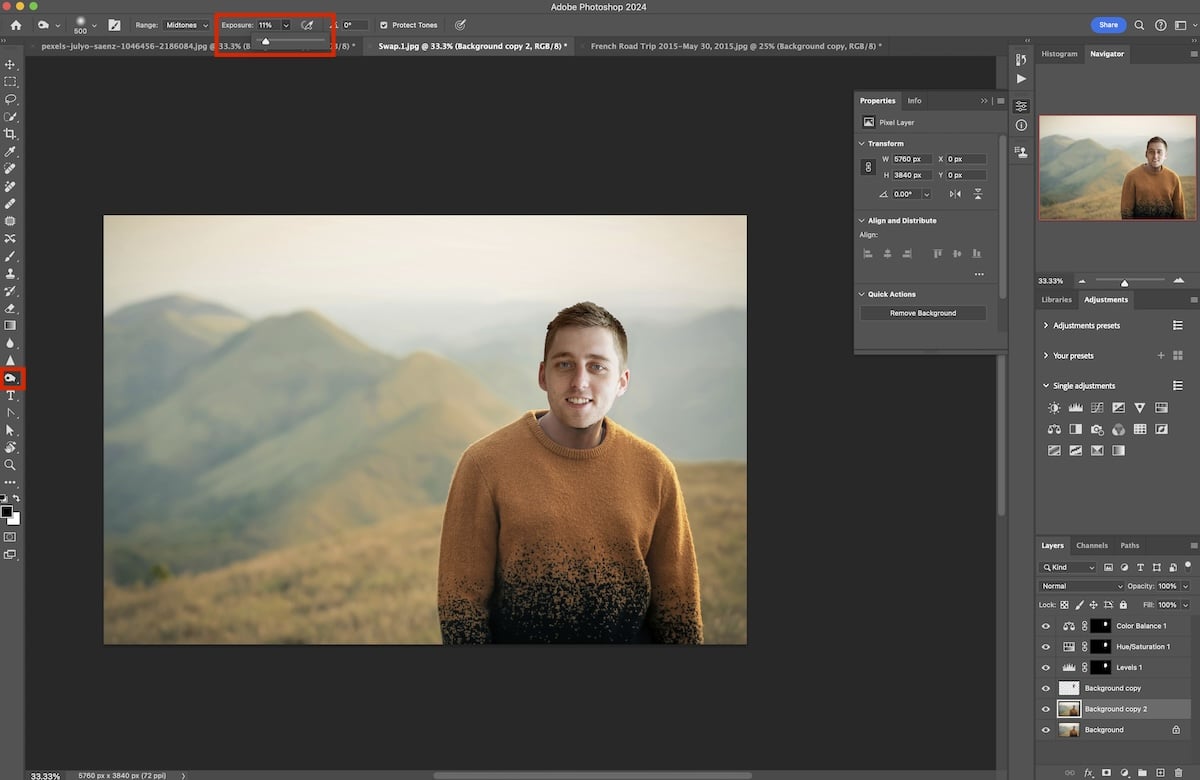
After this, we want to fine-tune the shades on our new face. The best way to do this is to use the Burn tool. I suggest reducing the Exposure to around 10%.
Make sure you select your head layer and slowly paint in new shadows. This could be around the neck or places where the shadow should be according to the light source.
If you ever need to move your head, you can do this anytime. Make sure you have selected your adjustment layers and face layers. Then, press Command + T (Control + T for Windows) to move all layers at the same time.
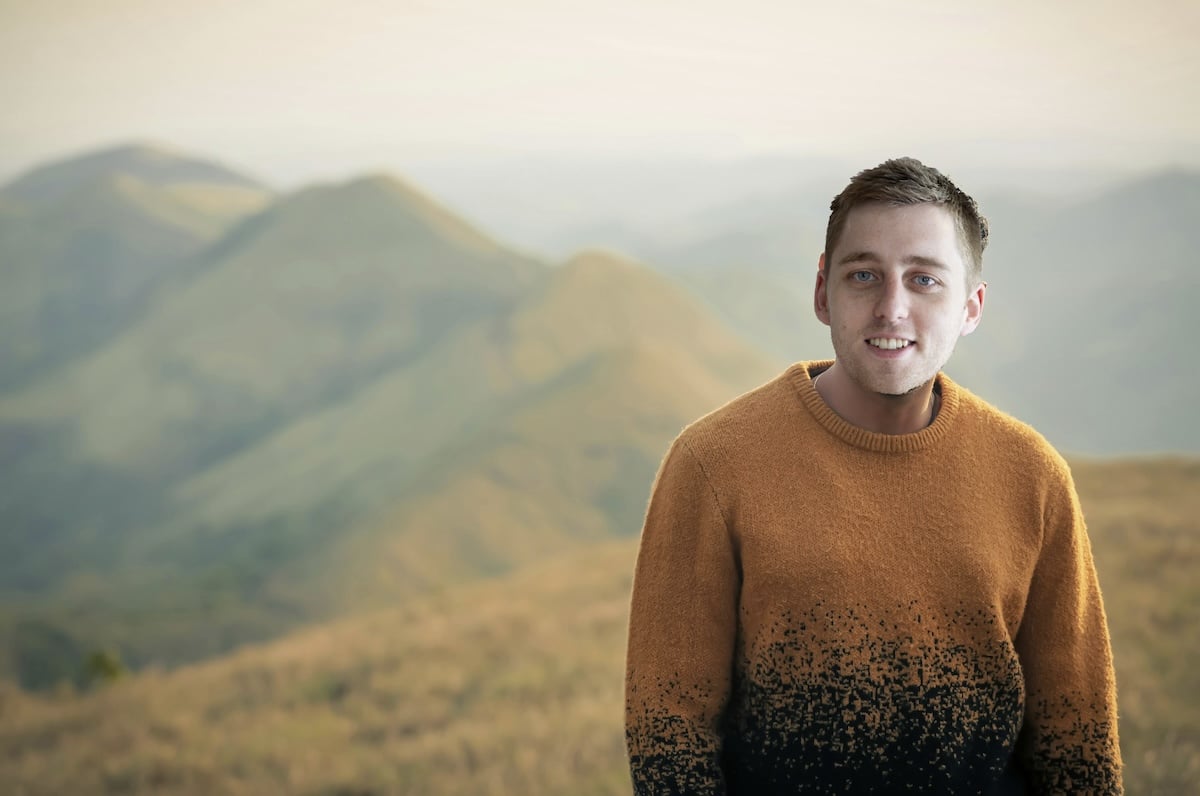
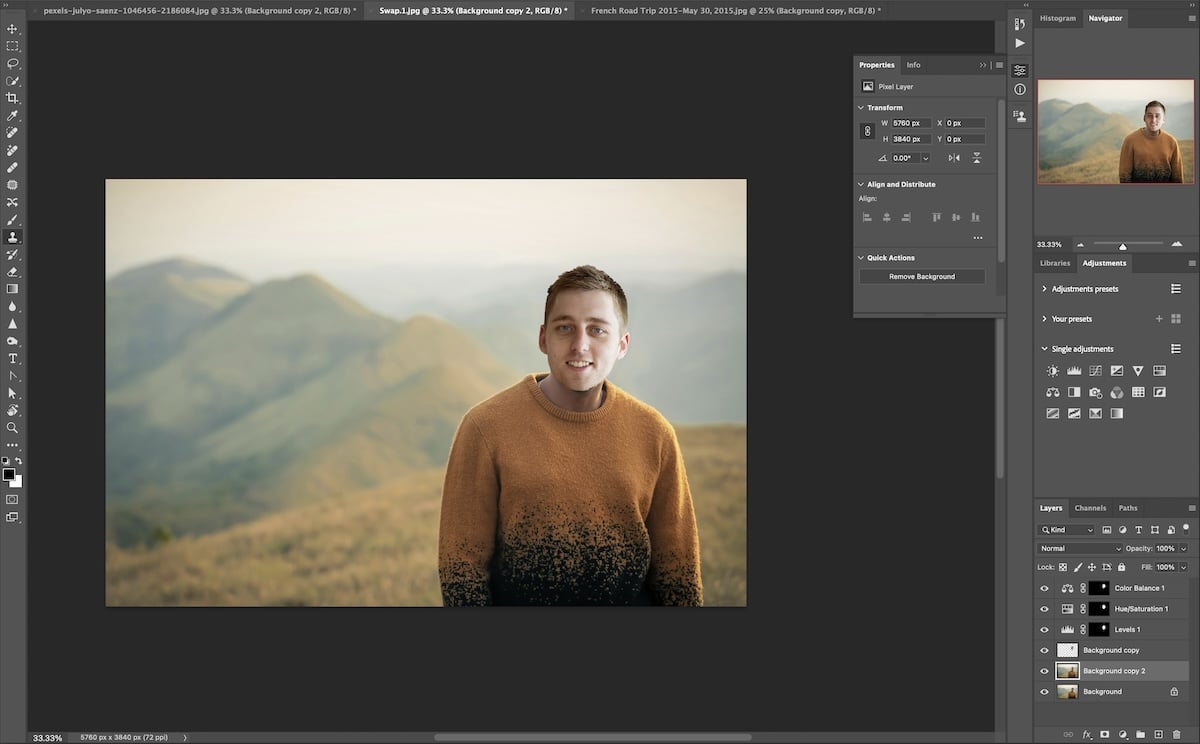
Now, you should have a convincing face swap in Photoshop.

Conclusion: Face Swap in Photoshop
Now that we have given you a step-by-step guide, you can see that the initial process is easy, but fine-tuning can be tricky. The best way to do this is to take your time and try to understand the unique characteristics of each photo in terms of color and tone.
Creating a face swap in Photoshop is a brilliant way to make fun images for friends and family. It can also be an effective way to place yourself in new environments. The more you practice this technique, the better you will become at fooling your friends and creating convincing photo composites.


