Photoshop has a range of tools available to remove a background. Some tools require you to do all the work while others do it almost entirely automatic.
In this article, I’ll show you how to remove background in Photoshop and I’ll use three different tools.
It all depends on the photo you’re working with. Only by practicing you’ll find out which tool will be best for the job because no photo is the same.
Also, everybody has their own preferences and there is no right or wrong when the result is good. Here are a few examples of how to remove a background in Photoshop.
The Pen Tool works best with simple objects. It’s ideal to create a selection of an object with hard, straight, or curved lines.
Select the Pen Tool from the tool bar on the left. You can also use the shortcut “P”. Make sure you set it on “Path” in the top menu.
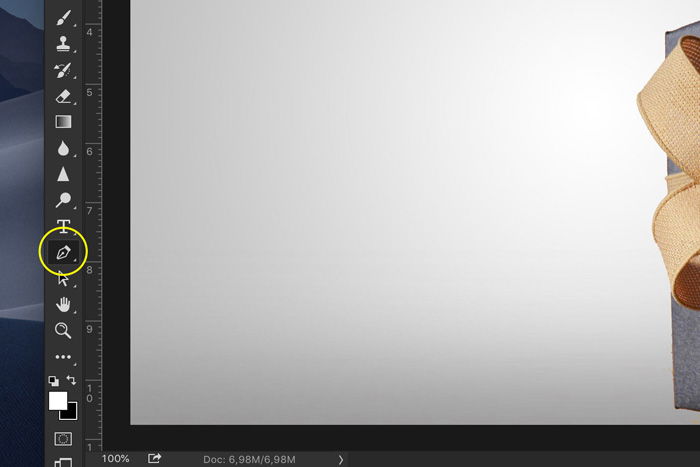
Click anywhere on the edges of your subject to create your first anchor point. Make a second anchor point. If it’s a straight line, just click. If you need a curved line, click and drag to make the line arc.
This way you can go smoothly around the round edges and curves.

Always make sure to Option-click (Alt-click for Windows) on the last anchor point after a curved line. If you don’t, the next one will arc automatically depending on the previous line.
Option-click will reset the anchor point so you can create a straight line again.

It takes some practice to get the hang of it but after a while, you’ll go a lot faster. Continue the process until you’ve made a path around the subject.
Once you reach the first anchor point, click on it. The path will close automatically.
In the Paths window, hit the “Load path as selection” icon.
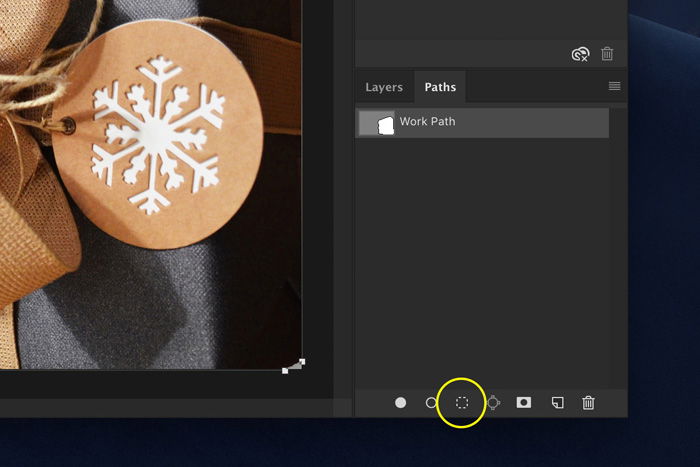
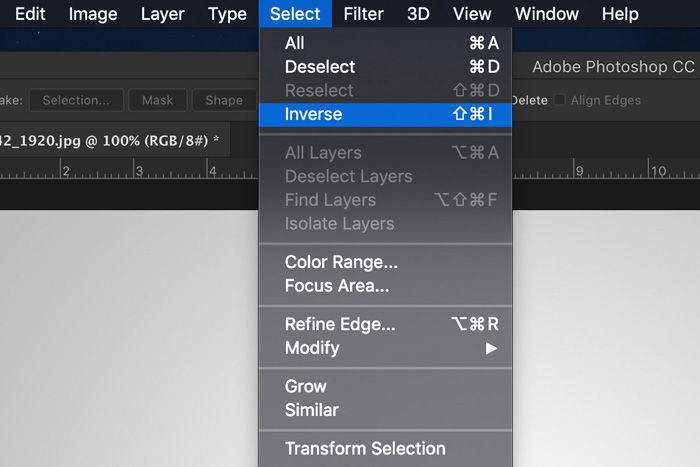
There are a few options now. If you want to delete the background, go to Select > Inverse and hit the Delete key. You can also use the shortcut Cmd + Shift + I (Ctrl + Shift + I for Windows).
If you want to copy the subject to a new layer, just hit Cmd + J (Ctrl + J for Windows).
And that’s it, you’ve isolated the subject and removed the background in Photoshop.
The Quick Selection tool will do a lot of work for you and works best when there’s a nice contrast between subject and background.
Select the Quick Selection tool from the tool bar on the left. You can also use shortcut “W”.
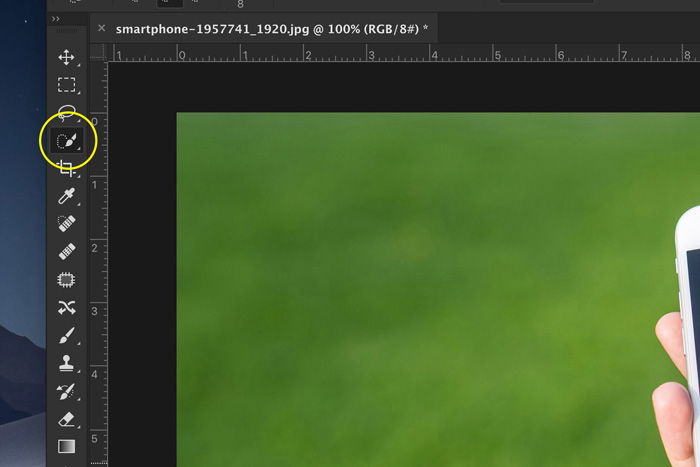
Make sure it’s set to “Add to selection” in the top menu. This way, you can select different parts of an object but that will combine in one selection.
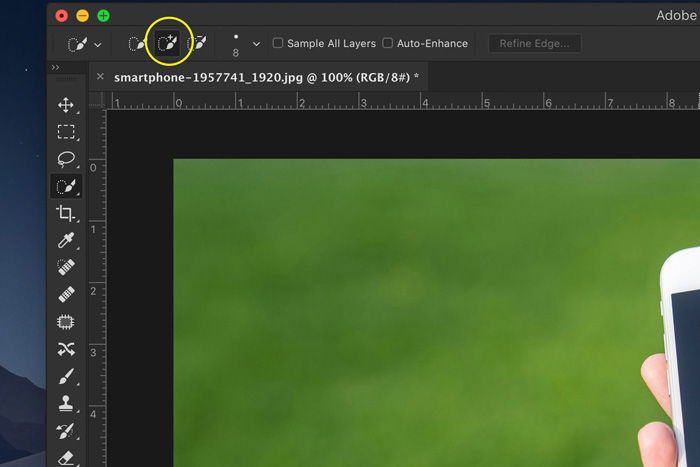
Start making a selection of either the background or subject. Photoshop will automatically select similar tone values.

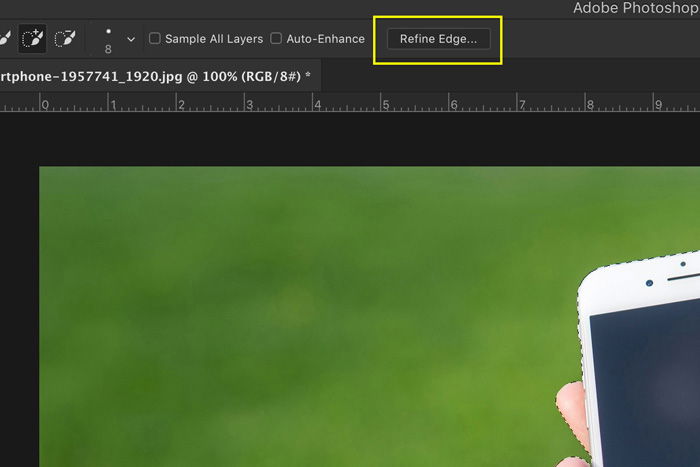
Click on the Refine Edges button and a new window will pop up. Photoshop also shows you the cutout.
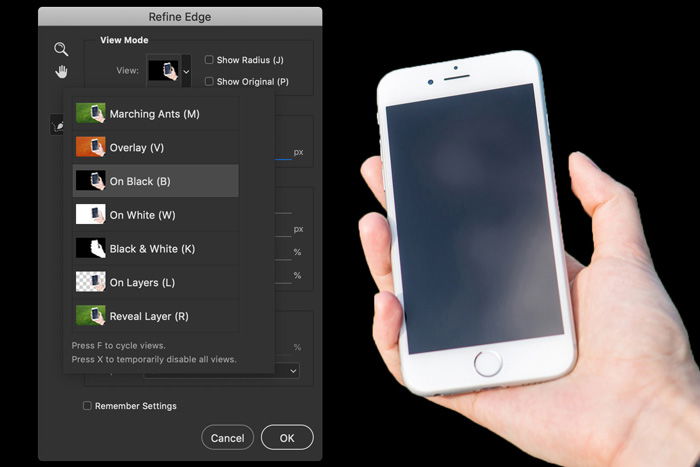
In the Refine Edges window, you can set the background. Depending on the colors of your subject, you can use a white, black, or transparent background to spot the imperfections.
In the top menu, set the brush size.
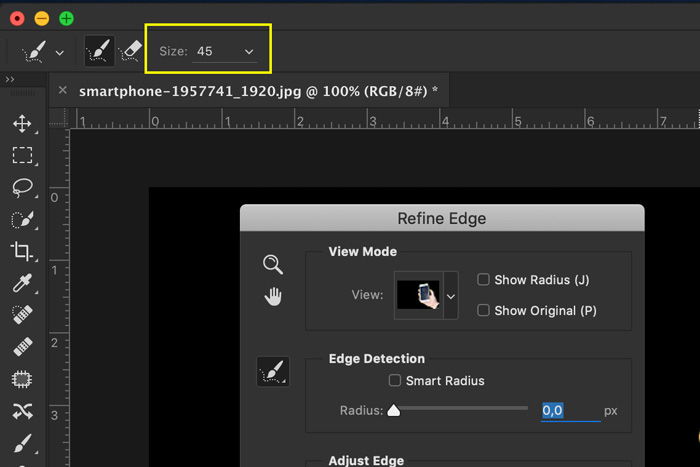
Paint over the edges of the selection and Photoshop will adjust the selection. This is useful when selecting hair, leaves, or fur.
Photoshop will use the contrast between foreground and background to fine-tune the selection.
Repeat Step 4 of the previous example to remove the background.
Next, we have the Background Eraser tool. It works best with a clean background.
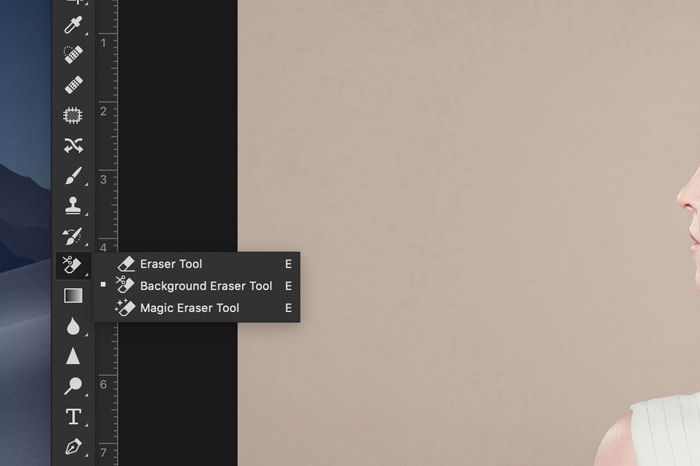
Select the Background Eraser tool from the toolbar on the left. Usually, it’s hidden behind the Eraser tool. Just click and hold the Eraser tool to reveal it.
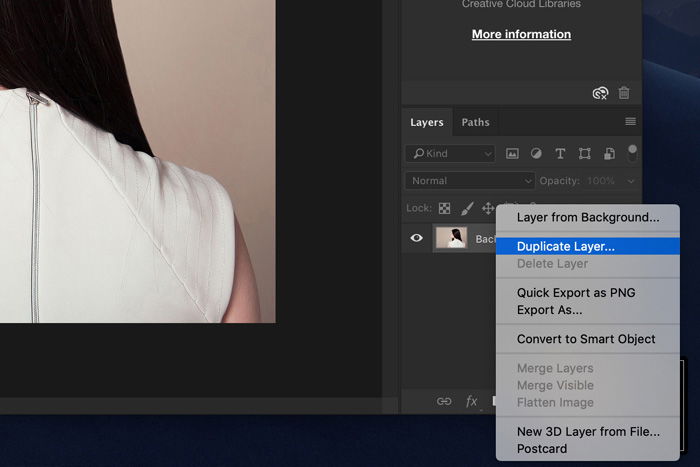
Duplicate the Background Layer. Make the bottom layer invisible by clicking on the “Eye” icon.
In the tool options bar at the top, select a round, hard brush. The size will depend on what you want to select.
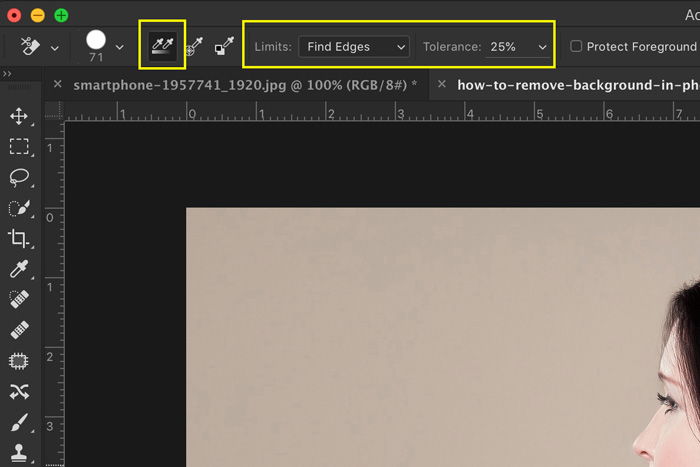
Set the Sampling to Continuous and the Limits to Find Edges. Tolerance should be around 25% to start with.
A low tolerance limits the range of tones Photoshop will automatically select. A high tolerance does the opposite.
Start erasing the background. It will automatically detect edges of objects that are not the background. For more difficult areas, it’s better to set a smaller brush size.

The Background Eraser tool is great but it’s not perfect. Sometimes subject and background will share the same colors and tone values. You’ll need to manually select those areas.
The best way is to select the bottom layer and hit the “Add a mask” button in the Layers panel.
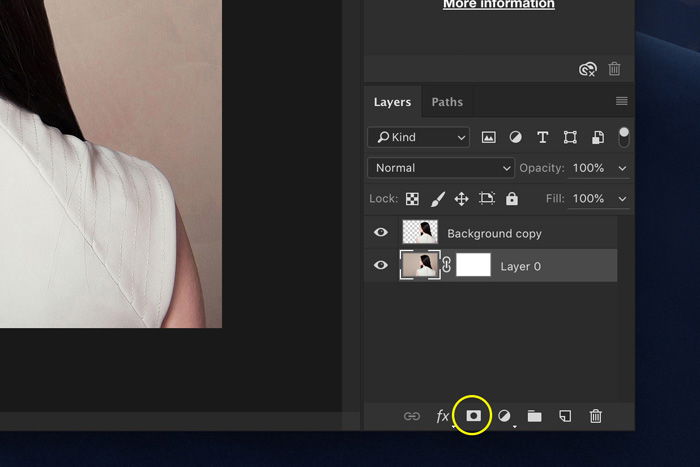
Fill the layer mask with black. To do this, just select the Paint Bucket tool, set it to black and click anywhere in your photo while the mask thumbnail is selected.
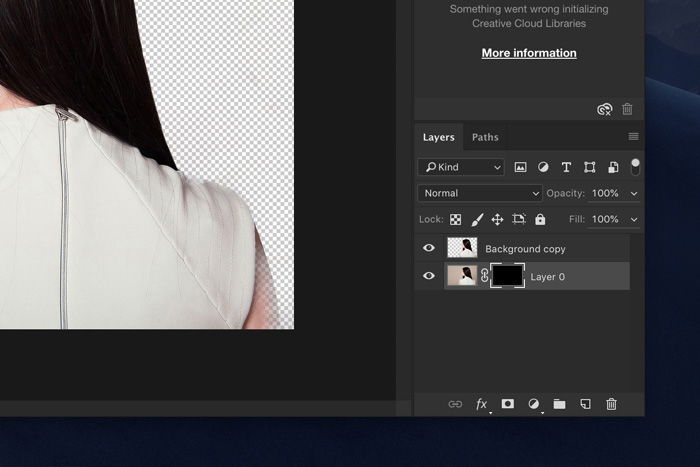
Now, use the Paint Brush and set it to either black or white. Black will erase areas, white will reveal areas.
Again, make sure the mask thumbnail is selected and start painting in your photo. This way you can manually fine-tune those areas that need some extra work.
An easy way to make a transparent background is to use the Background Eraser tool. Select the tool from the toolbar and start erasing. Photoshop will instantly show a transparent background.
To create a transparent background you need to unlock the background layer. Double-click on it and hit “OK”. Now start erasing parts and you’ll see a transparent background.
Here are two options. Make a selection of the background and simply hit the Delete button. The background will disappear.
You can also add a layer mask instead of deleting the background. This way, you can always reveal the background again.
You can find the Background Eraser tool under the Eraser tool. Just click and hold on the Eraser tool, this will reveal all the other Eraser tools.
There are many ways to remove backgrounds in Photoshop. It all depends on what photo you’re working with and how perfect the selection needs to be.
In any case, all the tools Photoshop offers need practice. Use easy photos to start with. Photos with clean backgrounds and a lot of contrast between fore- and background.
Soon you’ll be erasing backgrounds from all kinds of photos.
