A vanishing point in photography is a point in an image where all the parallel lines seem to meet. This can be used for great effect in photography, creating a feeling of depth and space. Here are three tips on how to use a vanishing point for better composition in your photos.
Understanding Vanishing Point in Photography
A vanishing point is a compositional tool that originates from paintings. It is an excellent way to give depth to a scene. In fact, the vanishing point can add a three-dimensional feel to a two-dimensional photograph or painting.
It is also a fantastic way to guide the viewer’s eyes to an important element in the frame.
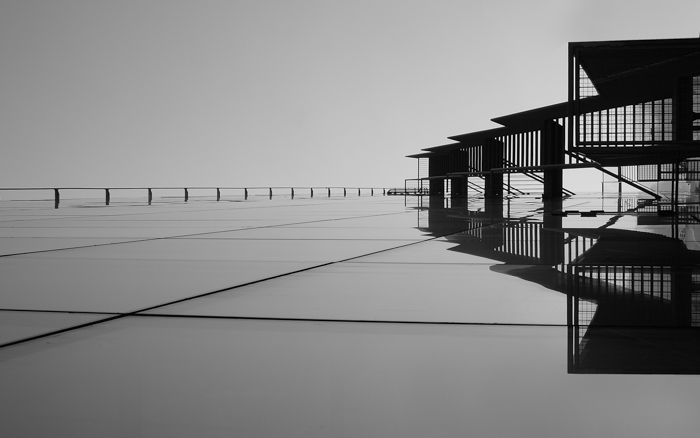
The vanishing point is a point in the image where parallel lines appear to converge in the distance. Think about standing on a long bridge with railings. When you look into the distance, it seems like the railings meet on the horizon.
This optical illusion happens because things look smaller and smaller as they get further away until they seem like a single point. It is often referred to as a single-point or one-point perspective.
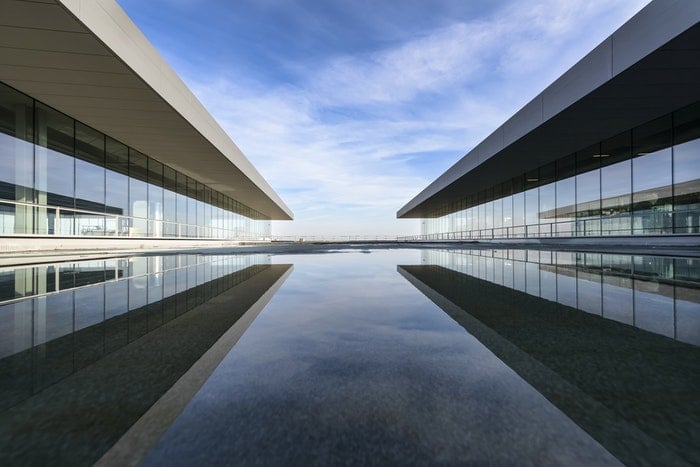
The distance between the two parallel lines that start in the foreground gets smaller too. This causes the impression of converging lines.

Photo by Pok Rie from Pexels
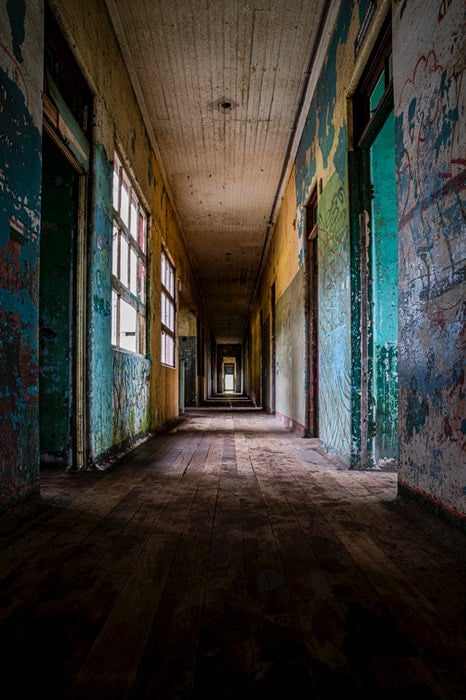
The vanishing point can also add mystery and symbolism to your images. A path or road that disappears in the distance can symbolise a journey with an unknown end. A tunnel with the light at the end can mean hope or even death.
Vanishing points are also great to emphasise the size of a landscape or cityscape. You can use them to add a sense of scale or even exaggerate sizes of objects.
The vanishing point is a strong compositional tool. It can change the mood and the meaning of your image.

How to Capture the Vanishing Point in Photography
To use the vanishing point effectively, you will need a large depth-of-field to keep every element sharp. Depending on the lens and the scene, an aperture around f11 or f16 should work well.
You also have to pay attention to where you place your focus. To make the most of one-point perspective images, you need to keep both the foreground and the background in focus.
The best way to achieve this is to use hyperfocal distance for your photos. Hyperfocal distance is the closest focusing distance where elements at 'infinity' still have acceptable sharpness.
To learn more about hyperfocal distance, check out this detailed article on the topic.
1. Look for Parallel and Leading Lines to Find the Vanishing Point
Start with scenes that have obvious parallel or leading lines to find the vanishing point. Bridges, train tracks and rows of trees are excellent starting points. You won’t have a hard time looking for the point where the lines converge.
Landscape, architecture and street photography are the best fields to use vanishing points. Natural and man-made scenes often provide the perfect opportunity to look for the vanishing point.
An image can have more than one vanishing point. For example, if you photograph a corner of a building, you can end up with two lines leading to different vanishing points.

Dora Jokkel
2. Use a Wide-Angle Lens to Exaggerate the Distance
Once you are familiar with finding the vanishing point in a scene, you can also exaggerate the distance to add more drama to your image.
Use a wide-angle lens that makes closer subjects appear even bigger. Meanwhile, the subjects in the distance will look smaller and seem like they are farther away.
Make sure that the leading lines start in the near foreground. This way, you can maximise the effect of the wide-angle lens.
If you don’t like the results you get, you can always zoom in a bit more to create a less dramatic perspective.

3. Shoot From a Lower Camera Height to Increase the Level of Convergence
You can also change the level of convergence by shooting from a lower camera height. The lower you go, the greater the level of convergence.
Make sure not to go too low, though. If you shoot from a worm’s eye view, crucial elements might merge as you change perspective.
Experiment with camera height and make sure you keep important objects separated from each other.
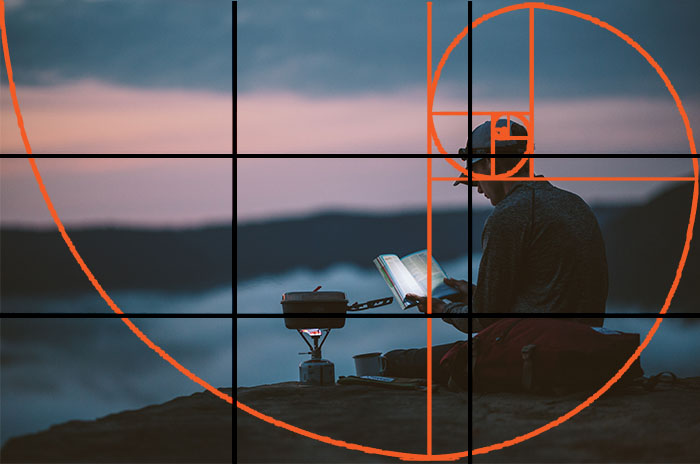
4. Apply the Rule of Thirds to Position Your Vanishing Point
Are you ready to take your vanishing point photography to the next level? Combine it with the rule of thirds for a better composition.
Imagine dividing your frame into thirds by two horizontal and two vertical lines. The intersections of these lines are the points of interest where you would place your subject.
Instead of placing your subject in the intersections, position your vanishing point there. This way, you can make your image even more exciting and visually pleasing.
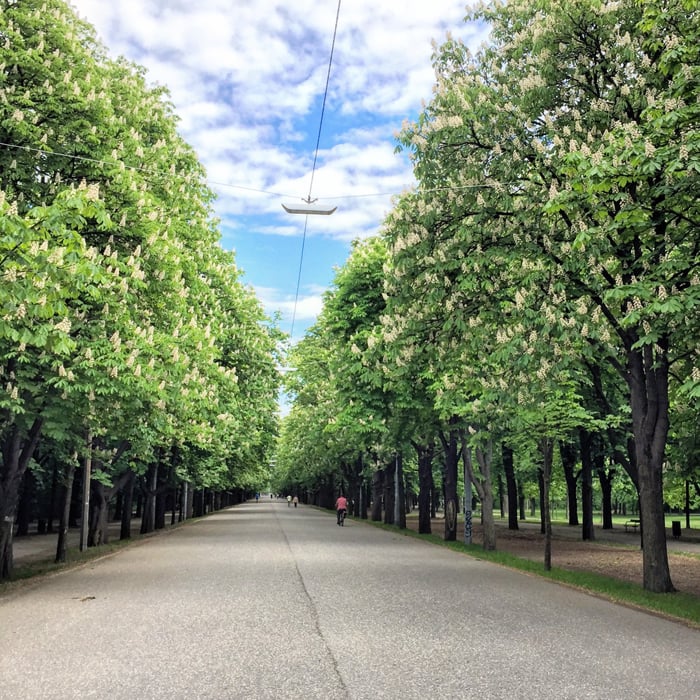
Dora Jokkel
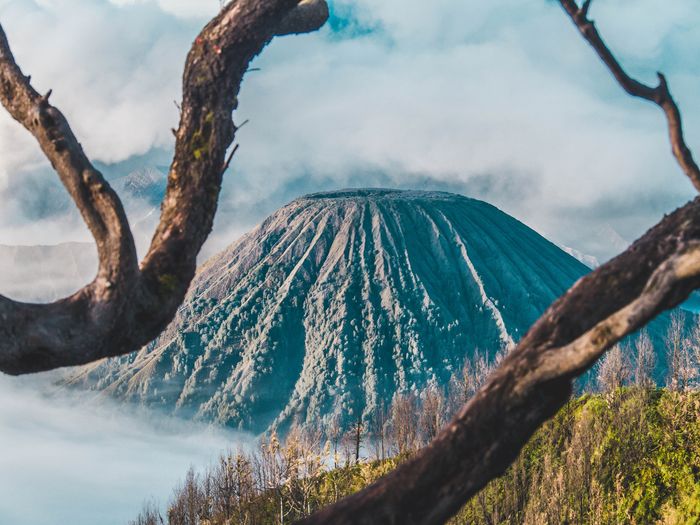
5. Use the Vanishing Point to Emphasise a Subject
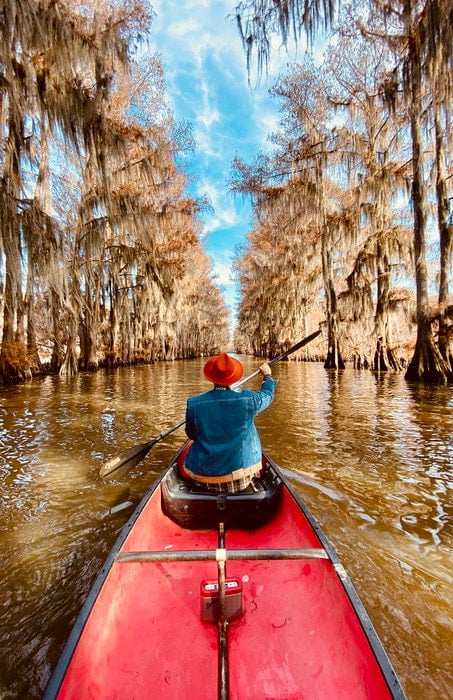
You can also place your subjects in front of the vanishing points. This is a strong tool to highlight your subject. The converging lines will act like arrows, guiding the viewer to the subject.
Covering the vanishing point with your subject might create tension in your image. Instead of looking into infinity where the vanishing point appears, our eye is directed to the subject. This way, you can empower your subject.
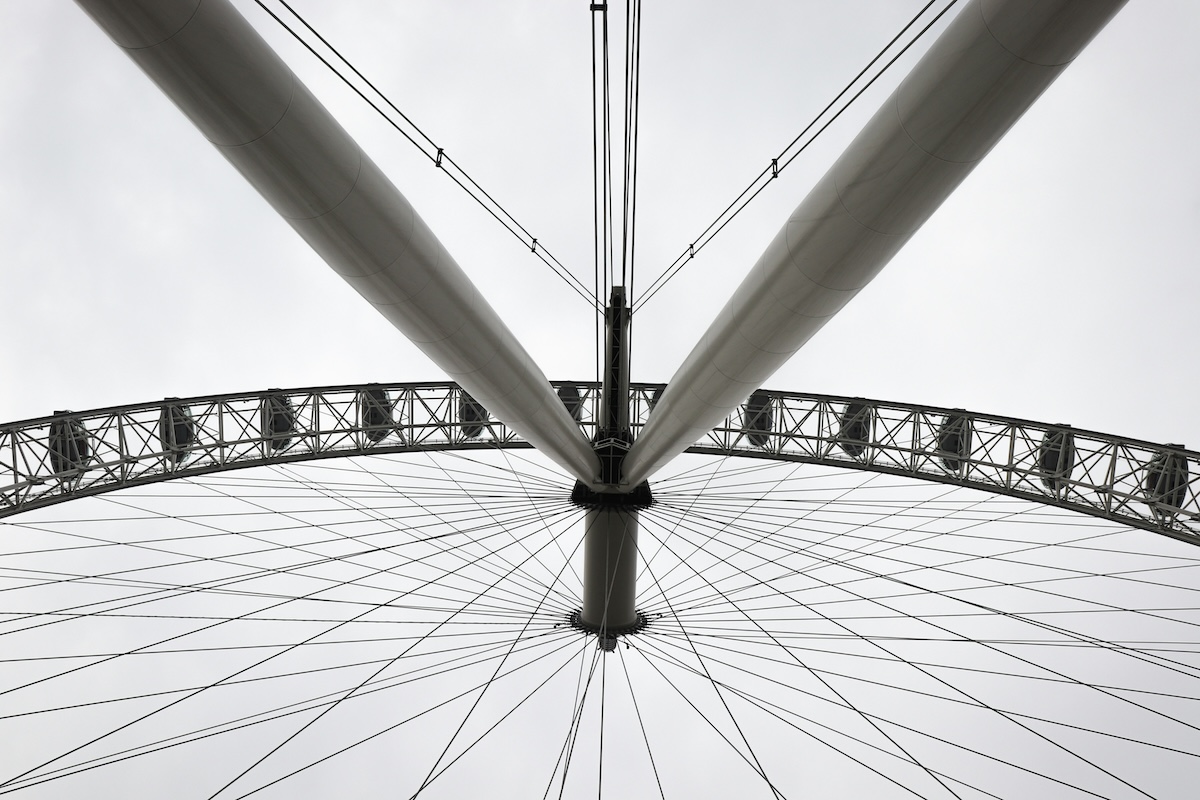
6. Turn Your Camera Sideways to Get a Vertical Vanishing Point
You don’t have to limit yourself to horizontal formats when using a single-point perspective in your photography. If the scene allows it, you can turn your camera on its side and shoot a vertical image.
This works well in architectural photography, especially when capturing tall buildings. Skyscrapers or towers become your leading lines, and the sky appears as the vanishing point where they converge.

Conclusion
Using vanishing points changes the perspective of your photos. It can alter their meaning and add drama to the images.
It is not the easiest compositional tool, but you can master it with time and practice. Start by looking for noticeable parallel lines in nature and in architecture.
Soon, you will notice vanishing points in less obvious settings as well.
You can find more ways to improve your photography with Photography Unlocked!