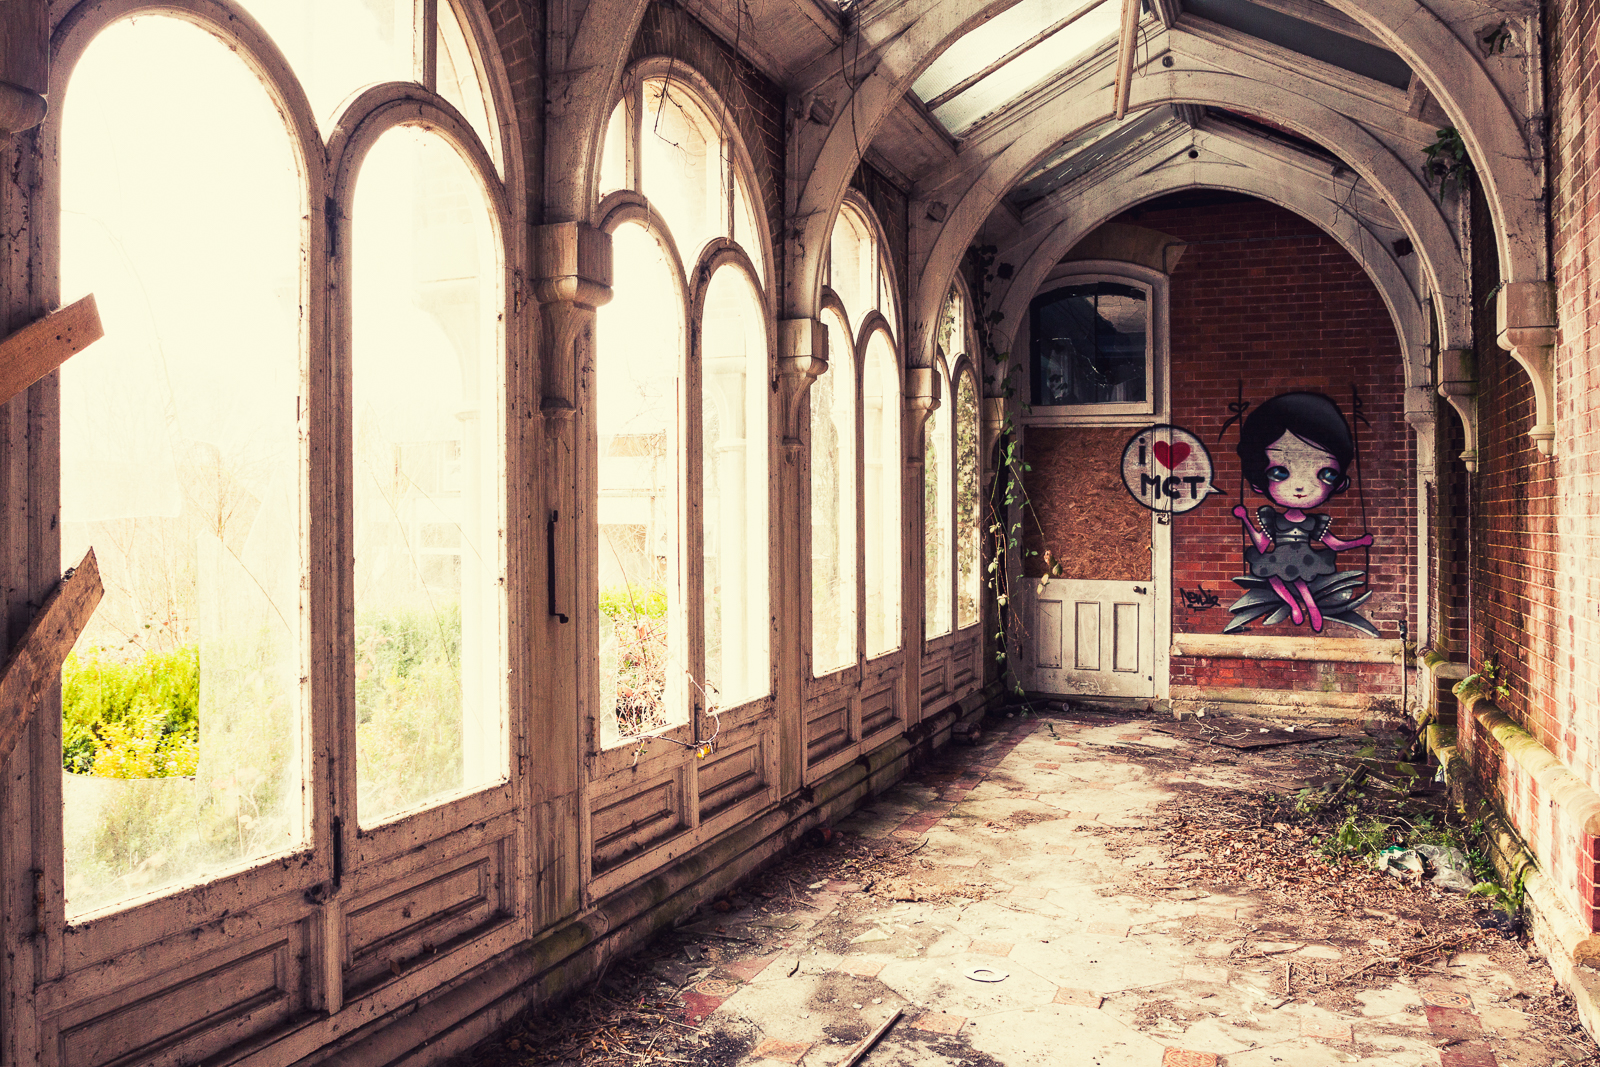
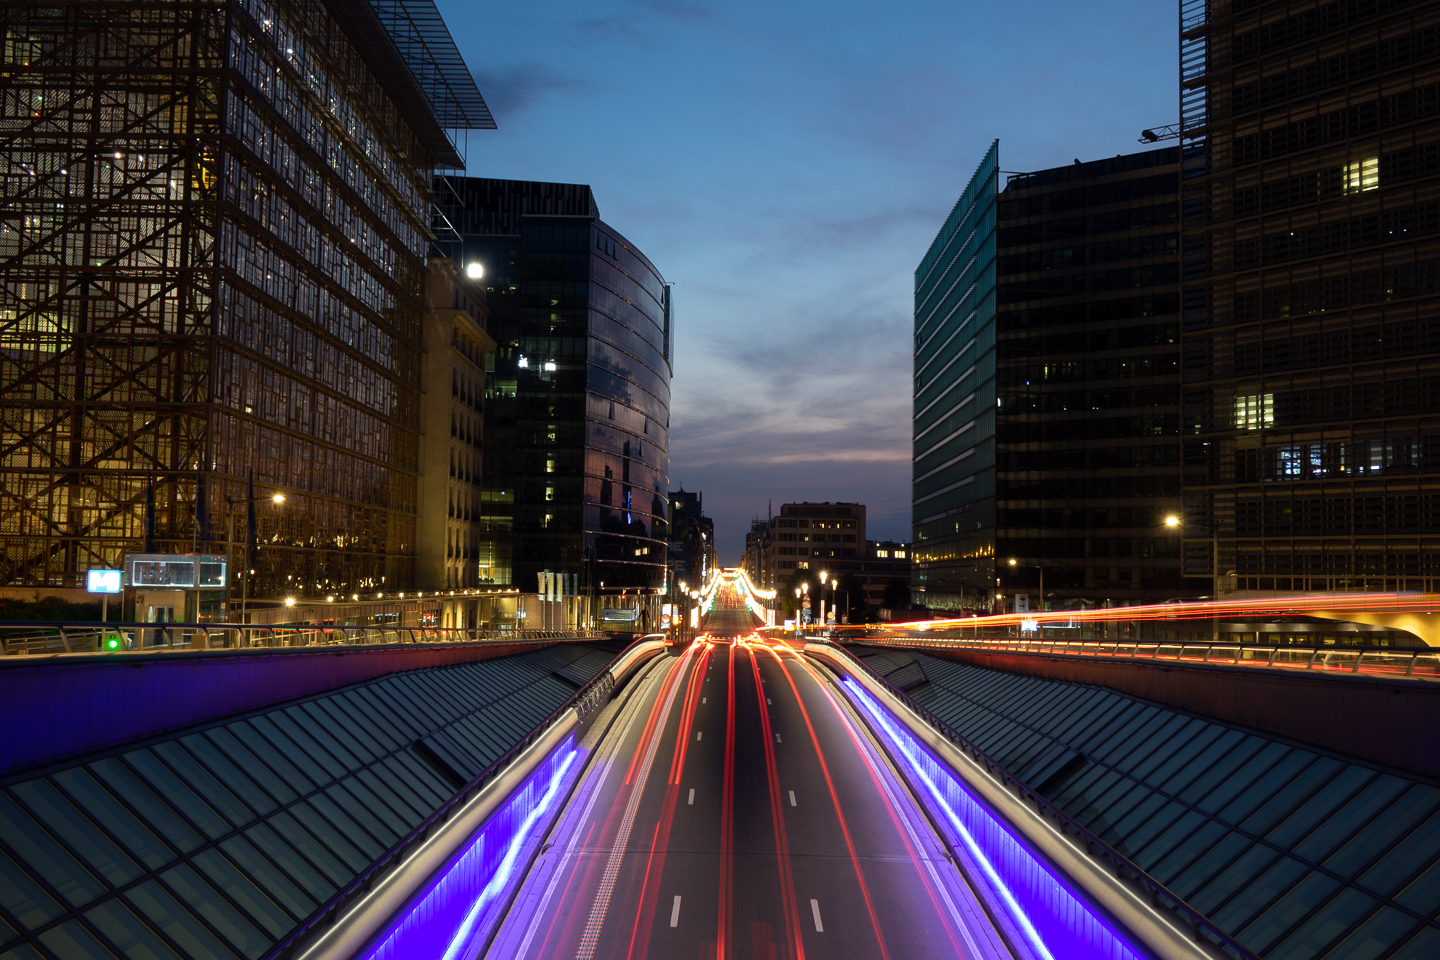
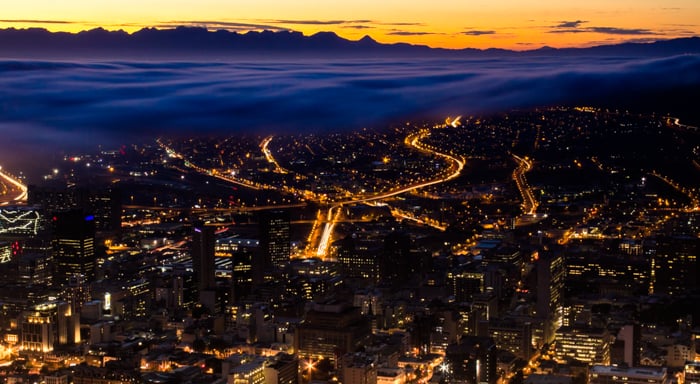
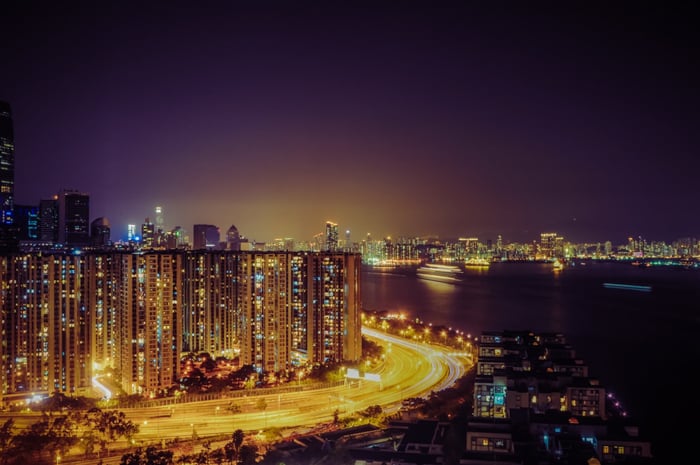
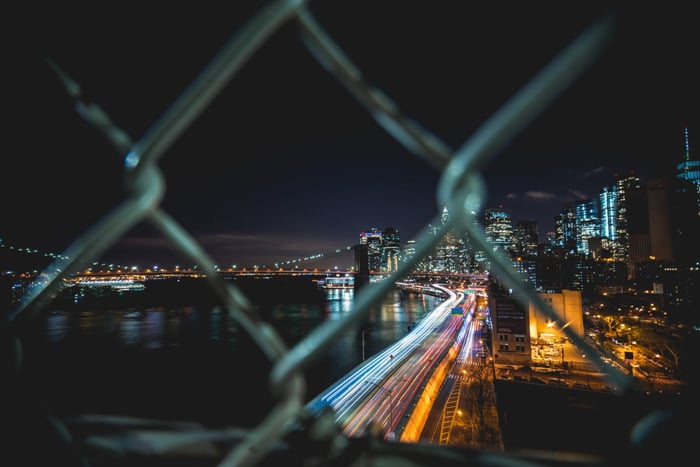
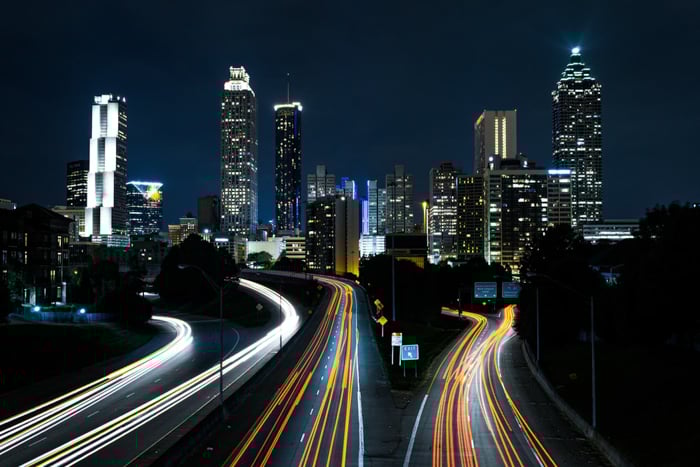
Few things in life are as mesmerizing as a long exposure night photography photo. The ethereal beauty of a cityscape or landscape, bathed in the soft light of the moon and stars, can be captivating. But capturing such photos can be tricky, especially if you're new to photography
Here are a few tips to help you get started: first, find a location that offers interesting subjects and good lighting. Next, set up your camera on a tripod and compose your shot. Finally, adjust your settings according to the type of photo you want to capture. For example, if you want to create motion blur, use a slow shutter speed; if you want to capture star trails, use a long exposure time
With some practice and these simple tips, you too can create stunning long exposure night photography photos!
Tips for Long Exposure Night Photography: Bring the Essentials
You don't need a lot of gear to start taking night photography. But the ones we mention on this list are essential to help you capture your shots effectively.
Fast lens
You can use any type of lens when shooting night cityscape shots. But it would help a lot if you choose a lens that has an aperture of at least f/1.2 or f/1.8. Any lens with these wide aperture settings is called a fast lens because they let more light in and create exposures quicker.
Tripod
You can't shoot handheld at night if you want crisp and clean images. Your camera's aperture has to stay open for a long time to gather enough light for exposure. So any movement may cause motion blur and ruin your images. But placing your camera on a tripod will keep your camera stable and allow it to capture sharp photos.
Remote Trigger
Setting your camera on a tripod isn't enough to ensure you eliminate motion blur. Something as simple as pressing the shutter can shake the camera and make your photos blurry. The best solution is to not hold the camera at all and use a remote to trigger the shutter, instead.
Choose the Best Time to Go
Before you head out, ask yourself what type of image you'd like to create because that will dictate when you should get to your location. Do you want the setting sun in the background or do you prefer pitch-black sky?
If you want some sunrise or sunset images, you'll need to reach your location at least 45 minutes before the sun rises or sets. To make sure you don't miss anything, check your local forecast to figure out what time you need to head out.
For instance, if the sun rises at 6:50 am, then you need to be there at least 5;55am. That way, you have time to set up your equipment. 45 minutes may seem plenty of time, but you'll be surprised how fast the sun moves. So to be safe, just prepare for it or you might have to wait another day to do it.
If you want to shoot when the sky is pitch black, you'll have more time to prepare your equipment and take as many shots as you want. As soon as the sun has completely set, you have at least 8 to 10 hours to take pictures.
Of course, the sun sets at different times around the world, so make sure you check what time the sun usually sets in your area. To be safe, you can wait an hour or two after the sun has disappeared before you head out. Even when you think the sun has gone down, your camera might still capture faint light from the horizon when you create long exposure shots.
Shoot With a High ISO
ISO determines the sensitivity of your camera sensor to light. ISO 100 is often the lowest value and is perfect for daylight shooting because it lets in the least light. Most cameras these days have ISOs that can go up to ISO 51,000 or more for shooting in dim situations such as night cityscapes.
But the problem with using a high ISO such as 51,000 is that it causes grainy photos. So you need to choose a value that's between 800 to 3,200. Why? This is the range where most cameras perform well in low light situations without producing distracting image noise.
In theory, you can also use ISO 100 if you want to keep the noise to a minimum. But in reality, such a low setting simply won't let enough light in. As a result, you may end up with either pitch black images or blurry light trails caused by unnecessarily long exposures due to using a low ISO.
Use Live View to Focus Your Subject
Achieving focus when shooting cityscapes at night can be tricky. Since it's so dark, your camera will have a difficult time finding a focusing point.
To make things easier for you, turn on your Live View and pump up your ISO so you can see everything on the screen. Pick a bright light and zoom in on it (not the lens but the screen). Next, switch your lens to manual and adjust it manually until that light becomes sharp.
Once you achieve focus, zoom out of your screen and switch your ISO to the level you want. Now all you have to do is press the shutter, and that’s it!
Compose Your Frame Before Clicking the Shutter
How do you compose your frame when you're shooting a night skyline? It's a tricky question, especially if you've never done landscape photography before.
The first step to answering this question is to figure out which part of the skyline you'd like to be your main point of interest. Is it the tallest building in your frame, or a statue in the middle of the park?
Once you find your main point of interest, you'll need to know where to place it in the frame. And to help you figure out that part, you should turn on your camera screen's grid.
The grid divides the screen into 9 squares. All you have to do is to place your main subject in the areas where any of those lines of those squares intersect. It's that easy!
The principle behind the grid is called the Rule of Thirds. Apart from landscapes, you can apply it to everything else from portraiture to still life photography. So always keep it in mind whenever you have your camera with you.
Set Your Camera to Aperture Priority
When photographing landscapes at night, you'll need to open up your aperture to let in as much light as possible. So if your lens has a maximum aperture of f/1.8, then it would be best to make sure you set it to f/1.8 also.
In normal situations, f/1.8 produces a shallow depth of field that blurs the background. But that bokeh disappears if your subject is several meters away from you. In other words, if you take photos of buildings or anything else in the distance, you'll have a sharp image even with a wide aperture.
Since you already know to set your aperture to the widest setting, the easiest shooting mode to use is the Aperture Priority mode. Since the aperture is already set, using Aperture Priority mode allows your camera to choose the shutter speed for you.
Even when you're using the widest aperture, expect your shutter speed to be at least a few seconds long. Since it's dark, long exposures will be necessary to create a decent exposure. So make sure you keep your camera on your tripod before you press that shutter.
Try the 300/500 Rule when Using Manual Mode
Don't trust using Aperture Priority? Then go fully manual and use the 300/500 Rule to nail your exposures.
So what's the 300/500 Rule? It's easy. If you have a full-sensor camera, all you have to do is to divide 500 by your camera lens' focal length. For instance, if you're using a 24mm lens, divide it by 500, and you'll get 20 seconds.
If you have a crop sensor camera, then you'll need to use 300 instead of 500. So if you have a 24mm lens, you'll need to expose your image for only 12 seconds. So why is the time shorter? The reason is that your camera's sensor has a smaller surface area than a full frame sensor. Therefore, it takes less time to create a photo.
To be clear, the time difference between a full frame sensor and a crop sensor doesn't change the quality of the image. It's just a matter of physical difference between the sizes of the sensors.
Bracket Your Shots for Correct Exposure
Now, what if you can't seem to get your exposure correctly no matter what mode you're using? You'll encounter this issue a lot when you're doing night photography.
So how do you tackle this problem? The simple answer is bracketing. This technique involves taking photos of one scene with different exposure levels. That way, you now have a choice of which exposure best matches what your eyes see.
Every camera has a bracketing function. All you have to do is turn it on and set how many frames you'd like to shoot. In most situations, 3 to 5 frames are enough to help you nail the exposure you want.
Once you activate bracketing, press the shutter, and your camera will do the bracketing automatically for you. If you did it correctly, you should see 3 to 5 frames that have different exposure levels. Expect some to be overexposed and some underexposed. But there should at least be one image that has the correct exposure.
Consider Applying HDR for More Detail
Are the cityscapes you took feeling too flat or blown out? You can bring out the details by using HDR (High Dynamic Range). This technique combines multiple images to create one photo that has the right amount of highlights and shadows.
To create an HDR on Lightroom, you'll need to load all of your bracket shots together. In Develop, select all the frames and right-click. Now go to Photo Merge and click HDR. Once you select it, the program will automatically merge the pictures to create an HDR photo.
In case you see some double exposures in your image, go to Deghost Amount and choose between Low, Medium, and High.
Once your HDR image is ready, feel free to edit it in Lightroom even more. Tweak the Exposure Settings as well as the Curves to bring out the details and the colors of your cityscape even more.

Conclusion
Shooting night cityscapes is challenging. Even with all these night photography tricks and tips, you're bound to make mistakes during your first few photoshoots at night.
Keep practising and learning from your mistakes. Once you polish those techniques, nothing will stop you from taking stunning night city and landscape shots.