Aperture priority mode can help you take eye-catching photos without controlling your settings all the time.
It can be a great time-saving tool for both photography beginners and professionals.
But what exactly is aperture priority mode and when should you use it?
What Is Aperture Priority Mode?
You can find aperture priority on your camera mode dial. It’s usually symbolised by the letters A or Av.
When you switch to this mode, you can control your aperture, ISO, and white balance. Your camera will change the shutter speed every time the light changes. You can’t manually adjust your shutter speed in this mode.
What Is Aperture?
Your aperture determines how blurred or detailed your backgrounds will look. A large aperture, such as f/1.4, will make your background look very soft. It’s also great for shooting in low light. A small aperture, such as f/22, will capture more details in your background.
Aperture is a great way to experiment with deep and shallow depth of field. It comes with many additional benefits that can make your photography stand out.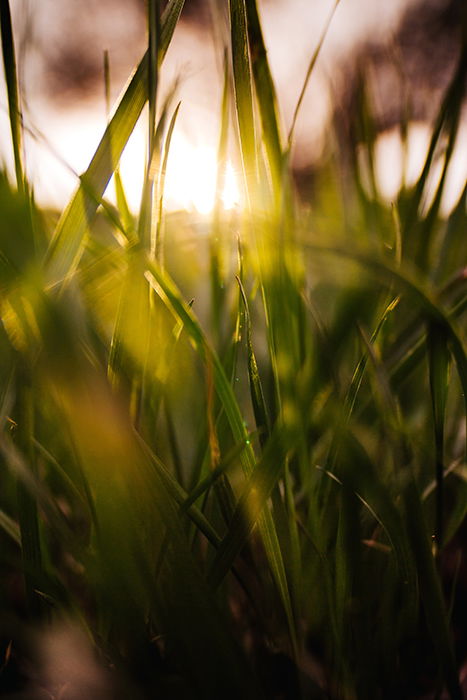
The Difference Between Aperture Priority Mode and Manual Mode
Many photographers use manual mode to have full control over their camera settings. It’s something you should familiarise yourself with as you learn more about photography. But it’s not a mode you need to use all the time.
Having full control over your settings can be time-consuming. You need to be aware of exposure compensation, ISO, shutter speed, and so on.
When you switch to aperture priority mode, you let the camera do most of the work for you. All you need to do is select an aperture. You can also manually change your ISO, but this isn’t necessary. Your camera will automatically decide what shutter speed is suitable for a given situation.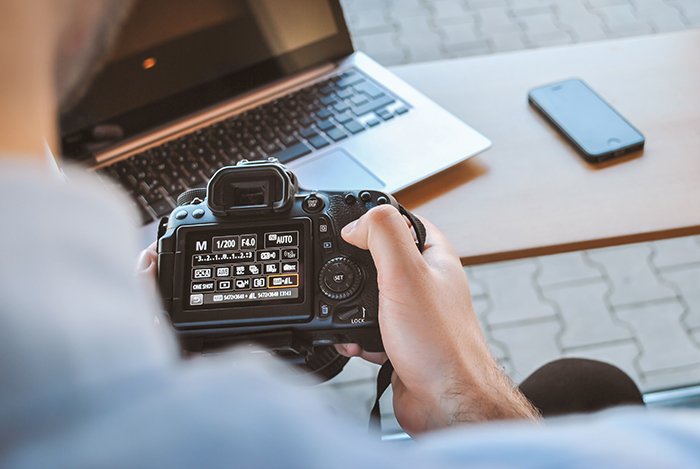
Avoid Automatic Mode for More Control
When you use the automatic mode, you let the camera do all of the work for you. No matter where you are, your camera will try to find the best settings for you to take beautiful pictures.
The downside of using automatic mode is that it doesn’t give you any control over your pictures. You can’t control how sharp or blurred your images are.
This is a great way to take decent photos in any lighting situation. But it’s not the best option for photographers who want to have at least some control over their settings.
Aperture is something that many photographers prioritise in their work. Some people want their backgrounds to have a specific amount of blur. Others want to capture as much detail as possible. Aperture priority mode is perfect for you if you fit into this category of photographers.
When Should You Use Aperture Priority Mode?
Using this mode all the time may not be a good idea. If you use it in the right situations, you can significantly improve your photography.
Here are a few instances in which you can make the most of it.
To Achieve a Fixed Depth of Field
A fixed aperture means a fixed depth of field. This means consistent photos, which can be very important in some photoshoots.
Let’s say you’re a portrait photographer who regularly uses an aperture of f/5.6. You want to take as many decent photos as possible on a cloudy day. The lighting is inconsistent, so you have to adjust your settings regularly. This can be a big obstacle.
Instead of doing that, you can switch to aperture priority mode, select your desired aperture, and take as many photos as you like. Your camera will make sure that your shutter speed and ISO are properly adjusted.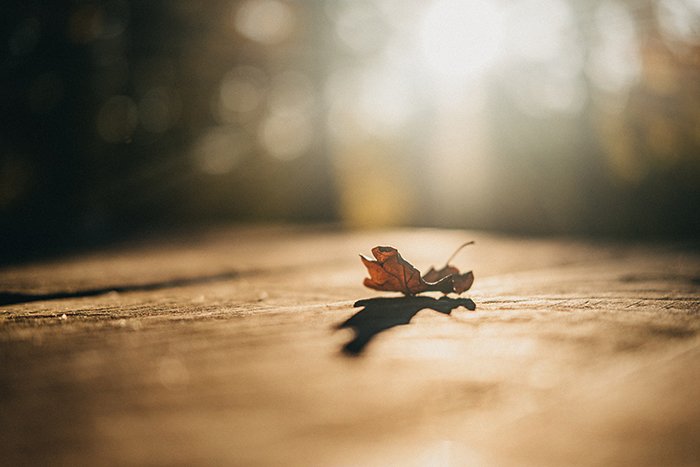
To Get Better at Changing Aperture as a Beginner
As a beginner, you might find manual mode overwhelming. Constantly switching to different shutter speeds, apertures, and ISO values can be stressful.
Aperture priority mode is an upgrade from automatic mode. It can help you get ready for manual mode and introduce you to different aperture settings at the same time.
When You Want to Experiment With Different Apertures
You might be a beginner photographer who wants to figure out how aperture works. You might also be a professional who wants to get better at adapting to different kinds of apertures.
You can achieve this quickly with aperture priority mode. Instead of worrying about shutter speed or ISO, you can quickly go through each aperture to find your favourite one. You’ll get decent photos as you do this, which is always a plus!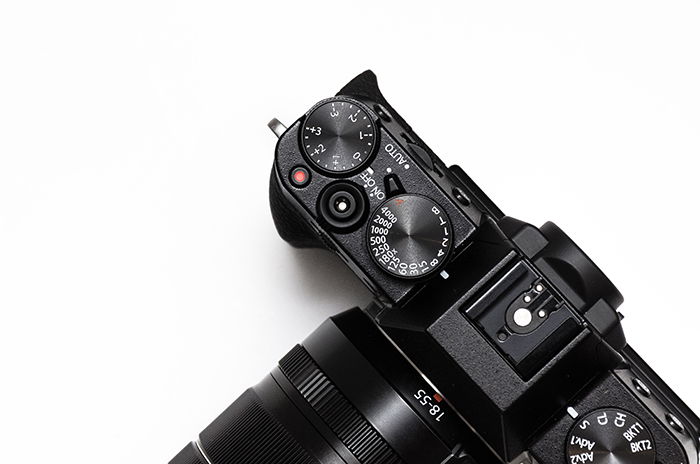
How to Use Aperture Priority Mode
1. Switch to Aperture Priority Mode
Different cameras have different buttons for aperture priority mode. Look for a symbol that represents this mode. It should say something like A or Av.
On the Canon 5D Mark II, you just need to turn the mode dial. Your camera should have a similar feature.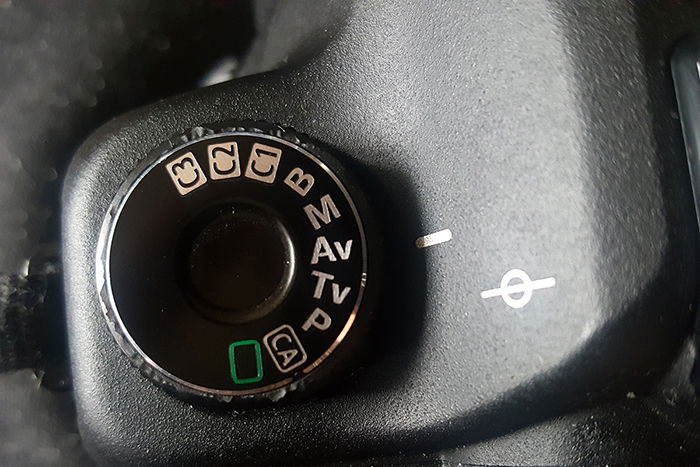
2. Choose Between Manual or Automatic ISO
This important step can save you a lot of editing time. If it’s not very bright outdoors, or if you’re shooting indoors, you might want to use a manual ISO.
ISO can help you compensate for a fast shutter speed or a small aperture. Too much ISO can make your pictures look grainy. It’s possible to remove grain in an editing program, but this can take some time if you have hundreds of images.
If you have some extra time on your hands, select an ISO manually. Automatic ISO is great for experimentation, but it might not be your best friend if you have a specific vision in mind.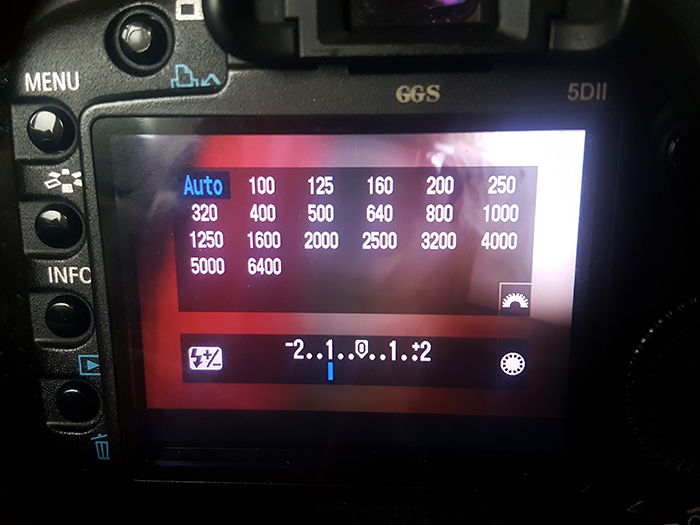
3. Change the Value of Your Aperture
Aperture priority mode makes it very easy to change your aperture setting. On the Canon 5D Mark II, all you need to do is turn the little gear right above the ISO button.
You’ll notice that your camera will change the shutter speed as you change your aperture. It will also automatically change the shutter speed when the light changes.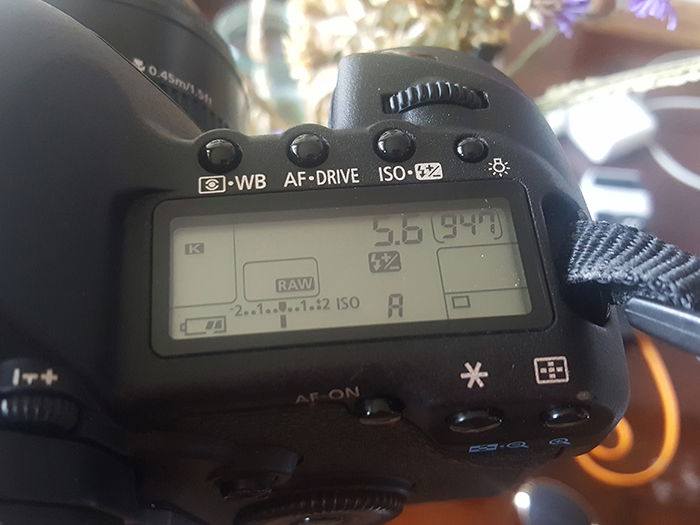
4. Focus on Your Subject and Take a Few Test Photos
You don’t need to overthink this step. Just choose a subject and take a few test photos.
I started out with a relatively large aperture, but it wasn’t large enough for my desired style. To achieve a dreamier look, I changed my aperture to f/1.8.
There’s really no specific rule for this. The aperture you choose depends on your subject and your style.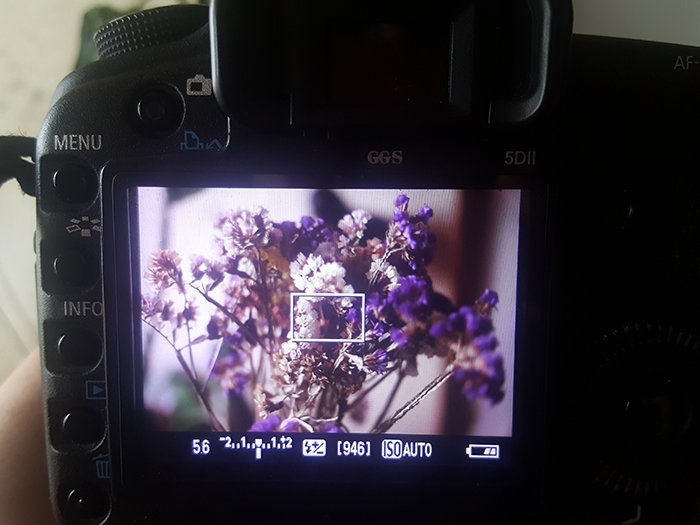
5. Experiment With Different Apertures
Even if you like your results, experiment with different apertures. You might find an even better option. If not, at least you’ll figure out what aperture values you’d rather stay away from.
This is especially important for beginner photographers. The more apertures you experiment with, the more variety of pictures you’ll have in your portfolio.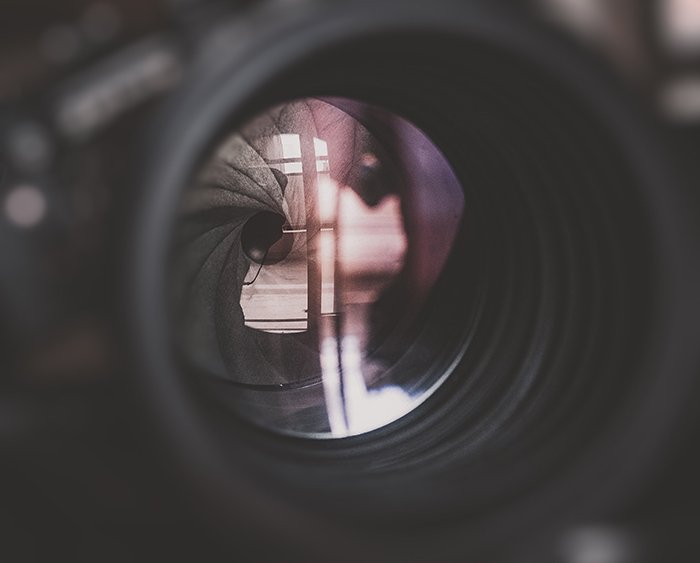
Common Aperture Priority Mode Questions
Do Professional Photographers Use Aperture Priority?
Yes. Many professional portrait and landscape photographers use aperture priority. This is also a great mode for beginner photographers in any genre.
Which Is Better Aperture Priority or Shutter Priority?
Aperture priority keeps your aperture fixed and changes your shutter speed. This is great for those who want to have the same depth of field in their pictures. Shutter priority keeps your shutter speed fixed and changes everything else. This is ideal for action photography.

Conclusion
Using aperture priority mode can help you take better photos without stressing you out. All you need to do is adjust your aperture and ISO. Your camera will experiment with different shutter speeds for you.
This mode is perfect for beginners, portrait photographers, and landscape photographers. It’s ideal for you if you want to achieve a fixed depth of field without worrying about shutter speeds all the time.
If you’re looking for more beginner guidance, look no further than our Photography for Beginners course!
