A Milky Way time-lapse is a sequence of photos that document the movement of stars. It is also known as a star time lapse. You can get amazing Milky Way time-lapse results with the right location, settings, and techniques.
Instructions for Shooting a Milky Way Time-Lapse
What You’ll Need
- Camera
- Tripod
- Internal or external intervalometer
- Light pollution app
- Torch
- Snacks, water, and something to keep you entertained during the shoot
Get Enough Sleep Before the Shoot
You’re likely to spend a few hours taking photos of the Milky Way. The longer you want your final video to be, the more you’ll need to shoot outdoors. Since you’ll be shooting in low light conditions, you need to be prepared.
Take a nap during the day so that you don’t doze off during your photoshoot. If possible, bring a friend with you. They might be able to assist you or give you great ideas for your time-lapse. Bring a large torch to help you navigate if it’s very dark in your location.
Milky Way timelapse doesn’t need as much control as a day to night time-lapse. In day to night time-lapses, you have to change your exposure so that your photos look consistent. The light tends to be the same in Milky Way photography, so you don’t need to be as alert.
Because of this, make sure you bring a folding chair to avoid discomfort. Also, don’t forget snacks, water, and something to pass the time.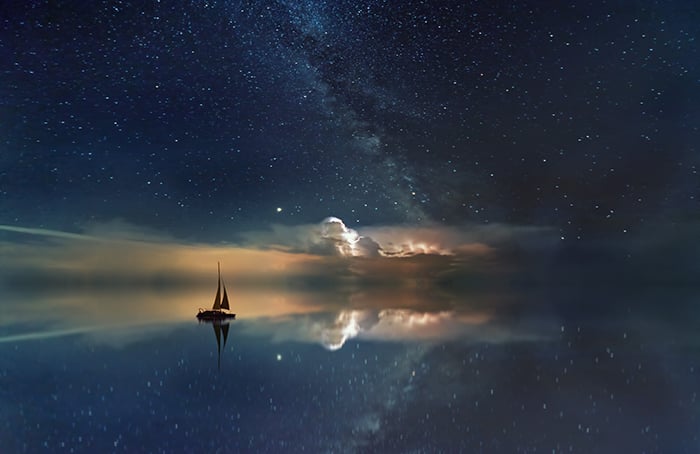
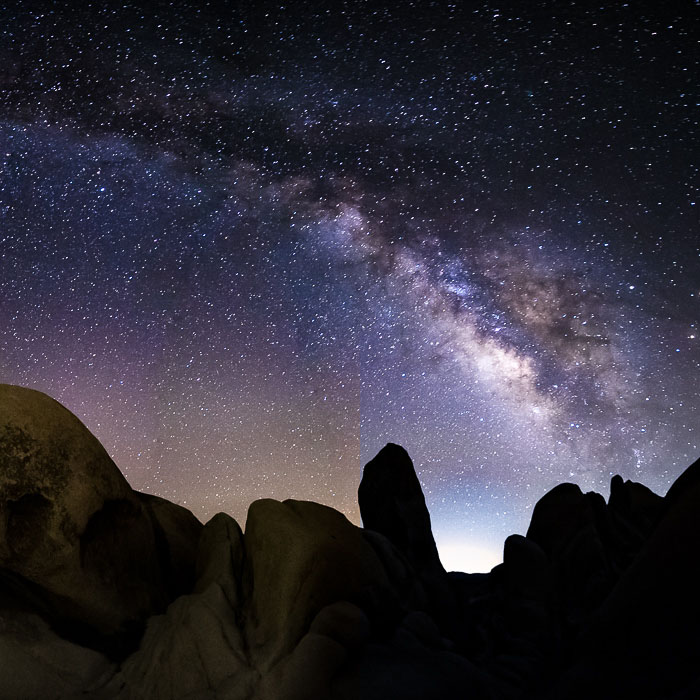
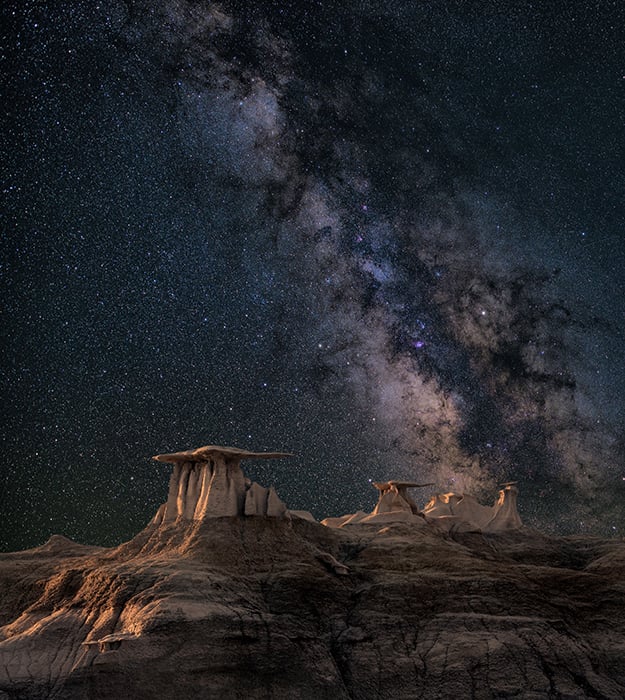
Find the Darkest Location to Capture the Brightest Stars
If you live next to a city, the skies tend to be unclear. This happens because of light pollution, which is a big obstacle to time-lapse photographers.
Luckily, some apps can help you find the darkest location in your area. The darker the site, the more visible the stars will be, and the more vibrant your time-lapse will look. This increases your chances of taking beautiful photos of the Milky Way.
If you’re an Android or iOS user, you can download the Light Pollution Map. The app may also help you find meteor showers, northern lights, and more. You can also use it to track the moon if you want to have more light in your timelapse.
If you want to look at a light pollution map on your computer, you can check Dark Site Finder.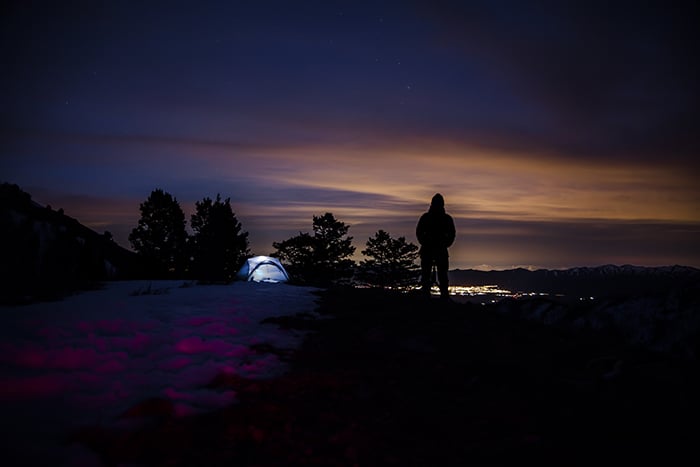
Make Sure the Weather Is Good to Avoid Inconsistent Shots
The advantage of shooting at night is even exposure. You don’t need to worry about changing your settings throughout your photoshoot. The one thing that may get in the way is bad weather, though.
Bad weather can make your photoshoot uncomfortable. It can force you to change your settings or move your equipment. This can result in shaky and unevenly exposed pictures.
Keep track of the weather at least a few days before your photo shoot. You can use an app like BloomSky Weather to have live access to weather reports.
Some weather changes are subtle and inevitable. For example, you might notice dew on your lens if condensation starts to occur. You can avoid this by using a condensation prevention heater.
Accessories can improve your time-lapse experience. They help you avoid a lot of unnecessary stress.
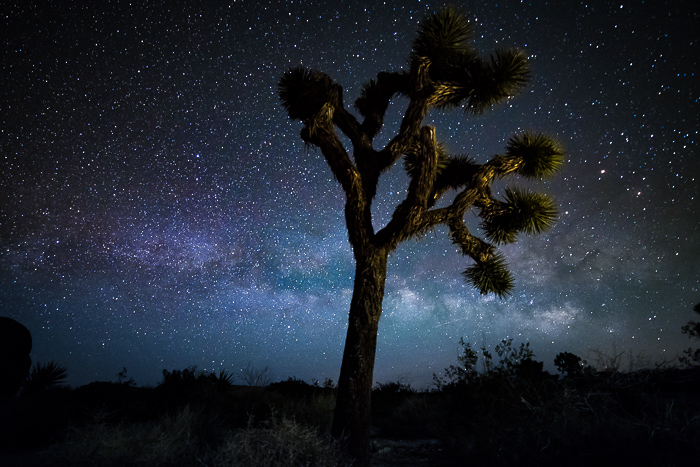
Go to Your Location and Find an Interesting Focal Point
Milky Way time-lapses focus on the sky, but that doesn’t mean you have to photograph the sky only. To make your timelapse look interesting, you need to find a focal point.
The Milky Way is going to be your main focal point, but there should be other elements that complement it. You can include part of a landscape at the bottom of your frame. You can also shoot through objects to create foregrounds.
All of these things can add captivating storytelling elements to your timelapse.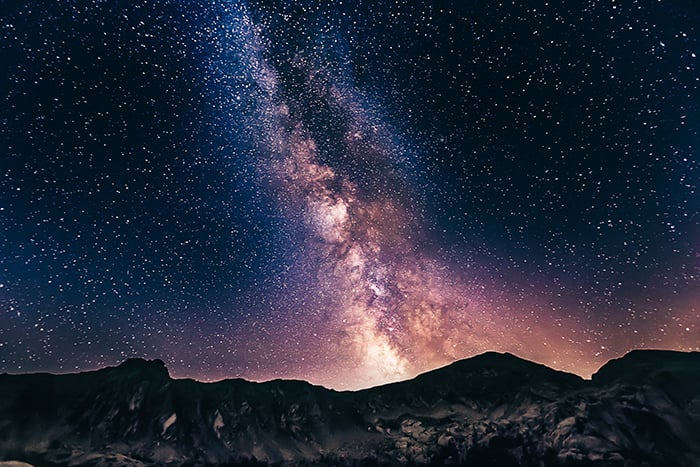
Set an Interval Using an Internal or External Intervalometer
A time-lapse interval determines how often your camera takes pictures. The more photos you take, the smoother the movements in your time-lapse will look.
You don’t always need to use short intervals. Stars don’t move fast, so your interval can be pretty long. It can be anywhere from 15-35 seconds long.
Some cameras, like the Canon 7D, have internal intervalometers. If yours don’t have one, you can buy an external intervalometer that will do the job for you.

Use Manual Mode to Make the Night Sky Look Stunning
You want to make sure that your final results look as professional as possible. To achieve this, you can shoot RAW and switch to Manual mode. Manual mode isn’t necessary, but it will give you more control over your time-lapse photos.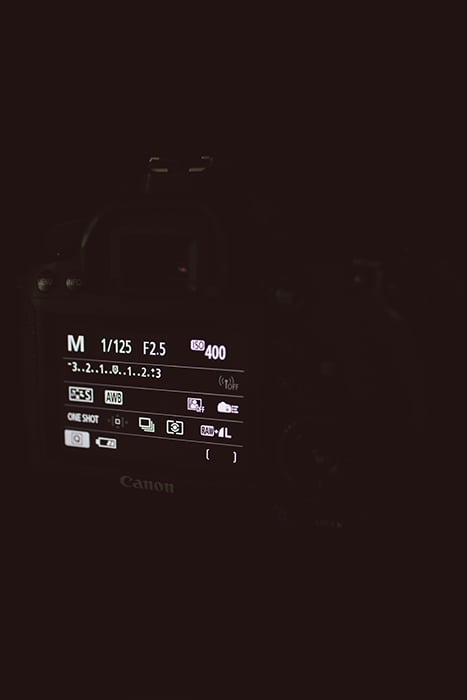
Your shutter speed depends on your creative preferences. Slow shutter speed is ideal for star-trail time-lapses. You’ll get a silky effect that will make the stars look like the ones in this video.
Fast shutter speed will create a result like this one.
Your ISO should be pretty high. Most of today’s cameras can handle a lot of ISO without ruining image quality. However, don’t use the highest ISO as it’s likely to create too much noise.
White balance isn’t too important in nighttime time-lapses. You can change the temperature of your images in an editing program later on.
Make an Impressive Milky Way Time-Lapse With Special Tools
The steps above are the basics of shooting a Milky Way timelapse video. They can help you create impressive time-lapses no matter where you live. If you want to take your star time-lapse to the next level, you can do so using a few special tools.
A motorised camera slider is often used in videos to create smooth movements. You can use it to create time-lapse videos that look like they’re slowly moving in one direction.
A rotating camera base will allow you to take photos from any perspective on the base. This can help you create 360° Milky Way time-lapses.
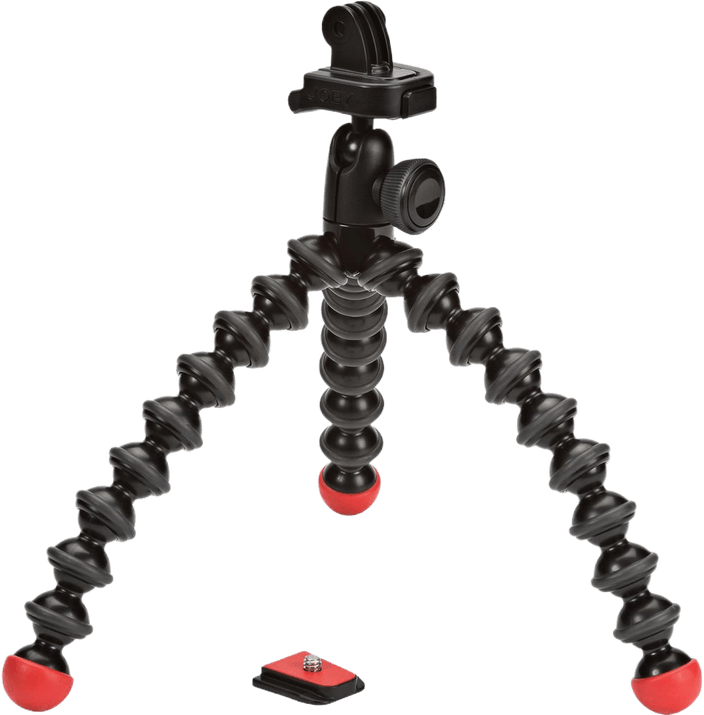
If you want to shoot from unusual angles, you can use a flexible tripod. This can give you access to very unusual perspectives that you wouldn’t be able to shoot from on your own.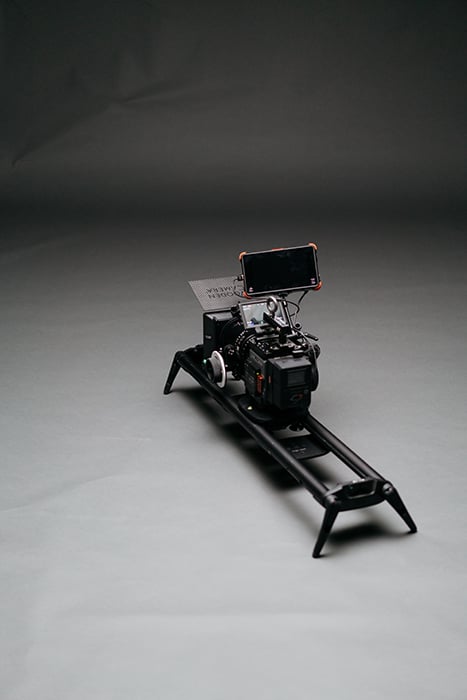
Common Milky Way Time-Lapse Photography Questions
How Do We Photograph the Milky Way?
Use a tripod to keep your Milky Way photos sharp. Take photos in Manual mode and make sure you shoot RAW. You can use a high ISO number to capture more light.
What Is a Night-Lapse Photo?
A night-lapse photo is part of time-lapse photography. Nighttime time-lapse photos are often used to capture the movement of stars. Time-lapse photographers turn these photos into short videos.
Conclusion
The Milky-Way is stunning. It’s the perfect subject for nighttime time-lapse photographers. To make the most of your experience, make sure you use a light pollution app. Don’t forget to bring all the right equipment to your photoshoot.
When you take pictures, pay careful attention to your camera settings. Don’t be afraid of high ISO numbers. You can experiment with a slow shutter speed if you want to create a star trail time-lapse. You can also elevate your Milky Way time-lapse photography by using special tools like motorised camera sliders.
These tricks should help you get closer to becoming an experienced Milky Way timelapse photographer.