Our night sky time-lapse photography guide will teach you how to create a video of the stars dancing across the sky. The night sky is one of the more challenging subjects to master. But the way the stars “move” across the sky as the earth rotates makes the night sky excellent for time-lapses.
A night sky time-lapse shows the progression of the stars throughout the night. The process is condensed from several hours into a few seconds.
Shot with a Nikon D850. 24mm, f/4, ISO 1,600. Edited with Adobe Photoshop. Raman Deep (Pexels)
What You Need for a Night Sky Time-Lapse
Here is the photography equipment you need to shoot a night sky time-laps:
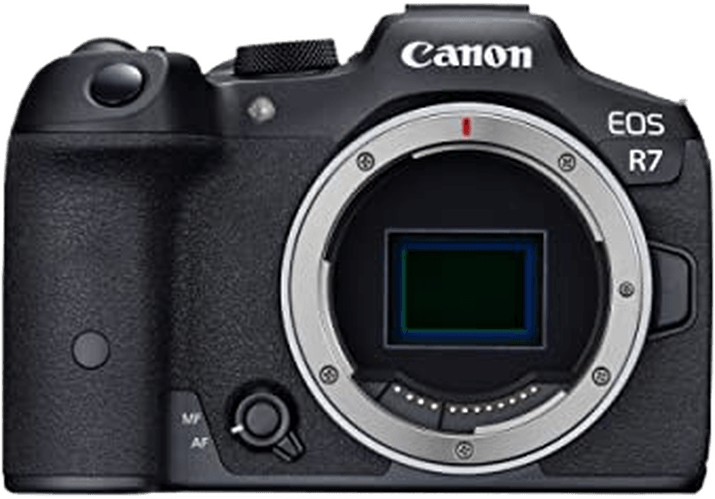
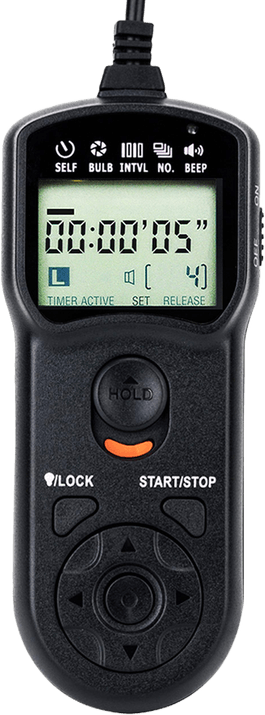
- Intervalometer: You need a camera for time-lapse with a built-in intervalometer like the Canon EOS R7. Most modern digital cameras and some new smartphones have built-in time-lapse tools. But if you’re working with an older camera, you may need to buy an external intervalometer.
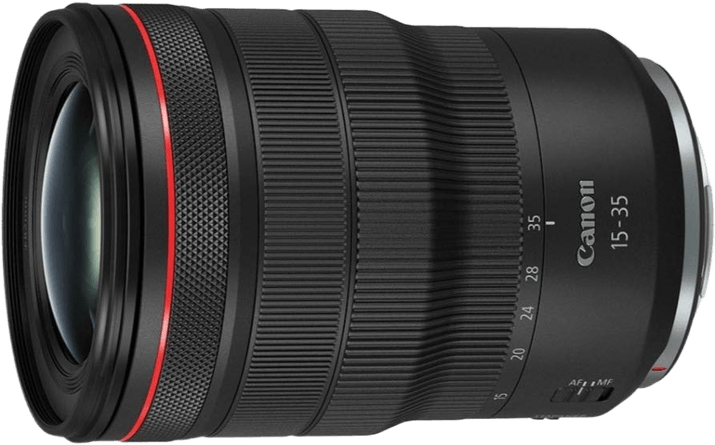
- Lens for Astrophotography: A wide-angle lens with an aperture of f/2.8 or brighter is usually best for capturing the night sky. An aperture of f/2.8 is ideal for letting in more light. But you can also work with lenses with wider apertures.
- Tripod: You must keep the camera still enough for the long exposure and be fixed in one spot, so a tripod is a must. But you can also use video tools, like a motorized camera slider, to add motion to a time-lapse. This is a more advanced technique.
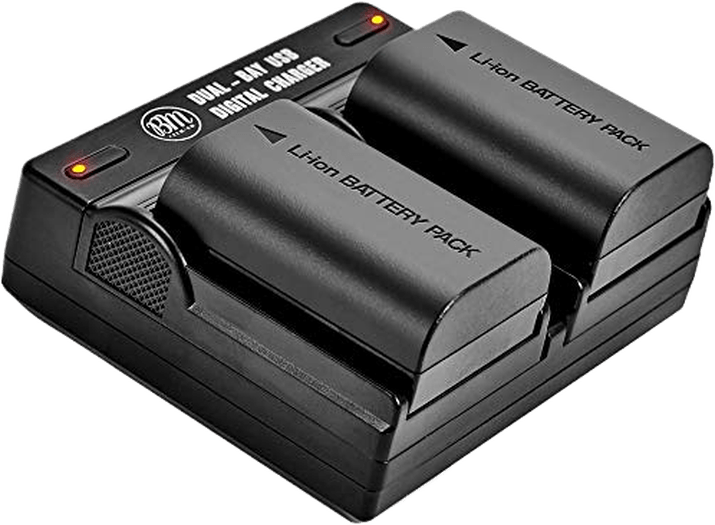
- Fully Charged Camera Batteries: Shooting a time-lapse means shooting for hours, so your camera will need a fully charged battery. It’s also recommended that you have extra camera batteries around.
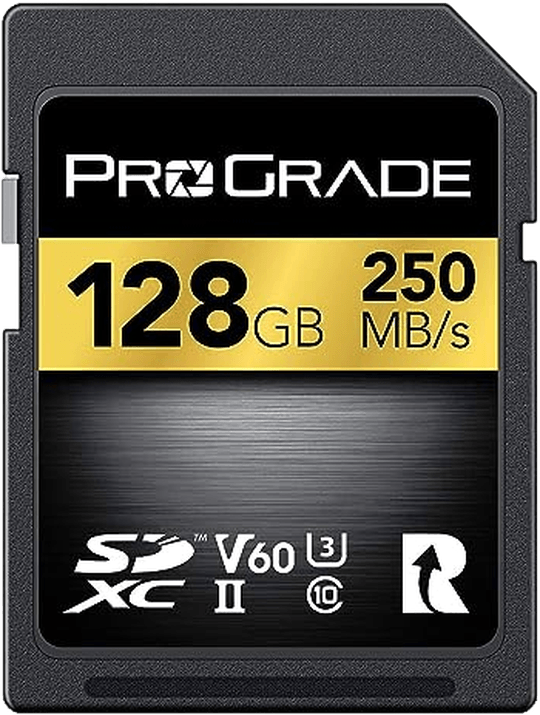
- Memory Card: Ensure you have enough space on the memory card for the number of photos you need for the time-lapse.
- Photo or Video Editing Software: Editing your final result helps to bring out the stars in the sky. Use Adobe Photoshop or Premiere Pro to edit your night sky time-lapses.
Finally, you’ll need lots of patience. Time lapses cover an extended time, so don’t try to shoot one in ten minutes. Clear your schedule long enough to capture an hour or more.
Recommended Camera and Accessories for Night Sky Time-Lapse


How to Capture a Night Sky Time-Lapse
We take you through six steps to take a night sky time-lapse.
Step 1: Plan the Shot
Planning is essential because time-lapses are tricky and can tie up your camera for a few hours. Planning for a night sky time lapse means anticipating what the night sky will look like.
First, scout out a dark location. Light pollution will leave you seeing fewer stars, if any at all. Next, you need to watch the weather. You won’t see the stars if the night is cloudy.
Next, anticipate where the stars are and how they will move. An app like the Photographers Ephemeris makes planning simple by indicating where specific stars or the moon will be. While helpful, an app isn’t necessary if you have some understanding of the night sky.
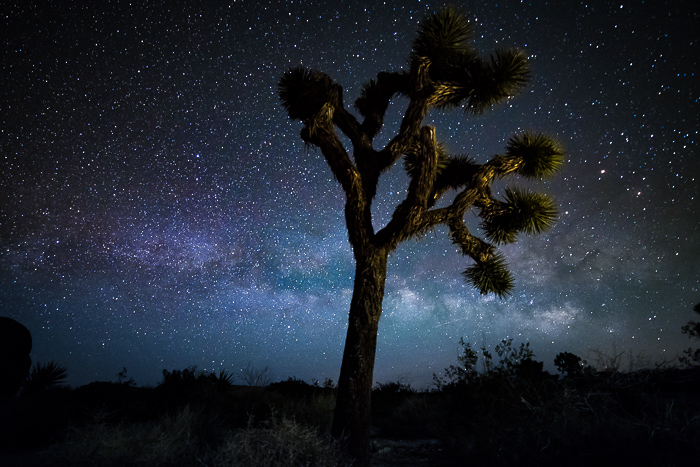
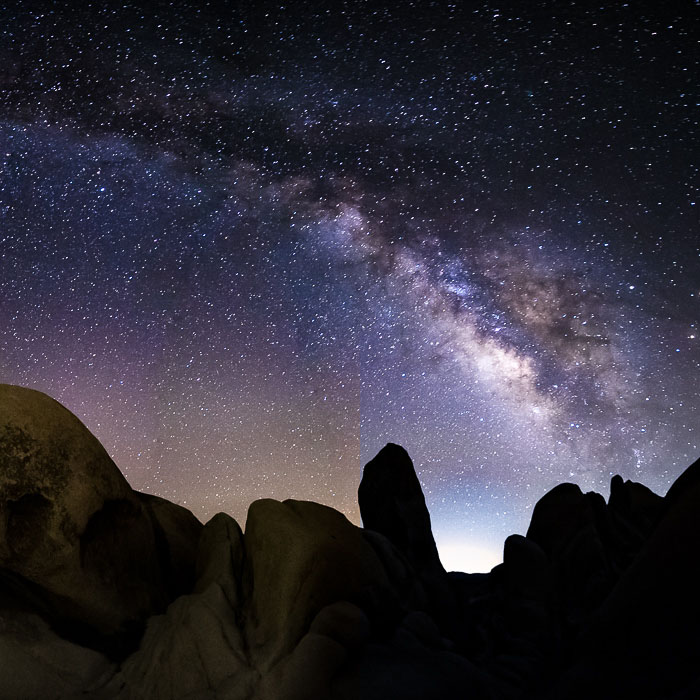
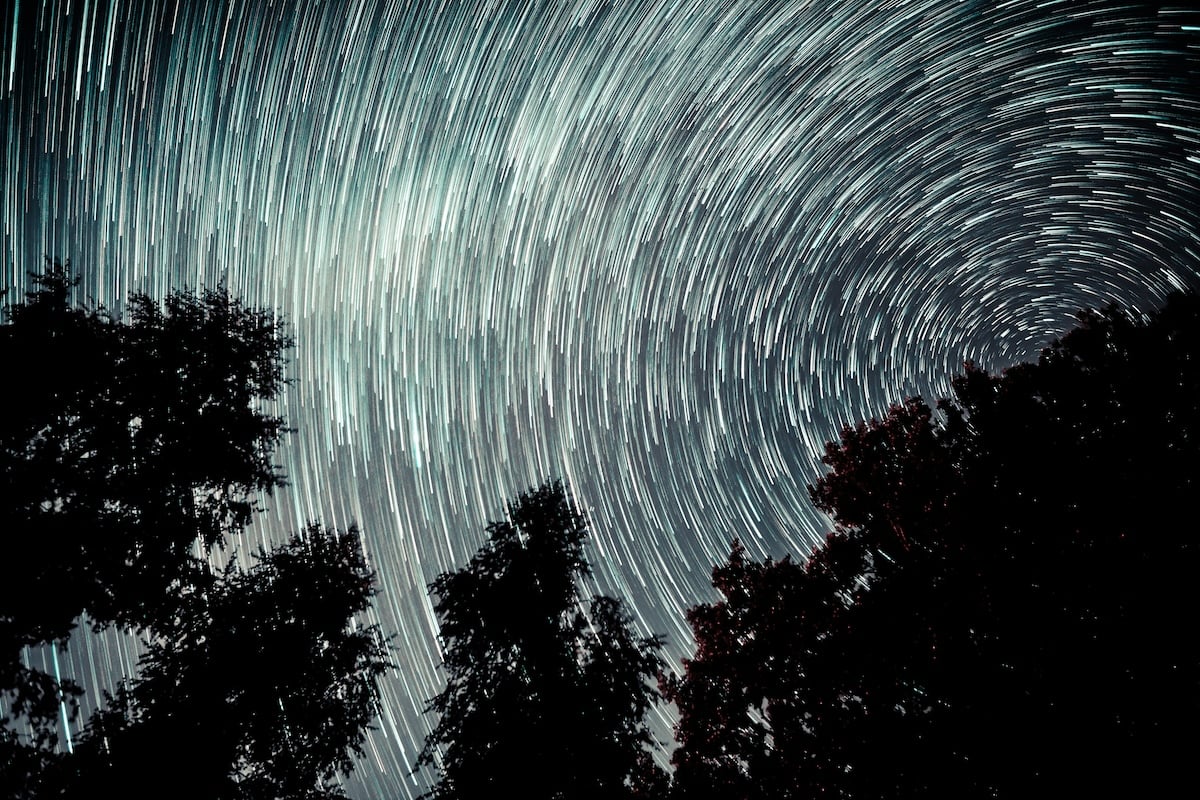
The stars will appear to move counter-clockwise or from east to west. When looking north or south, those stars will create a circular pattern (first image below). While looking east or west, the stars will move across the image (second image below)
Finally, plan the length of your time-lapse. Do you want a three-second time-lapse? Five seconds? Ten or longer? Should your time-lapse last over an hour? Eight hours?
You need to know how long you want the camera to keep shooting and how long you want the resulting video to be. The longer the camera keeps shooting, the shorter the time-lapse itself, and the faster time will appear to pass.
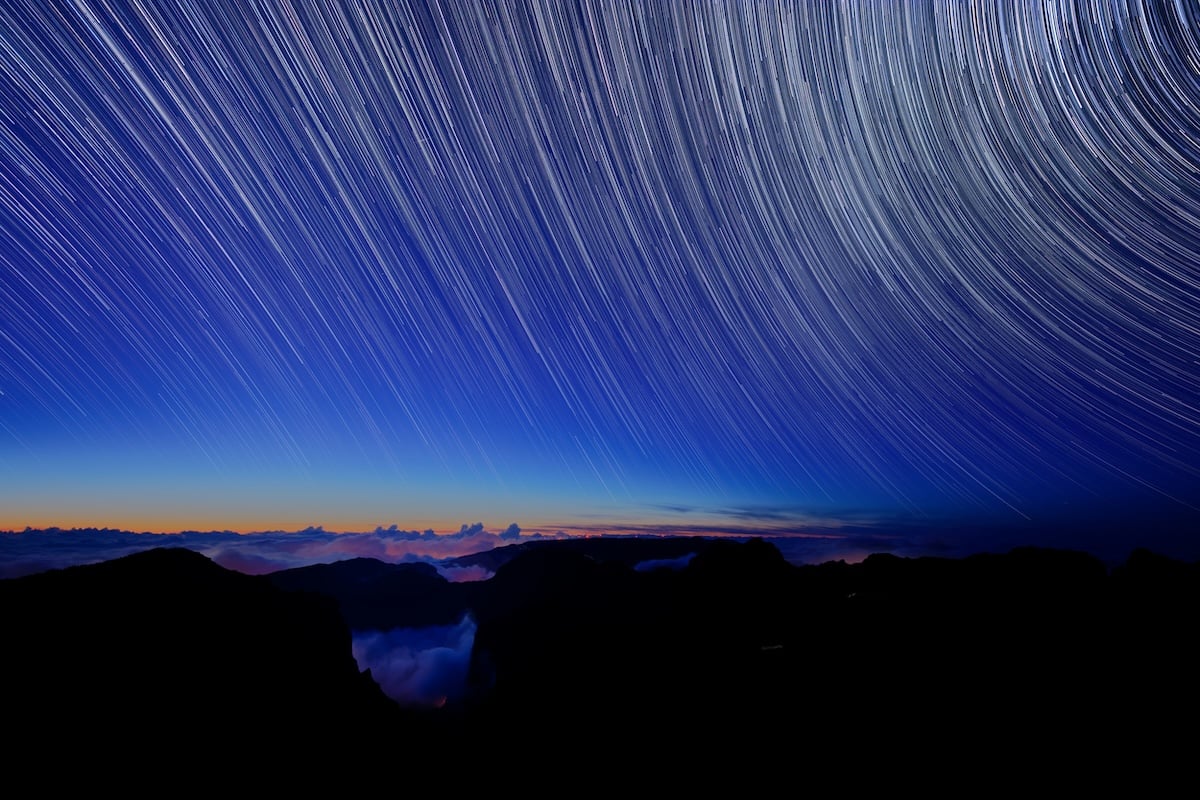
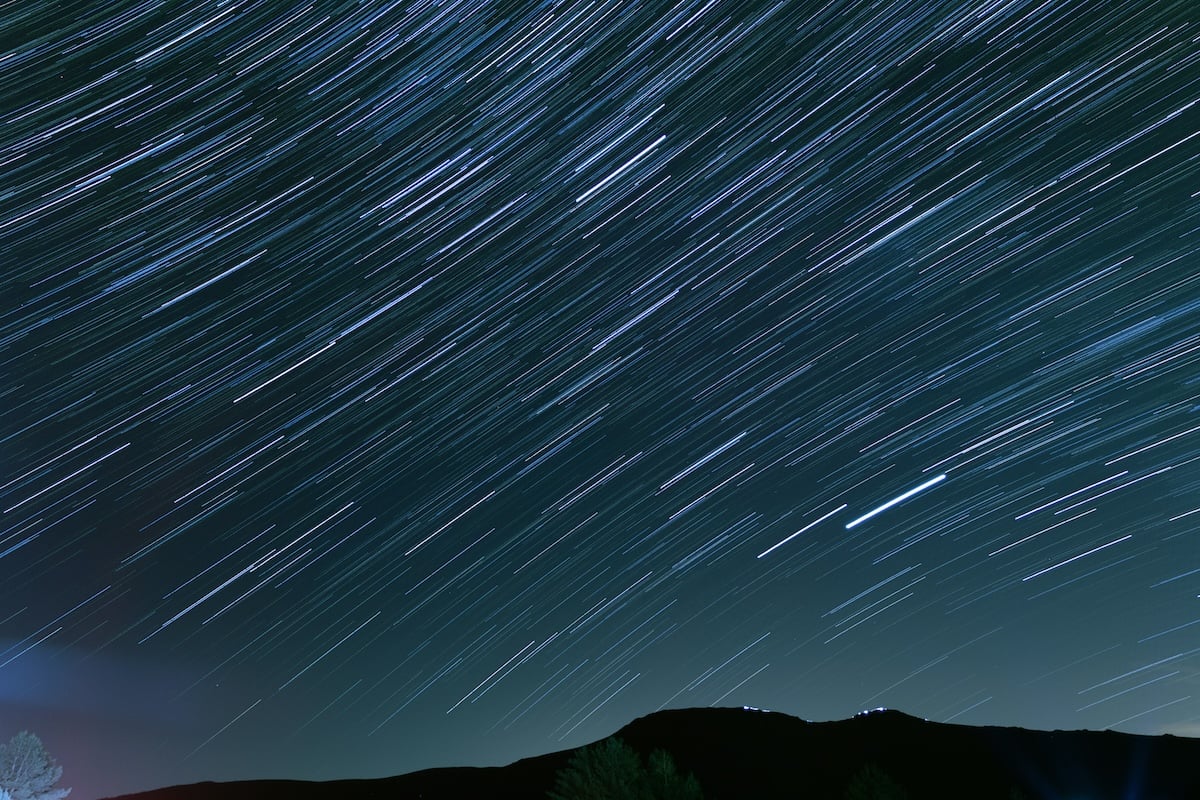
Unsplash photos by Colin Watts (left) Javier Esteban (right)
How to Calculate Nigh Sky Time-Lapse Length
First, choose the frame rate to calculate the night sky time-lapse length. A time-lapse is typically either 60, 30, or 24 fps (frames per second). Each frame rate indicates how many still photos are in one second of video.
A 60 fps video has 60 photos in one second, and a 30 fps video has 30 photos in one second. A higher frame rate makes motion look smoother, and time looks to pass even faster.
Use the frame rate and the desired length of the time-lapse to determine how long to shoot and wait between shots. For instance, a 60 fps time-lapse set to take photos every two minutes for one hour of recording turns into a half-second video.
Remember, taking fewer photos makes time appear to pass even faster. Taking more photos creates a longer time-lapse at a slower pace.

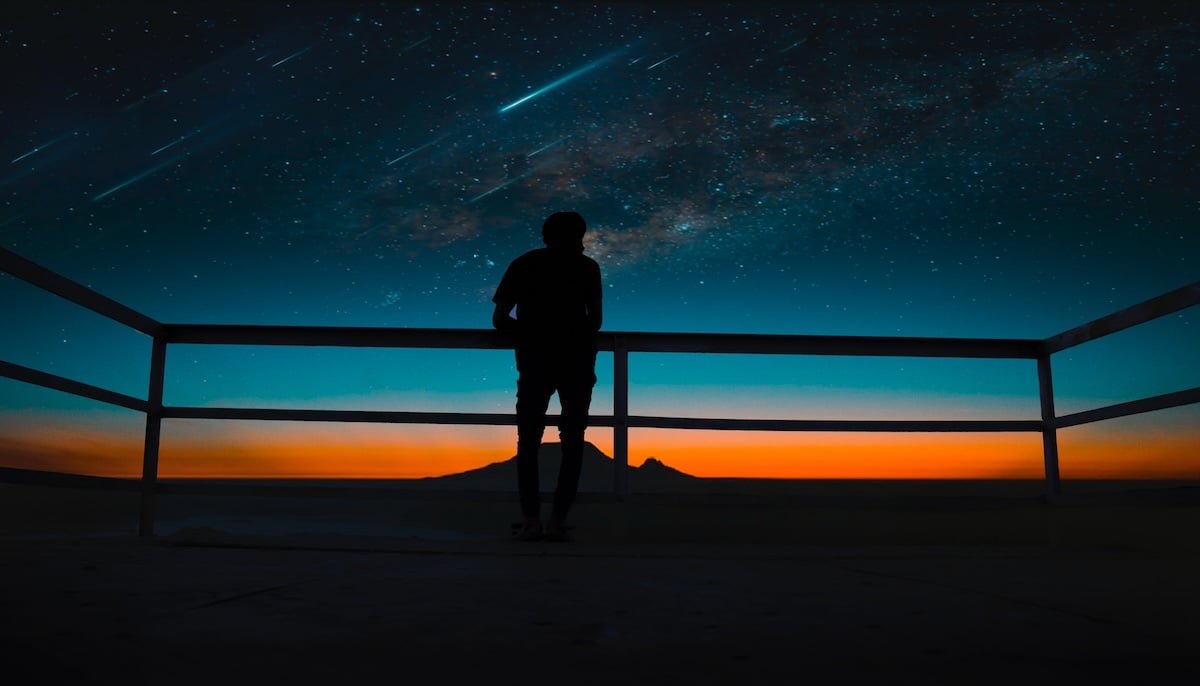
Shot with a Sony a7 II. 35mm, f/2.8, 20 seconds, ISO 5,000. Paige Weber (Unsplash)
Step 2: Set Up the Camera
A tripod is essential for night sky time lapses because long exposures are used. The camera must also be left in the same location for each shot (unless a tool like a motorized camera slider is used).
Set the camera on a tripod and direct it toward the view you want to capture. Ensure the camera has a charged battery and a memory card with enough space to record the time-lapse.
Next, adjust the time-lapse camera settings. Manual mode works best for night sky time-lapses (and night sky photography). It keeps the exposure and depth of field consistent between shots.
A wide aperture is needed in night photography because of the limited light available. But to ensure the stars are sharp, you may use an aperture slightly narrower than the widest on your lens. For example, on my f/2.8 lens, I set the aperture to f/4.
When shooting the night sky, any shutter speed of 30 seconds or higher introduces blur from the earth’s rotation. Set your shutter speed shorter than 30 seconds but long enough to let in plenty of light.
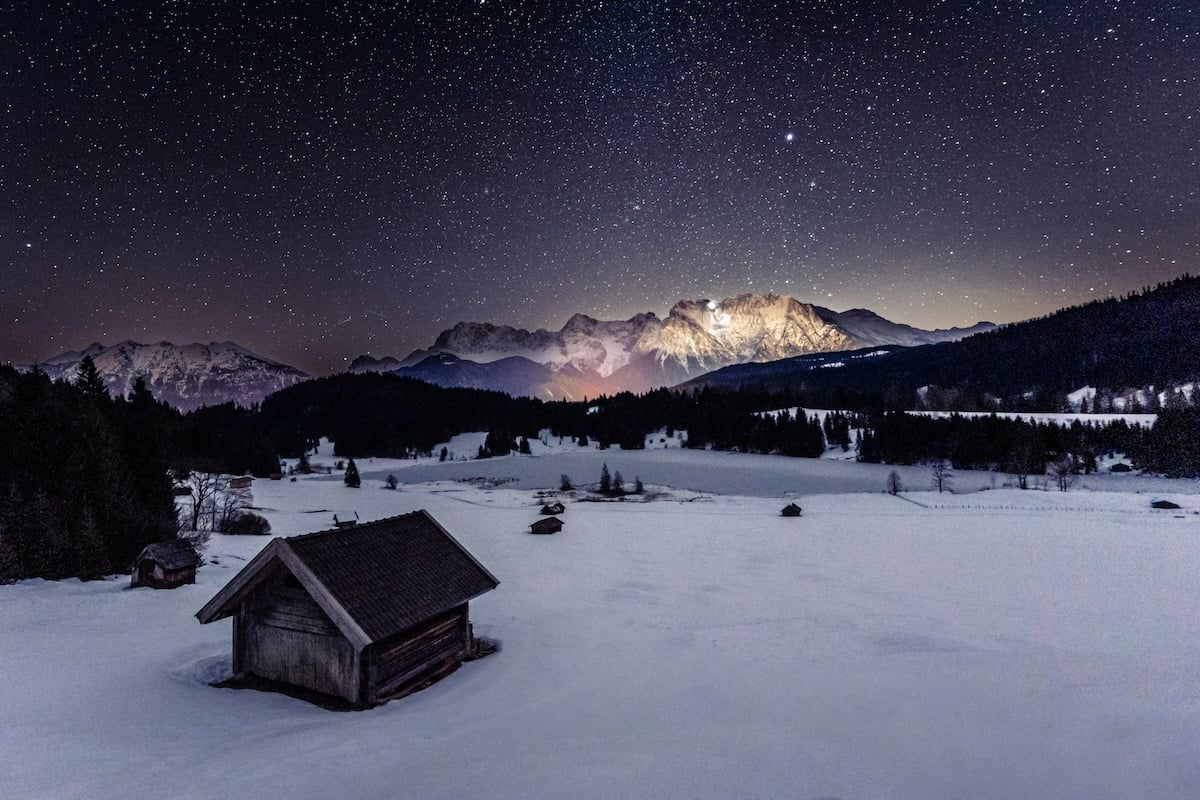
Sun setting into nighttime. Geroldsee, Germany. Shot with a Sony a7 IV. 17mm, f/2.8, 13 seconds, IS0 10,000. David Becker (Unsplash)
For example, when taking a photo or time-lapse of the night sky, I typically set my shutter speed at 20 seconds. Balance the exposure with ISO. For example, on my full-frame camera, an ISO 640 balanced the exposure with a 20-second shutter speed and f/4 aperture.
But the exact settings will vary based on the light available and your camera gear. If the light in the scene changes, like with a time-lapse that starts with a sunset but ends with stars, you can also use auto ISO.
Finally, set the focus. Photographing the night sky requires manual focus, as autofocus isn’t yet adept enough at focusing on a tiny pinprick of light. Set the lens to focus at infinity, and make small adjustments until the stars look sharp.
Use Live View (the screen on the back of the camera) and the zoom button to look at the biggest star in the photo to check the focus. If you turn on focus peaking, that star will turn red when it is in focus.
Step 3: Take a Test Shot
Time lapses require hours for a single video. You don’t want to spend hours shooting a time-lapse only to realize it is out of focus or overexposed. With the camera settings locked in, take a test shot. Then, view the photo carefully, using the zoom tool to get a closer look.
Make any necessary adjustments to the focus, exposure, or composition. Then repeat this step, taking more test shots until you are happy with your photo.
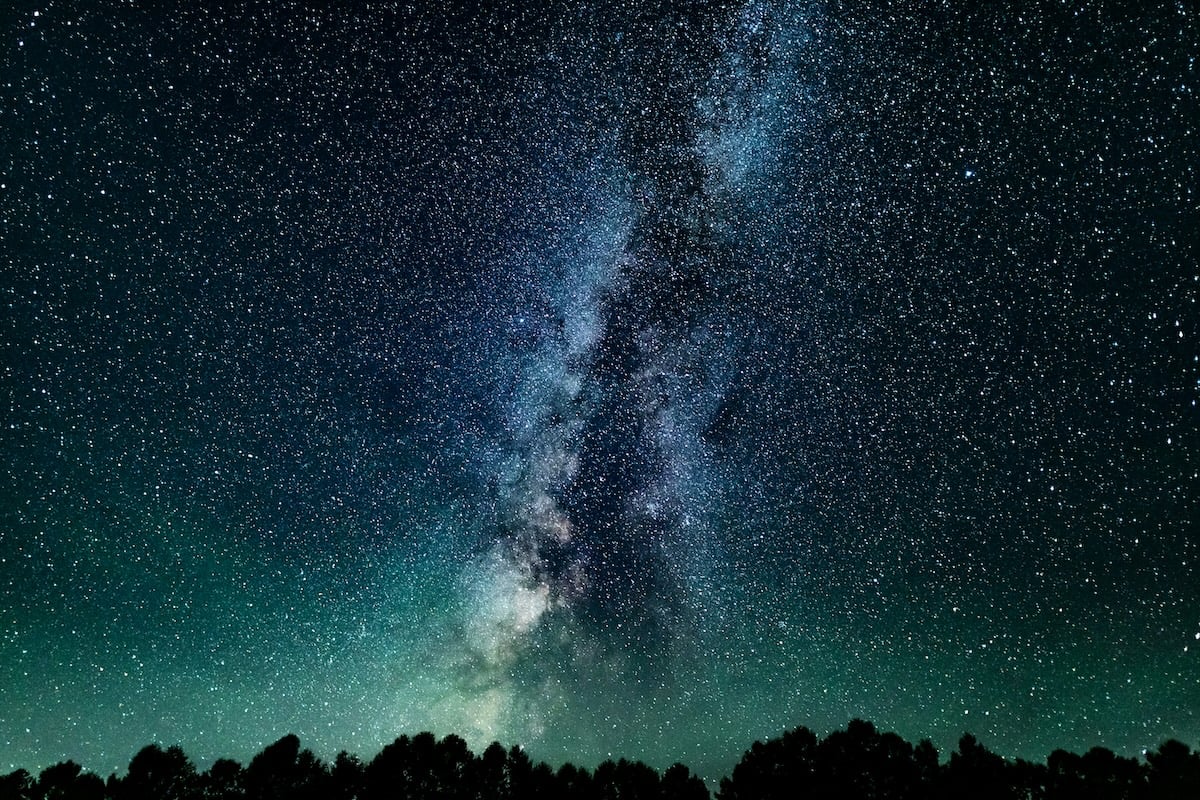
Shot with a Canon EOS 5D Mark IV. 20mm, f/1.4, 15 seconds, IS0 3,200. Jun Ohashi (Unsplash)
Step 4: Set the Intervalometer
An intervalometer is a tool that automatically captures photographs at preset intervals. This creates that time-lapse without you sitting behind the camera for hours.
Many recently released cameras have one built-in—even iPhones. If you are working with a camera without an intervalometer, buy an external remote with a timer. Set the timer settings on that device.
Some cameras have both an intervalometer and a time-lapse option. The intervalometer takes still photos at set intervals, which you must edit and assemble into a time-lapse.
A time-lapse option offers those same intervals but stitches everything together to create the video for you. This is less work but also means less control over the final result. Time lapses assembled by the camera are often a lower resolution than still photos.
Each camera has a slightly different time-lapse process, so you might need to consult the user manual for your specific camera. But the general process is often similar.
Find the option for the intervalometer or the time-lapse feature in your camera menu and enter the desired settings. Some of these settings will vary based on the camera brand you use, so you may not see every option:
- Start/End Date and Time, or Length: The camera will have an option for either the start and end time or the length of time that the time-lapse covers.
- Intervals: This is how often the camera takes a photo—for instance, every 30 seconds or every two minutes.
- Exposure Smoothing: This option helps smooth the exposure between frames, making any exposure changes less abrupt.
Stack of 82 images. Shot with a Sony a6000 for 30 seconds, ISO 400. David Becker (Unpslash)
Step 5: Let the Camera Work
With the camera settings dialed in and the time-lapse options set, start the time-lapse using the shutter button. Now, sit back and wait. If you walk away from the camera, ensure it’s in a safe place to avoid the risk of the tripod tipping or someone snatching it.
Don’t make any changes that could affect the exposure, like pointing a flashlight in the scene. And don’t touch the tripod or camera until the time-lapse is complete!
Step 6: Edit the Night Sky Time-Lapse
After the camera is finished shooting, all that’s left is to edit and finish the time-lapse. If you shoot individual photos, you want to upload each image to your favorite photo editor and edit them. Use sync tools to apply the same edit to every photo to speed up the process.
Once edited, stitch the photos together into a video. You can also use photo programs like Adobe Photoshop to edit your night sky time-lapse.
Check with your current software before buying a new program. We recommend some top-ranked programs for time-lapses.
You can also edit time-lapses using a video editing program to enhance contrast, trim the video, or slow the pace down. Adobe Premiere Pro is a popular choice. After editing and stitching everything together, you’re ready to share your work!
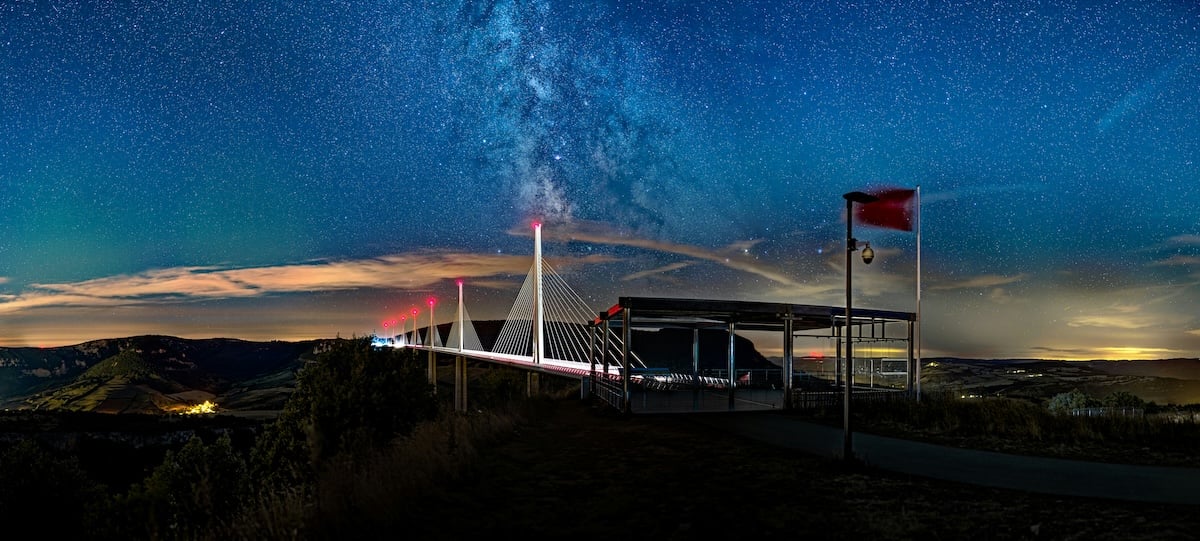
Millau Viaduct at night under the Milky Way (France). Shot with a Nikon D780. Geoffrey Guillaume(Unpslash)
Night Sky Time-Lapse FAQs
These are the most frequently asked questions we get about night sky time-lapses. We hope they help ease you into the picture-taking process.
How Do You Do a Time-Lapse in Astrophotography?
To take a time-lapse of the night sky, you must combine astrophotography basics with the steps for shooting a time-lapse. Before dialing in the time-lapse settings and starting to shoot, ensure your exposure and focus settings are correct.
What Settings Do I Use for Night Photography?
Use a wide aperture for night photography to let in the most light. If you have a tripod, are not photographing motion, or want motion blur, you can use a long shutter speed and a low ISO.
If you don’t have a tripod or want to freeze motion, you want to mix a wide aperture with a high ISO and shutter speed.
What Is a Night Lapse?
A night lapse is a time-lapse taken at night. These cool videos are stitched together from still photos and show movement across the sky. Night lapses are like watching a video in fast motion instead of in slow motion.
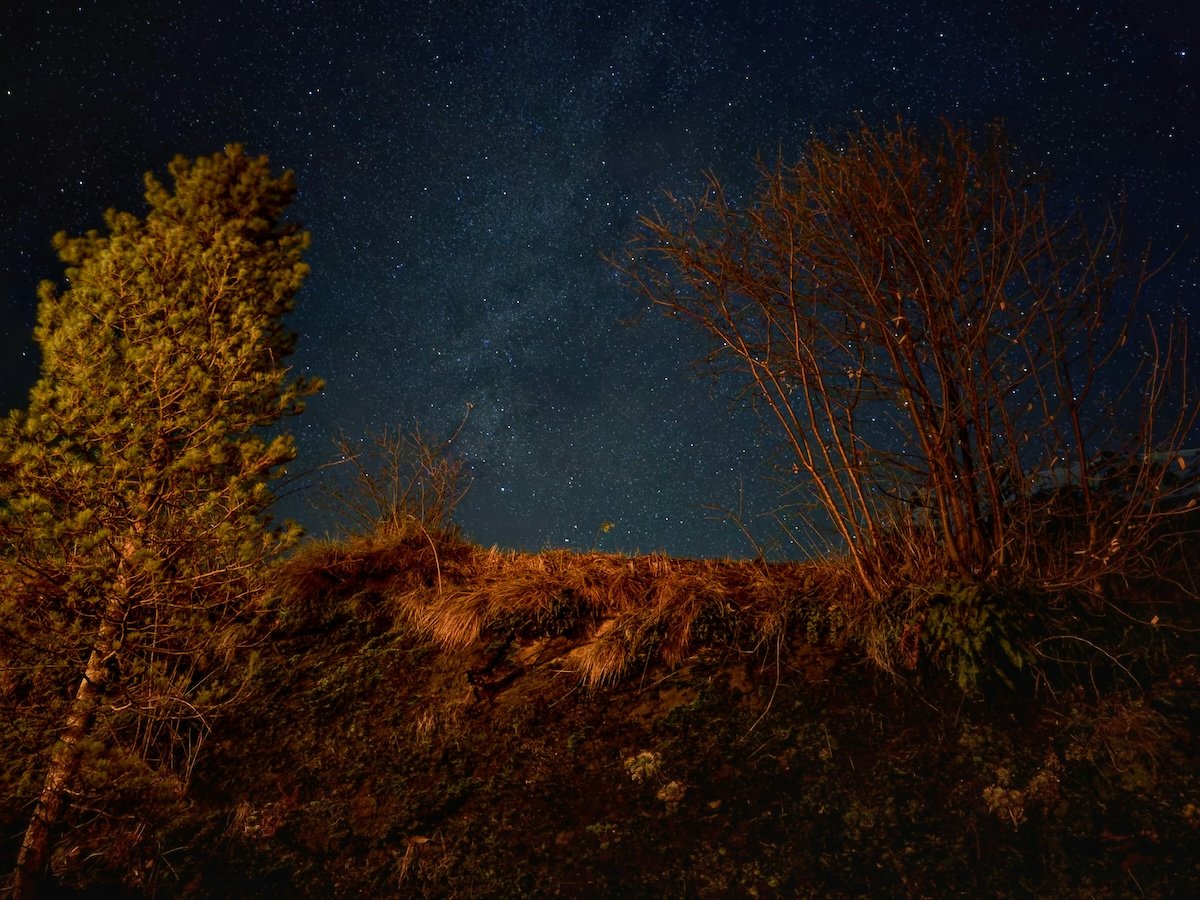
Shot with an iPhone 15 Pro Max. 6.9mm, f/1.8, 10 seconds, ISO, 1,600. Roman Indermühle (Unsplash)
Conclusion: Shooting a Night Sky Time-Lapse
Shooting a stunning night sky time-lapse video requires planning, patience, and the best photo equipment. Find a dark location, use a sturdy tripod, adjust camera settings, and ensure you have enough battery life.
Experiment with compositions and post-processing techniques to enhance your footage. With practice, you’ll capture captivating night sky scenes that mesmerize viewers. Start your astrophotography journey today and unlock the magic of the cosmos!
If you want more guidance, take our Total Time Lapse course to master this technique effortlessly!