Our article demonstrates the ideal settings for photographing the Milky Way to assist you in capturing stunning night images. These will help you capture the ethereal beauty of this celestial wonder.
Configuration for Capturing the Milky Way in Photos
Unveiling this heavenly phenomenon requires the right camera settings and techniques. So, here is a list of the best Milky Way photography settings to capture the galaxy in all its glory. If needed, find out how to find the Milky Way first.
1. Correct Exposure
First, always set exposure based on the sky, not the foreground. When you start adding foreground interest, it can be tempting to compromise on exposure to suit both parts of the photo. Resist the temptation. If you want to get the best image of the Milky Way possible, use the sky to set the correct exposure.
2. Aperture Adjustments
One luxury of focusing on a single point of interest millions of miles away is that you don’t need to think about the depth of field even if you shoot at f/1.2.
The question isn’t, “Will everything be in focus?” It’s, “Will I have enough light for my exposure?” After all, we capture photos of the stars during the darkest nights of the month.
For Milky Way photography, I recommend shooting at your widest aperture settings—f/2.8, for example. This allows the most light into the lens and a shorter exposure duration.
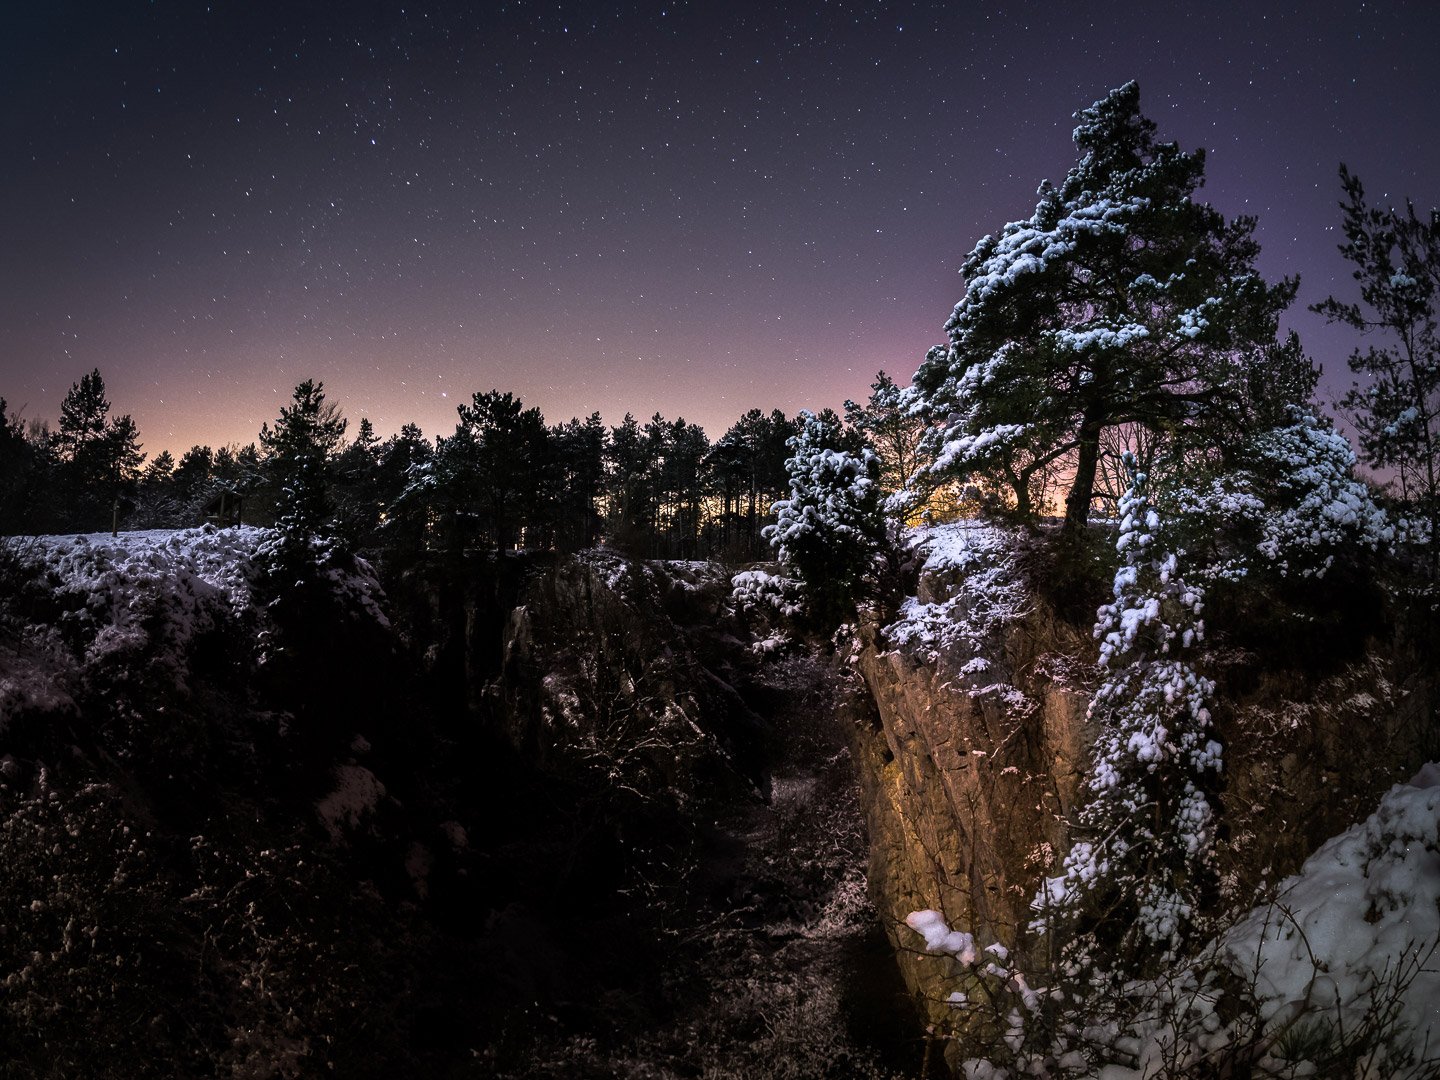
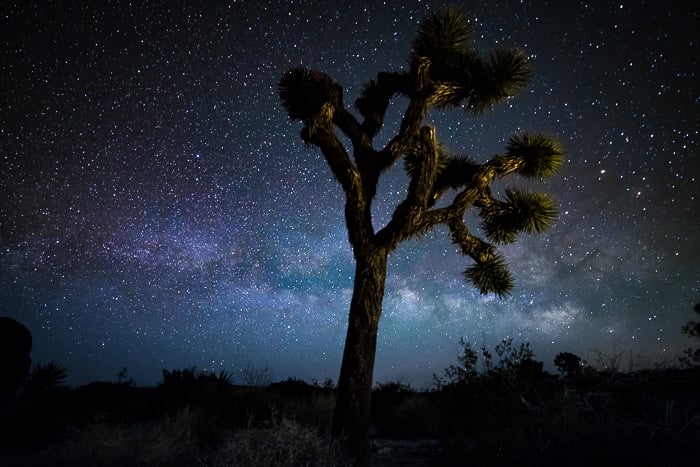
If you’re taking a photo with some foreground interest, such as the tree in the image below, then f/2.8 is the magic spot. It’s wide enough to allow plenty of light into the lens while. And it provides enough depth of field to get the foreground in relative focus.
© Josh Dunlop
3. Shutter Speed Settings
The aperture you choose for Milky Way photography is the widest possible. So, the shutter speed should be the longest possible. But how long is the longest possible?
We can set almost limitless exposures on our cameras. But there’s a very specific limit to how long you can expose photos of the stars. Set too long of a time, and the stars will start to move in the sky. And those sharp dots of detail will look like soft smudges.
Fortunately, there’s a very easy way to work this out with a quick calculation involving your focal length. It’s called the 500 rule.
The 500 Rule
The 500 Rule calculates the longest exposure time possible for Milky Way photography before the movement of stars starts to show. It’s easy to use. You divide 500 by the effective focal length of your lens.
For example, 500 divided by 14mm would be 35.7. This means 35.7 seconds is your maximum advised exposure length.
For that same calculation again, this time for a 24mm lens, the result is 20 seconds.
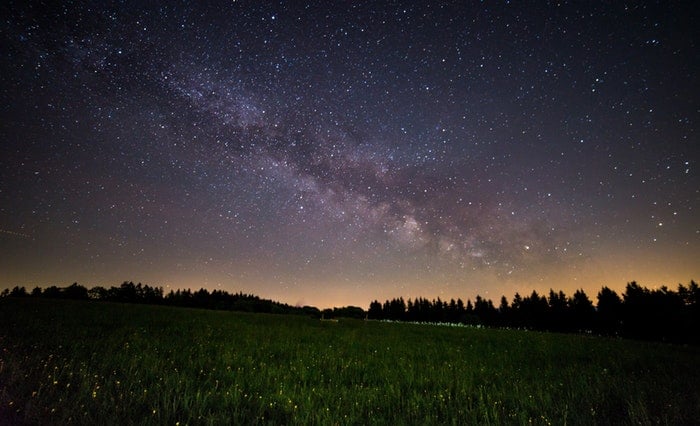
This is because the stars’ movement is relatively faster when your perspective is tighter. The idea is the same as the one in the reciprocal rule. But this time, your camera is steady, and your subject moves. So, the wider your lens is, the more exposure time you have for the stars.
(Pixabay)
Remember that the rule calculates time with the effective or equivalent focal length. Using a crop-sensor camera, the smaller sensor adjusts the setting by cropping the scene. And this gives you a tighter field of view.
So, if you’re shooting with a Canon crop sensor, you must divide that final number by 1.6. If you’re using another model, you will divide it by 1.5.
For example, say you had a 14mm f/2.8 lens and put it on a Canon crop-sensor body, like a Canon EOS R7 or R10. You would divide 35.7 seconds by 1.6. And this gives a 22.3-second exposure time.
If you were shooting on a Nikon crop sensor, like a Z50, you would divide 35.7 seconds by 1.5. This gives you a 23.8-second exposure time.
You must only remember that you take 500 and divide it by your focal length. And if you’re on a crop sensor camera, divide that number again by its magnification factor.
500 Rule Limitation
Note that the 500 rule is not really a “rule.” It’s rather a guideline. If you have a modern, high-megapixel camera, it doesn’t really work. Higher resolution means smaller pixels, which means more detail. So, motion blur appears sooner.
Experiment with your setup, and check if noticeable motion blur shows up when calculating with the 500. rule. If there is, try it with 400 or even 300 until it disappears.
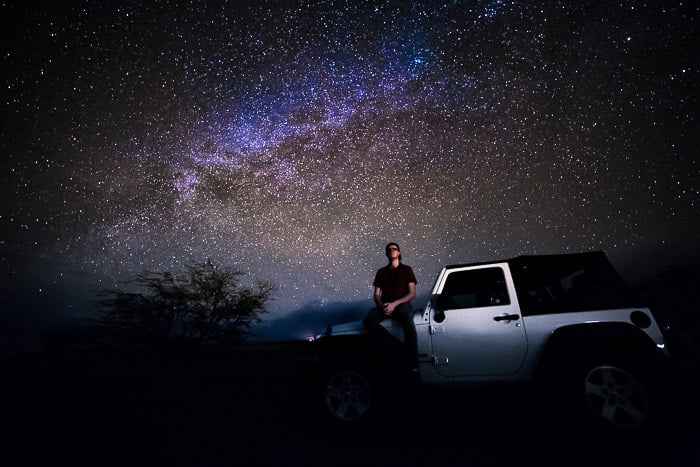
You get faster shutter speeds. So, you’ll likely need to raise your ISO a bit to compensate. This results in more noise. But if you must choose between noise and blur, go with noise. It’s easier to filter out noise when editing.
© Josh Dunlop
4. ISO Configuration
Unlike aperture and shutter speed, there are no rules on what you can set the ISO to. It’s important to remember that the higher the ISO, the noisier the image will be.
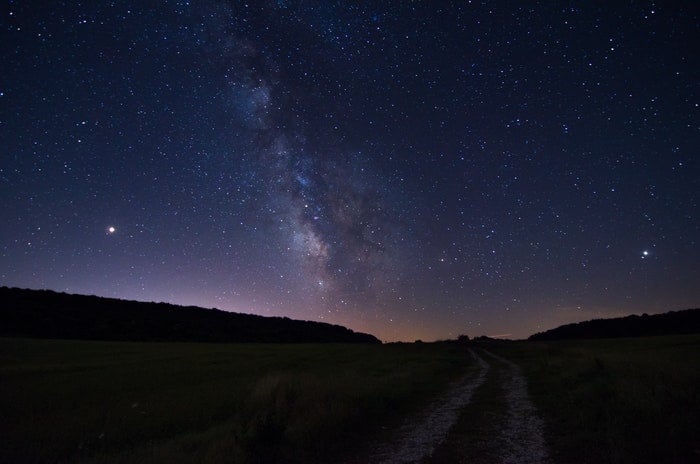
Using a modern full-frame camera, you will quite easily get away with setting your ISO up to 12,800. Modern crop sensors will produce fairly clean night sky images at ISO 6,400 or lower.
Any higher than that will show too much degradation in the image quality. At that point, you’re probably better off pushing it in post-production.
(Pexels)
How Do You Focus on the Milky Way?
Focusing on the Milky Way is super simple. All you need to do is to set your focus at infinity. This is the figure-eight symbol captured in the shoot below.
You want to line up the little sideways L with the line to focus on infinity on Canon lenses. You want to align the infinity symbol with the line on other cameras. Always check to see how it works on your lens.
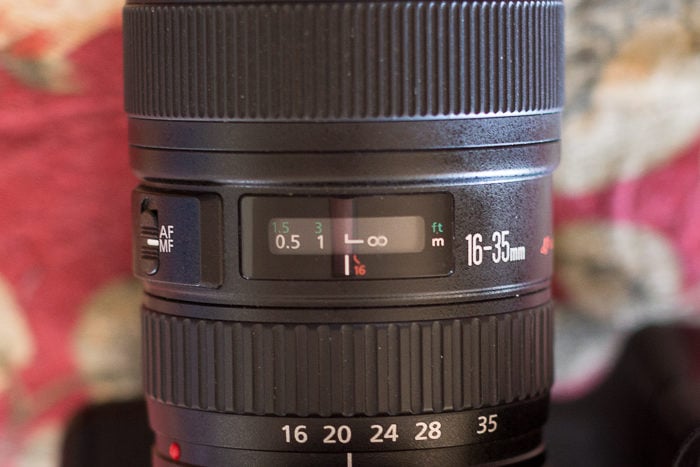
Lining up the sideways L with the line on a 16-35mm Canon lens to focus on infinity
After you’ve set your focus to infinity, turn your focus mode to manual. This way, your camera won’t try to refocus in the dark when you go to take the photo. Otherwise, it will not do a good job!
Remember also to check your focus every time you recompose your shots. It’s very easy to knock the focus ring and send your photo’s focus into a blur.
If you’re unsure your marking is accurately placed, check it in daylight. Focus to infinity using Live View, and see if the markings line up. If you don’t have a focus scale on your lens, use manual focus with the help of Live View magnification. Be warned that it’s not an easy task in the dark!
In-Camera Long Exposure Noise Reduction
There is a useful but time-consuming function of digital cameras. It is the In-Camera Long Exposure Noise Reduction setting.
The camera sets this by first taking a regular 30-second exposure. After that’s captured, the camera will close the shutter and capture another 30-second “blank” exposure.
The camera will then compare the blank exposure to the original photo. It does this to identify the digital noise and then remove it from the original photo. And it does a pretty good job!
But as with everything to do with exposure, there is one major downside. Time. This process is very time-consuming and will drain your battery life. So it’s not a perfect solution.
And if you’re taking several photos for a panorama? It won’t be quick enough to take photos without the stars moving too much to stitch together later.
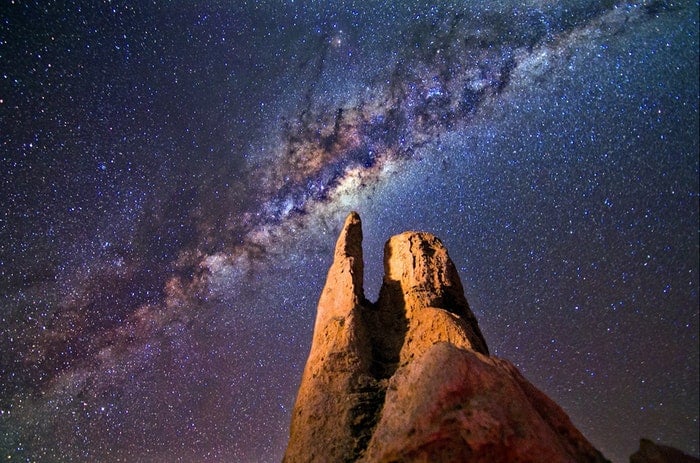
(Adobe Stock)
Conclusion: Our Preferred Settings for Photographing the Milky Way
So, what settings do you use to shoot the Milky Way? We use these settings for 98% of our Milky Way photos. But these are specific to our gear. Here are our best photography settings for Milky Way photography:
- Focal Length: 14mm (on a full-frame sensor)
- Aperture: f/2.8
- Shutter Speed: 30 seconds
- ISO: 3200
- Focus: Manually set to infinity
- In-Camera Long Exposure Noise Reduction: Off
It’s best to work out the settings for your camera and lens. You can use the same settings for most of your shots. Before you go, check out our video on top camera settings for Milky Way photography! And to perfect your skills, try our Milky Way Mastery course!
