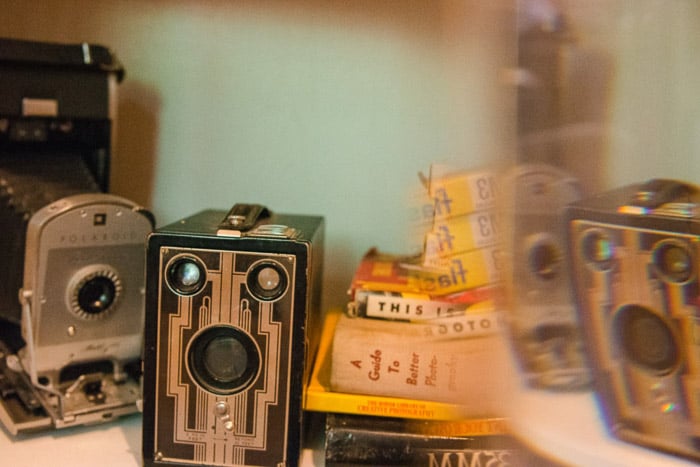
Photography has no shortage of accessories. But you don’t need to break the bank to try something new with your images. DIY photography tricks can add just the right level of interest to your photos.
Some of them create interesting visuals. Others replace pricey gear with something that's simple to do yourself.
Ready to have some fun with your camera, without a big budget? Try these 12 DIY photography tricks.
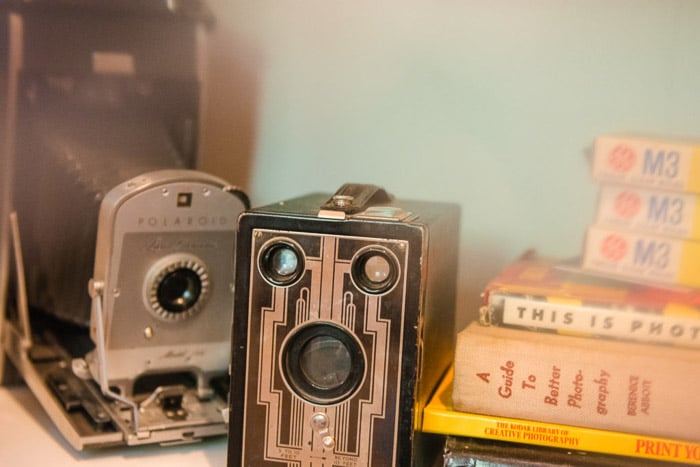
Photography Tricks: Read This Before You Start – Or You Might Ruin Your Gear
You can create fun image effects without lightroom or photoshop. Most of the items needed for these tricks can be picked up for a few dollars at a grocery or hardware store, like a magnifying glass for macro photography.
If you’re a Lifehacker, you will find these photography tips quite handy. But, its time for a disclaimer.
The best photography tricks use inexpensive items to create neat effects. But the worst will ruin your Nikon, Sony, GoPro, or any of your priced gear. To avoid that, proceed with caution before modifying your gear.
There’s an alarming number of potentially harmful photography tips out there. Some suggest you apply lipstick, a glue stick, petroleum jelly, water, you name it, to the front of your camera lens.
Camera lenses have all kinds of specialty coatings. Applying something to the front of that lens can ruin those coatings and wreck your lens.
If you’re tempted by these (we don’t include any here), at least put it on a cheap UV filter. That way all you ruin is a $20 filter, not a pricey lens.
Also, avoid trying to support your camera gear with a DIY rig. You may drop your gear. Use common sense. Keep items off the front (and rear) of your lens, always make sure your camera is secure, and avoid any "hacks" that may void your warranty.
That said, there are plenty of easy, inexpensive photography tricks out there. Most don’t even come near the delicate parts of your digital camera or lens. Here are our favorite photography ideas and tricks.
12. Create a Dreamy Effect With a Sandwich Bag
Head to the kitchen and grab a sandwich bag. That's all you need for photos with a sharp center but hazy, dreamlike edges.
This trick comes from photographer Jesse David McGrady. He places the baggie around a lens to create a surreal edge to the images. Make a hole in the closed end to fit your lens through. And make sure the opposite side is covering some of the edges of the lens glass.
The plastic is close enough to the lens to blur, which will create a sort of haze to the image. Another variation is to color the baggie with permanent markers first. This will give the haze a colored tint.
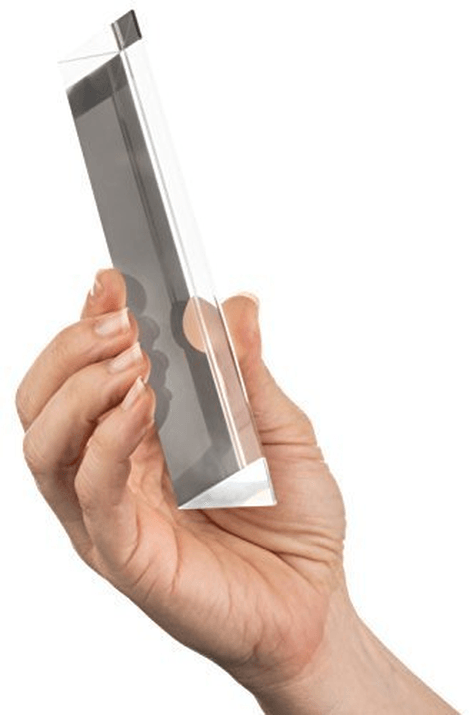
11. Create Cool Photography Tricks With a Prism
Objects close to the lens can blur into neat photo effects, beyond a plastic bag. A prism held close to the lens will obscure distractions in the photo. It can also catch a reflection of something else in the scene. Or it can add a rainbow like light to the edge of the image.
You can buy a prism for about $20 online. Place the prism up close to the lens. Now experiment with different positions to obscure parts of the images.
Try different angles of the prism itself too and you may catch a neat reflection.
This DIY photography trick isn't limited to sandwich baggies and prisms. Placing any number of objects up close to the camera lens can introduce neat, unusual effects into the image.
Anything close to the lens will blur. So this trick is open to any number of objects. Translucent items work well, and even something as simple as a glass of water can create neat effects.
Solid items aren't out of the question. But they create a colored blur effect blocking off some of the image instead of a hazy or reflective effect.
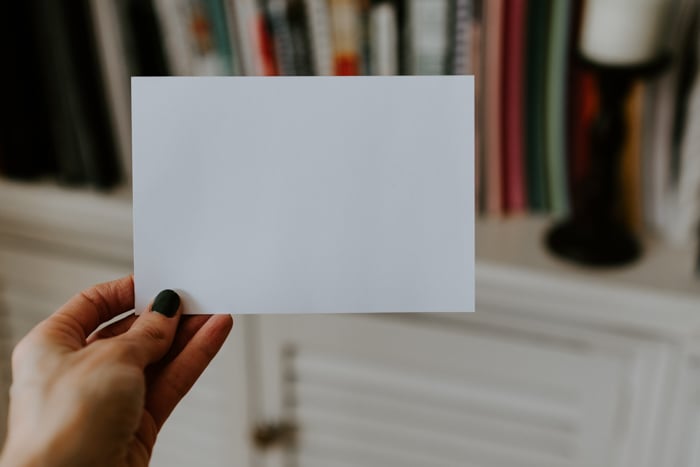
10. Shaped Bokeh Filters
The bokeh in an image takes the shape of the lens aperture. Change the shape, and you can change the bokeh. Bokeh filters do the same, and while you can buy them, they are also simple to make.
This neat camera trick requires a piece of paper, scissors and something to secure the paper to the lens. A hair tie works great.
Cut out the shape that you want in the bokeh and place the paper over the lens. It helps if you leave some tabs of paper at the sides to help hold the paper in place with a rubber band or tape.
The paper changes the shape of the hole in the lens which changes the bokeh. Be aware, though, that you are limiting the light that's coming into the camera. So if you are in a low light environment, you may need to adjust your exposure.
9. Anamorphic Lens Flare
Lens companies work hard to reduce flare. But sometimes, photographers want that artistic lens flare especially when shooting sunsets in landscape photography.
Anamorphic flare is a horizontal flare that most associate with anamorphic, cinema lenses.
You can actually create this effect with some fishing line or translucent string.
Clear fishing line will create that horizontal lens flare. And it's placed close enough to the lens not to interfere with image quality.
To try it out, place a piece of fishing line over the front of your lens. The flare will go in the opposite direction of the line. If you want horizontal flare, place the line vertically across the middle of the lens and vice versa.
Secure it in place with tape or rubber bands. If you point the modified lens into the sunlight, you'll get that long anamorphic flaring.
8. Modify the Light With Household Objects
The right light (whther it’s artificial or natural light) can make all the difference and so can unusual light. Instead of camera tricks, this DIY photography hack places something in front of the flash. This is to create an unusual lighting effect.
Placing a kitchen strainer over the flash will create spotted light. Any household object with a unique shape and, in particular, holes or openings will work. You can do this to create beautiful light effects for close-up shots in portrait photography.
You can also use a set of window blinds to create stripped light. Or use patterned lace to repeat the pattern in your light. And if you have that prism from that earlier photography trick, place it between the light source and the subject. This will create a small rainbow in the image.
Or, as photographer Joe Edelman suggests, create your own gobo patterns. Cut up your own patterns out of foam board and place them over the light. That allows you to create unique lighting patterns.
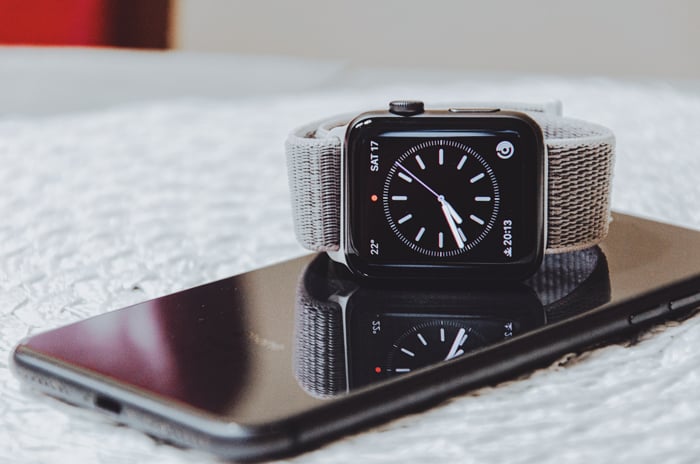
7. Use Shiny Surfaces to Split the Frame
Translucent items like the fishing line and sandwich bag are great items for DIY photo tricks. But another excellent category are reflective surfaces. And as one viral post shows, you don't have to look any further than your pocket.
The screen of an iPhone, smartphone or tablet is a nice, black reflective surface. Hold it underneath or a bit over the bottom of your lens. Then angle the screen to reflect the top half of the image in the bottom.
This trick isn't restricted to a smartphone either. Look for any reflective surface that you can hold up to your lens.
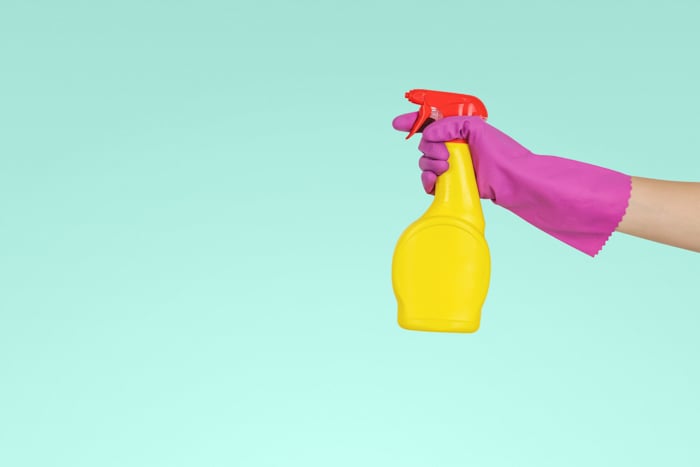
6. Make It Rain With a Squirt Bottle or Yard Sprayer
Love the look of rainy day photos, but don't want to actually get wet? There are a number of effects you can re-create. All while keeping your photo subject dry and umbrella free.
Water droplets can make an excellent background. Have an assistant spray water behind the subject using a spray bottle. For a less tired hand, use a sprayer like the ones found in hardware stores to spray fertilizer or weed killer on your lawn.
The key though is to place a light behind the spray. This will make those water droplets sparkle. You can also use a flash gel to give the water color. Many photographers use this trick for portraits, from Joe Edelman to Pyre Jirsa.
The wet look isn't just good for the background. If you want that shot-through-a-rainy-window look without actual rain or an actual window, use that spray bottle on a piece of glass. You can find a piece of glass just by taking one out of a large picture frame.
5. Make a DIY Flash Bounce Card
Lighting modifiers make up a big chunk of the DIY photography tricks floating out there on the web. From using a business card to bounce your flash to a milk jug diffuser.
This tutorial from 30Five Millimeter doesn't look like some random household object. But it's still cheap. By shaping a bounce card out of foam and velcro, you get the same benefits, without the tacky look.
Creating the foam bounce card softens the direct light of the flash for more flattering light. But be forewarned, the light doesn't reach quite so far once softened.
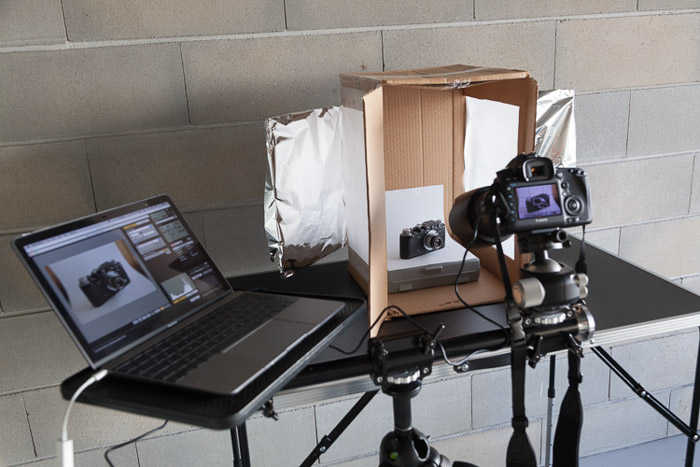
4. DIY Reflector
Reflectors are among the most inexpensive lighting equipment. But you can make your own for even less. DIY reflectors aren't portable like the ones designed as photography accessories. You might also look a bit silly using one.
But, a DIY reflector works in a pinch and it only takes a few minutes to put together with items you already have.
For this DIY photography trick, wrap a piece of cardboard in tinfoil. The larger the cardboard, the larger the reflector and the softer the light. Use tape as needed to keep the tinfoil in place.
Once the cardboard is covered, place the DIY reflector across from a light source. This will bounce some light back into the scene.
3. Tinfoil Bokeh Photography Tricks
Tinfoil is good for more than a makeshift reflector. If you rumple that tinfoil up first, the tinfoil will scatter the light. This creates excellent bokeh.
Crumple up a piece of tinfoil, then stretch it back out and arrange over a piece of cardboard. Then, use that cardboard as a photo background. Make sure you have a light source in front of the tinfoil.
You should also keep the tinfoil at least a few inches behind the subject. Using a wide aperture will also help.
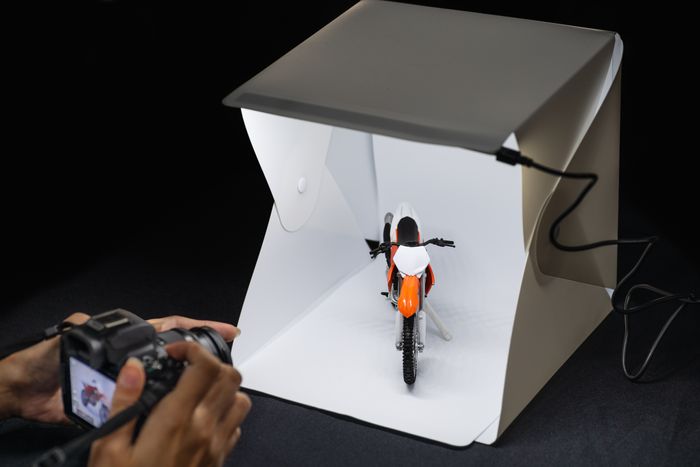
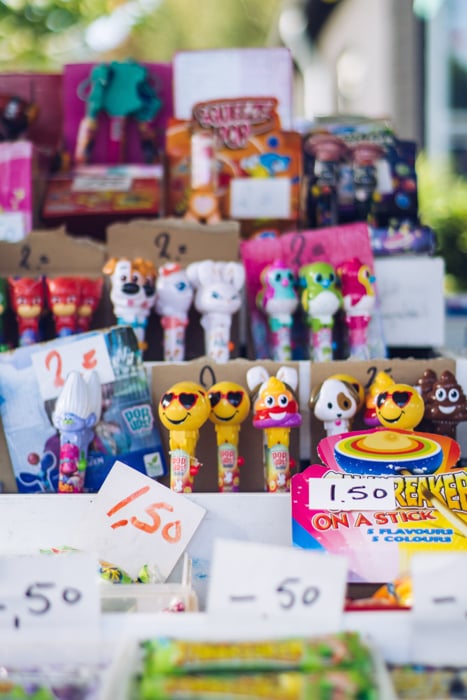
2. DIY a Backdrop at a Craft Store or Hardware Store
This floor drop is a piece of wall panelling from a hardware store.
My favorite places for DIY photo inspiration are hardware stores and craft stores. They’re great when you’re looking for props or creating your own backdrops.
For large, sturdy backdrops, I pick up panelling from the hardware store. The kind that's used to decorate your walls.
While panelling can be an outdated style, today there are several options. These look like an actual floor and don’t cost too much. The downside is that they aren't as portable as rollable floor-drops, but there's a definite cost saving.
For smaller backgrounds, try the craft store. A simple piece of scrapbook paper can work for tiny setups. And quilting fabric can easily serve as a background without the three-digit price tag.
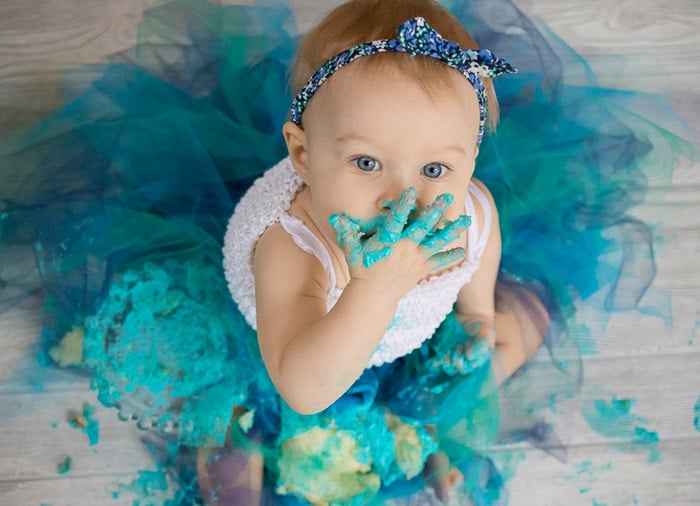
1. Encourage Kids to Actually Look at the Camera With a PEZ Dispenser
This is a trick I picked up early on, and while I don't use it quite the same way, I still bring out the handy PEZ at times. The PEZ candy dispensers will almost fit into the hot shoe slot at the top of the camera.
If you take a sharp pair of scissors and trim the plastic at the bottom, the candy dispenser will slide right on top.
With a colorful guy that hands out candy on top of your camera, it's easier to get little kids to look at your otherwise uninteresting camera. The only problem? You can't use a flash while your hot shoe is busy with the candy dispenser.
I usually use flash to at least create catchlights. When the Pez dispenser comes with me, I hold him in my hand near the camera. (Make sure to check with the parents before offering a child candy!)
Portrait photographers use bubble machines, favorite toys, and puppets to help get little kids to look towards the camera. And it can help keep create real smiles.
Conclusion
The tricks in this list have been used countless times. But mixing your vision with a photography trick can help create unique images.
Learning a new photography trick is excellent if you are stuck in a creative rut. Or if you want something different without investing in different gear.
Remember to stay away from the glass of the lens and the sensor or mirror area inside the camera body. A $2 photo trick isn't worth ruining hundreds of dollars of photo gear.
Try these 12 photography tricks and if you have more to add, leave them in the comments below.
Looking for more tricks? Check out our new post about photography hacks next!