Today, we’ll have some fun with lighting and custom bokeh shapes. We show you how to create photos of fun light shapes. All you need to make bokeh shapes is your camera, some craft supplies, light, and a little imagination!
We’ll start with a little background on how you create this blurry effect. Then, we’ll show you how to easily create fun custom bokeh shapes with your camera.
Custom Bokeh Shapes: Bokeh Filter Effects
“Bokeh” is a Japanese word that means “blur” or “haze.” It describes the shape of out-of-focus light. Bokeh isn’t just about the functional form but the artistic effect.
There’s some disagreement about how to pronounce the word bokeh. Most photographers say either “bow-kay” or “bow-kuh.” Some photographers get quite tense about the pronunciation. Just pick the pronunciation you like best. Bokeh is about visual beauty, not correct pronunciation.
Our lenses naturally create a blurred-light effect when the aperture is wide open. For instance, when shooting at f/1.8. How much of the image is blurred is called “depth of field.” Bokeh isn’t about how much of the photo is in focus. It’s about the shape of the out-of-focus lights.
The blur takes its shape from the aperture opening inside our lens. This 50mm lens picture below has a five-blade iris. When it is set at f/1.8, you can see that the opening is a round shape, and its bokeh is also a perfect circle. The bokeh shape changes when I set it to f/8.
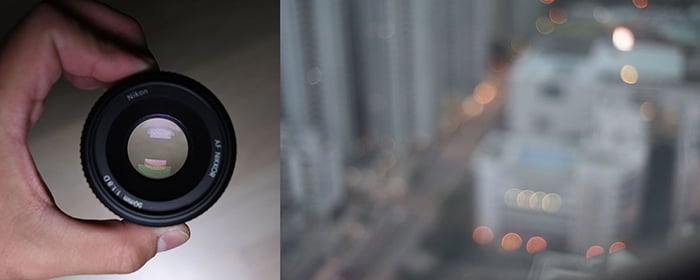
A 50mm lens with an aperture of f/1.8 (left) and its bokeh shape (right).
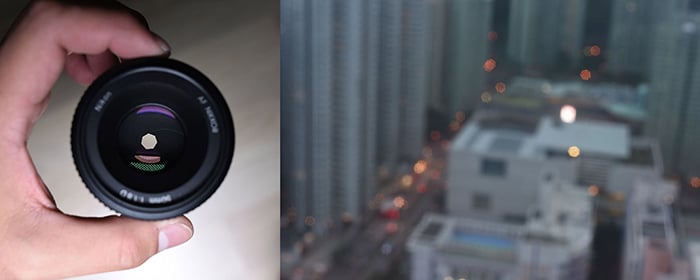
A 50mm lens with an aperture of f/8 (left) and its bokeh shape (right).
Try it with your own camera. Switch to manual focus and point your camera at a light. Twist the focus ring so that the light blurs. This is a time in photography that we don’t want sharp focus.
Watch how the light changes. At some point, you can’t identify light sources. All you’re left with is magical light!

How to Create Custom Bokeh Filter Shapes
The shape of the light is the shape of your aperture. So you might ask yourself, “How do I change the shape of my bokeh?”
We can’t go inside the lens and change the physical aperture opening, but we can change how light enters our lens. To do this, we will create a shaped bokeh filter on the front of our lens.
You can buy a bokeh kit. But it’s a bit pricy and much more fun to do it yourself! Here are the tools you need:
- Camera
- Lens
- Black cardboard or construction paper
- Craft knife
- Drafting compass, circle cutter, or lens cap
- Pencil
- Shaped paper punch tool (optional)
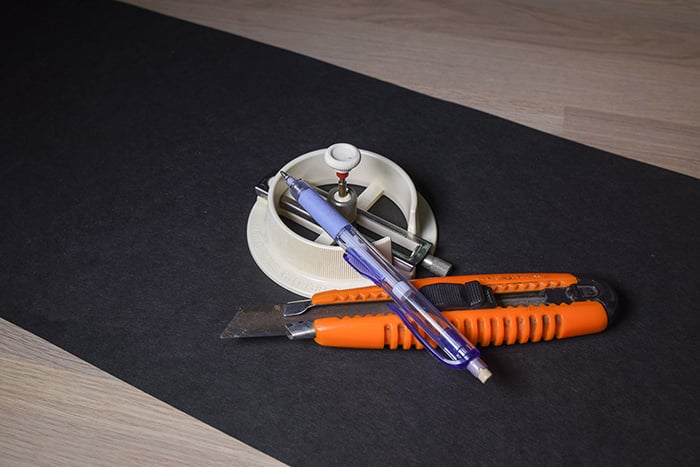
Tools used to create custom bokeh shapes.
Step 1: Cut Out Circles
Cut a circle out of black cardboard by tracing a lens cap or using a compass. The circle should be the same size as your lens. A circle cutter is a useful tool for this. Note that colored paper casts that color into the scene. You may like this effect.
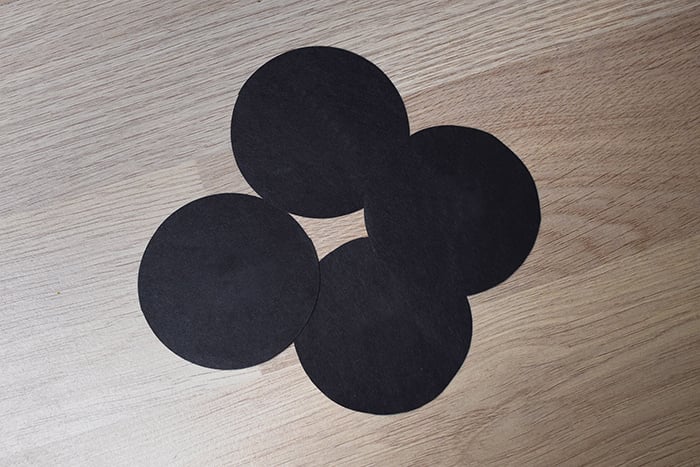
Circle shapes cut to fit on the front of the lens.
Step 2: Draw a Shape in the Center
Mark the center of the circle. Then, draw the shape you want to make with a pencil in the circle’s center. Popular shapes include stars, diamonds, and hearts. You can use any shape you want. But it’s best to use a simple form.
You only have to draw one shape. It multiplies when we take the photo. But there’s no reason why you can’t place two shapes on the same filter.
You may have to experiment with the size of the cutouts. It depends on how large the aperture opening is in your lens. So, it depends on what f-stop you’re using. Start with a shape that is about one to two centimeters across.
Cutting two shapes into the filter creates more complex bokeh patterns.
Step 3: Cut Out the Shape
Cut out the shape with a craft knife or use a shaped puncher tool.
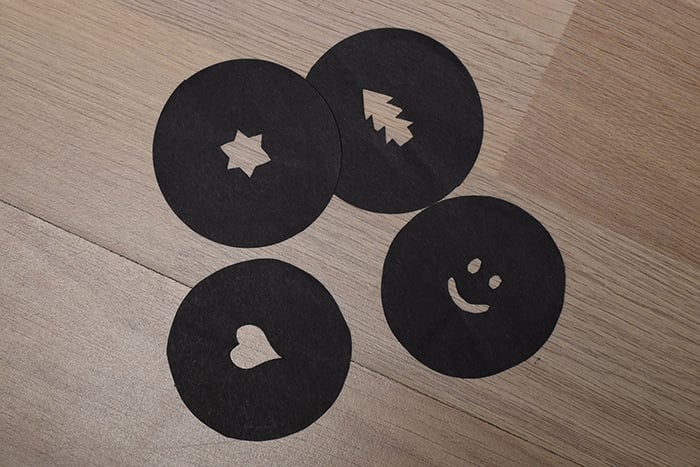
Bokeh filters with cutouts.
Using a Custom Shape Bokeh Filter
Now that we’ve created our custom bokeh shapes, we can use them to create a magical light effect!
Step 1: Put the Bokeh Filter on Your Lens
Attach the filter to the front of your lens. You may be able to fit it into the groves on the front of your lens. If not, use gaffer tape to attach it. Be careful not to cover the cutout shape or tape over your focus ring.
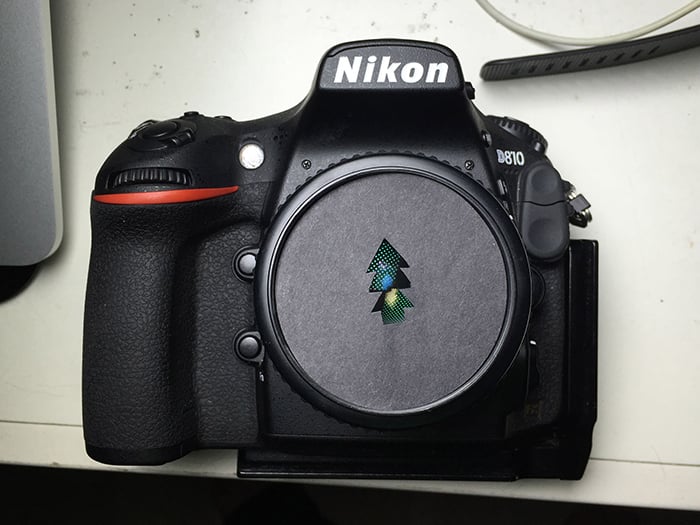
Put the custom bokeh filter on the front of your lens.
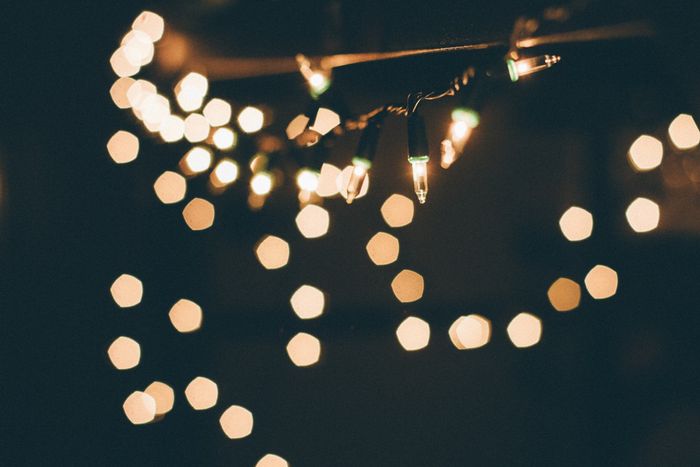
Step 2: Find Lights
Find some lights. City lights make a great photo, but a string of Christmas lights also works. The Christmas lights’ wire and other details will disappear once you blur focus. The effect takes on the color of the lights.
Step 3: Set Your Exposure
Choose the widest aperture that your lens allows. Remember that wider apertures have the lowest numbers. For instance, f/4 is wider than f/8
If your camera has difficulty metering, remove the filter and take a test shot in Aperture Priority mode. Your camera gives you the best shutter speed. If the shutter speed is too slow or the photo is too dark, increase the ISO.
If I want my background darker, I use my exposure compensation dial to take the image -1 or -2 stops (EV). You can also do this by shortening your shutter speed or reducing ISO.
Step 4: Blur Focus
Put your camera in Manual Focus (MF) mode. Point your camera at the lights and twist the focus ring until the lights blur. You should see the shaped lights appear.

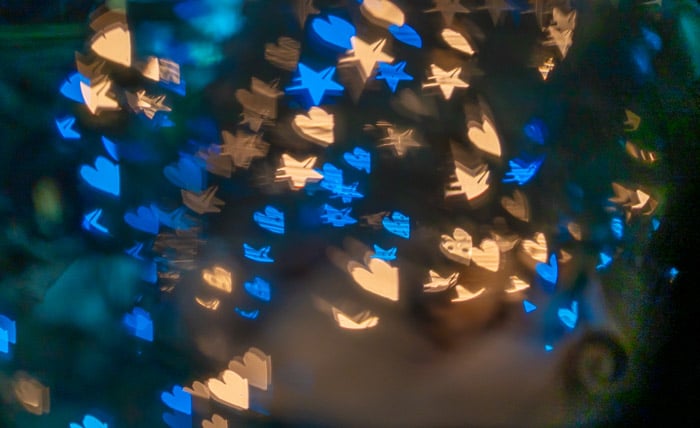
Blur focus to see the custom bokeh shape effects.
Some lenses may create a more pleasing effect than others. Try out a few shapes and a few different lenses. If your shape is upside-down, rotate the filter.
If you want to do something a little more advanced, combine the bokeh effect with a shallow depth of field. Place an object or person in the foreground and your lights in the background. You may have to play with the distance.
Next, focus on the foreground element. This blurs the background lights, and they take on the custom bokeh shape.
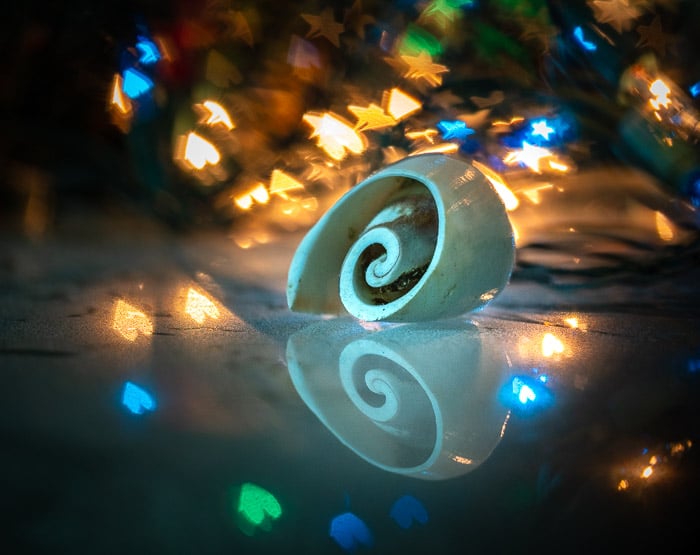
Focus on the foreground element. Custom bokeh shapes are highlighted in the back.
Conclusion: Custom Bokeh Shapes
Creating beautiful bokeh effects is perfect for those rainy days when we’re stuck at home.
This simple effect is easy and doesn’t require much specialist knowledge. Create a custom bokeh shape filter by cutting them out from black paper. Place the filter in front of your lens. Select your widest aperture and use manual focus to blur the lights!
Custom bokeh is one of the topics we covered in our creative photography course, Wow Factor Photography. Below are some of the photos taken by our students.

Photo by Norm Cattoni
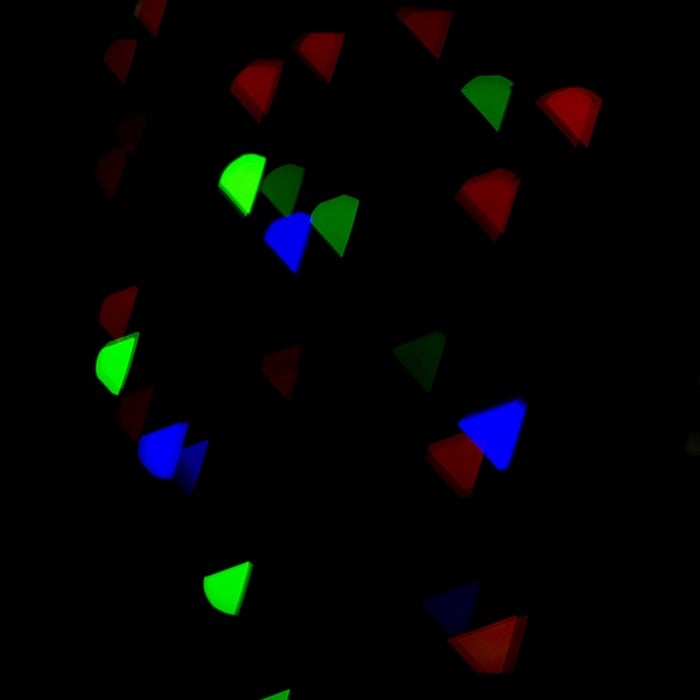
Photo by Mike Lynch


