In the middle of February, love is in the air. What better way to capture that love than with heart-shaped bokeh in your photos? Bokeh is the out-of-focus part of a photo, and creating heart shapes for it is easy if you know how.
We show you how to easily create beautiful heart bokeh in your photos. Use them for Valentine’s Day or any other occasion to show feelings of love, like engagements, weddings, or anniversaries.
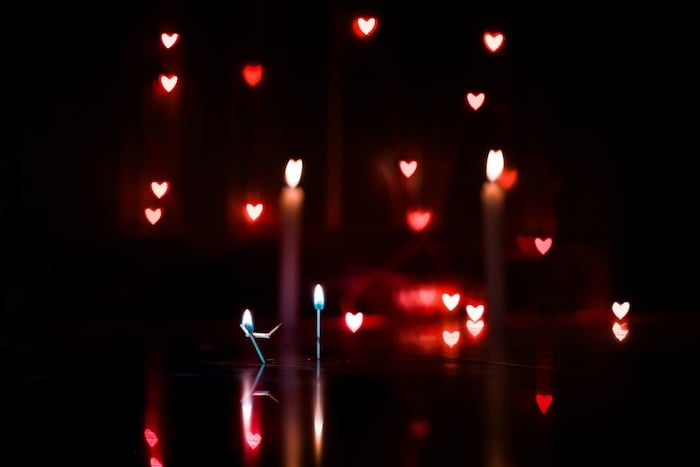
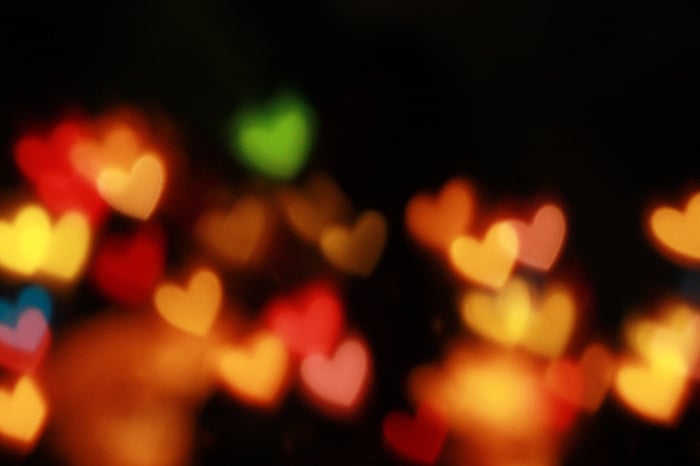
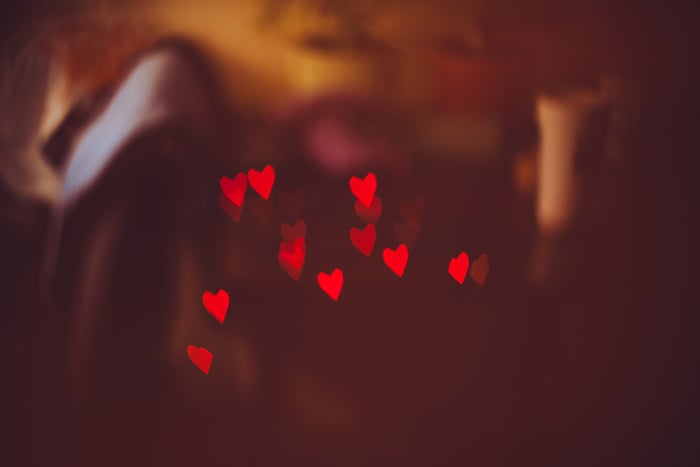
Shot with a Nikon D750. 85mm, f/1.8, 1/250 s, ISO 4,000. Pradeep Ranjan (Unsplash)
What You Need for Heart Bokeh Photography
- Paper: A thick sheet of paper is enough for this project. You can use black or colored paper. Colored paper gives your photos a tint, which is fantastic for colorful photos.
- Pencil: To draw the outlines for the filter and heart bokeh.
- Scissors: To cut out the filter and heart bokeh.
- Colorful Lights: These will help you create that fine-looking bokeh. You can use standout light sources like candles, fairy lights, nighttime city lights, or Christmas lights to create bokeh. The more lights there are, the more heart-shaped bokeh you can make!
- Dark Backdrop: Use a simple dark backdrop to make your heart-shaped bokeh stand out. A sheet of paper, a tabletop, a door, or the night sky will work.
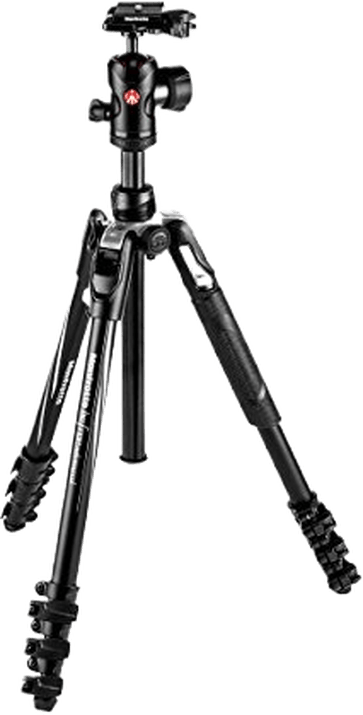
- Tripod: Optional but recommended.
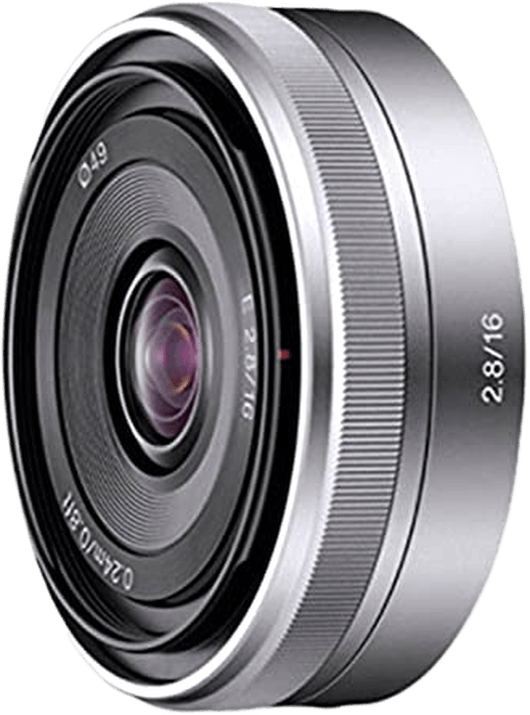
- Prime Lens: This also isn’t necessary, but it helps you take soft bokeh photos without worrying about surrounding light. Prime lenses are great for nighttime and low-light photography. You can buy a cheap prime lens.
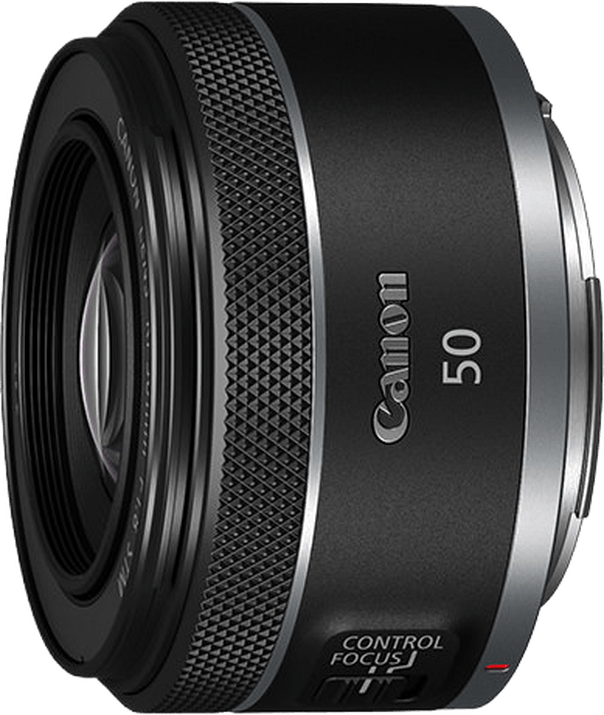
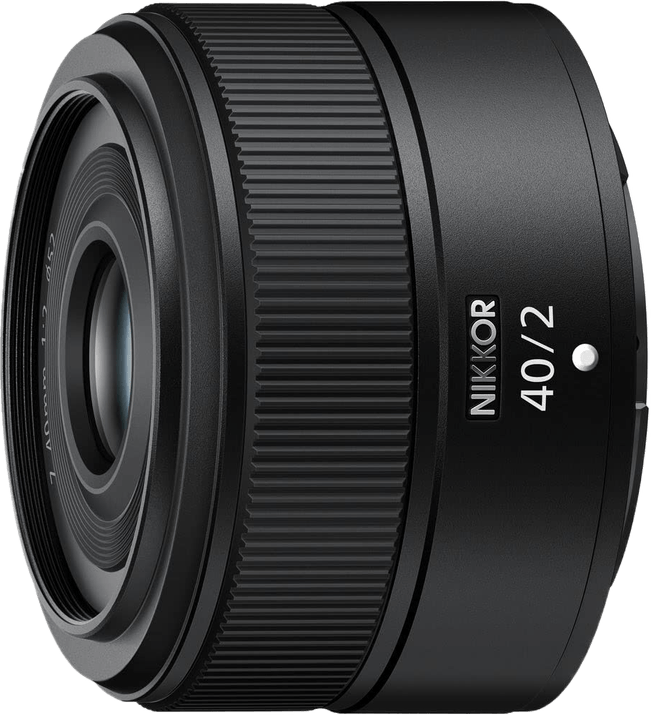
Best Cheap Mirrorless Prime Lenses to Create Heart Bokeh
How to Create Heart-Shaped Bokeh
Here are our seven simple steps to create beautiful heart bokeh in your photos. If this is your first time working with DIY lens filters, we’ll ensure the shooting process is as easy as possible.
Step 1: Prepare Your Studio Setup
First, ensure your DIY home studio setup looks good. Place your lights on or in front of a dark backdrop. I put mine on a dark brown table. You can also hang your lights on a door or wall. Spread them out so that the bokeh will fill your frame.
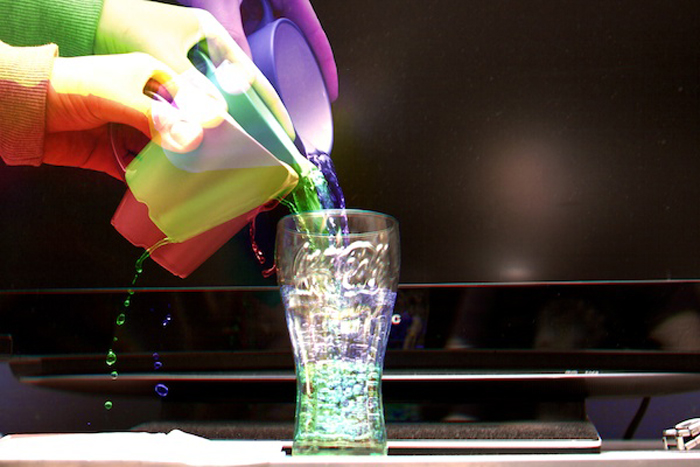
If you want to be more creative, place your lights in a jar, float them over a cup, or have someone hold them above their head. This concept can also be used for Valentine’s Day photoshoots.
Make sure your studio can be easily changed whenever you like. Avoid permanently sticking your lights to a wall or creating a complicated system. You’ll want to experiment with different camera angles and distances, so make your space as flexible as possible.

Step 2: Draw Circles That Match Your Lens’s Circumference
Next, we’ll make the heart bokeh “filter” for our lens. You can draw circles on your paper using the circumference of your lens or trace your lens’s circumference to ensure they will fit. To be safe, always draw circles slightly larger than your lens.
The circles don’t have to be perfect. As you can see in the final image below, mine looked slightly crooked. But they still worked!
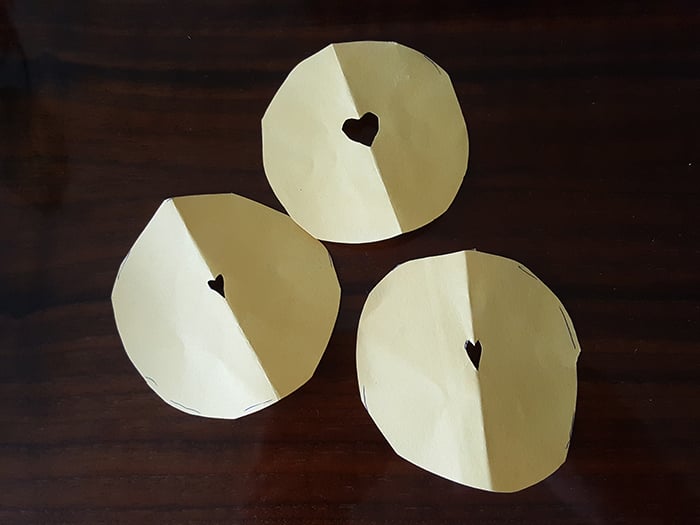
Homemade heart bokeh filters
Step 3: Cut Out Hearts in the Center
To make the heart symmetrical, fold your circle and draw half a heart on the edge, as pictured below. I experimented with three different shapes and sizes. The largest heart worked best for me.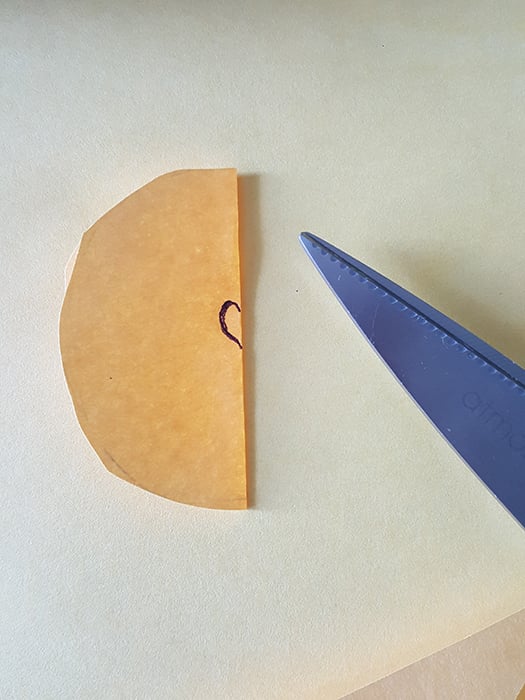
Step 4: Tape the Paper to the Lens
Ensure your heart is centered on your lens so your heart-shaped bokeh effect works properly. Tape the paper to your lens, but avoid taping anything directly onto the front of the lens or any moving parts.
My Canon 50mm prime lens has a manual focus ring that I use. Taping the filter on would prevent me from efficiently focusing away from my subjects.
If you want to avoid sticking anything to your lens, you can hold your DIY filter up in front of the lens instead. But this will significantly limit the way you take pictures.
Step 5: Adjust Your Camera Settings
Adjust your camera settings. For the best results, use a large aperture. The larger it is, the softer and bigger your bokeh will be. Remember, a large aperture means small f-stop numbers like f/1.2 and f/1.8. I used a 50mm f/1.8 lens with an aperture of f/1.8.
If you want the focus to be on your bokeh, underexpose your photos to eliminate surrounding distractions and light. If you include other subjects in your photo, take test photos of them beforehand to adjust your exposure correctly.
Also, don’t be afraid to slightly increase your ISO if your photos look blurry or shaky. To avoid this completely, use a tripod, which is also useful if you want to include your hand in your photos.
Heart-shaped bokeh is difficult to create without small apertures. For example, an aperture of f/4.0 isn’t as ideal as f/1.2. But don’t let this discourage you from experimenting. Most photographers prefer small apertures because they let them take crisp photos of bokeh.
Best Camera Tripods to Take Heart Bokeh

Step 6: Focus Away From the Lights
After the paper is taped to your lens or when you hold your filter up, focus away from the lights. The more you focus away from them, the larger and softer the heart-shaped bokeh will look.
Shot with a Canon Rebel XSi. 250mm, f/5.6, 1/10 s, ISO 800. Rachel Walker (Unsplash)
It’s best not to take photos too close to the lights. The farther away you are, the easier it is to define the shape of the bokeh. When you’re happy with your composition, take some test shots.
Step 7: Experiment With Different Heart Sizes
If your results don’t look great, don’t give up immediately. Depending on your lens type, you might need to cut out smaller or bigger hearts. Some photographers take incredible photos with small heart cutouts. I found more creative freedom with a larger and wider heart.
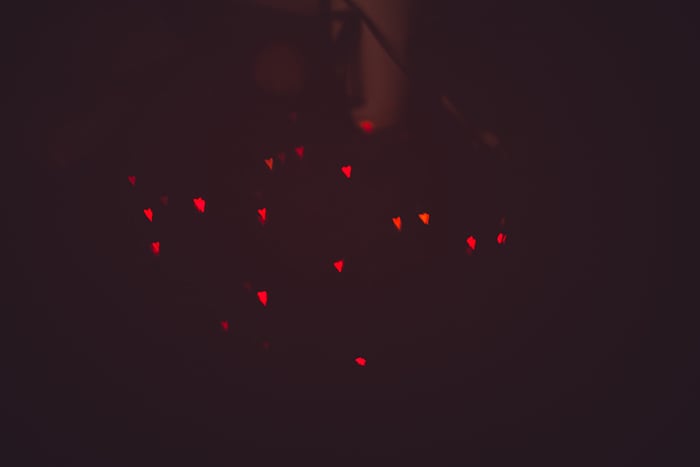
I’ll give you a few examples of different heart-shaped filters. My smallest and narrowest heart cutout resulted in a small, sharp bokeh (pictured below).
Heart-shaped bokeh like this is perfect for conceptual photos that include other subjects, like jars and hands. They don’t fill up enough space in the frame on their own. So, they benefit from other, more dominant subject matter.
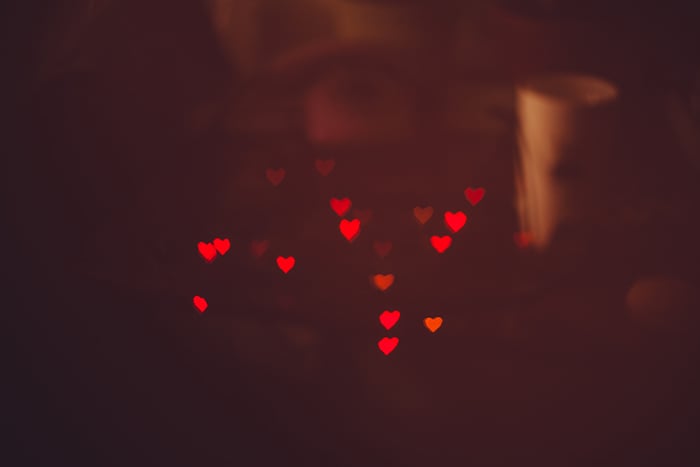
My wide, medium-sized filter resulted in a slightly larger heart bokeh (pictured below). This size is perfect for general photos of heart bokeh and simple Valentine’s Day shoots.
My largest heart cutout (pictured below) resulted in the largest bokeh. Like the medium-sized ones, they are ideal for simple bokeh photoshoots. Remember that distance, aperture, and lens type play important roles in bokeh photography.
4 Tips to Create Heart Bokeh
To have a successful heart bokeh photoshoot, remember these four quick tips:
- The farther away you are from your subject, the larger your bokeh will be.
- Use large apertures for large and soft bokeh. For instance, f/1.4 or f/2.0. The smaller the number, the better.
- Experiment with different cutouts to find your lens’s best shapes and sizes.
- Use a tripod to avoid shaky results.

Shot with a D750. 50mm, f/1.8, 1/4,000 s, ISO 3,200. Element5 Digital (Unsplash)
Conclusion: Shooting Photos With Heart Bokeh
While it might seem complicated, bokeh photography is an easy and fun way to take creative photos of lights. Once you’ve mastered it, you can take conceptual and romantic photos using the simplest tools!
If you don’t want to create a heart-shaped bokeh, buy a ready-made effect instead. But creating a homemade heart-shaped bokeh is easy, fun, and cheaper!