Creating a Facebook photography page is a great way to get your work in front of more people and to build a community of fans and supporters. In this article, we’ll show you how to create a Facebook photography page and how to use it to its fullest potential. We’ll also provide some tips on promoting your work and building an audience. So if you’re ready to take your photography career to the next level, keep reading!
Starting a photography page on Facebook is easy. The crucial part is knowing which options to select to get the most out of your account.
When registering your fan page, the first thing you want to do is to select the right category. I find it’s best to list yourself as a website rather than a public figure.
There are a couple of reasons for this.
First, you look a bit ridiculous when you’ve got 12 fans and you’re calling yourself a public figure.
Second, when you do become a massive success, there are limitations. You can only reach 10,000 fans if you’re not listed as a website.
I wouldn’t be surprised if this changes since Facebook now allows subscriptions.
One of the good things about having your fan page is that it can turn up in a Google search. But this is only if they deem it relevant enough.
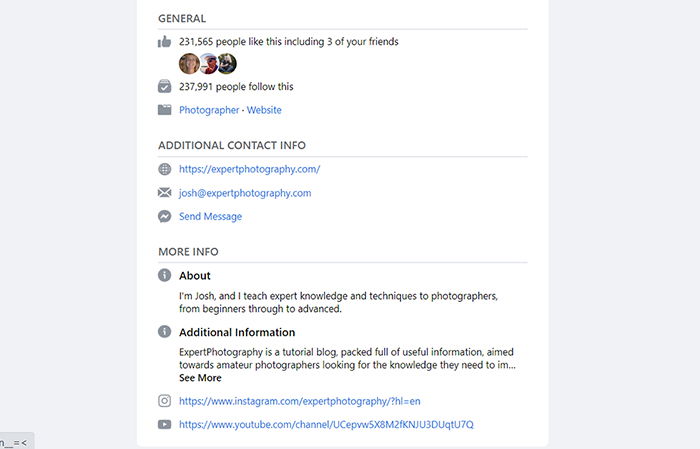
For this to happen, you must include the right information. To do this, edit the About section when you make a Facebook page. Tell people about who you are and what you do.
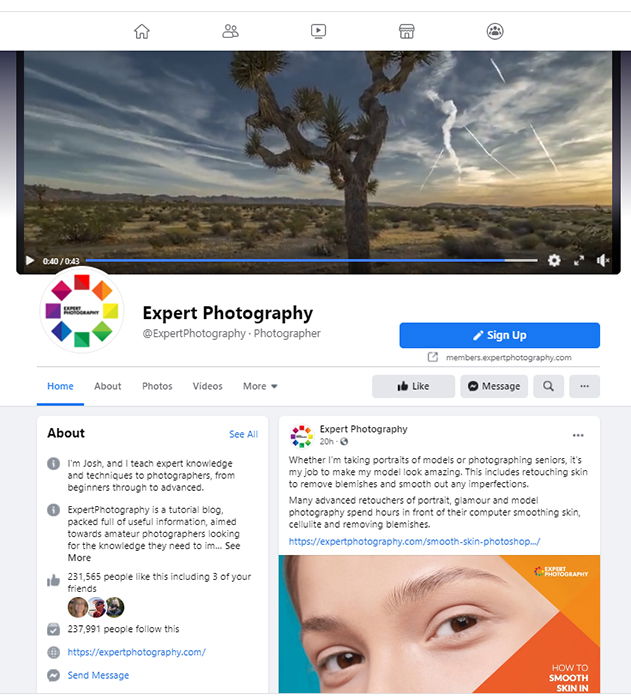
The About section will appear, above the like counter, under the profile picture. You can use it to attract new visitors viewing the Facebook page for the first time.
It costs nothing to fill in, so make sure you don’t avoid it.

When you make a Facebook page, the profile picture is a little bit more complicated than your regular account. Since you have a photography business, pick a photo that best represents your services. It’s a great way to attract and make people like your page.
Your profile picture is displayed as 170 x 170 pixels on computers and 128 x 128 pixels on smartphones. Since recent updates, it comes with a circle cropping.
Use that space to display either an image or some text that would enable people to learn more about what you do when they go through your account.
I’ve used both, as you can see below, but I currently prefer the simple version.
With the simple version of the profile image, I can do three different things:
The logo icon is especially important because it’s what people see when I comment on a post or write something on my wall.
My logo helps to build my brand, and it can do the same for you if you choose the right one. It doesn’t have to be a logo as such. It could even be just your name or favorite photo. But it should be something that you want to associate with yourself.

When you make a Facebook page, the cover is a great way to attract even more people. So make sure you choose something that will catch people’s eyes. After all, it’s the first thing anyone visiting will see.
You can add a still image of something photographic, text-based, or a mixture of the two as your cover photo. You can even choose to show a video if you want.
Make something captivating and unique to make the most of your cover photo. Your logo, an image, and the text of what you are about may be a little too much.
Feel free to experiment with themes that tie together your profile and cover photos. You can try anything from using similar color schemes to displaying pictures with related content.
Remember to give as much visual information as possible without being over the top. If your profile photo is your logo, keep it free from the cover.

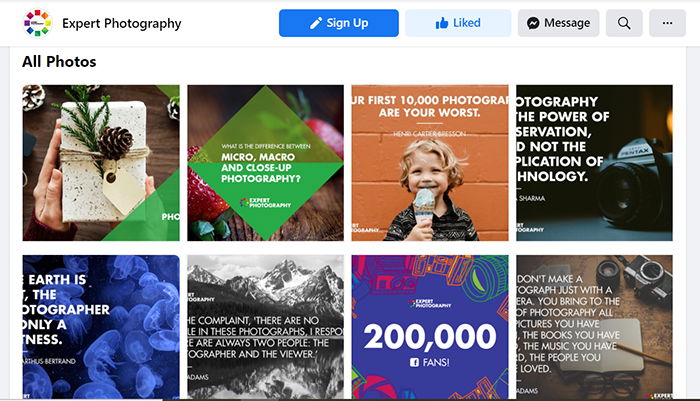
All your photography Facebook pages should have access to your portfolio.
I’m aware that people still worry about sharing their photos on Facebook for legal reasons. Don’t be.
So long as you take care of how you put them up, no one will steal them or use them for anything worthwhile.
The first thing to do is learn how to professionally share your photos on the internet. You can read about it here.
Pay attention to how to post photos when you make a Facebook page. It’s more important than you may think. Things like color profiles and image sizes are crucial to make sure all your images display correctly.
You can always include a watermark if you’re worried about people taking your photos.
If anyone steals your watermarked photo, it will be clear where it came from, and you can take legal action.
Have a look at my Facebook watermark below. Nothing is worse than taking a good photo and putting a big garish watermark in the center.
It’s completely distracting from the photo and won’t do you any favors. So just make sure it’s small, in the corner. You can learn more about creating watermarks here.

What I see all the time on Facebook are a few good photos dispersed among a load of rubbish.
When you’re sharing photos, remember that your album can only ever be as strong as the weakest photo. Don’t include poor-quality images. They take the attention and interest from your best photos.
If you include all your wonky, poorly exposed duds, people will likely not even like your page.
I’ll give you an example:
I was at a friend’s wedding BBQ the other day. I took 761 photos, but only 156 made it into a photo album.
I’m way past taking wonky, out-of-focus, or poorly exposed photos. But I still ensure that the variety I’m displaying will interest the reader.
No one wants to look at five photos of the same person doing precisely the same thing from the same angle or perspective. That’s why you need to remove the pictures you deem redundant and stick to the ones that will make people click for more.
It’s best to select your 30 best images and post them every day of the month. Sometimes even one fascinating image can stimulate the viewer’s curiosity about your work.
You’re onto a good thing if you leave the viewer impressed and wanting more.

You also need to post pictures to your Facebook page frequently.
You may have noticed that I regularly update my Facebook wall with new photos. It’s so that I can keep you interacting with my Facebook and get your feedback on my photos.
You may also notice that you no longer hear from specific pages on your Facebook, even though you “like” them. It happens when you stop interacting with them.
Keep up your interaction with regular photos if you want your fans to remain interested when you make a Facebook page.

When you make a Facebook fan page, the goal is to get clients. We must make it simple and easy for them to like and follow us.
By adding a Call To Action button, you can turn your page into something other than another boring and mundane page.
Our Call To Action button on the Expert Photography Facebook Page says “Sign-up.”
The Sign-up button is different from the “Like” button, as it shows there is extra content than just what you show here. This will be the same for you, as the Facebook fan page is there to direct people to your website.
If a prospective client clicks on the button, Facebook will direct them to our website, where they can sign up with their email. In return, they get a free video and an introduction to our offer.
The call to action button makes it easy for people to get more involved and look at our services. If you don’t make it easy, they will like the page and, quite possibly, move on. They will feel they have had the maximum interaction with you, your page, and your company.

Once you’ve completed all of the above, it’s time to start sharing the page and getting people to like it.
It used to be that, after you had 25 likes, you could claim the custom URL, but I think that’s changed, so you don’t have to anymore.
Either way, it shouldn’t be hard to find 25 fans. Just bribe your friends!
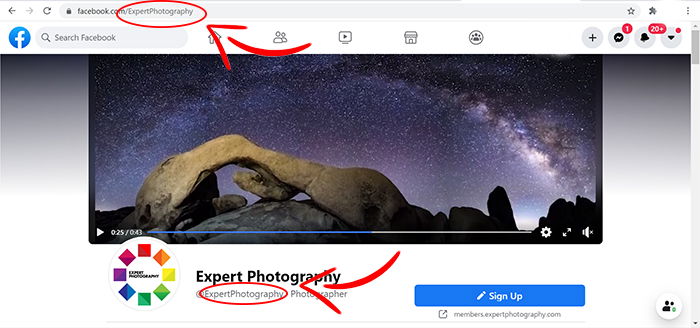
One of the first things you want to do when you make a Facebook page? Claim your Username. This is what most people will use to find your page when searching.
My top tip for choosing this name is to use capital letters.
Facebook will recognize where you have specified capital letters. So, when I set the URL to ExpertPhotography, even when someone types in www.facebook.com/expertphotography, it reverts to www.facebook.com/ExpertPhotography, which looks much better.
You can do all this from your “About” section.
Keep your title relevant and include the word “photography.” ”Tim Smith Images” doesn’t tell you that he’s a professional photographer, even if you think it sounds better.
Keywords are essential when it comes to internet marketing.

The next step is to go into your resources tab and select how you want to connect with people.
You may want to take out some advertising or email your contacts, telling them that you have a new fan page.
There are two options that I always use. The first is to connect your page to Twitter if you have one.
That way, whenever you post something on Facebook, it will appear on Twitter too. This should hopefully improve your reader’s interaction.
Slightly more complicated: use a social plugin if you use a website. In other words, you need to create a Facebook Like box that people can click on while browsing your site, instantly making them your fan.
There are different options for different websites, but one thing I would recommend is to use the official Facebook plugin.
I wasted so much time not using it. Although it’s not the best-looking thing in the world, it certainly helps to gain new fans.
My page is currently growing by about 1,000 new fans a month. I put a lot of that down to this plugin.
Don’t miss this step.

After you make a Facebook page and complete everything above, the final step is to share it on your personal Facebook and ask all of your friends to like it.
I’m not one for finding fans like this because if they’re not interested in what I’m offering, I don’t want them on the page – it does nothing.
But when you’re first starting, it helps to boost your numbers so you don’t look like an amateur.
And there you have it: everything you need to produce a page that will get more customers for your photography.
Are you looking for more great social media photography tips? Check out our Instagram tips for smartphone photographers or our photography tips for food bloggers.
To learn how to build a serious following with social media, don’t miss out on our e-book, Social Success Strategies!