Photoshop grids and guides are tools to make editing your photos easier. Use them if you need to straighten lines in a photo or when creating a layout.
In this article, I’ll show you how to use them both.
How Do You Make a Photoshop Grid?
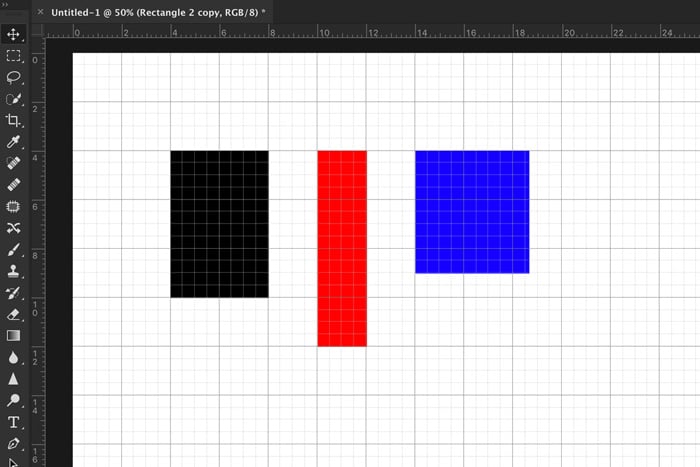
We’ll start with the grid. The grid is non-printing and a great help when aligning objects or laying out elements symmetrically.
Architecture and landscape photographers will find it especially helpful to straighten buildings and horizons.

It’s very easy to make a grid in Photoshop. Here’s how.
Step 1. Add a Grid
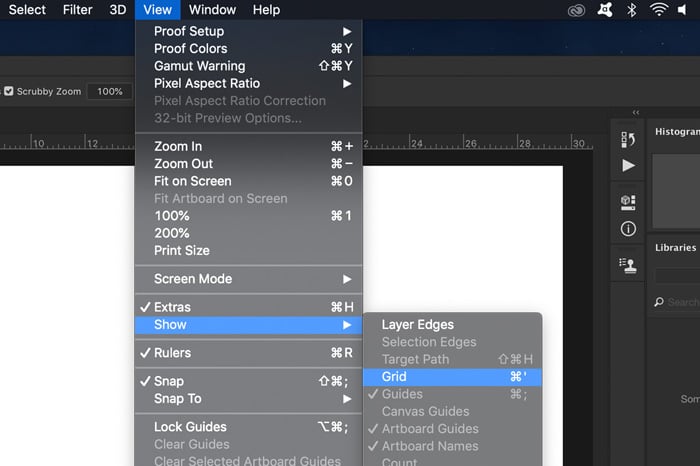
Open any file or create a new one. Go to View > Show and choose "Grid" to add a grid to your workspace. It will pop up immediately.
The grid consists of lines and dotted lines. You can now edit the appearance of the lines, units, and subdivisions.
Step 2. Edit the Photoshop Grid Preferences
Go to Photoshop CC > Preferences and select "Guides, Grid & Slices." For Windows, go to Edit > Preferences and select "Guides, Grid & Slices."
A new window will pop up where you can edit the preferences.

You can change the color of the lines and their appearance.
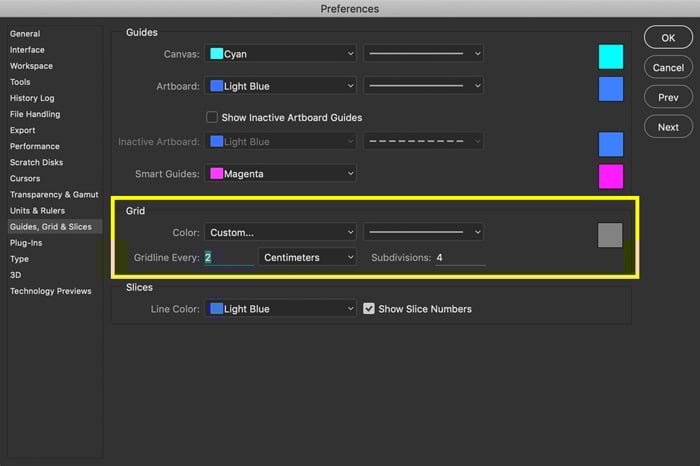
And more importantly, you can set how far apart you want the grid lines from each other. Then, depending on your project, set how many subdivisions you want between the main lines.
Step 3. Snapping
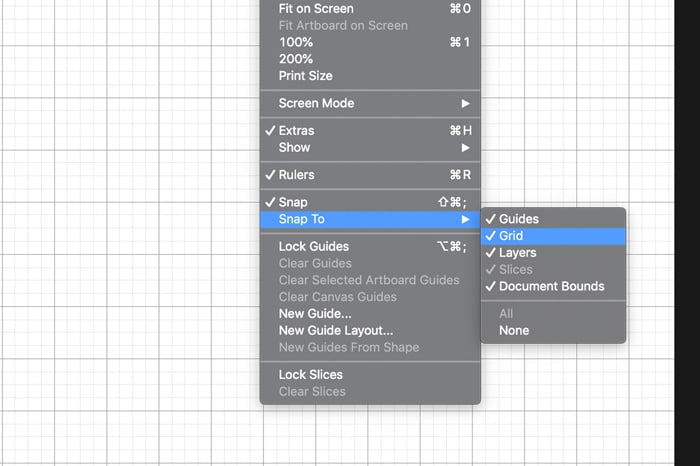
Enable Snapping if you want Photoshop to help you place objects. Go to View > Snap to and choose "Grid."
You’ll notice now that objects will click into place on your grid.
When you’re finished, turn the grid off again to check out your design.
How to Add Guides in Photoshop
Guides have a similar purpose but the difference is that you create every guideline yourself.
Step 1. Adding the Ruler in Photoshop
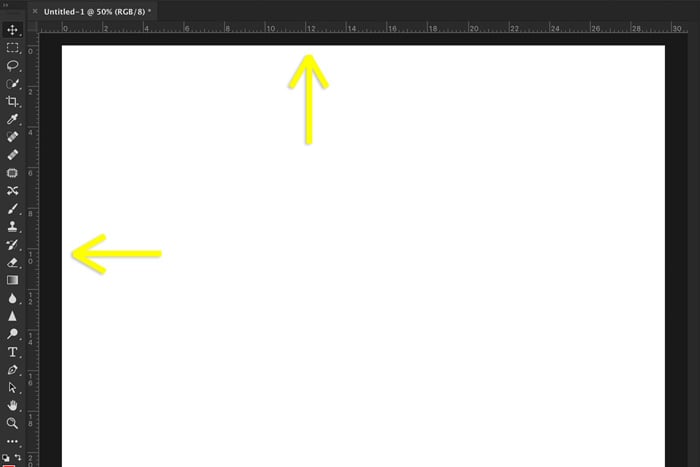
Before you can add guides, you need to add the rulers to your workspace. Go to View and select "Rulers."
Two rulers will appear. One on the left and one at the top of the workspace.
You can also change the Photoshop ruler preferences. Go to Photoshop CC > Preferences and select "Units and Rulers."
A new window will pop up where you can set the units and other preferences.
Step 2. Add Guides
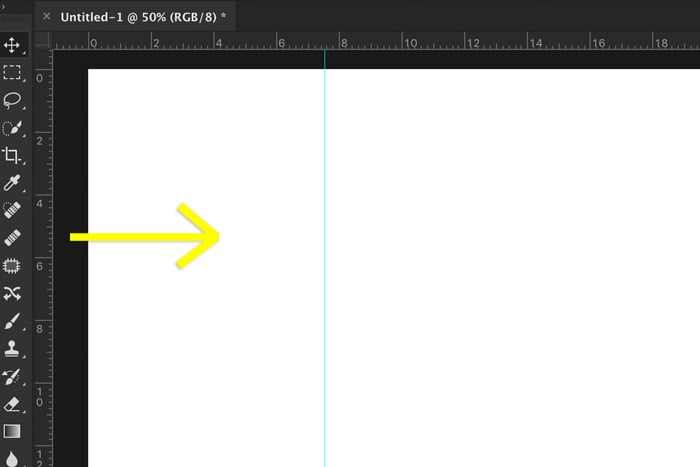
To create a guide, simply click on one of the rulers and drag a guide onto your photo or layout.
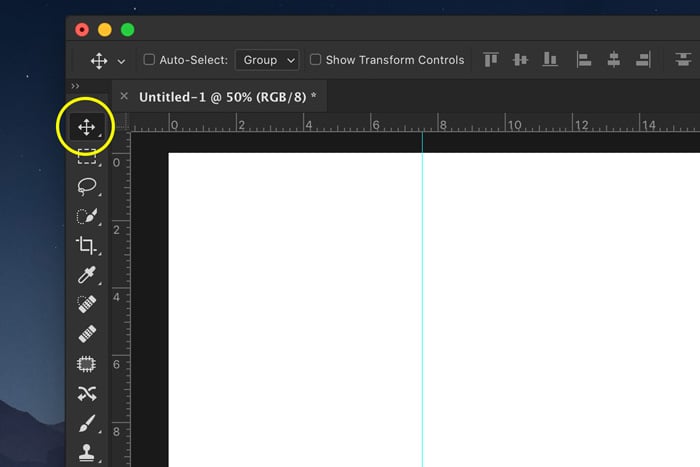
To move a guide, make sure the Moving tool is selected, and then click on a guide and drag to move it.
Once you have created all the guides you want, you can lock them. Go to View and select "Lock Guides."
Step 3. Snapping
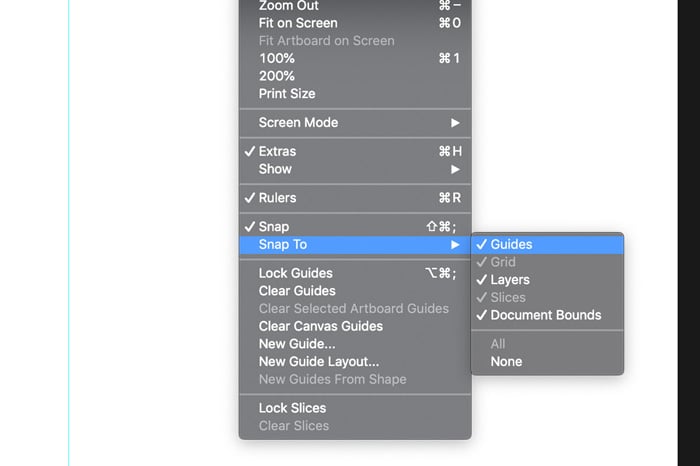
You can also add Snapping to your guides. Go to View > Snap to and select "Guides."
Like before, this will make objects snap or click into place along your guides.
Step 4. Remove and Hide Guides
When you’re finished, you can either clear or hide guides in Photoshop.
Go to View and select "Clear Guides" to remove them.
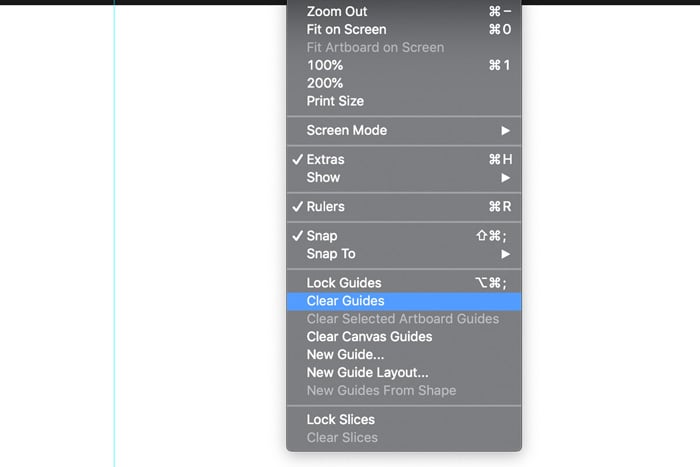
Go to View > Show and select "Guides" to hide or make them reappear.
Conclusion
The Photoshop grid and guides are useful for all kinds of projects. I use them mostly when I want to straighten landscape or architecture shots.
If you like graphic design, you’ll want to use the grid or guides for laying out or aligning elements.
It is definitely worth learning how to use them and can make a huge difference in your post-processing workflow.
Want to improve your Lightroom editing skills as well? Check out our course Effortless Editing with Lightroom!


