Time-lapse photography is a great way to add a new level of creativity to your work. You can create new types of media, venturing away from the standard still photography, and use your camera skills to make stunning video art.
The concept of time-lapse photography is simple. But mastering the art takes time, effort, and the right gear. Thankfully, we have all the information you need to start making your own breathtaking time-lapse movies.
- Learn to capture stunning scenes with any camera in minutes.
- Master the art of storytelling through motion and time.
- Access award-winning techniques without expensive workshops.
What Is Time-Lapse Photography?
Time-lapse photography involves taking several still images in the same spot over a period of time. Afterward, you combine them to create a movie. Because the movie is a series of images taken from the same point, it looks like time is moving faster.
By taking pictures at set intervals, you’re condensing large periods of time into smaller ones. For example, you can take a sequence of images over days and produce a video that only lasts one minute.
You can choose the span of your time-lapse sequence. You can capture an image in the same spot over an hour or two or have the camera take a picture just once a day for a month or even a year. You can even show night falling or the seasons changing in one concise video.
Spacing the intervals is also up to you. Shorter intervals give you more shots in a shorter time, and longer intervals are used when documenting big swathes of time.
We won’t go too deep on the technicalities just yet. We’ll take you through time-lapse movie-making step by step so even absolute beginners can try this fantastic art form. Remember to click the links in each section to see the full, in-depth articles. Jump to the section you need:
- Time-lapse vs speed-up video
- How to shoot time-lapse photography
- Types of time-lapse
- Time-lapse photography gear
- Editing time-lapse videos
Time-Lapse vs Speed-Up Video
Time-lapse and speed-up videos are two popular types of accelerated video media. Time-lapse photography requires more setup. It uses an intervalometer to calculate the length of the final video and set an interval between shots.
Speed-up videos are simpler to create because they record a scene without stopping. They are also better for capturing very fast subjects, as intervalometers have a minimum interval of one second.
Time-lapse photography has advantages. It takes up less storage space and allows access to long-exposure features to capture movement. It also provides more control over details when editing.
The best interval for time-lapse depends on the subject’s speed. Faster objects need shorter intervals. Both time-lapse and speed-up videos are useful in their own ways. The best option depends on factors like the time of day and desired results.
Check out our in-depth article to learn more about time-lapse vs. speed-up video differences.
Shooting Time-Lapse Photography
Time-lapse videos are a great way to express your creativity through photography. But even if you’re an experienced photographer, making smooth, exciting time-lapse videos can be tricky.
To make time-lapse videos in all conditions, you must know your camera settings and master time intervals. It’s also best to have the right tools, know how to use them and avoid common mistakes.
Camera Settings
When shooting time-lapse, it’s important to use the right camera settings. Set your camera to Manual mode and adjust the aperture, shutter speed, and ISO for the best exposure. Use manual focus to avoid the camera refocusing between shots.
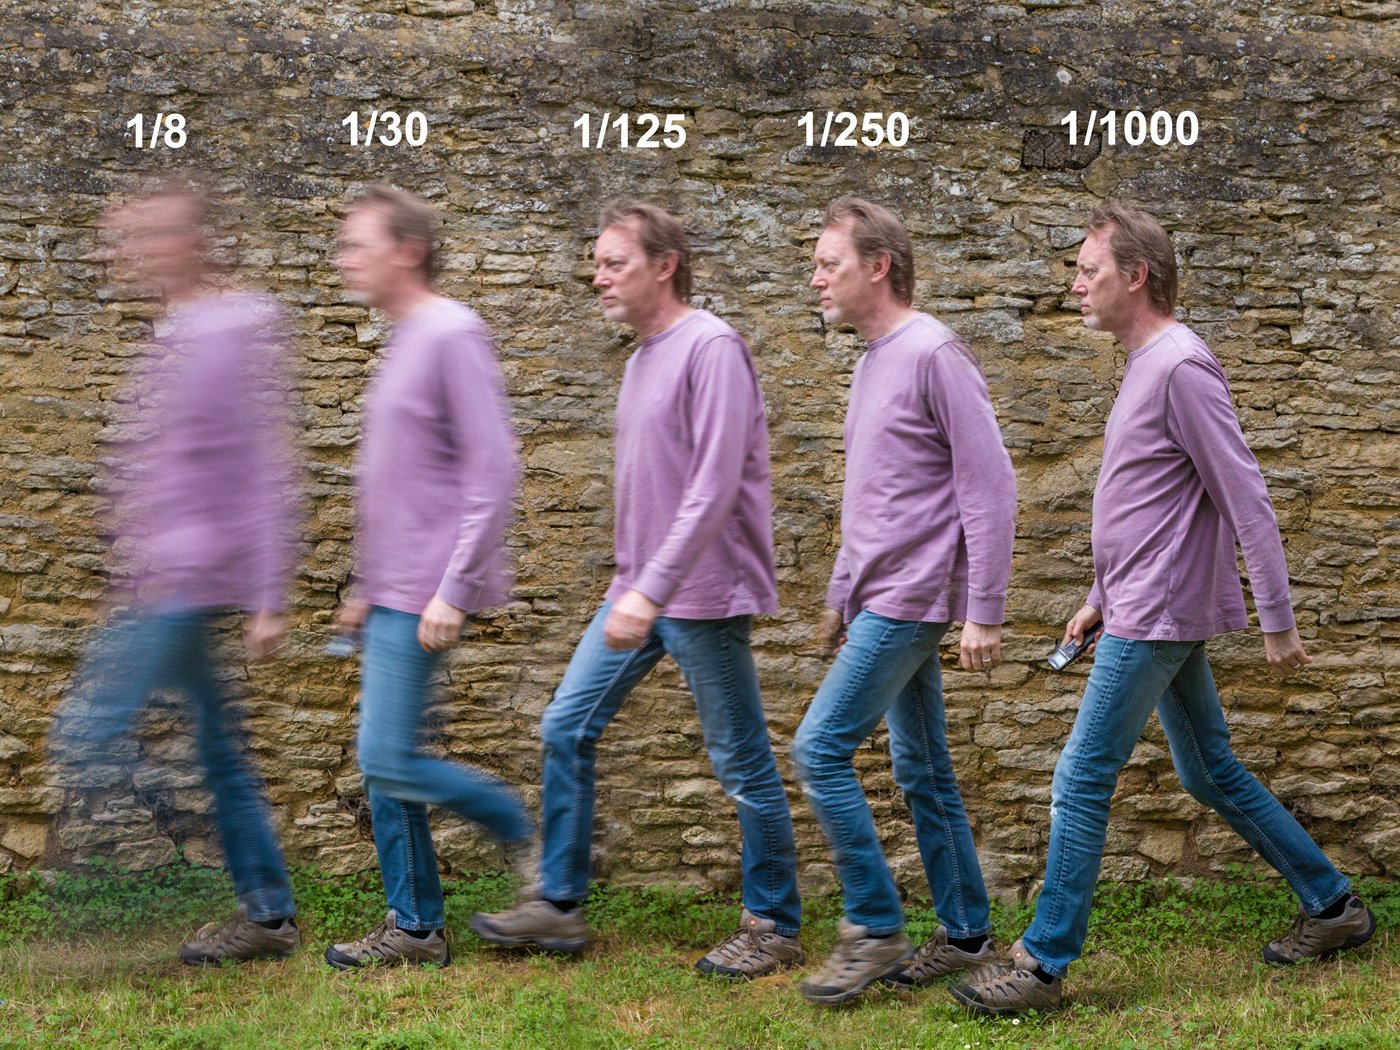
Shutter speed is a key setting. A fast shutter speed makes moving subjects appear to jump between frames. A slower shutter speed of 1/15 s (seconds) or longer gives a more fluid motion effect. Use an ND filter if you need slower shutter speeds in bright light.
There are many great subjects for time-lapse photography, from cityscapes to nature. You can create amazing time-lapse videos with the right settings and some practice.
Interval Calculators
A time-lapse interval calculator is a useful tool for creating smooth time-lapse videos. It tells you how many frames you need and the time between each shot. The time-lapse photography calculator saves you from doing complicated math in your head.
To use a time-lapse calculator, input the length of your final video and the frame rate you want to use. The calculator then gives you the number of frames needed and the interval size between shots. If you know the file size for each shot, it can also tell you the total memory usage.
Time-lapse calculators make the process simple and quick. They let you focus on getting the right shots for your video instead of spending time on calculations. If you want to learn more about using a time-lapse interval calculator, click the link to see our full article.
Perfecting Intervals
Choosing the right time-lapse interval is key to making smooth videos. The interval is the time between each shot in a sequence. Longer intervals make the final footage appear faster.
To find the best interval, consider what you’re shooting and the desired speed of the final video. For example, fast-moving clouds look best with an interval of two seconds, while calm clouds need at least three seconds. Sunrises and sunsets shine with three- to five-second intervals.
Crowds and traffic need shorter intervals of one to two seconds to capture motion. Construction projects spanning months or years can use intervals of 10 to 20 images per day.
Selecting the right interval for your subject creates an engaging and dynamic time-lapse video. Our detailed guide covers more scenarios and allows you to delve deeper into time-lapse intervals.
Mistakes to Avoid
Time-lapse photography is a fun and creative way to capture the world around you. But sometimes, your time-lapse video can look choppy or laggy, usually due to a few common mistakes.
Always shoot in Manual mode and RAW format to avoid a laggy time-lapse video. These settings give you more control over your camera settings and preserve image data for later editing. Use a polarizer or ND filter in bright light to prevent overexposure.
Experiment with different locations and angles to keep your time-lapse interesting. Most importantly, take your time post-processing. Color correct and smooth out any flickering or choppiness.
Learn why your time-lapse lags to help you create stunning, professional-looking videos.
Types of Time-Lapse
We discuss the different types of time-lapse photography you can experiment with and provide tips for each niche. As needed, you can continue to our full articles.
Day to Night
Shooting a day-to-night time-lapse involves capturing a landscape as it transitions day to night. This type of time-lapse photography requires patience and the right equipment.
Set your camera to Manual mode and use an intervalometer to take photos at regular intervals. The interval length depends on the scene and how long you plan to shoot. Longer intervals work well for day-to-night time-lapse photography.
Cover your camera’s viewfinder to prevent light leaks from affecting the exposure. Use Live View mode to track the scene and adjust settings as the light changes. Once you have all the images, use software like LRTimelapse to seamlessly blend them into a stunning day-to-night time-lapse.

Hyperlapse
A hyperlapse is a more dramatic and cinematic version of a time-lapse. Unlike time-lapse photography, hyperlapses don’t need a tripod and involve moving the camera to create a sense of motion.
To make a hyperlapse, choose a location with lots of open space. Decide on the type of movement you want, such as moving towards, away from, or around a subject. Shoot in RAW and Manual mode for full control over your camera settings.
Select a focal point to keep your compositions stable, and use the grid display to keep it in place. Take a photo with every step to create the motion effect. You can take your hyperlapse to the next level with hyperlapse editing in Lightroom and a video editing program.
Hyperlapse With Dolly Zoom
You need a camera, tripod, zoom lens, and bubble level to create a dolly zoom effect in your time-lapse.
Choose a subject with distinct edges, like a building, and attach your camera to the tripod at eye level. Use grid lines to keep your photos consistent by aligning the subject with a specific line.
Take a step forward, zoom out slightly, and take a photo. Keep the subject aligned with the grid line and the bubble level centered. Repeat this process, taking at least 24 to 30 photos for a one-second video at 24 frames per second (fps).
Color-correct your photos in Adobe Lightroom to make them stand out. Use the bulk edit feature to adjust settings like contrast, saturation, and clarity. Import the photos into a video editing program like Adobe After Effects and stabilize them using the warp stabilizer.
Check out our in-depth article to learn more about the dolly zoom technique for hyperlapses.
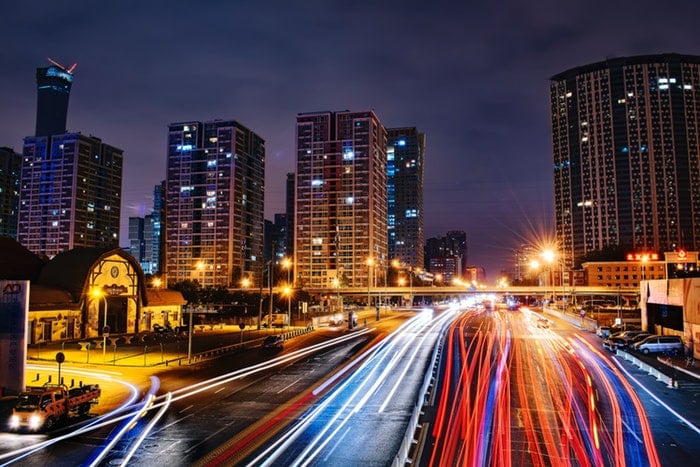
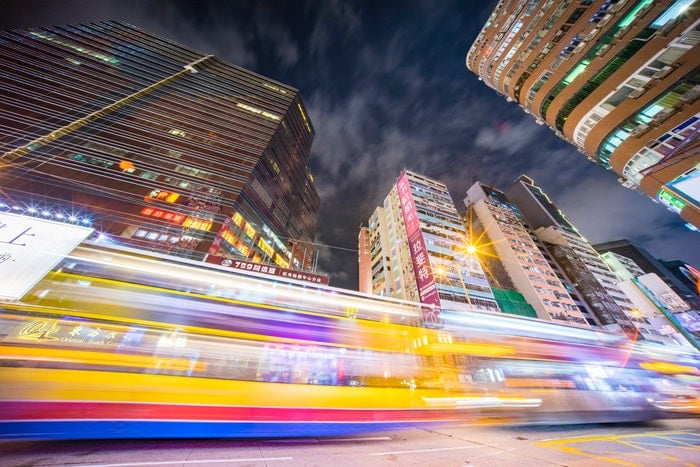
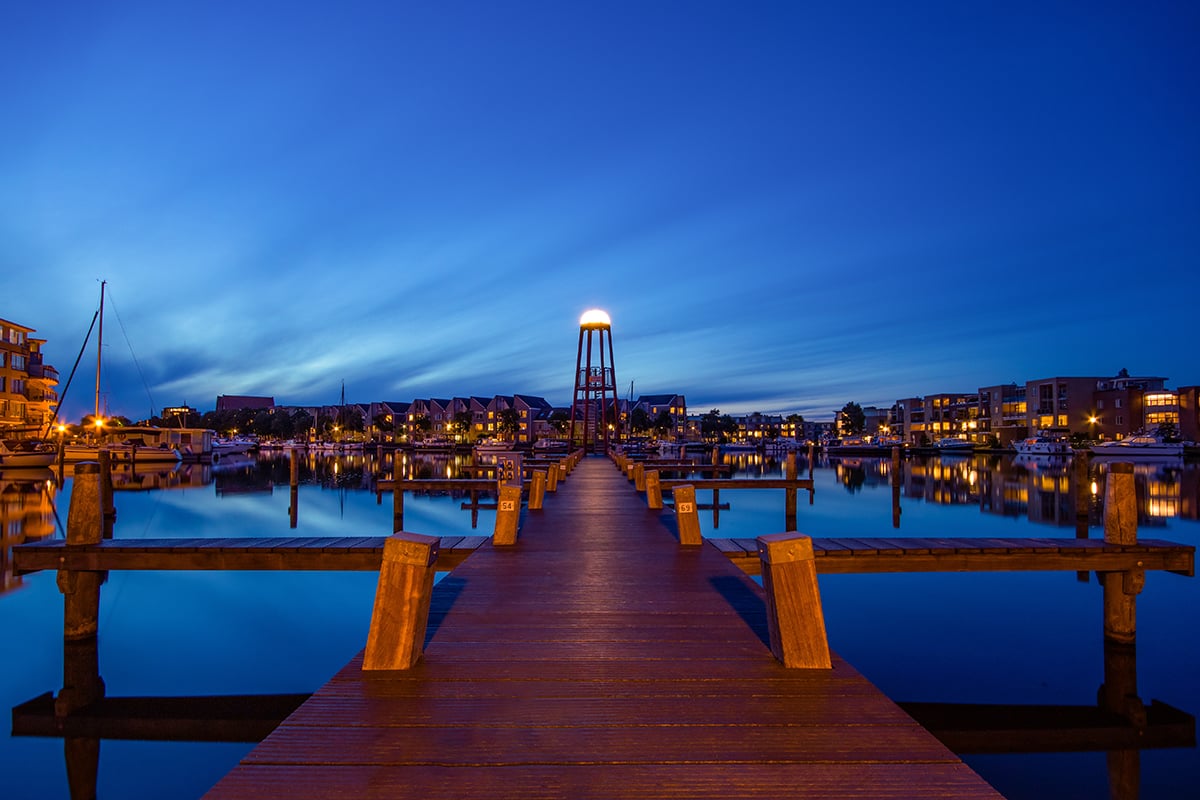
Long Exposure
Long-exposure time-lapse photography combines their techniques to create surreal and captivating videos. You need a camera, lens, intervalometer, tripod, and ND filter to achieve this effect.
Choose a busy location to capture more movement and light trails in your time-lapse. Shoot in Manual mode to maintain consistent camera settings throughout the time-lapse.
Use a high ISO in low light conditions and a small aperture like f/11 to capture sharp details. A slow shutter speed of 3 to 10 seconds creates smooth light trails and seamless movement.
Manually focus your camera to avoid inconsistencies and use an ND filter to prevent overexposure in bright daylight. Set your intervalometer with the desired interval and the number of photos. Use a time-lapse calculator to determine the best settings for your desired video length.
With patience and experimentation, you can create stunning long-exposure time-lapse videos. They showcase the beauty of movement and light. Our comprehensive guide helps you dive deeper into the world of long-exposure time-lapse.
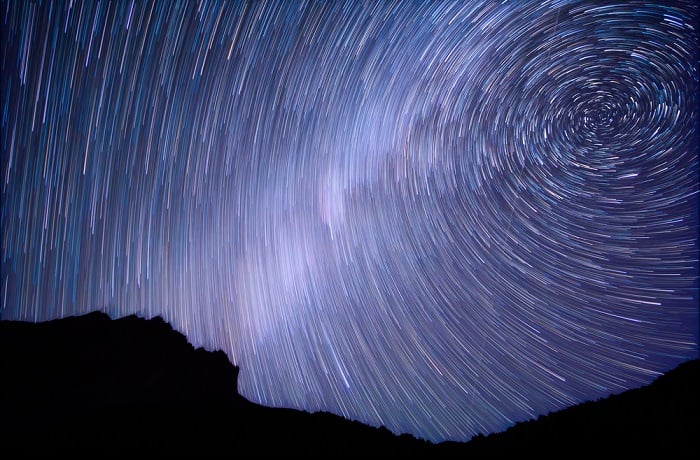
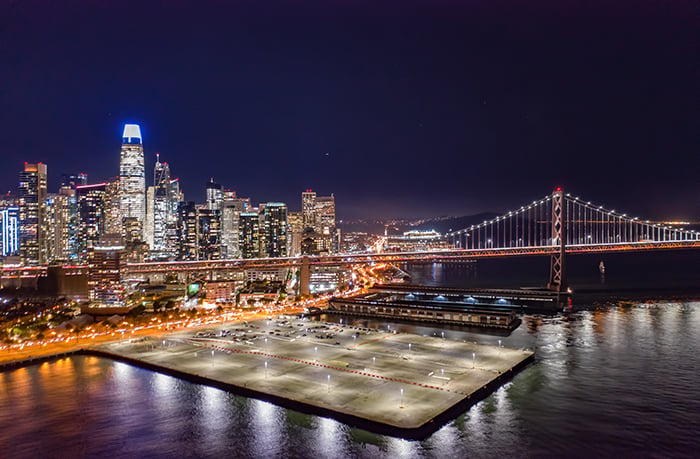
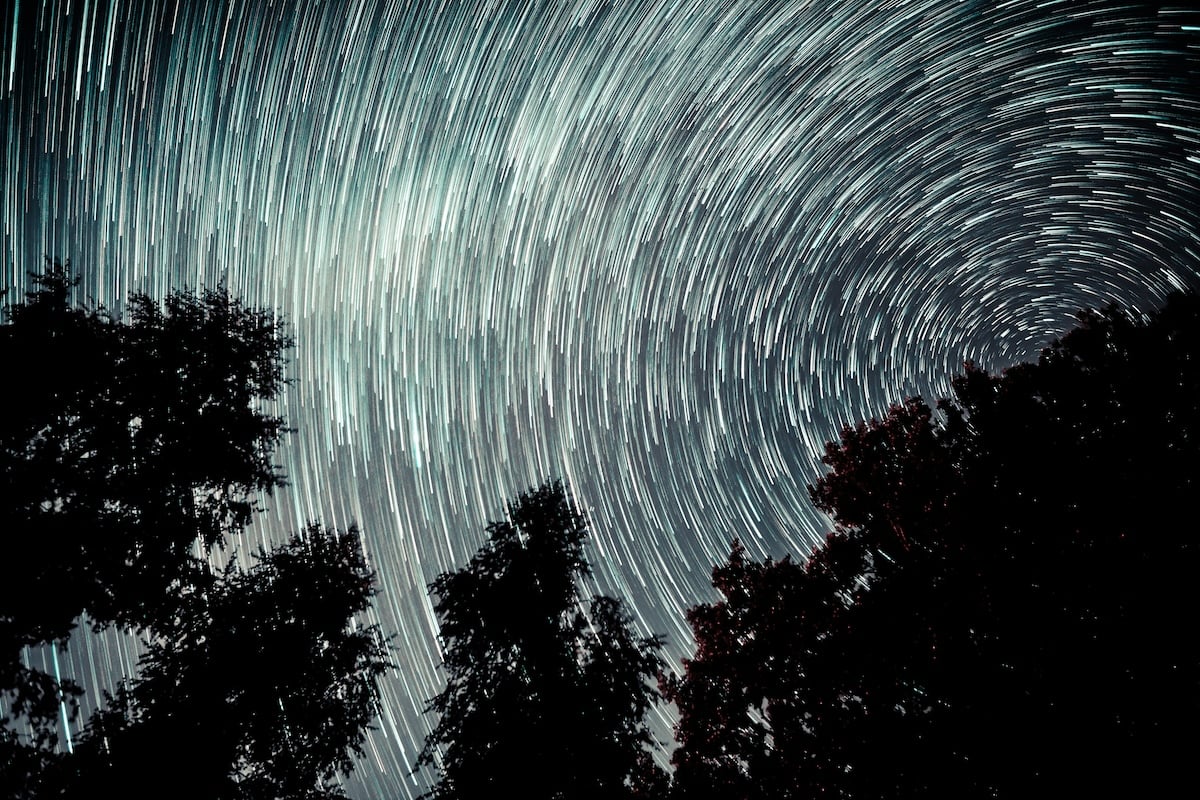
Night Sky
Capturing a stunning night sky time-lapse video is easier than you think. Start by finding a dark location away from built-up areas to avoid light pollution. Use a sturdy tripod to keep your camera still for the long exposures.
Set your camera to Manual mode and use a wide aperture like f/2.8 to let in as much light as possible. Keep the shutter speed under 30 seconds to avoid star trails. Take test shots and adjust the ISO until you get a well-exposed image.
Next, set up your camera’s built-in intervalometer or use an external one to take photos at set intervals. Let the camera run for at least an hour to capture the movement of the stars.
Finally, you must use editing software like Adobe Photoshop to stitch the photos together. Learn more about night sky time-lapse to create even more impressive videos.
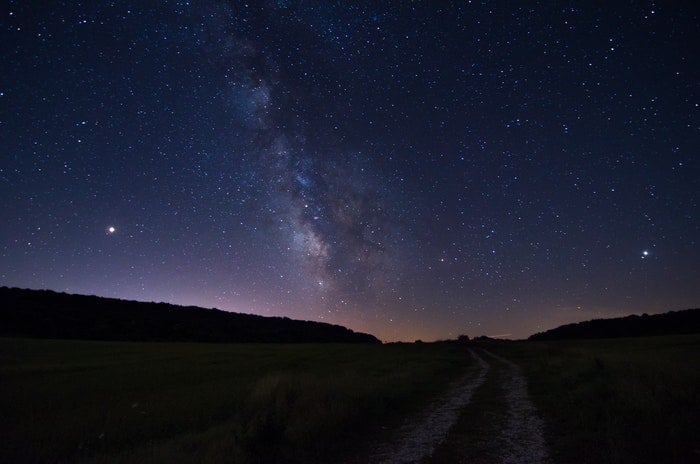
Milky Way
To capture stunning Milky Way time-lapses, find a dark location away from light pollution. Use apps like Light Pollution Map or Dark Site Finder to locate the best spots. Bring a tripod, intervalometer, and torch to navigate in the dark.
Set your camera to Manual mode and shoot RAW for the best results. Use a high ISO to capture more light, but avoid the highest setting to minimize noise. Experiment with slow shutter speeds for star trail effects or faster speeds for sharper stars.
Include landscape elements or foreground objects to add interest to your composition. Special tools like motorized camera sliders and rotating bases can elevate your Milky Way time-lapses to the next level.
Explore our in-depth guide for more tips on creating breathtaking Milky Way time-lapse videos.
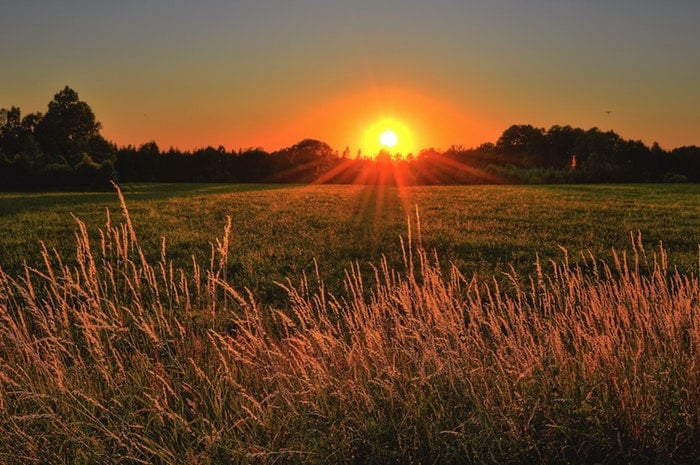
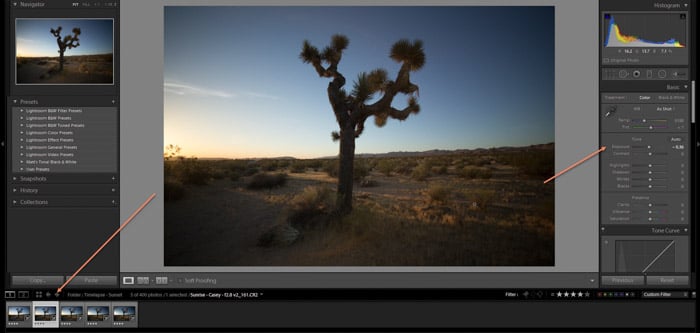
Sunset
You need a camera, tripod, intervalometer, and editing software to take stunning sunset time-lapse videos. Find a location with a great view and check the weather beforehand. Arrive at least an hour before sunset to set up your equipment and find the perfect composition.
Use Manual mode and set your interval to 5 to 10 seconds for a smooth time-lapse. Adjust your exposure every few minutes to ensure consistent photos as the sun sets. Find a beautiful focal point that tells a story, and get creative with angles.
Once you have your photos, use time-lapse software to turn them into a professional video. The correct sunset time-lapse settings can help you create spectacular videos that showcase the beauty of the setting sun.
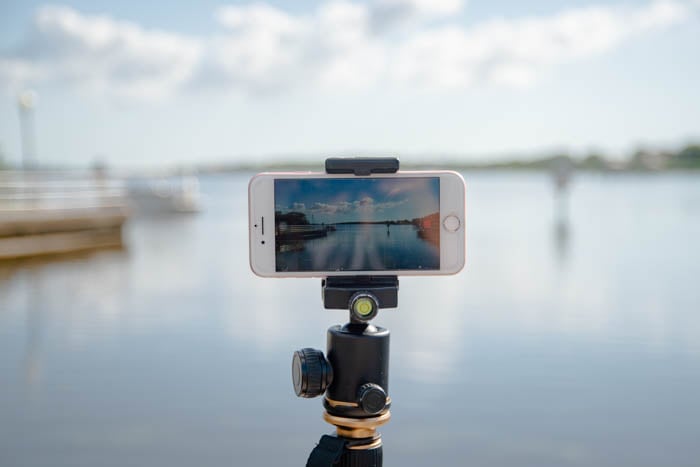
iPhone Time-Lapse
Creating time-lapse videos on your iPhone is simple. Open the native camera app and select Time-lapse mode. Press the record button to start capturing photos every few seconds, then press it again to stop it.
For the best results, use a tripod to keep your iPhone steady. Consider using a fisheye lens for more engaging landscape shots. Remote triggers can also help avoid camera shake.
The iPhone automatically stitches the captured photos into a video. To improve your iPhone time-lapse skills, try using third-party apps. Hyperlapse provides image stabilization, and Frameographer gives you more manual controls.
Experiment with shooting stationary subjects in busy environments. You can also create hyperlapses by moving the camera during recording. Read our full write-up on iPhone time-lapse photography.
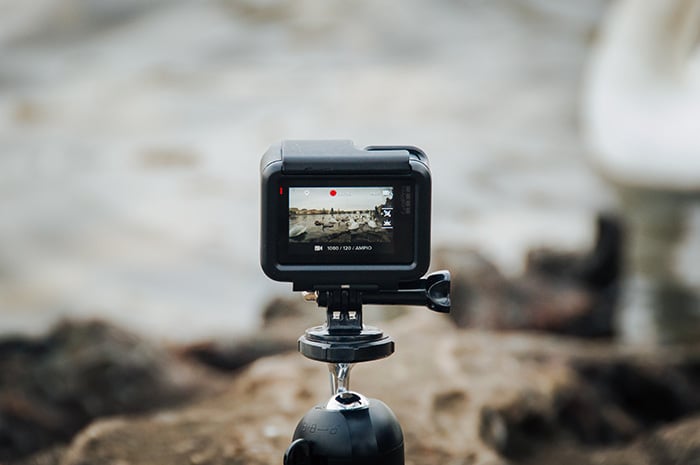
GoPro Time-Lapse
GoPro time-lapse settings let you create cool, fast-motion videos. To get started, put your GoPro in time-lapse mode. Then, choose an interval, like one photo every second. The longer the interval, the faster your video appears to move.
Mount your GoPro on a tripod to hold it steady. Frame your shot, then hit the shutter button to start recording. The camera automatically captures photos at your set interval until you stop it.
GoPro stitches the images into a video for you. For more control, use the Time-lapse Photo mode instead to get individual images you can edit into a custom GoPro time-lapse.
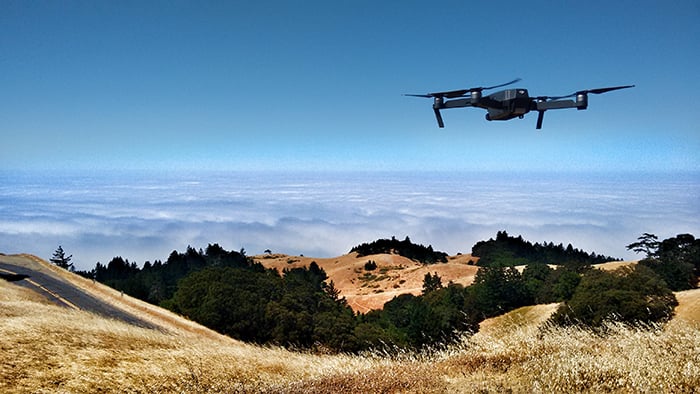
Drone Time-Lapse
Drone time-lapses take your videos to new heights. Shoot in Manual mode for full control over settings like shutter speed to get the best results. Use a slow shutter to create a dreamy effect with smooth motion.
Set your drone to take a photo every two seconds or less to ensure transitions between shots look natural. Shoot in JPEG mode to keep file sizes smaller, which speeds up editing later.
For an even more creative twist, try making a hyperlapse. Move your drone in a straight line or pattern while it takes photos at regular intervals. The result is an immersive 3D effect. We have a comprehensive article on drone time-lapse if you want to learn more.
Time-Lapse Photography Gear
Time-lapse photography requires specialist equipment. That doesn’t mean you must spend loads of money on new gear, but it is best to know what to look for before your next shopping spree.
Of course, you need a camera capable of taking time-lapse photos. It’s also best to have a tripod to hold your camera in position during the shoot. A remote shutter release is also useful.
Cameras
In theory, you can use any digital camera to create time-lapse videos. But the truth is that some cameras are better for this type of photography than others. And the best cameras have built-in features to help you create breathtaking time-lapse movies.
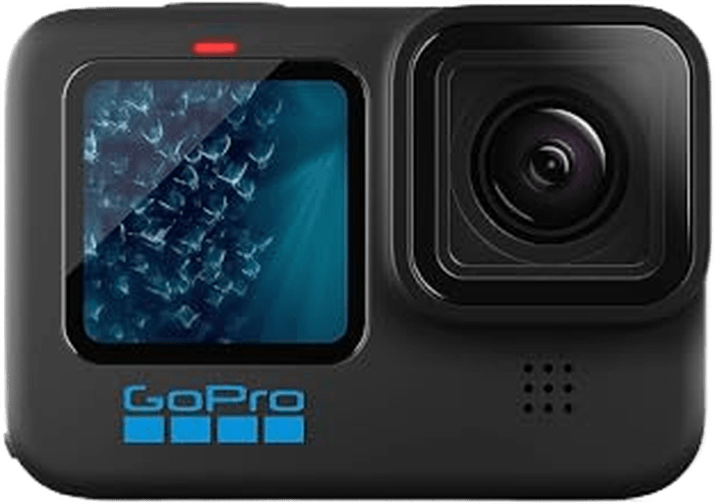
The GoPro Hero11 Black is our top pick. It makes time-lapse and hyper-lapse videos super easy. The image stabilization is unmatched, keeping your shots smooth as the camera moves.
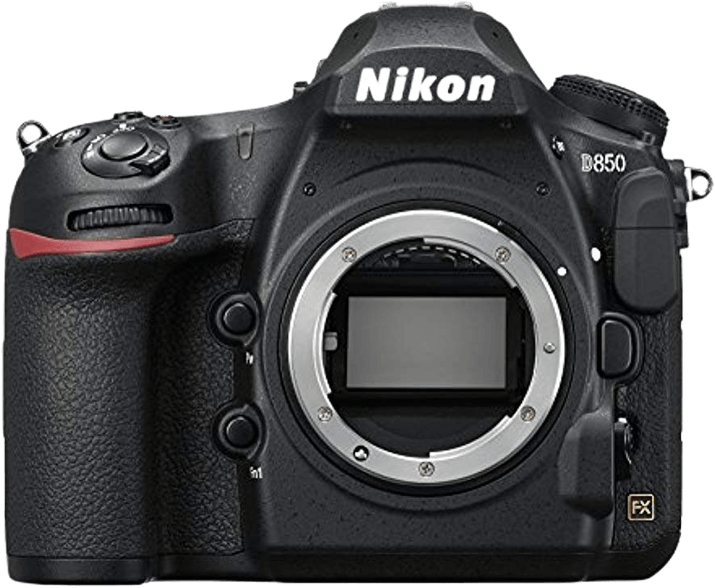
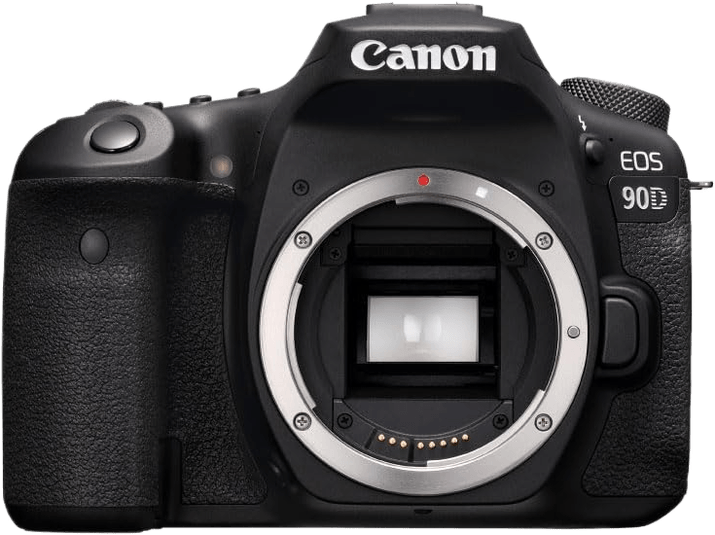
The pro-level Nikon D850 DSLR has a built-in intervalometer and time-lapse movie modes. Its full-frame sensor delivers top image quality and produces beautiful 8K time-lapse movies. The Canon EOS 90D is a great APS-C DSLR with similar interval shooting options in a lighter body.
The Sony a7 III is a favorite mirrorless camera with a built-in intervalometer. It captures stunning time-lapses with excellent low-light performance. For a unique option, the modular DJI Action 2 offers amazing stabilization and easy time-lapse in a rugged, go-anywhere design.
Consider key features like interval shooting modes, sensor size, stabilization, and form factor. Read our full article to find the best time-lapse camera for your needs.
Our Top 3 Choices for the Best Camera for Time-Lapse Photography
Tripods
A sturdy tripod is essential for capturing smooth time-lapse videos. The best time-lapse tripods are made from strong materials like aluminum or carbon fiber. They have a high load capacity to support your camera and accessories.
Look for a tripod with adjustable legs and a fluid head for smooth panning and tilting. Quick-release plates make it easy to attach and remove your camera. Rubber feet provide a stable base on any surface.
The Vanguard Alta Pro 263AB 100 is an excellent choice for time-lapse photography. It offers unmatched flexibility and stability, perfect for capturing stunning wide-angle shots. Our full write-up explains more about choosing the right time-lapse tripod.
Our Top 3 Choices for the Best Tripod for Time-Lapse Photography

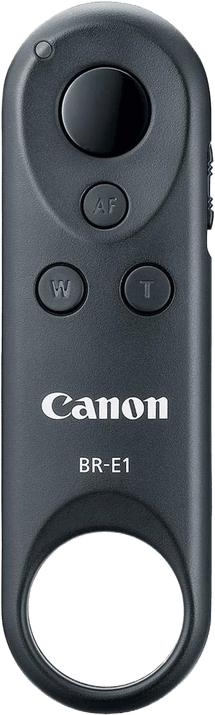
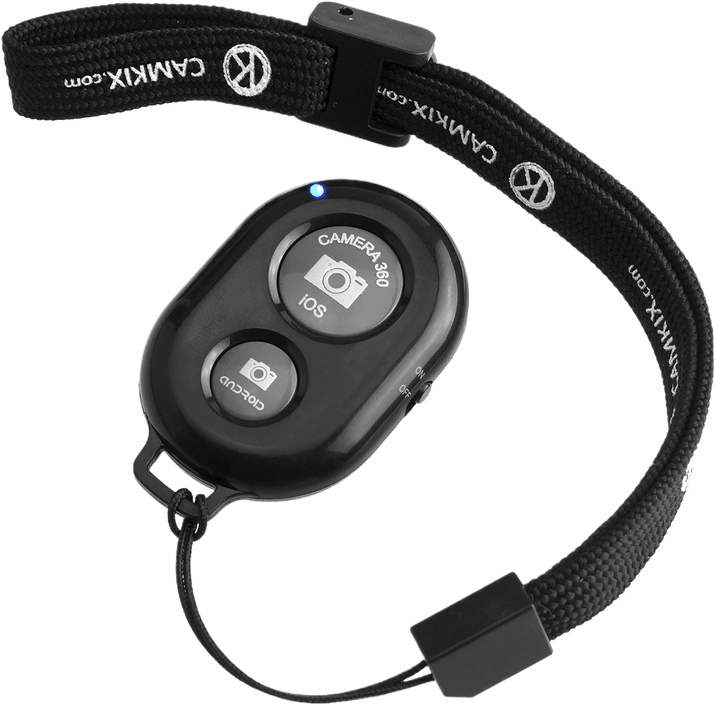
Remote Shutter Release
A remote shutter release is a handy tool for many types of photography. But they are particularly useful when creating time-lapse videos. This is especially the case if your camera doesn’t have a built-in intervalometer.
The Pixel TW-283 E3/N3 is the best camera remote for time-lapse shooters. It has an intervalometer for perfectly spaced time-lapse intervals. But it also has other creative shooting modes, making it a versatile photography tool. It also has wired and wireless connectivity options.
Our full article has more options, so read on to see all the best remote shutter releases.
Our Top 3 Choices for the Best Camera Remote for Time-Lapse
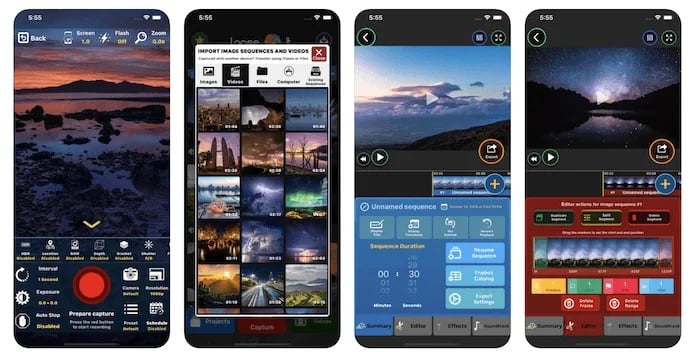
Apps for Time-Lapse
As mentioned, you don’t need a fancy camera to make incredible time-lapse videos. All you need is a half-decent smartphone. Many time-lapse apps are available for Android and iPhone smartphones, making the process simple.
Some native camera apps on iPhone and Android have a built-in time-lapse setting that is easy to use. Find the time-lapse option, press record, and choose how long to capture the video. You can then edit the video in the app or another video editor.
Other popular time-lapse apps offer more features and customization options. Many let you adjust settings like focus, ISO, white balance, resolution, and frame rate. Some also have extra tools like adding audio, filters, and effects.
Read more about the best time-lapse apps to improve your time-lapse photography skills using only your smartphone!
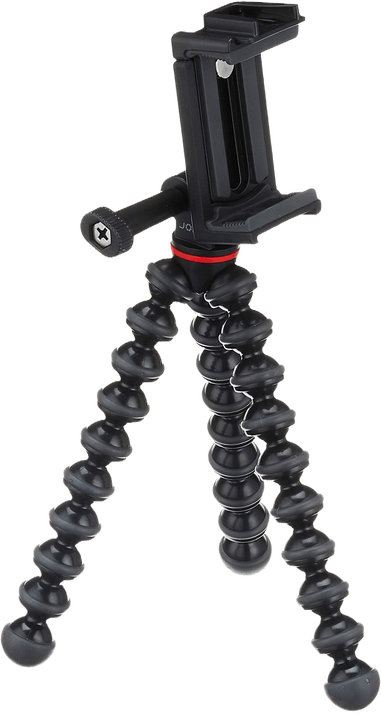
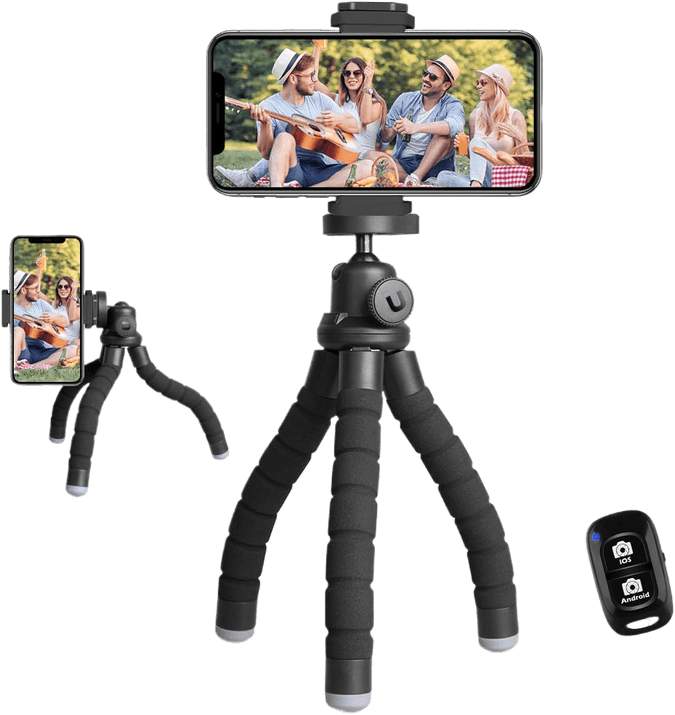
Smartphone Tripods
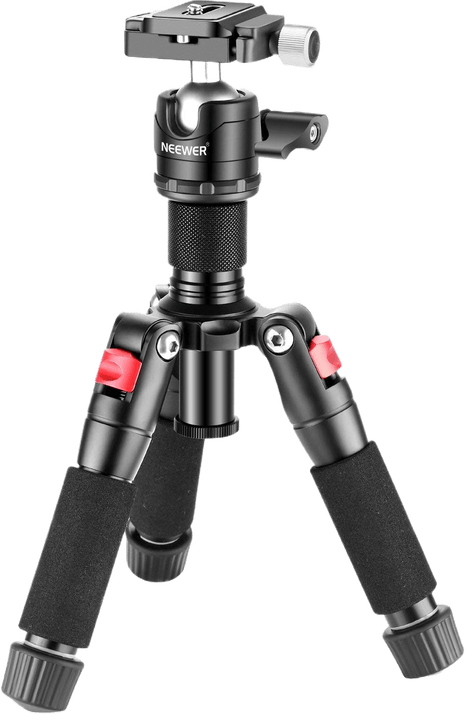
If you make time-lapse videos with your smartphone, you need a mini tripod with a phone holder attachment. These accessories are great for anyone making content with their mobile. But they’re essential if you want to make time-lapse videos!
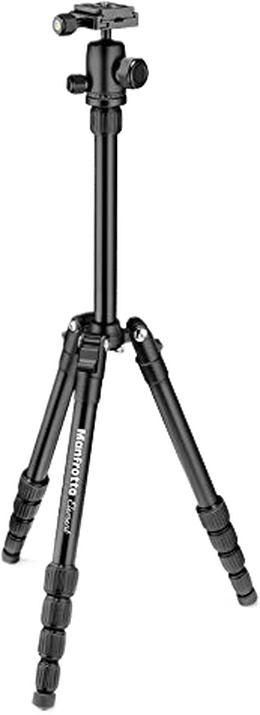
The Joby GripTight is our favorite mini tripod due to its versatility. It’s also lightweight and easy to pack into your kit bag. The Manfrotto Mini is a great alternative if the Joby Tripod doesn’t float your boat.
Our full article includes even more smartphone tripods, so click the link for all the best options.
Our Top 3 Choices for the Best Smartphone Tripod for Time-Lapse

Editing Time-Lapse Videos
Taking pictures for your time-lapse is only part of the process. Editing and combining the images to make a video is another essential part of creating breathtaking time-lapse videos.
Adobe Photoshop and Lightroom are two of the most popular photo editing programs. You can use either to make time-lapse videos. We have tutorials on both programs, so click the links for the full how-to guide.
Photoshop Editing
To create a time-lapse in Photoshop, prepare your images in Lightroom. Apply basic adjustments and crop them, then sync the settings across all photos. Export the images as JPEGs with sequential file names.
In Photoshop, open the image sequence and select a frame rate. The images are added to the timeline, where you can trim the length and remove any unwanted frames. Use shortcut keys to speed up your workflow.
When you’re done editing, render the video by selecting a format like H.264 and choosing your desired settings. With practice, you can easily edit Photoshop time-lapses and make amazing videos from your still images.
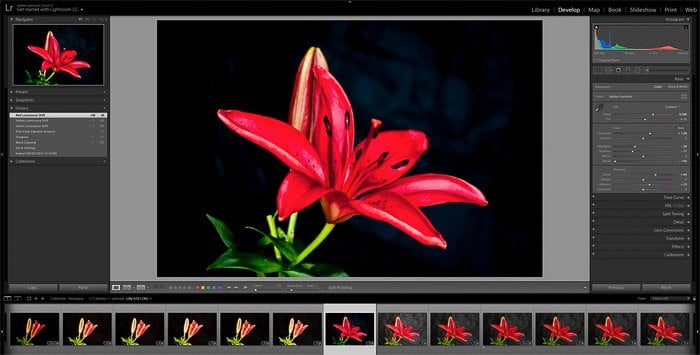
Lightroom Editing
Creating a stunning time-lapse video in Lightroom is a simple process with LRTimelapse. This powerful software uses parts of Lightroom to transform a series of images into a captivating time-lapse sequence.
To get started, import your images into LRTimelapse. Then, create keyframes to ensure consistent exposure throughout the video. Next, edit these keyframes in Lightroom. Adjust settings like exposure, highlights, shadows, blacks, and whites to achieve a cohesive look.
After editing, save the metadata and reload the sequence in LRTimelapse. Use the Auto Transition feature to smoothly apply the adjustments across all images.
Finally, use the Visual Deflicker tool to minimize flicker and export your stunning time-lapse video. Explore our comprehensive tutorial for a more in-depth guide on creating a Lightroom time-lapse.
Deflickering Time-Lapse Videos
Time-lapse flicker happens when the exposure changes between frames. This is usually hard to see in photos but is obvious in a video. Many things can cause flicker, like changes in light or using the wrong camera settings.
To avoid flicker, don’t shoot in auto mode. Use manual or aperture priority instead. Manual works best when the light won’t change much. Use a slow shutter speed and the widest or narrowest aperture on the lens.
Use aperture priority if the light changes, like during a sunset. Some cameras have built-in tools to help, like Nikon’s exposure smoothing option. If you still have a flicker in your time-lapse, you can use software to deflicker time-lapse in post-processing.
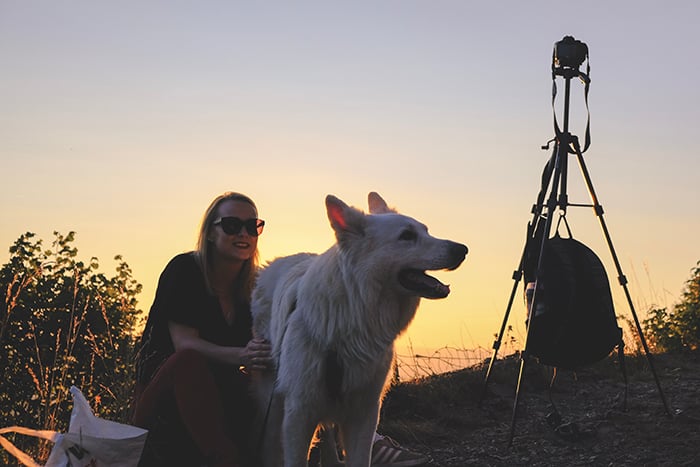
Inspirational Time-Lapse Photographers
Time-lapse photography is a fascinating technique that speeds up time to show actions happening much faster. It can be surprising to see the most usual phenomena, like a sunset, occurring so quickly.
If you’re looking for inspiration, we list 21 of Instagram’s most influential time-lapse photographers. Artists like Le Bars and Farrell take time-lapses of stunning cityscapes and unbelievable storms.
Another notable photographer is Rob Whitworth, who has worked with BBC and Netflix. And we also list Michael Shainblum, whose creativity has earned him clients like Nike and Apple.
Astrophotography is another popular subject for time-lapse artists. Randy Halverson, Babak Tafreshi, and Christoph Malin all produce breathtaking videos of the night sky. They reveal movements that wouldn’t be visible to the naked eye.
Learn more and be inspired by these time-lapse photographers. Check out their work for inspiration and techniques you can apply to your own photography.
© Mike Olbinski
- Learn to capture stunning scenes with any camera in minutes.
- Master the art of storytelling through motion and time.
- Access award-winning techniques without expensive workshops.


