Hyperlapses and time-lapses are similar but work very differently. You can think of a hyperlapse as a more dramatic and cinematic version of a time-lapse.
Read on to see what hyperlapse is and how to create one.
What Is a Hyperlapse?
A hyperlapse is often confused for time-lapse photography. To clear things up, here’s a basic overview:
You always need a tripod for time-lapse photography. This isn’t necessary in hyperlapse photography because you need to move around a lot. A tripod would help, but it would also take up a lot of time. Most hyperlapse photographers shoot handheld.
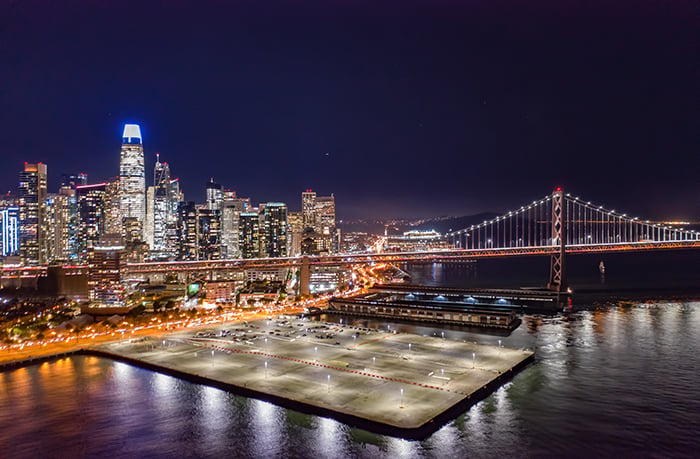
Hyperlapses look like they’re moving around, away from, or toward a subject. Time-lapses remain fixed in one spot. Hyperlapses tend to look more exciting than time-lapses because they have a more cinematic feel. Here’s an example of a popular hyperlapse.
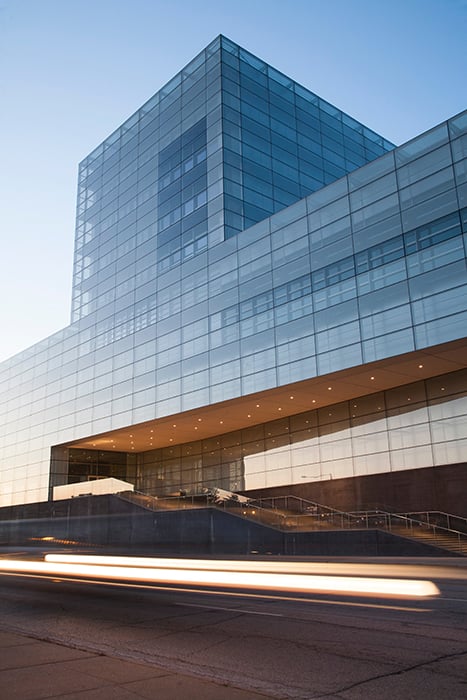
Hyperlapse photographers are limited to what they can shoot. Since they have to move around a lot, they need to shoot in wide and open spaces. You’ll notice that many hyperlapse videos focus on buildings in empty spaces. In time-lapse photography, you can shoot almost anything from one fixed spot.
How to Make a Hyperlapse
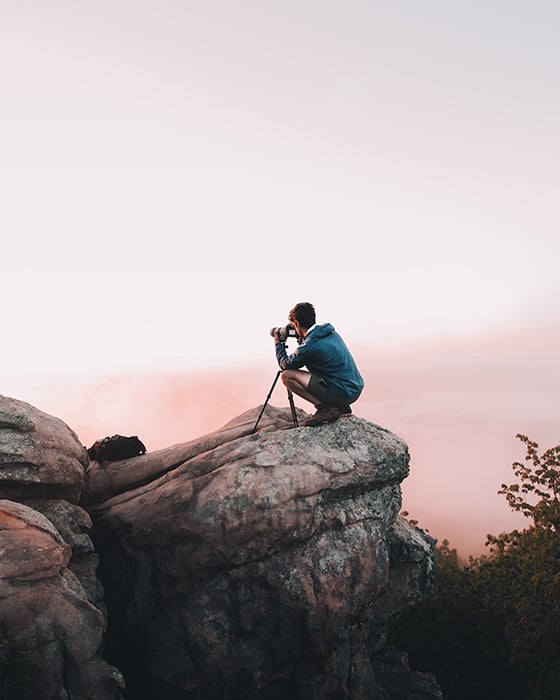
Choose a Location With Lots of Space
You’ll need to move around quite a lot to make a decent hyperlapse. To achieve this, you need to shoot in a location with lots of space. Ideally, there should be lots of flat land so you don’t accidentally trip during your photoshoot!
The location you choose depends on the kind of movement you want to have in your final results. Pick a location that fits your style and one that is suitable for creating a hyperlapse.
Make Your Hyperlapse Look Surreal by Choosing a Direction
Hyperlapses are pretty versatile when it comes to movements. The most common motions are:
- moving towards a subject
- moving away from a subject
- moving around a subject
If this is your first time making a hyperlapse, it might be a good idea to choose only one motion. Watch a few hyperlapse videos to figure out what kind of motions appeal the most to you.
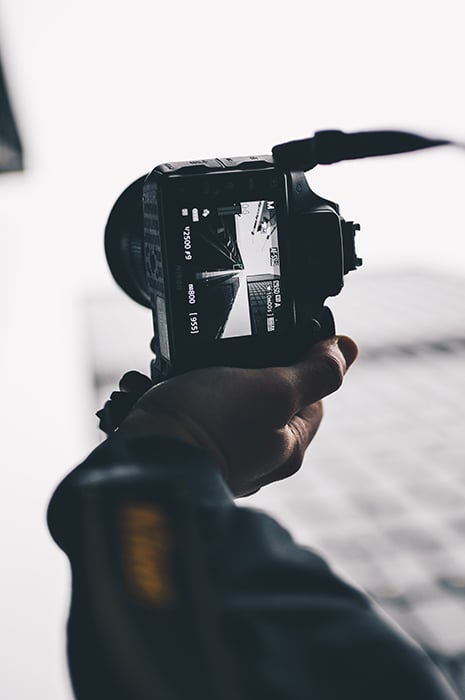
Shoot in RAW and Manual Mode to Have Full Control
RAW mode preserves image data. This makes it easier to edit photos. RAW images are larger than JPEG images, so keep your memory card space in mind as you take photos.
Manual mode gives you full control over your camera settings. This ensures that all of your photos look consistent. Manual photos take more time to perfect than automatic photos, but they tend to look more professional.
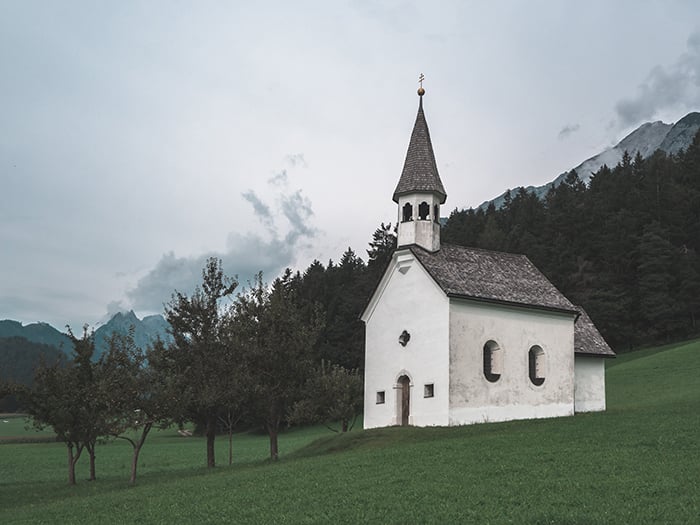
Select a Focal Point to Keep Your Compositions Stable
Hyperlapses depend on focal points to look stable. Since you’re going to move a lot, you need a fixed point that will help you take consistent photos.
Before you start to take photos, look at your subject and find a focal point that you can focus on at any point during your photoshoot. This can be the edge of a roof or anything that really stands out.
This isn’t possible to do with every subject. If your subject doesn’t have any focal points or moves around a lot, you’ll find it harder to create a smooth hyperlapse. This is why many hyperlapse photographers shoot buildings or objects with sharp edges.
This doesn’t mean you can’t break the rules and experiment with other kinds of subjects. However, be open to starting with simple buildings. This will help you get a feel for hyperlapse photography quickly. From easier subjects, you can step-by-step move on to more complex ones.
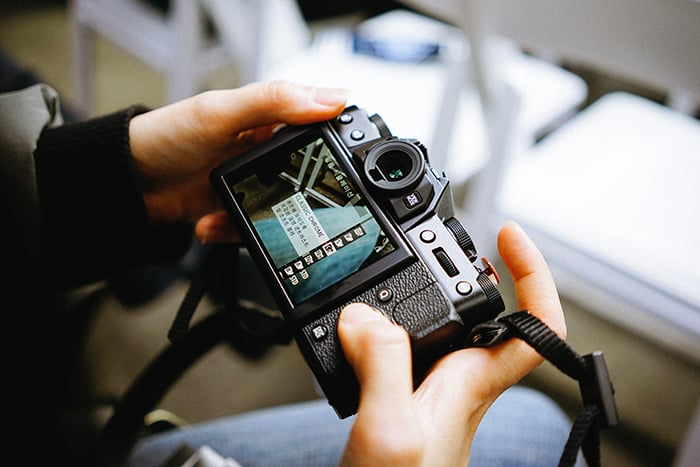
Use Grid Display to Keep Your Focal Point in One Place
Once you have a focal point, you need to keep it in one place.
If you’re planning to use a tripod, this will be easier to do because your camera will always remain at the same level. If you’re going to shoot handheld, you’ll need some extra help.
Make sure you turn on grid display and shoot in Live mode. You can align your focal point with one of the intersecting points on your grid, or you can use one of the grid lines as a guide.
Whatever you do, you need to make sure your focal point is always held in one position, no matter where you move.
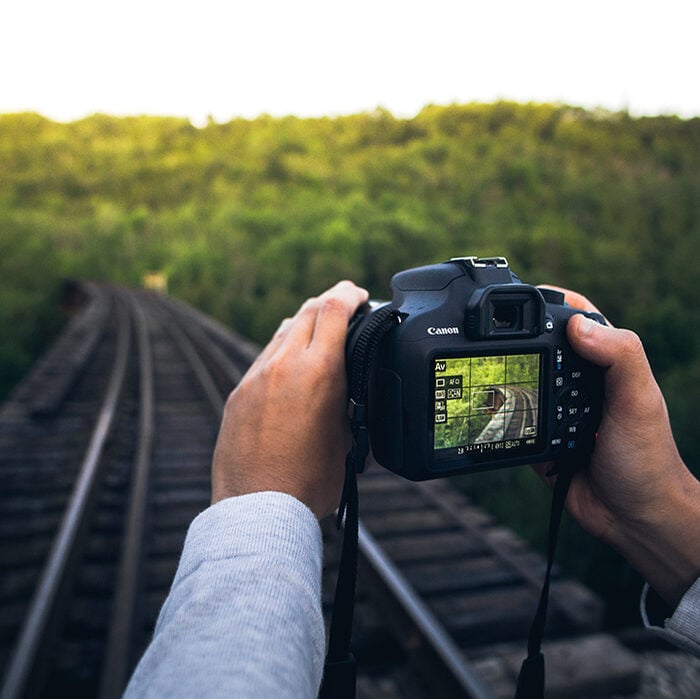
Take a Photo with Every Step to Create a Motion Effect
This is when you get to create your very own hyperlapse! Switch to RAW and Manual mode. Adjust your camera settings to make your subject look as appealing as possible.
Start at any point you like. Make sure you have enough space to move toward, away from, or around your subject. Take a photo at this point.
Take another step, align your subject on your grid display, and take a photo. The amount of photos you take depends on the distance you need to cover. If your subject is far away, you can take one photo every few steps. If it’s nearby, take a photo every time you take a step.
If the weather changes during your photo shoot, make sure you adjust your camera settings accordingly. Also, make sure your steps are consistent to avoid a choppy hyperlapse. The cleaner the result, the better.
Take Your Hyperlapse to the Next Level With Editing
You’ve probably come across hyperlapse tutorials that used complicated techniques to achieve perfect results. You don’t need to worry about being technically perfect.
Most hyperlapse photographers use a combination of Lightroom and a video editing program. Lightroom is optional, but it can help you enhance your photos in bulk before you start editing them.
You can use it to color correct your images, remove unwanted details, or add more clarity to your shots.
When you’re done, import your photos into an editing program of your choice (e.g. Adobe Premiere Pro). You have to import the files as an image sequence. Ideally, the images should be named in alphabetical order so the program can import them correctly.
Most video editing programs have something called Warp Stabiliser. This will automatically fix any shaky hand movements and make your final video look stable.
Don’t forget to add music and a logo to your hyperlapse for even more professional results.
Common Hyperlapse Questions
How Do You Hyperlapse a Picture?
You need a series of photos. First, choose a focal point and a direction. For example, you might want to photograph a building as you move towards it. Take a photo every time you take a step forward. You can then merge all these photos to make a hyperlapse.
What Is the Difference Between Hyperlapse and Time-Lapse?
A hyperlapse and a time-lapse are both made of pictures. The difference is that a time-lapse is usually made from one fixed location. A hyperlapse is made by taking photos of the same location from various distances. You need to move for a hyperlapse. For a time-lapse, you can stay in one place.
What Is Hyperlapse Used For?
You can use a hyperlapse for a number of things. Commercial use is one of the more popular ones. There are many video agencies that buy hyperlapse footage. But you can also use hyperlapses to improve your videography and build a film-making portfolio.
Conclusion
Hyperlapses tend to be more immersive than time-lapses. You can create them by taking photos of a subject from different distances.
To make your final results look stable, you need to have a focal point and use a grid display. Last but not least, don’t forget to edit your results and use the Warp Stabiliser to make your hyperlapse look smooth.
Check out our post on how to choose the best time-lapse interval next!