When you’re shooting a time-lapse, the last thing you want is for your photos to be ruined by flickering or uneven lighting. Fortunately, we can help you with deflickering time-lapse videos. We have an easy way to avoid this problem and create smooth, consistent footage every time.
Deflickering Time-Lapse: What Is Time-Lapse Flicker?
Time-lapse photography is a series of photos taken over an extended time, then assembled into a video that makes it appear as if time is flying by.
Time-lapse flicker is when the exposure changes between frames. This flicker is usually difficult to detect in time-lapse photography but evident in a video.
Time-lapse flicker is a common problem because there are many things that can cause a flicker. The light in the scene can change as the time of day changes or even as clouds pass over the sun. Some types of indoor lights have their own flicker. Flickering can also be created by using incorrect settings for the time-lapse.
You can reduce most time-lapse flicker by using the proper settings before you shoot. You may still need to adjust some time lapses in post to remove that flicker. This is also an option if you have an existing time-lapse to fix.
Photo by sl wong from Pexels
How to Prevent Time-Lapse Flicker with Camera Settings
Now that you know what time-lapse flicker is, you can work to prevent it by adjusting your settings.
First, you shouldn't shoot a time-lapse in auto mode. Besides introducing time-lapse flicker, you'll also create other issues. The depth of field, for example, will be inconsistent in auto mode.
In auto mode, the settings change between each shot. This will create a time-lapse that looks choppy, with a lot of flickers. A time-lapse should be shot in either manual or aperture priority mode, depending on the light in the scene.
Manual mode is the best option for time-lapses where the light isn't going to change much. The M on the mode dial is ideal for shots that aren't going to cover events like sunrise or sunset. Manual mode keeps all the settings consistent, which helps prevent flicker.
Longer shutter speed will help smooth out subtle flickers as well. In general, avoid shooting at over 1/100 and use even slower shutter speeds if possible. In bright scenes, you may need a ND filter to use a slow shutter speed without overexposing the scene.

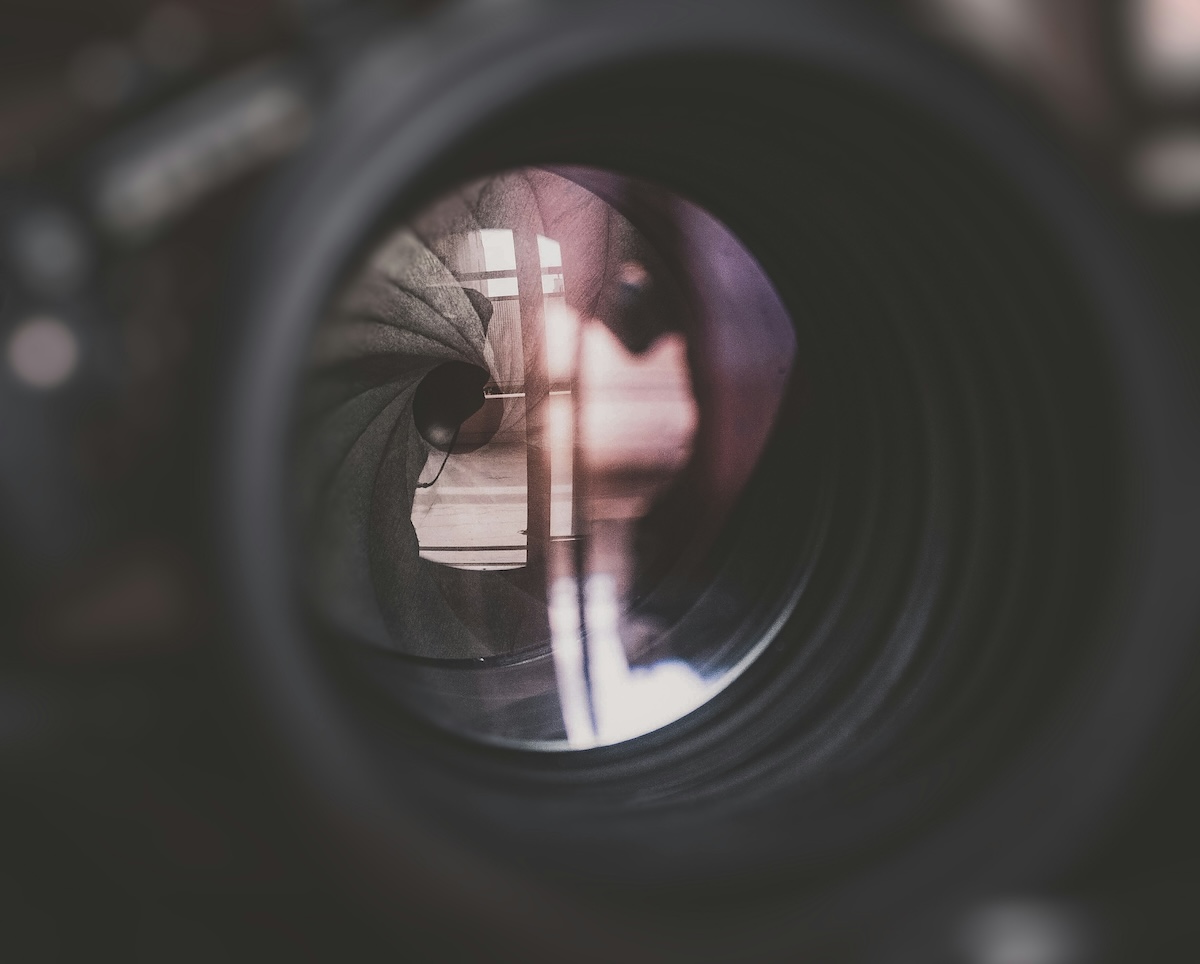
Photo by cottonbro from Pexels
With most modern lenses, the diaphragm, or the opening in the lens, may move between shots. That's because most modern systems set the aperture on the camera body, not on the lens itself. Using the widest aperture on the lens, or the narrowest can help. This will, of course, affect the depth of field in the image, so it's not the best solution for every time lapse. But, when you already want a really shallow or deep depth of field, using the most extreme settings on the lens can help.
Another option is to not use a modern lens at all. Lenses that have the aperture adjustment ring on the lens do not suffer from that slight flicker. Some types of vintage lenses are designed this way. As the Time Lapse Network points out, some modern manual lenses like Lensbaby also use manual apertures, which can help.
TLN also suggests disconnecting the lens from the body of the camera by turning the lens enough, so the contacts aren't touching. This leaves the lens still mounted, but the diaphragm locked at the last setting. Along with setting the shutter speed and aperture, don't forget to set the ISO to balance out the exposure settings.
Using auto ISO will create the same issues as shooting in auto mode. But what if the lighting won't be consistent from start to the end of the time-lapse? What if you want to shoot a time-lapse of sunset and the night sky? In this case, aperture priority may be the best option. Aperture priority mode will keep the depth of field consistent but adjust the shutter speed as the light in the scene changes.
This mode may require more deflicker correction, but avoids the over or underexposure that manual exposure settings would cause. Like with manual mode, setting the lens to the maximum or minimum aperture can help prevent those minor diaphragm movements.
Finally, see if your camera includes built-in tools to help prevent time-lapse flickering. Nikon, for example, has an exposure smoothing option in some cameras. You can find it in the intervalometer and time-lapse tools. With this option selected, the camera will work to smooth exposure changes between frames.
Photo by Recal Media from Pexels
How to Deflicker an Existing Time-Lapse
A time-lapse video consists of hundreds of photos. The process to deflicker a time-lapse can be time-consuming.
Thankfully, some software programs can help speed up the process. TLDF TimeLapse DeFlicker is a program designed for this task. It is made for Mac and Windows. The program will analyze the images and remove the flicker by smoothing out the exposure.
TLDF also has options for reducing noise. The program creates previews with thumbnails to offer better performance. It then exports at full resolution at the end. The program has a 4.3-star rating on the App Store. It is available from the App Store and Google Play for around $30. A trial version is available to explore the features before spending the cash.
TDLF has a very niche focus. There are other time-lapse programs that do more than deflicker.
LRTimelapse allows you to edit a few images in the time-lapse sequence, then apply the effects to the rest. The auto transition option and visual deflicker tool can be used to remove timelapse flicker.
LRtimelapse 5, the latest version, adds a multi-pass-visual deflicker tool. The program is available for Mac and PC but will run you more than $100.
Using a dedicated tool is the simplest way to eliminate flicker. But you may already own software that gets the job done. Do a bit of browsing on your current program's features before buying a new program.
Common Time-Lapse Flicker Questions
What Is Flickering in a Video?
Flickering in videos happens when one frame is brighter than the rest. Flickering can occur from bad camera settings. Or it can be a result of the environment, such as artificial lights that have their own flicker. Flickering is often easiest to solve in-camera before you shoot.
What Is a Flicker in Photography?
Photographers will run across flicker issues too. If your images seem inconsistent, even though you used manual mode, there may be a flicker in the lights.
How Do You Shoot a Sunset Time-Lapse?
A time-lapse where the light will change, such as a sunset time-lapse, is best shot in aperture priority mode. In this mode, the camera can adjust to changes in the light.

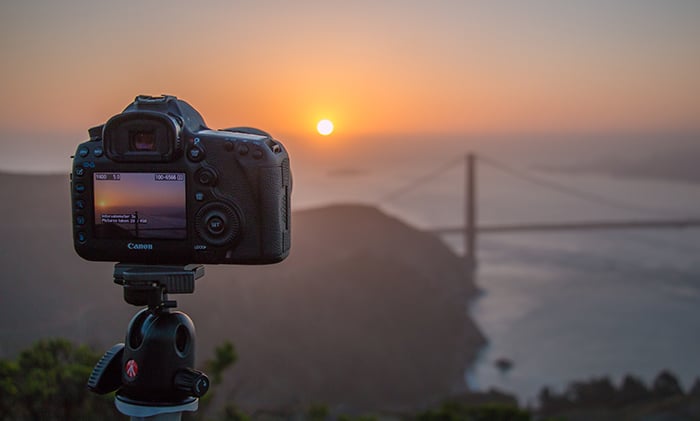
Photo by Pok Rie from Pexels
Conclusion
Flicker is one of the most common issues in creating a seamless time-lapse. Start by checking your camera settings. Then, use software to correct any lingering issues for a flicker-free time-lapse.