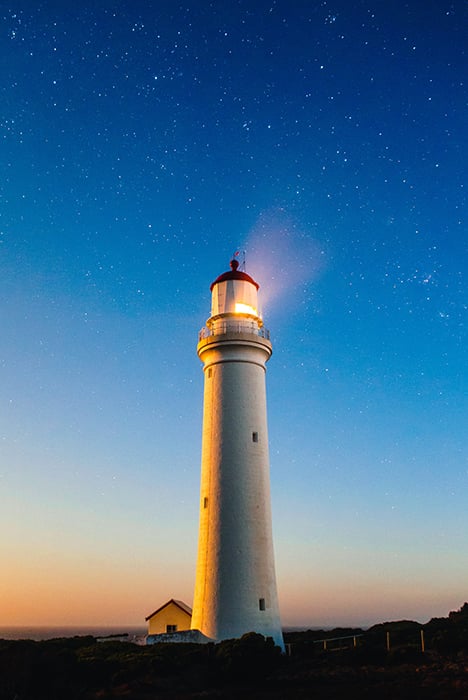
If you’re having trouble with your time-lapse photography, chances are you’re making one of these 12 mistakes. You’re prably asking yourself, “why is my time-lapse lagging?” We are here to answer that question and many more so you can create smooth time-lapse videos.
12. Why Is My Time-Lapse Lagging? 12 Practical Tips for Trying Different Camera Settings at Home
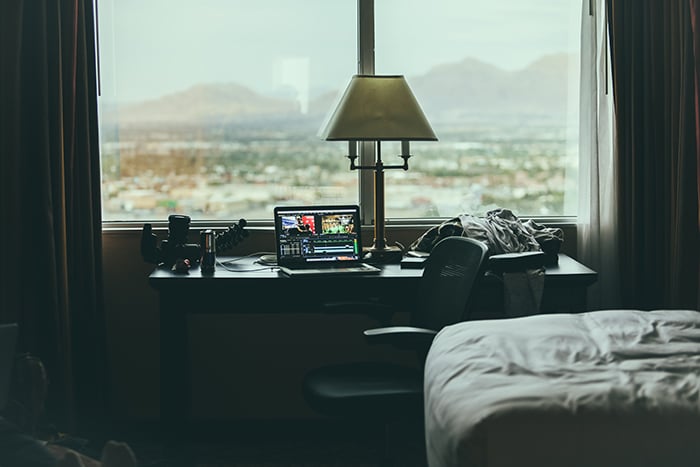
You’ve read a bunch of inspiring time lapse photography tips. You want to go out immediately and make a time lapse of your own. This isn’t a bad idea, but all the settings and techniques might overwhelm you.
You can try to approach time lapse photography in a way that gives you great results immediately.
To do this, try it at home first. Take photos straight from your window or choose a location nearby that gives you a decent view of the sky.
You won’t get stressed if you keep things simple. The simpler your location, the less risky your photoshoot will be. This might make it easier for you to try out different techniques and get comfortable with time lapse camera settings.
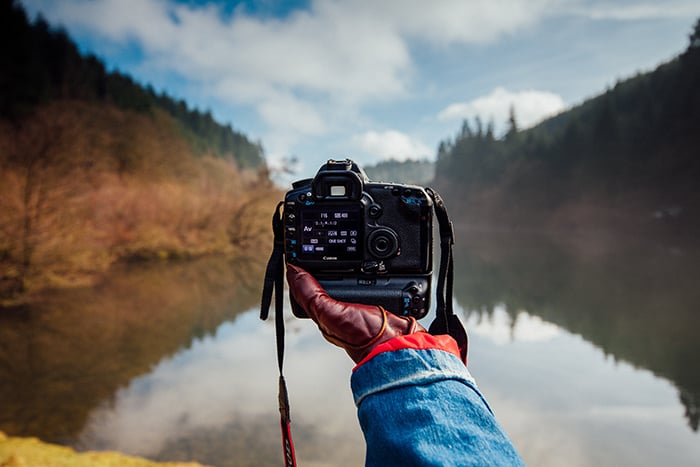
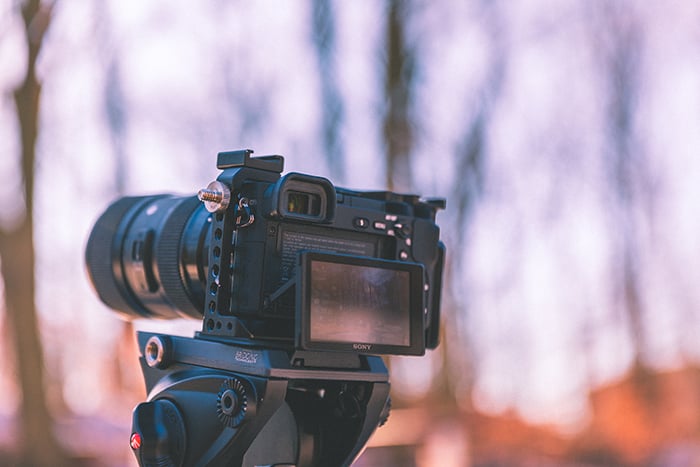
11. Don’t Rely on Automatic Camera Settings
Auto mode is a great feature, but it can hinder your progress as a time lapse photographer.
Why? The lighting will change as your camera takes pictures every few seconds. Auto mode will adjust your settings to make every picture look as professional as possible. By doing this, it might focus on the wrong subject and completely overexpose or underexpose your image.
This means that your photos won’t have the same exposure, which will result in a time-lapse that looks choppy.
To avoid this completely, switch to Manual mode. You’ll need to adjust your camera settings as the lighting changes, but this will ensure that your final results look as smooth as possible.

10. Shoot in RAW Mode to Preserve Image Data
Another important mode to keep in mind is RAW. If you shoot in JPEG mode, your images won’t have as much data as a RAW file. This can make the editing and color correcting process much more complicated.
However, the downside of using RAW files is that they’re significantly larger than JPEG files. You’ll need to take at least a few hundred photos for your time-lapse. Make sure you have enough space on your memory card for this. And don’t forget to back things up!
9. Close the Viewfinder to Avoid Flickering
A very common mistake that timelapse photographers make is not closing their viewfinders. If you shoot in any mode that isn’t Manual (e.g. Aperture Priority), you need to cover the viewfinder.
You can use gaffer tape or a viewfinder cap for this.
A closed viewfinder will ensure that your camera doesn’t let in an unnecessary amount of light. Even though the viewfinder is small, it can significantly affect your camera settings. This can result in flickering, which makes time-lapses look glitchy and unprofessional.
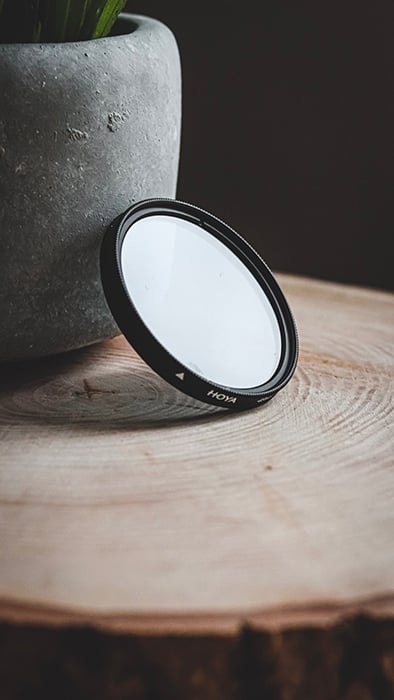
8. Use a Polarising or ND Filter When It’s Bright
Some of the best timelapse videos were made in very good lighting conditions. It makes sense to take photos when the weather is decent and your view is clear.
The problem with bright light is that it can make your timelapse photos look overexposed or dull. You might be able to fix this in an editing program, but it will be an unnecessary waste of time.
You can prevent this by using two kinds of lens filters:
- ND filter – This reduces the amount of light that enters your lens, but that’s all it does. ND filters are perfect for long exposure time lapse photography.
- Polarising filter – This also lowers the amount of light that enters your lens. But, in addition, it also darkens bright skies and enhances colors.
If you don’t plan to use long exposure tricks in your time-lapse, you should use a polarising filter.
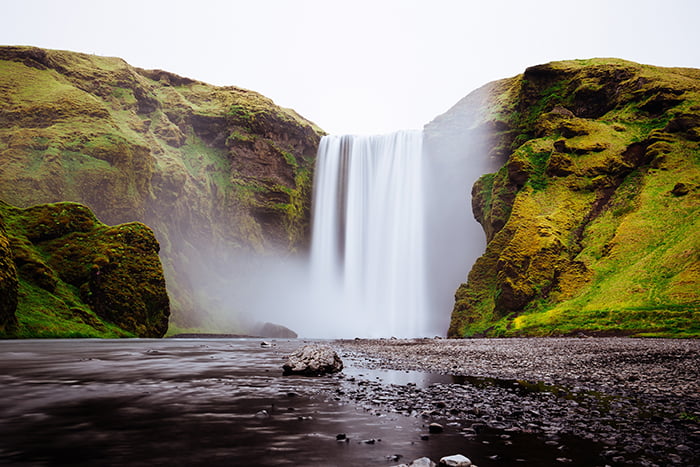
7. Take Photos in Different Locations
Let’s say you found a stunning location for your time lapse video. You’re going to be tempted to stick to that location for your entire photoshoot.
This is a common and understandable mistake. There’s nothing wrong with having favourite spots for time-lapse photography, but don’t let that stop you from discovering new places.
The more you experiment, the more interesting your results will be. This will attract more people to your work and give you more opportunities to get out of your comfort zone.
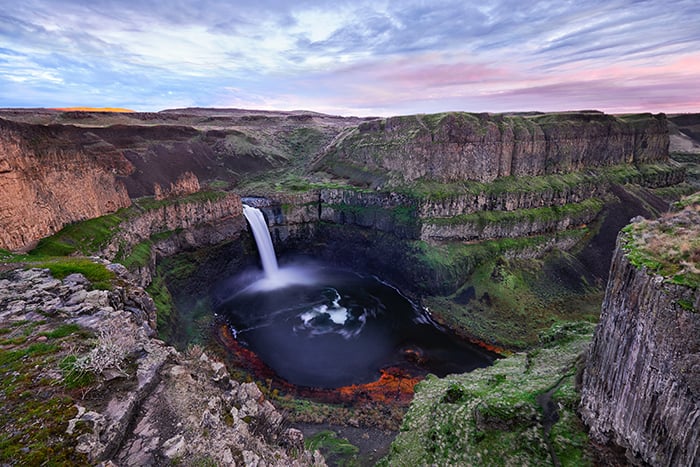
6. Experiment with Different Angles
Even when you make time-lapses in different locations, don’t forget to shoot from different angles. Try shooting from very low or very high angles. Experiment with crooked horizons. Shoot through objects to create blurred foregrounds.
It’s okay to break the rules. Get out of your comfort zone and get to know your photography preferences. The more you experiment, the closer you’ll get to finding your unique photography style.
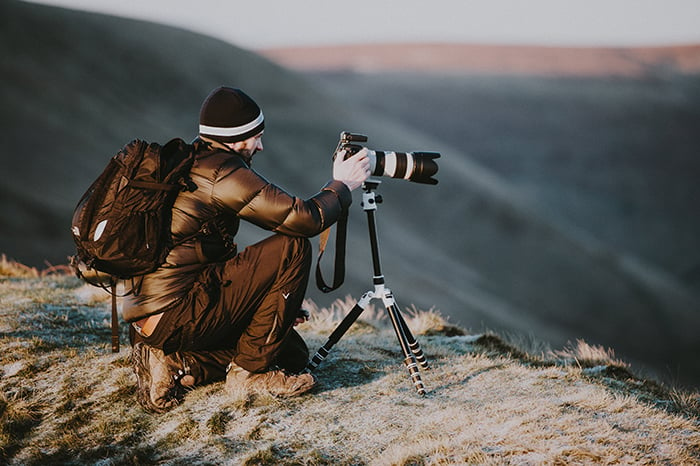
5. Bring the Right Tools With You for a Smooth Photo Shoot
Many photographers are so passionate about making the best time-lapses that they forget to pack the right way. In addition to camera equipment, make sure you have these things in your bag:
- folding chair
- snacks
- something to pass the time (book, iPad, etc.)
- a warm jacket
4. Shoot in Nice Weather for a Smooth Transition
Landscape photography is a great genre because it doesn’t rely on specific . You can take outstanding landscape photos even when it’s stormy. In time-lapse photography, you need to be a bit more careful when it comes to the weather.
Your light and movement transitions need to be smooth. Your tripod needs to be extra steady for this to happen.
Ideally, the weather should be close to perfect during your shoot. The less windy it is, the less your camera will shake. This will result in sharp and clear photos.
If you want to capture a stormy time-lapse, you can do so from a window.
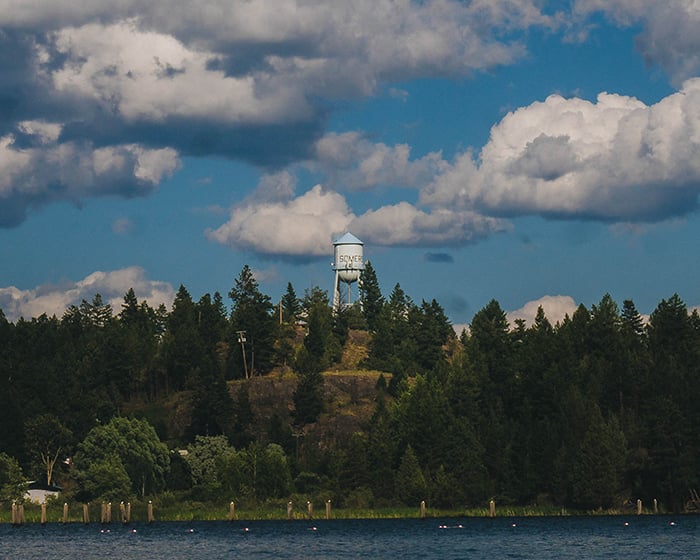
3. Use Focal Points to Give Your Time-Lapse a Personality
Photography may not be a living person, but it can have a personality. You can create a personality using focal points.
A focal point is the main subject of your image. This can be the sun, a mountain, or even a person. It doesn’t have to be in the center of your photos, but it needs to stand out.
This doesn’t have to be a complicated process. When you find a beautiful view, look for an interesting subject and make sure there aren’t any distracting elements around it. (This is when angle comes in!)
2. Keep Your Time-Lapse Under 5 Minutes
Your final result will be a video with smooth transitions. No matter how interesting your subject is, your time-lapse shouldn’t be longer than 5 minutes.
Of course, you can ignore this tip if you’re making a time lapse for yourself. However, if you want to share your results online and get exposure, you need to follow this general rule of thumb.
When you make a video, include footage of different views. Make sure you have a variety of angles. This will keep your time-lapse video entertaining and will draw attention to your work.
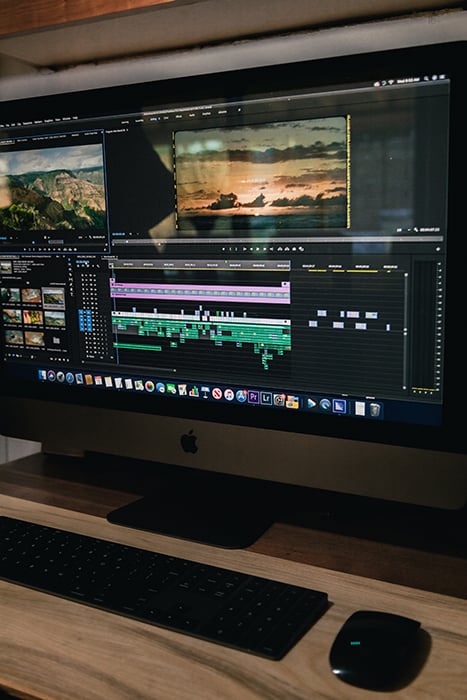
1. Embrace the Editing Process for the Best Results
When you finally merge all of your time-lapse photos, you might be tempted to ignore the editing process altogether. This is one common mistake that prevents photographers from reaching their full potential.
The editing process doesn’t have to be difficult or costly. To make your time-lapse look visually appealing, you need to color correct your results. This is an opportunity to remove vibrant distractions or make dull photos stand out.
Don’t forget about intros and music. An outstanding time-lapse video usually has an eye-catching introduction and emotional music. The introduction can also include a simple logo that represents your work.
Editing requires time and effort, but it can make a big difference in your time-lapse photography career. The more effort you put into your final results, the more followers and clients you’re likely to attract.
Common Time-Lapse Photography Questions
What Is the Best Shutter Speed for Time-Lapse?
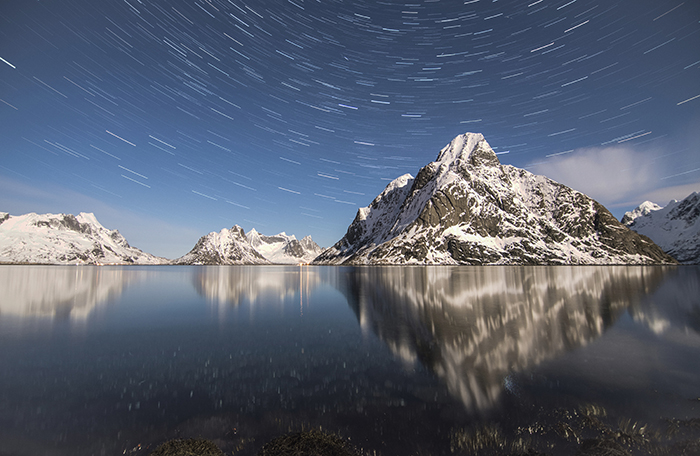
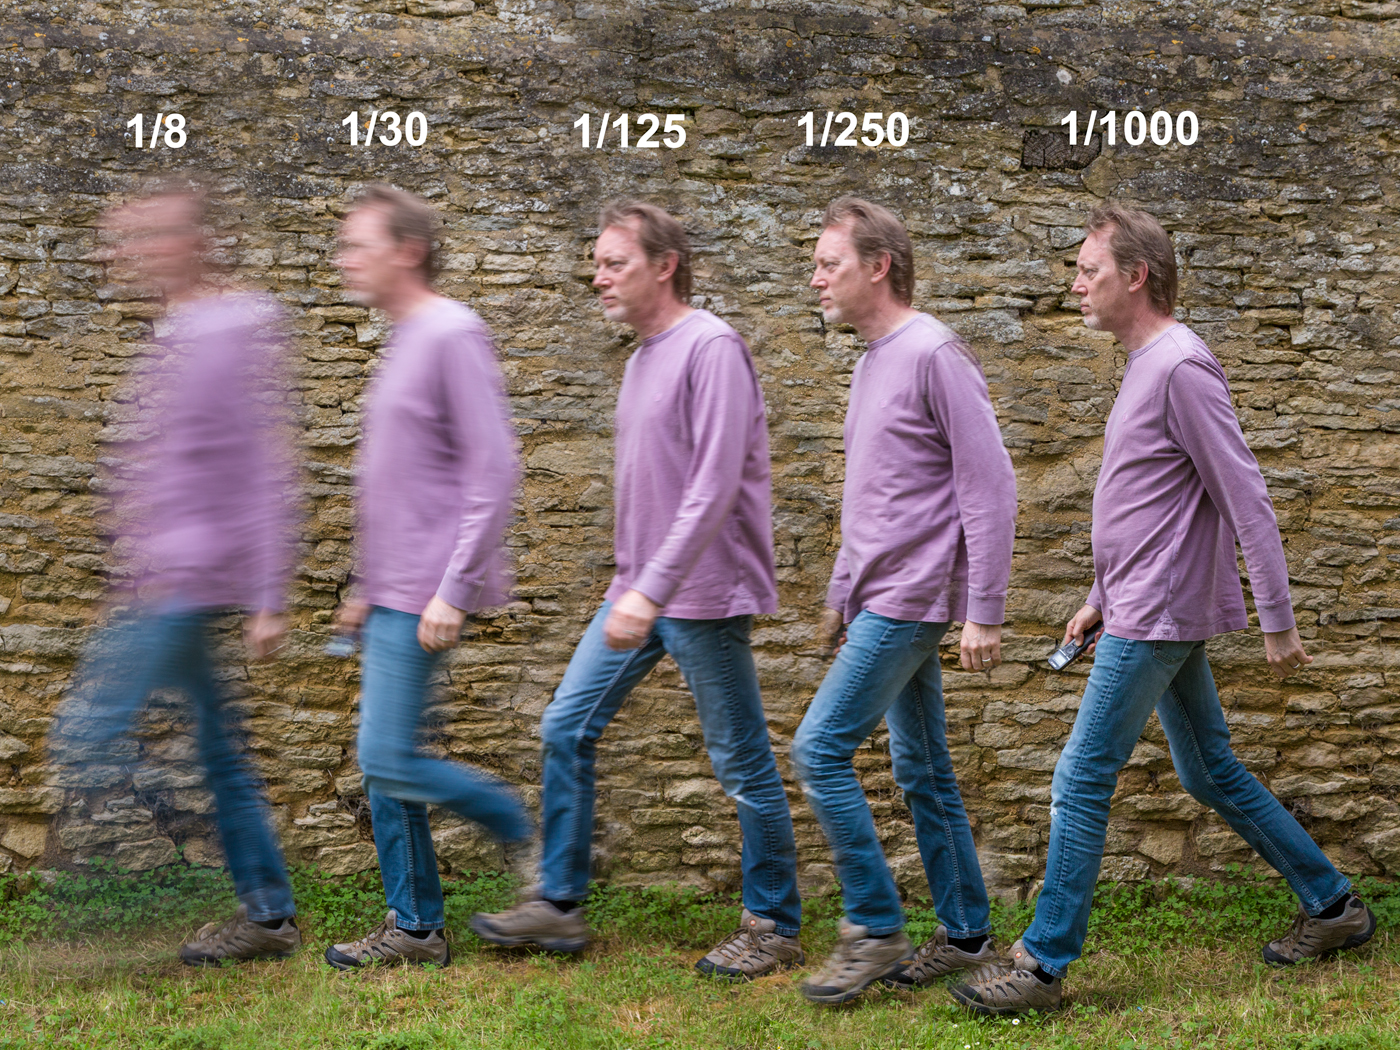
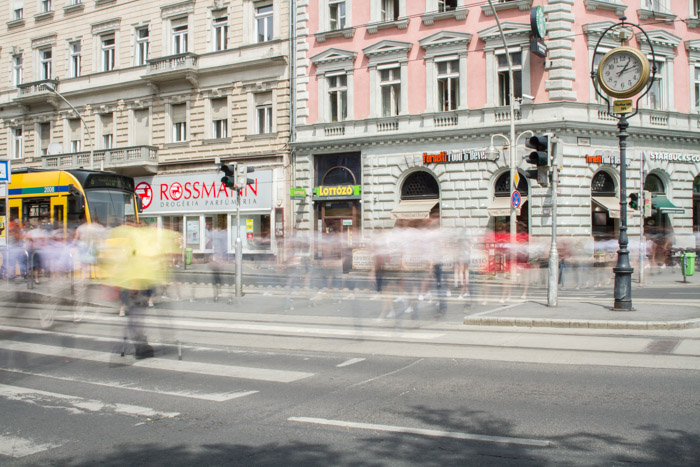
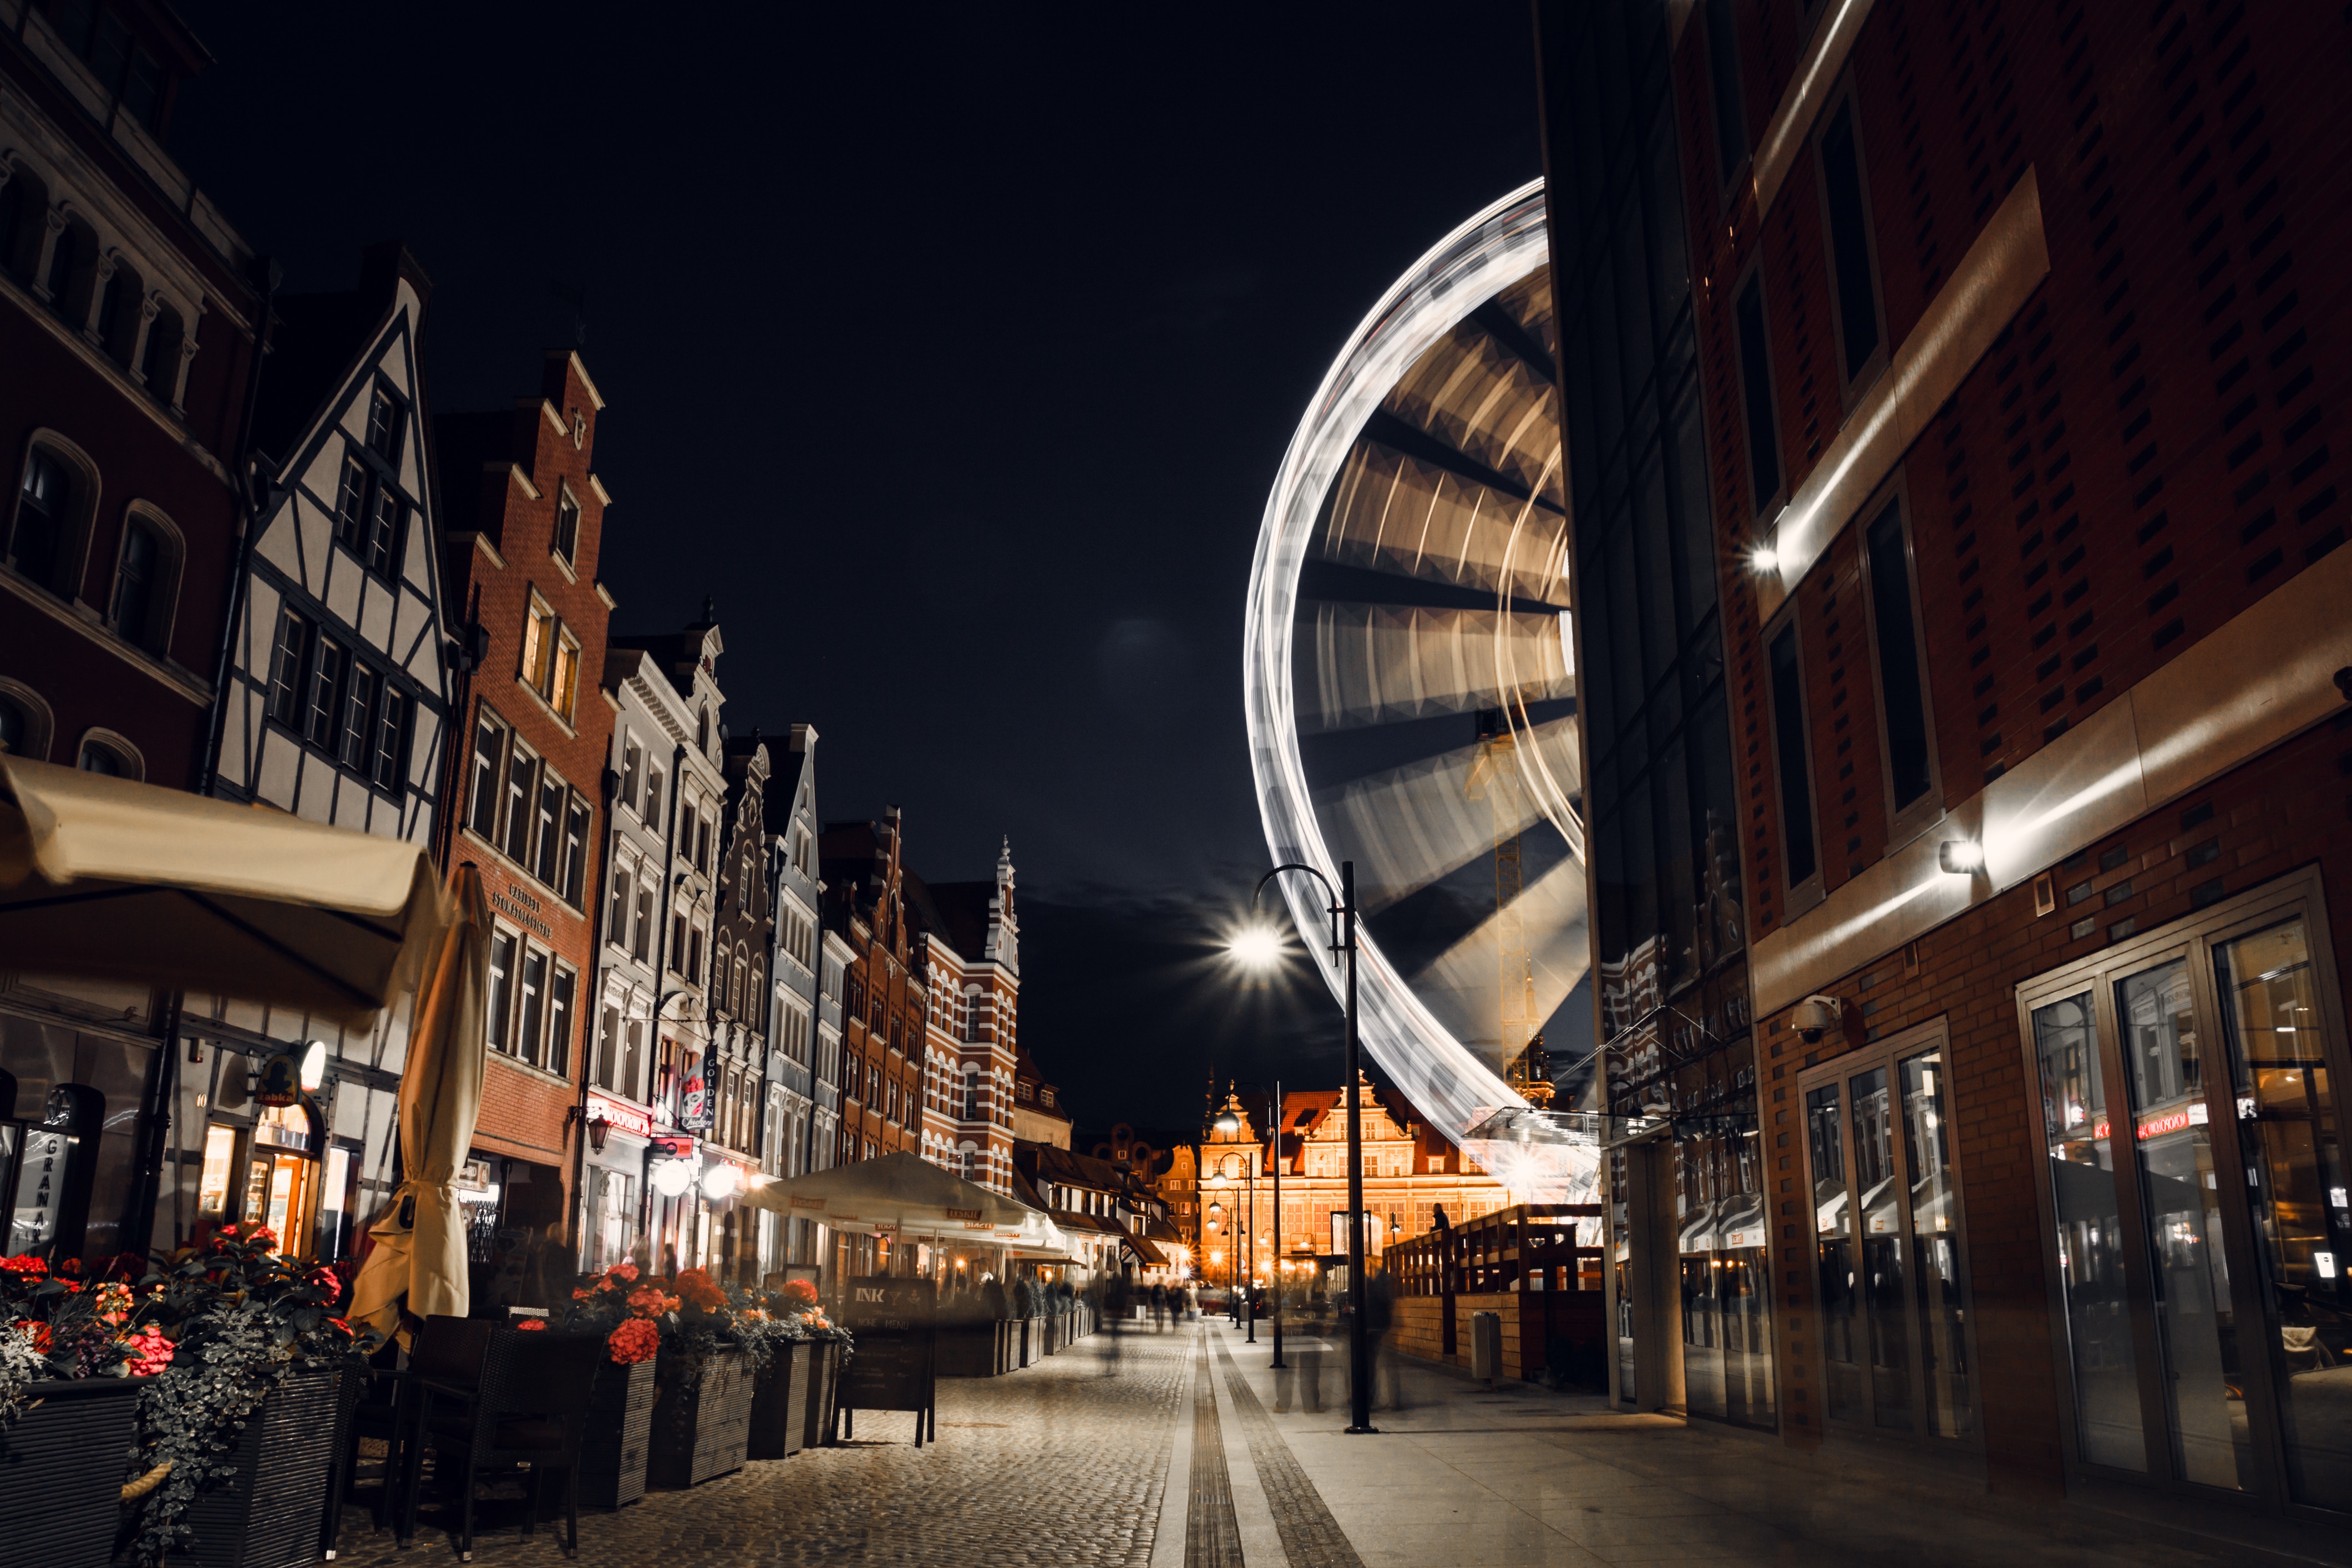
If you want to take sharp photos of fast-moving objects, use a fast shutter speed like 1/500. If you want to create a smooth blur, use a slow shutter speed like 1/8. A slow shutter speed is great for long exposure time-lapse photography.
How Do I Stop Time-Lapse Flickering?
Cover your viewfinder with gaffer tape, a cloth, or a viewfinder cap. This will prevent any unnecessary light from entering your camera.
What Speed Is Time-Lapse?
This depends on how long you want to take photos for, how long you want your clip length to be, and more. The standard frame rate is 24 or 30 frames per second. To get accurate results, you can use an online time-lapse calculator like Omni.
Who Invented Time-Lapse Photography?
Percy Smith. He introduced the concept of time-lapse photography in a film called The Birth Of A Flower.
Conclusion
Time-lapse photography is an exciting photography genre for beginners and professionals alike. It can teach you a lot about lighting, compositions, angles, and editing.
While it’s impossible to avoid mistakes completely, it’s a good idea to familiarise yourself with common ones.
This way, you can have an effortless photography experience that fulfils you creatively and allows you to create professional time-lapses.
Check out our post on how to choose the best time-lapse interval next!