Does your photo look a bit boring? Then perhaps adding a frame would help people notice it.
In this article, we'll show you how to create Photoshop frames that are unique and engaging.
It’s surprisingly easy to do so you should definitely give it a try!
8. Photoshop Frames: Adding White Borders
Before we get crazy with different ideas, let's learn how to create basic Photoshop borders first.
First, go to Image and select Canvas size. Under New Size change the values of the width and the height. The default measurement is in inches, but you can switch to percent.
Your current canvas size covers 100% of your photo. So if you want your border to be 20% bigger, you'll need to put 120% for both the width and height.
Don't forget to go to Anchor and click the middle tile. Doing so makes sure all the sides of the photo get an equal 20% increase.
If you click on any other tile, only those areas will get the 20% white border.
7. Layered Border
You can also use different colors if you don't like white. In the Canvas Size Dialogue box, go to Canvas Extension Color and select Other. A color picker box will then appear.
Place your cursor over the hue you like and click to choose it.
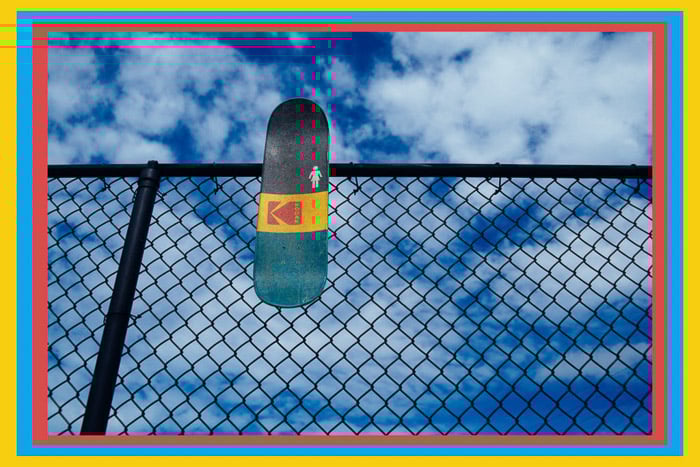
If you want, you can personalize your Photoshop borders by adding different layers of colors. For instance, to add a yellow border, simply open the Canvas Size Dialogue box again.
Change the height and the width to the value you want and select yellow in the color picker.
Feel free to repeat this step to create several layers of colored borders. You can also change the width and the height of each layer by increasing or decreasing the canvas size.
6. Hand Painted Border
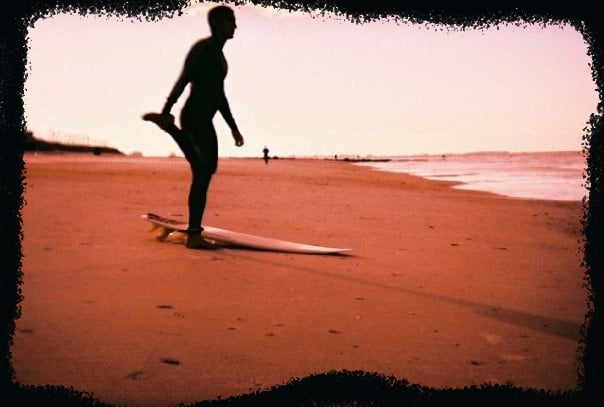
Don't like traditional borders? Go for a hand-drawn border using the Paintbrush tool.
Once you open your file in Photoshop, create a new layer by pressing Ctrl+Shift+N. When a dialogue box appears, press OK, and it will show up on top of your image.
Next, click to select the new layer. Now go to the toolbar and pick the Paintbrush tool. At the top of the screen, look for a round icon with the number 100 under it. That's where you can change the size and the hardness of your paintbrush.
Under the Size and the Hardness sliders, you can choose from dozens of different brush types for your border. Feel free to use anything under Dry Media, Wet Media, and Special Effects brushes.
They all have different kinds of patterns and textures to help you achieve that hand-painted look.
The next step is to paint the edges of the photo. It's okay if it doesn't look perfect. In fact, it’s your little flaws make it look authentic. And once you cover all the sides, you got yourself a neat border.
5. Shaped Border
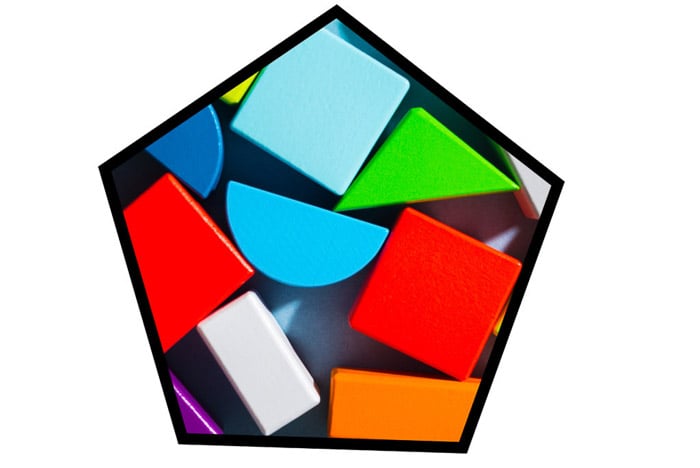
Do rectangular and square borders bore you? Then you should try creating one with other shapes.
Once your image loads in Photoshop, create a new layer using the shortcut keys I showed you. Now look for the Ellipse tool at the toolbar. Right click it and select the shape you want.
After you select a shape, click and drag the mouse over the image until you have the size you want. Right-click again and choose free transform so you can move your selection to wherever you'd like it to be.
Once your shape is in the right place, go to the Options bar and select Stroke Options. From there, pick a solid line which will serve as your border. You can change its thickness by adjusting the Pixel Size slider next to Stroke Options. Next, go to Stroke and choose the color you want.
After you finish making your adjustments, go back to your image, right click and select Make Selection. Next, go to the Applications Bar, find the Select button and click on Inverse in the drop-down menu.
Now go to the Layers Panel and click on the image layer. At this point, all you have to do is press delete, and you end up with a shaped border.
4. Polaroid Frame

Let’s take it to the next level and create Photoshop frames. The first one we're going to do is a Polaroid frame because it's easy and it looks cool at the same time.
The first step is to crop your image into a 1:1 square. Then, create a white border. Go to Canvas Size and add about ten percent to the width and the height to create even edges.
Next, you'll need to add the longer border at the bottom of the image like a regular polaroid. To do this, open Canvas Size once again and add about 10 to 15 percent to the height.
Then go to anchor and click on the upper middle tile. Once you click okay, you should have a Polaroid frame.
If you've ever seen real polaroids before, you know that their frames have tiny dots on them. You can recreate this textured pattern by using the Paintbrush Tool. But first, you need to click on the Magic Wand tool to select the white border. Next, pick the Paintbrush Tool and click on the Brush Size icon.
Now, choose Kyle's Screentones 38 under Special Effects Brushes. Make the brush size big enough so you can cover the frame. Once you click your mouse, you should see the patterns on the frame.
To personalise your Polaroid frame, you can also add text at the bottom of the frame. First, click on the Text tool and choose a handwritten font such as Permanent Marker.
Pick a font size that's big enough and start typing whatever you want on the photo.
3. Patterned Frame

Bored with your regular Photoshop frames? Well, you can always add patterns to them to make them pop.
First, look for a vector pattern online so it doesn't lose its quality no matter how much you resize it. One of the best resources for free vector art is Pixabay.
Just type "Patterns" in the search box, select Vector Graphics in the drop-down menu, and choose from hundreds of options. Once you find the design you like, download it.
Now let's go to Photoshop and open the image you want to use. Press Ctrl+Shift+N and press OK to add a new layer. Now, unlock the photo and place it above the new layer.
Click on the New Layer to select it and go to Image at the Options Bar. Pick Canvas Size and change the height & width to 110 percent Next, go to File and choose Place Embedded.
Now find your pattern and open it. Resize it until it covers the entire new layer, and you got yourself a custom frame!
2. PNG Frame
Free stock photo websites such as Pixabay also has PNG frames and borders that you can use for your images. Since they're PNG files, the middle part where your image goes in is already cut out for you.
Of course, you can also use regular photos of frames without transparent PNG background. After all, you'll be covering it with your picture, anyway.
If you want your final image to look like it's actually behind the frame, then feel free to try a PNG file, instead.
Once you find the perfect frame on Pixabay, download it and open it in Photoshop. To upload the photo you want to use, click on File and select Place Embedded. Now look for the file and click Place.
At this point, all you have to do is resize the image until it fits perfectly within the rectangle.
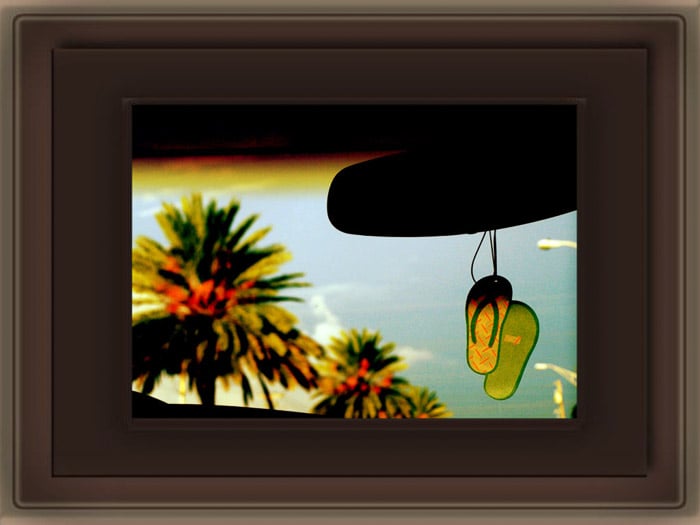
1. Scanned Frame
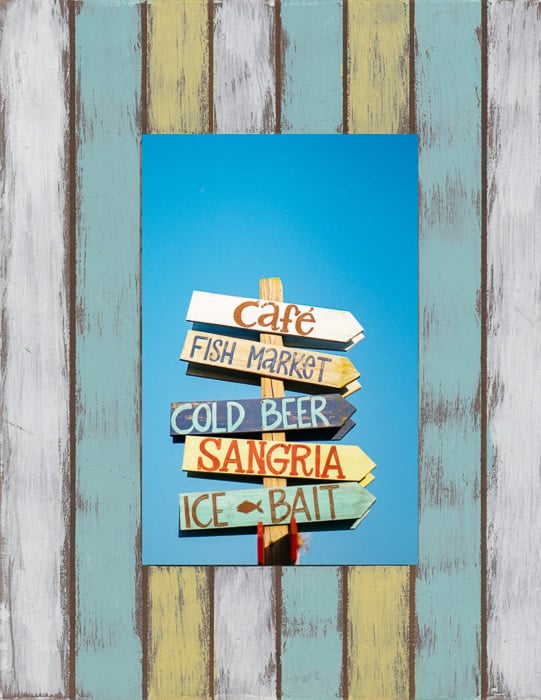
Not satisfied with the free Photoshop frames you find online? Feel like using an awesome frame you have around the house, instead? Then consider scanning it.
Before you start scanning, take off the glass and the photo inside the frame. You should also dust it off to make sure it's clean.
Once you finish scanning the frame, open it in Photoshop and unlock it. Create a transparent layer and place it under the main image.
Click on the frame layer again to select it. Then, go to the Tool Bar and choose the Rectangular Marquee tool. Next, place your cursor at one of the corners of the inner frame and drag it until you cover all of the corners.
Once you press delete, you should see the checkerboard pattern of the transparent layer.
Save the frame and export it as a PNG. That way you can use it to frame any photo any time you want in the future. It not only looks unique but it also appears realistic.
Conclusion: Photoshop Frames
There are plenty of ways to Photoshop frames, so don't stick to just one style. Consider this tutorial as a starting point for your creativity.
Feel free to experiment and develop your own methods for Photoshop frames and borders. The more unique your creations, the more people will notice.


