Learning to Center an Image in Photoshop can greatly enhance your design output. This guide will help you master this vital skill, leading to more professional and visually appealing projects. Let’s get started.
Step 1. Selecting the Move Tool
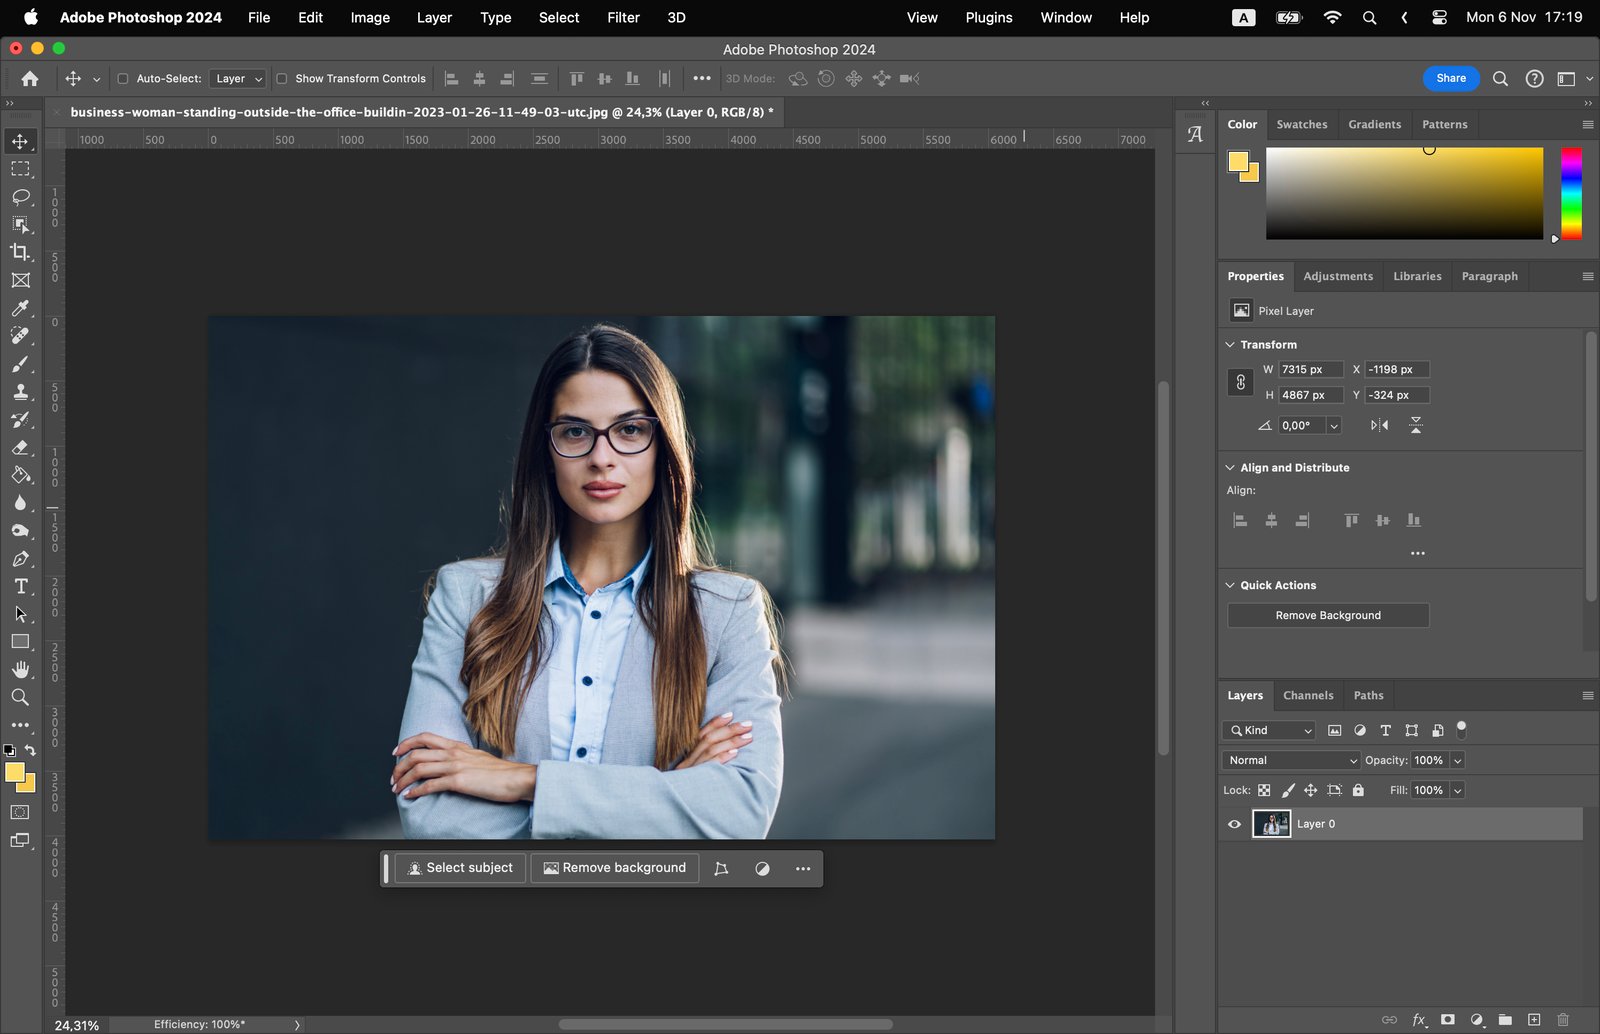
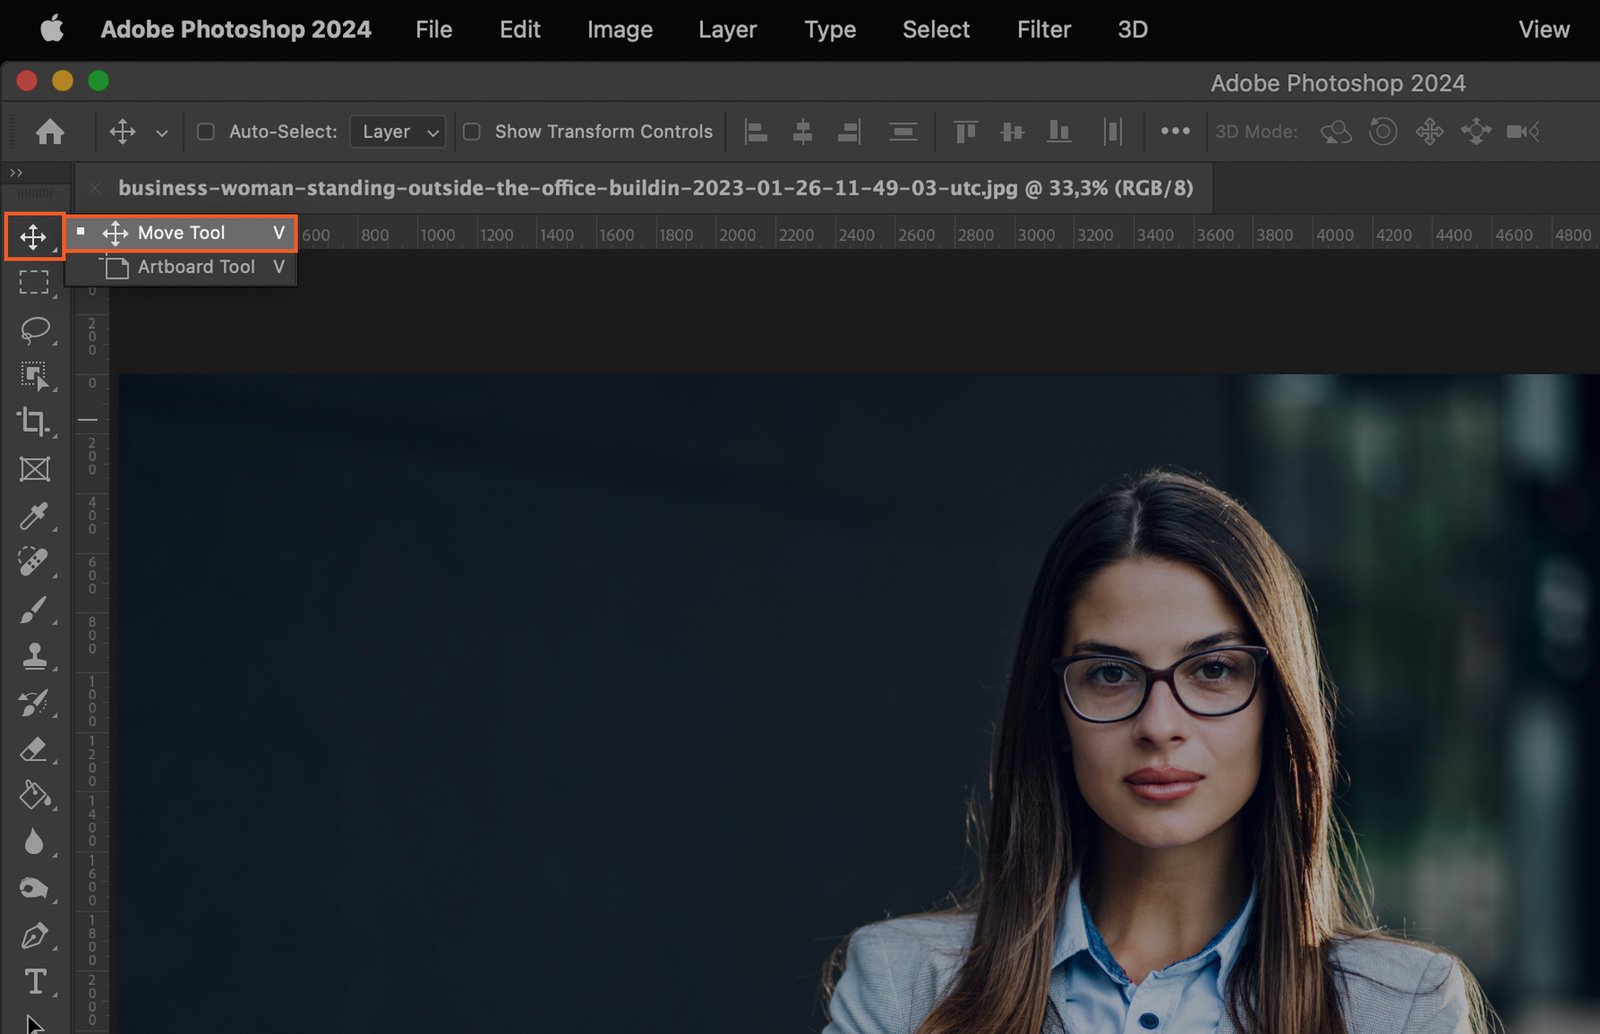
To begin, select the Move Tool from the toolbar on the left. The icon looks like a small arrow crossed with a plus sign.
Step 2. Unlocking the Background Layer
The background layer is typically locked by default. To unlock it, locate the Layers panel on the right, click the lock icon next to the Background layer.

Step 3. Activating the Transform Controls
Now, we need to activate the Transform Controls. This can be done in one of two ways.
Step 3.1. Using the Options Bar
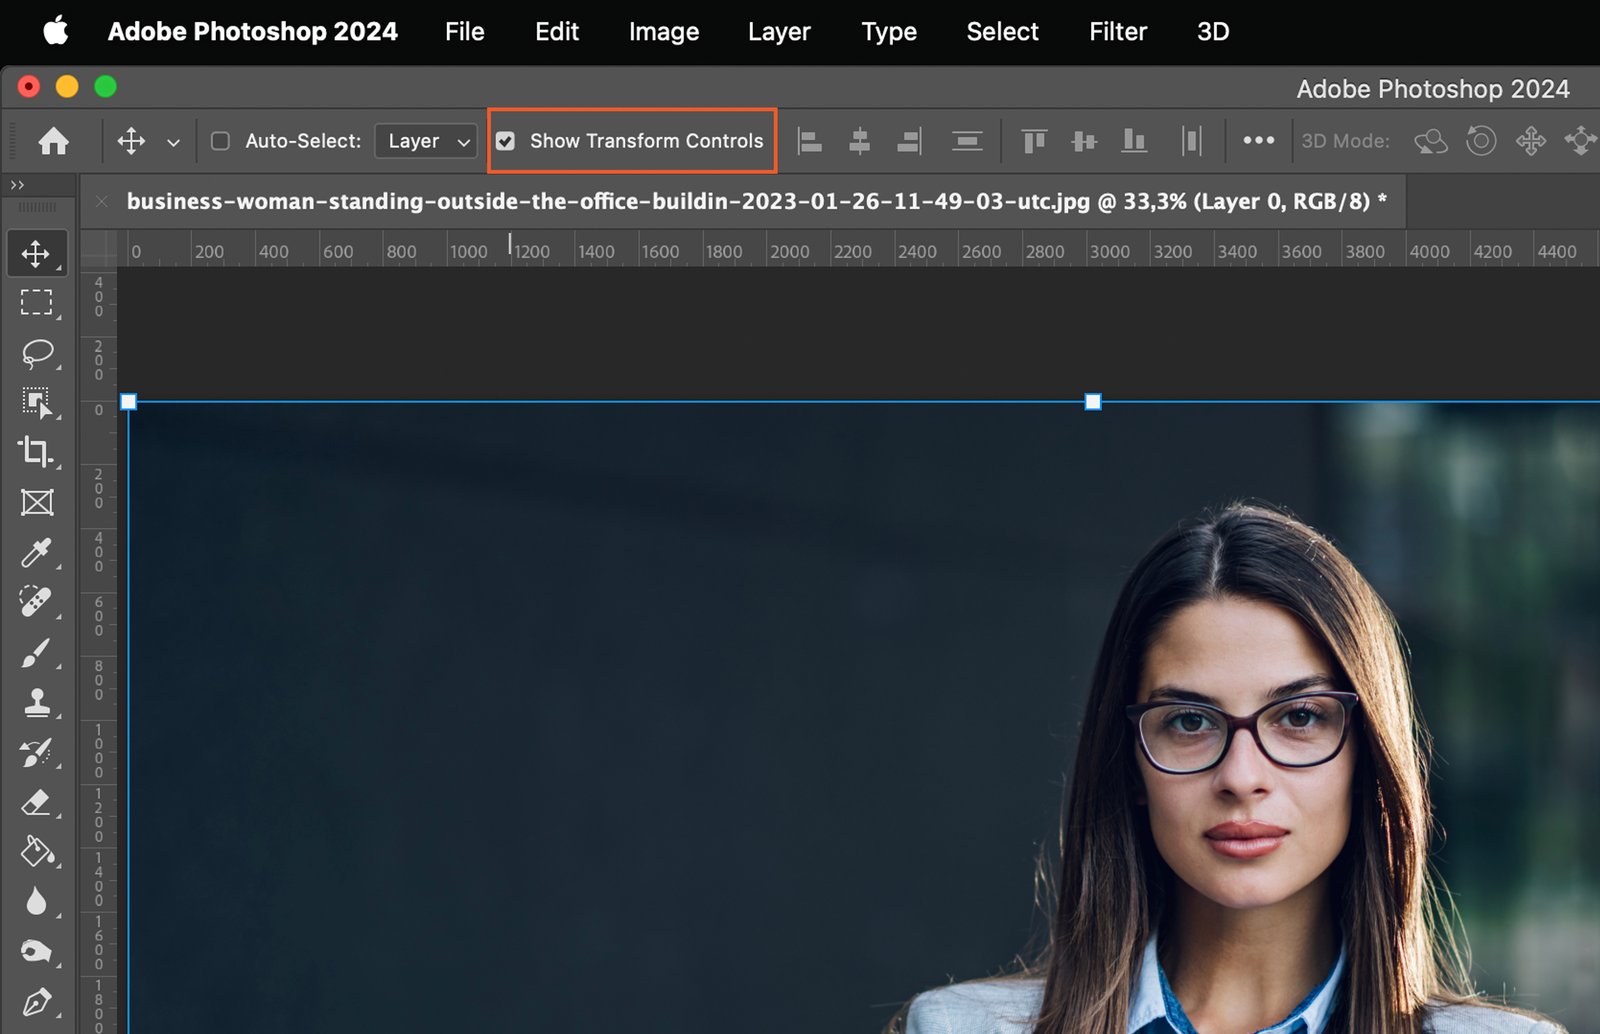
Find the Options Bar at the top of your screen and check the box labeled “Show Transform Controls”.
Step 3.2. Using the Keyboard Shortcut
For a quicker method, you can use the keyboard shortcut. Simply press Ctrl + T (Windows) or Command + T (Mac).
Step 4. Centering the Image
Now it’s time to center the image. This can also be done in two ways.
Step 4.1. Using the Alignment Options in the Options Bar
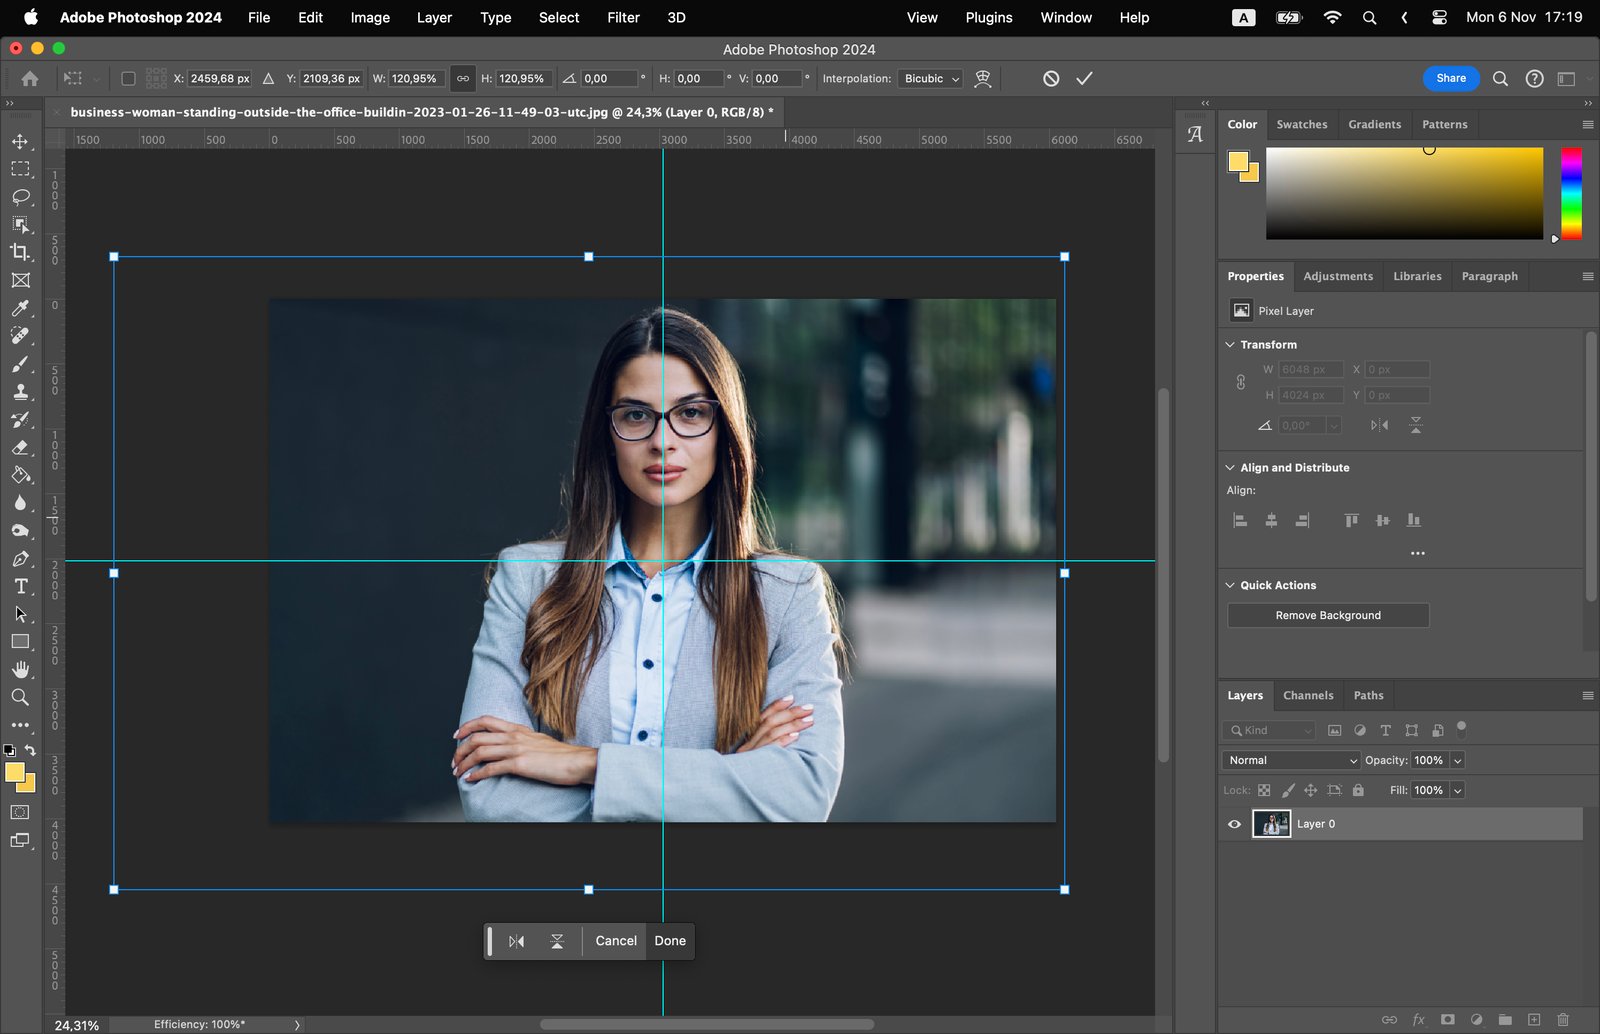
With your image selected, go to the Options Bar at the top and click on the Align vertical centers and Align horizontal centers icons. This method is great for aligning graphics or texts.

Step 4.2. Using the Rulers and Guides
Another method is using rulers and guides. First, make sure your rulers are visible by going to View > Rulers.

Then, click on the ruler and drag a guide to the center of your canvas.
Step 5. Deactivating the Transform Controls
After centering the image, deselect the “Show Transform Controls” box in the Options Bar to deactivate the Transform Controls.
Step 6. Applying the Changes
Finally, apply the changes. Press Enter (Windows) or Return (Mac) to apply. It’s also possible to apply changes by double-clicking inside the transform box. Your image is now centered in Photoshop.