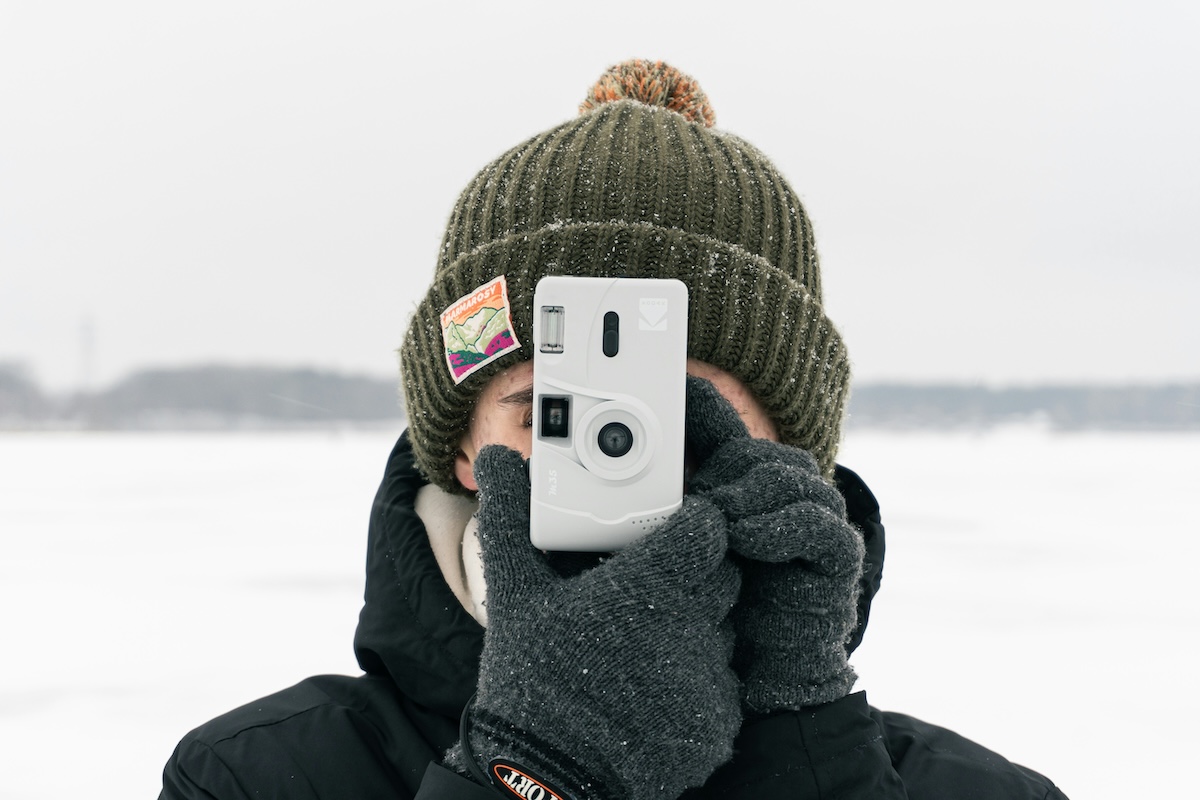
To take a mirror selfie without the phone showing, take three photos: one with each arm free and one with your face unobstructed. Then combine the clear parts with layer masks in Photoshop. The phone is present in the source photos; the finished image hides it.
This is a fun kind of illusion photography and one of our creative photography ideas. You can use a phone or a camera, and the original photos below show how the three-shot method works.
If you only want a simple mirror portrait, first try placing the phone off to one side and checking whether its reflection falls outside your composition. That depends on your mirror and framing. For the centered, hands-free illusion shown here, follow the capture and editing steps below.
What You Need to Take a Mirror Selfie Without the Phone Showing
You need a camera or phone, a mirror, steady lighting, and an editor that supports layers and masks. This tutorial uses Photoshop on desktop.
Camera
You don’t need a DSLR or a mirrorless camera to try this photography trick. Even a point and shoot or smartphone would work.
A tripod isn’t necessary for this handheld method because you switch the camera between your hands. Keep the lens position as similar as you can between the first two photos. When you lower the camera for the face photo, keep the change in angle small.
Mirror
A large mirror that fits at least half of your body gives you room to work. Clean it before you start, check the reflected background, and choose a location with steady lighting. Avoid changing the lights or moving to a different spot between photos.
How to Find the Best Camera Settings
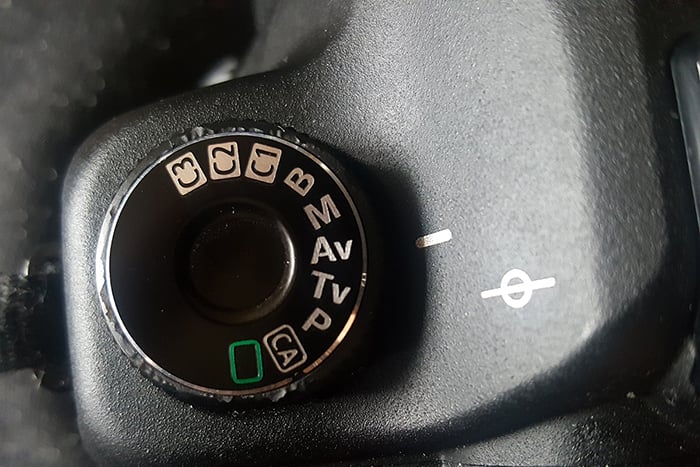
Consistent exposure makes the seams easier to blend. On a camera, use manual mode and keep the aperture, shutter speed, ISO, and white balance the same for all three shots. Turn off Auto ISO for this sequence so it cannot change brightness between frames.
If you’re not sure where to start, use aperture priority mode to take a test shot. Choose an aperture that keeps the parts you need sharp, then check the shutter speed and ISO the camera selected. Transfer all three values to manual mode.
There is no aperture that guarantees a sharp handheld photo. A small aperture can leave you with a slow shutter speed in a dim room. If your test shot is blurred, add light, use a wider aperture, or raise ISO so you can use a faster shutter speed. Check your face and hands at full size before you shoot the sequence.
Focus on your reflection. If the camera keeps focusing elsewhere, use these autofocus checks before you continue. Try to keep your position consistent rather than moving forward or backward between frames.
On an iPhone, touch and hold your reflected face in the Camera preview until AE/AF Lock appears, then adjust brightness if needed. Apple documents this focus and exposure lock. Other phones and camera apps have different controls, so check how yours locks focus and exposure.
How to Shoot the Three Photos
The aim is to record a clear version of every part that the camera or your gripping hand covers. Use your actual left and right arms to follow these steps; their screen positions are reversed in the mirror.
- Photograph your free left arm. Stand in front of the mirror. Hold the camera near your face with your right hand and let your left arm take its final pose. Keep enough of your body and background in the frame to help with alignment later.
- Photograph your free right arm. Switch the camera to your left hand and pose your right arm. Keep your feet, body, lens position, and framing as close to the first shot as possible. Make sure you have a secure grip and can reach the shutter button.
- Photograph your unobstructed face. Lower the camera toward your chest so your whole face and hair are visible. Include the neck and enough of the collar to blend this photo with the others. Keep the camera below the area you plan to use.
Take a few versions of each photo. Before you leave the mirror, check that you have a clear left arm, a clear right arm, and a complete face. You need real detail to replace the hidden areas; masking cannot reveal something that is missing from every source photo.
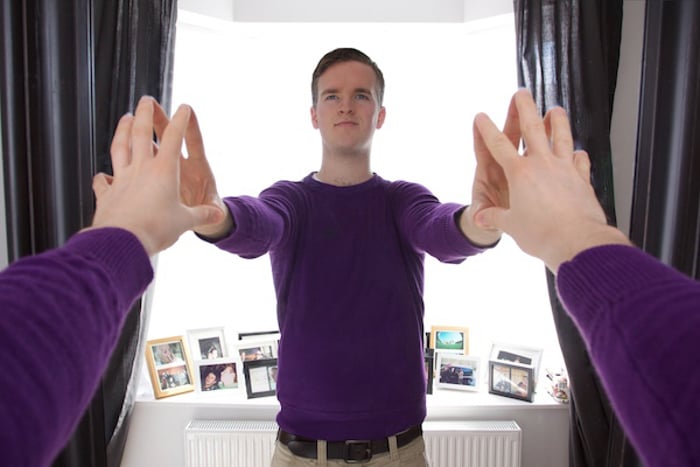
How to Combine the Photos in Photoshop
First, load your three images into one Photoshop document as separate layers. On desktop, choose File > Scripts > Load Files into Stack, browse to the photos, and click OK. Adobe’s image stack guide documents this import command.
Rename the layers by the clear part they contain: Left arm, Right arm, and Face. Arrange them with Left arm at the bottom, Right arm above it, and Face at the top. Hide Face temporarily while you combine the arms.
Select the two arm layers and try Edit > Auto-Align Layers > Auto if their framing is slightly different. Check the result rather than assuming it is correct. Adobe’s Auto-Align guidance explains how it matches shared image detail. A changed pose or viewpoint can still leave seams that need manual work.
Blend the Two Arm Photos
Select Right arm in the Layers panel and click the Add Layer Mask button. Click the mask thumbnail, not the image thumbnail, before painting.
With the layer mask selected, use the Brush tool to paint black over the camera and the gripping left arm in the upper photo. This reveals the free left arm from the Left arm layer underneath. Leave the free right arm from the upper photo visible.
The layer names describe the free arm each photo contains. If you arrange your layers in a different order, reverse which gripping arm you mask out. Work from the photo content rather than cutting away a fixed screen-left or screen-right half.
Black hides the selected layer, white reveals it, and gray makes it partly transparent. Paint white to restore anything you hide by mistake. Use a smaller brush near fingers and clothing edges; a softer transition can help across plain fabric. Adobe’s mask editing guide confirms these controls.
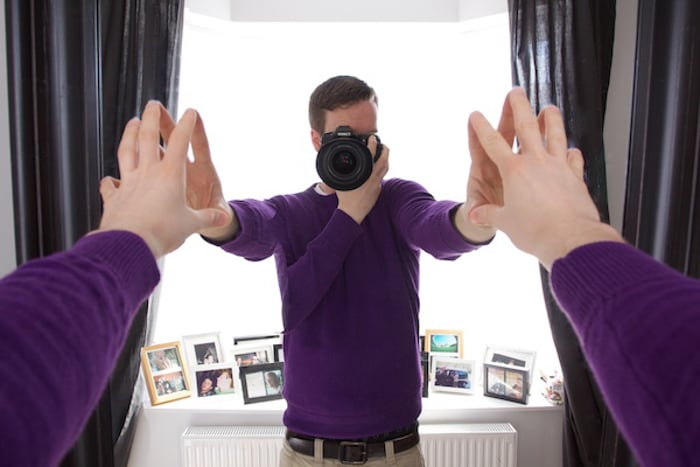
Add Your Face
Show the Face layer and temporarily lower its opacity so you can compare the neck, collar, and head position with the combined body underneath. Select the image thumbnail and use the Move tool to place it. Restore full opacity when the position looks right.
Add a layer mask to Face, then paint black over the camera, gripping hands, and the parts of that photo you do not need. Keep your face, hair, and the portion of neck or collar that joins naturally to the body. If the background no longer lines up, mask it away rather than keeping a doubled edge.
The image below shows the masked face layer on its own, before I moved it into its final place.
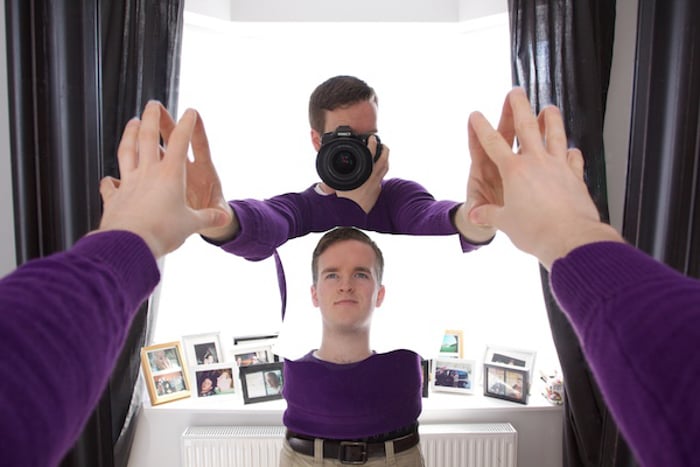
Refine the mask around the neck and collar, and check that neither camera nor gripping hand remains visible. Now you have a self-portrait without the camera showing.
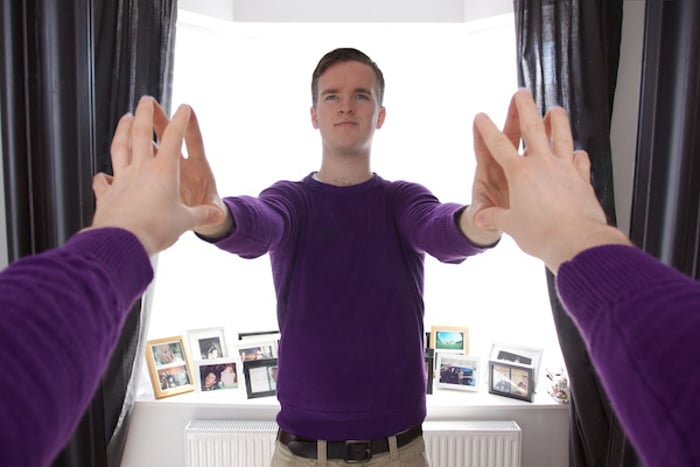
Retouching the Seams
Careful capture reduces the repair work, but Photoshop will not automatically fix every mismatch. Inspect the neck, shirt, arms, and straight lines in the background at 100% zoom. If the source photos differ too much, reshooting may be easier than rebuilding missing detail.
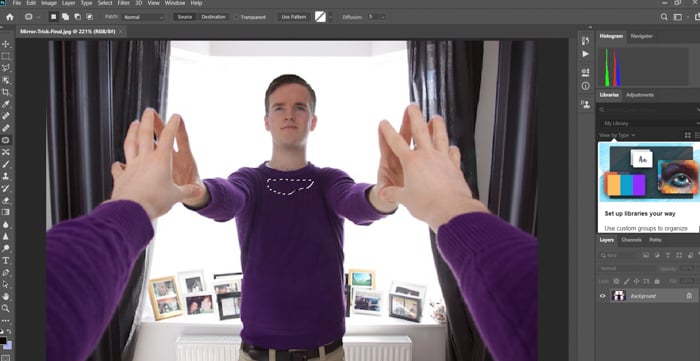
In the original example, I used the Clone Stamp tool and Content-Aware Fill to tidy the result. A slight crop removed the overlapping edges.
Keep your original layers and masks. For tools that need a combined pixel layer, duplicate the image layers, select the copies, and choose Merge Layers. Retouch that merged copy while keeping the originals underneath for later corrections.
Spot Healing Brush
Use Spot Healing Brush for small spots on otherwise even areas. Choose a brush a little larger than the defect, then click or drag over it. Photoshop samples nearby detail automatically; inspect each repair for smears or repeated texture.
This differs from Healing Brush, which lets you choose a source with Alt-click on Windows or Option-click on macOS. If you retouch on an empty layer, enable Sample All Layers for Spot Healing Brush, or choose an appropriate sampling option for Healing Brush.
Patch Tool
On your merged copy, choose Patch with Normal and Source selected. Draw around the area to repair, then drag the selection to a clean area with similar texture and lighting. Release it and check the blend. Keep the selection away from edges you want to preserve.
Clone Stamp Tool
Clone Stamp copies pixels from a chosen source. Press Alt or Option and click a clean area, then paint over the seam or gap. For a shirt, sample fabric with a similar pattern and brightness. Resample often so you do not create obvious repeats.
For smaller clone repairs on an empty layer above the composite, set Sample to Current & Below so the tool can read the visible image beneath it.
Content-Aware Fill
For a larger repair with suitable surrounding detail, select the area, right-click inside it, and choose Content-Aware Fill. In the workspace, adjust the sampling area to exclude your face, hands, or unrelated objects, then inspect the preview before accepting it.
Content-Aware Fill can help with plain background or fabric. Do not rely on it to reconstruct a missing face or hand accurately. Use your clear source photo for those parts and keep retouching for the joins.
Conclusion
A convincing phoneless mirror selfie starts with three usable photos. Keep the light and pose consistent, record each free arm and your face, then hide the camera-bearing parts with layer masks.
Make sure the source images are sharp before you edit. Careful capture gives you less repair work and makes this a useful project to master photo editing.
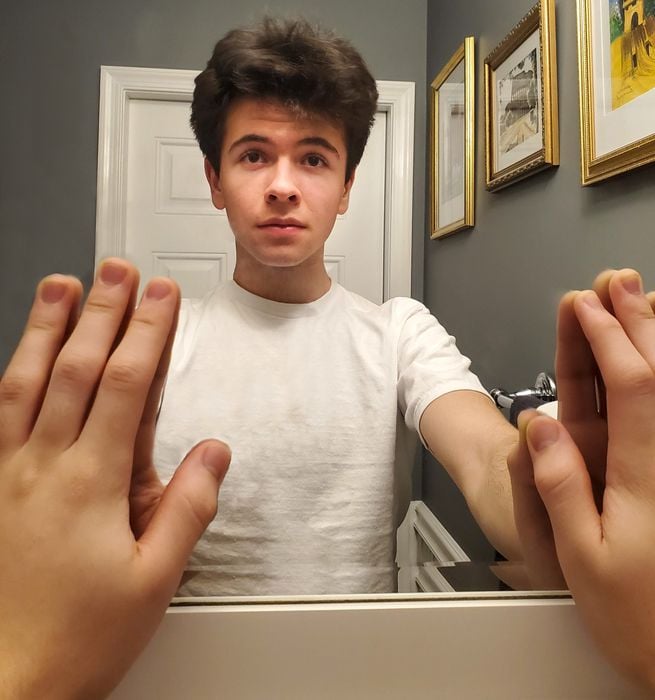
Hidden camera mirror photography is one of the topics we cover in our creative photography course, Wow Factor Photography. Below is a photo taken by one of our students. If you'd like to learn more, check out the course here.
© Stacy Anne McCormack