The Patch tool helps eliminate pesky spots and marks on photos.
Read on to find out where to find the Patch tool in Photoshop, and how to use it!
Where to Find The Patch Tool in Photoshop
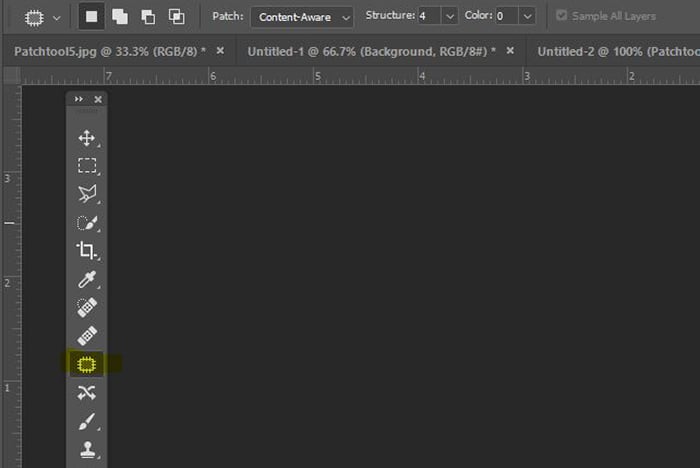
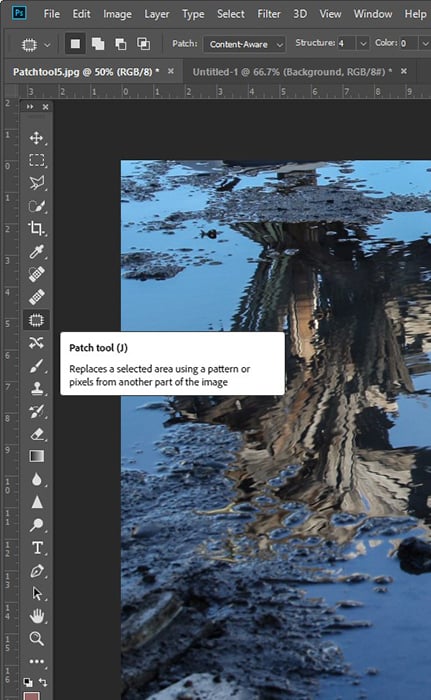
You can find the Patch tool on the left-hand side menu. The shortcut key for the patch tool on both Windows and Mac OS is J.
If you can’t see it, check to see if it’s hidden in the small drop-down menu when you click on the Healing Brush.
How to Use the Patch Tool in Photoshop to Tidy Up Images
You have a beautiful photo taken at the right moment… but there’s a water spot visible which has you tearing your hair out.
The good news is you can remove it in a jiffy with the patch tool Photoshop. And this is also quite a bit cheaper than replacing your hair.
You can also clean up other forms of distractions with the Patch tool. These include stray grass, stones, wayward clouds, and graffiti.
My photographic vice is forgetting to clean the lens properly when I’m in a rush. The patch tool comes in handy for those annoying dust spots as well.
Furthermore, you can use the Patch tool to remove larger areas that are distracting from your otherwise excellent image.
Now let’s go through all the steps on how to use patch tool in Photoshop.
Step 1: Open the Photograph
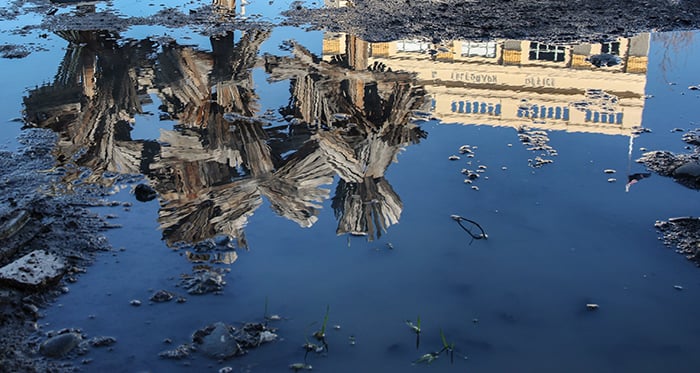
For this article, I decided to tidy up a photograph of a reflection of the ‘Woods For Trees’ sculpture by Regan Gentry.
I’ll show you how to tidy up a scene in Photoshop CC 2020 using a Windows PC. If you’re using a version of Photoshop earlier than Photoshop CS6, then this method might not work for you.
I open the RAW photograph in Photoshop and click on the Patch tool. I also click on ‘Content-Aware‘ on the top menu.
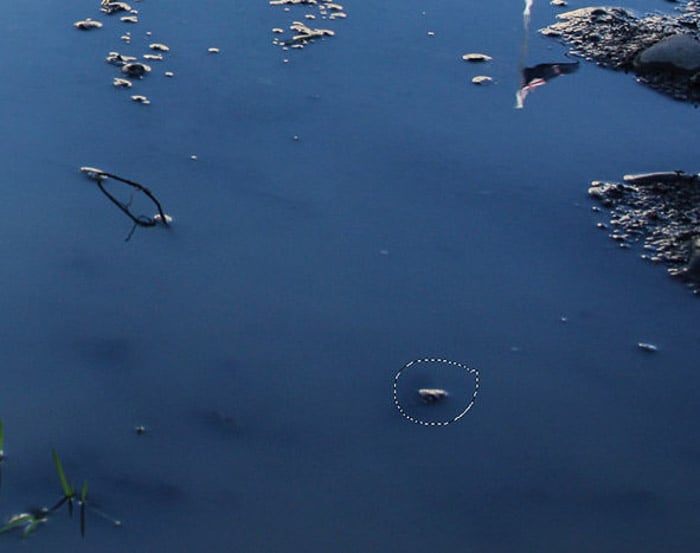
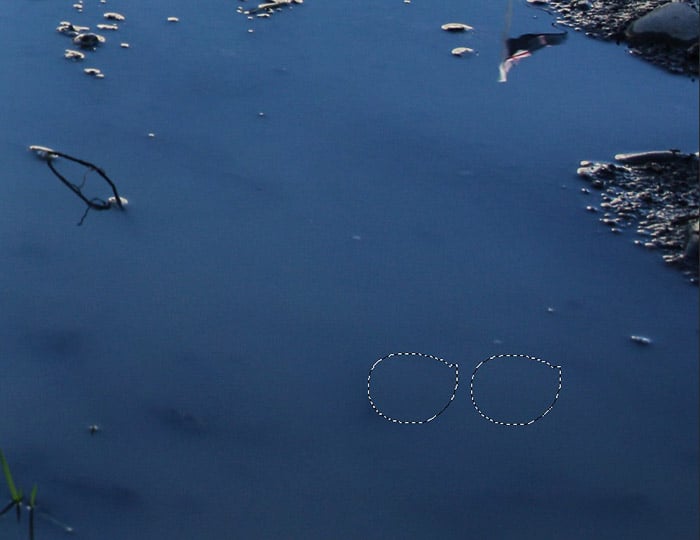
Step 2: Select the Area You Want to Remove
I ‘draw’ around the stone I want to remove by clicking and dragging around it. Marching ants (dotted lines) appear once I make the selection.
Step 3: Clear the Space
I click in the center of the shape I drew and drag the cursor across to a nearby clear area.
You can see that the original shape is now ‘filled’ with similar content from the new area. The stone is gone.
To get rid of the marching ants, I click Ctrl+D (Cmd+D).
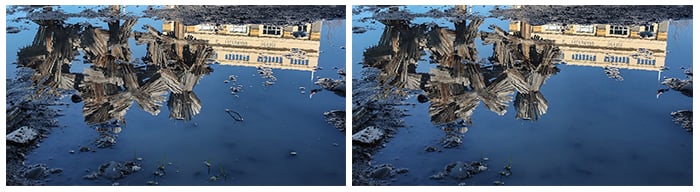
I repeat this process in about ten different areas of the photograph.
The finished result is a clearer puddle reflecting the surroundings with fewer distractions.
How to Use the Patch Tool to Replicate an Object
Another way to use the patch tool in Photoshop is to replicate part of a photo.
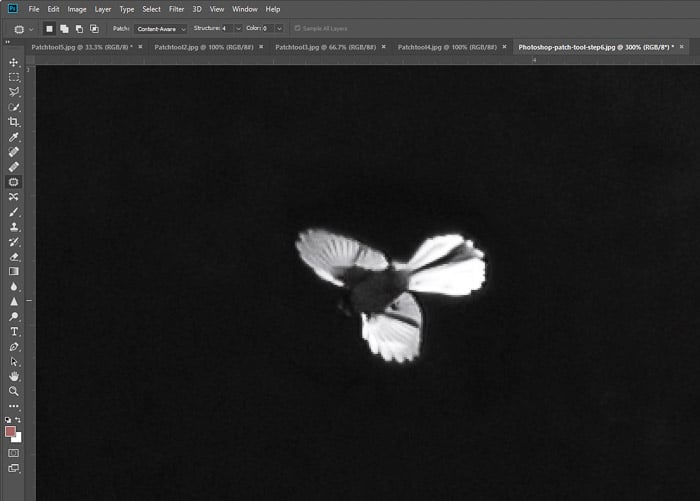
You can see my example below of giving a native New Zealand Pīwakawaka (fantail) a twin.
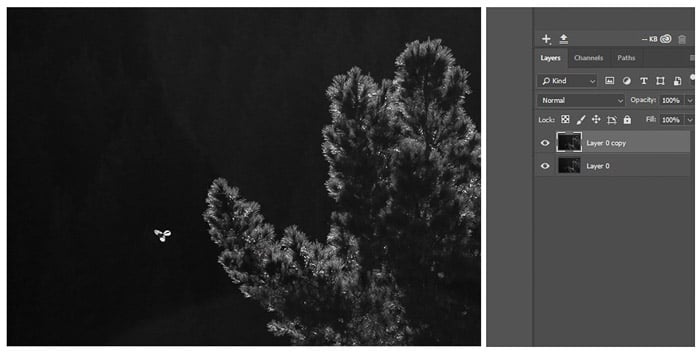
Step 1: Open the Photograph and Create a Layer
I open my RAW photograph in Photoshop. On the lower right menu of my PC, I duplicate this image by right-clicking on the Layer and selecting ‘Duplicate.’
Now I have two identical layers.
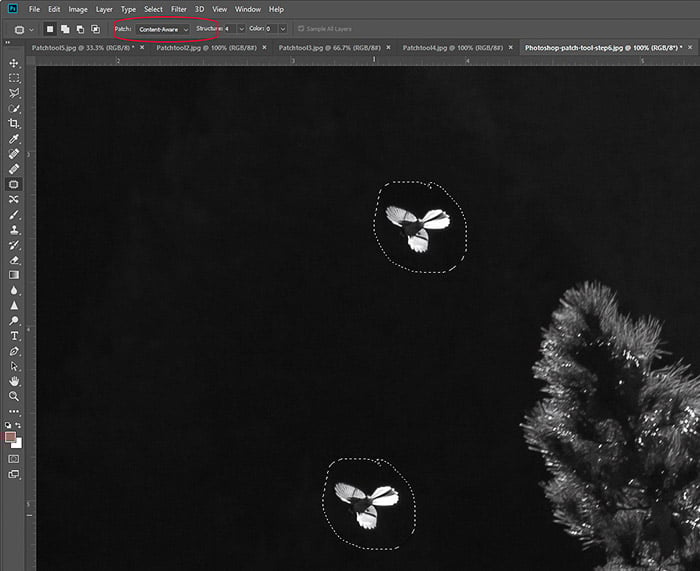
Step 2: Copy the Shape
I click on the Patch tool and make sure that the Content-Aware option in the top menu is selected.
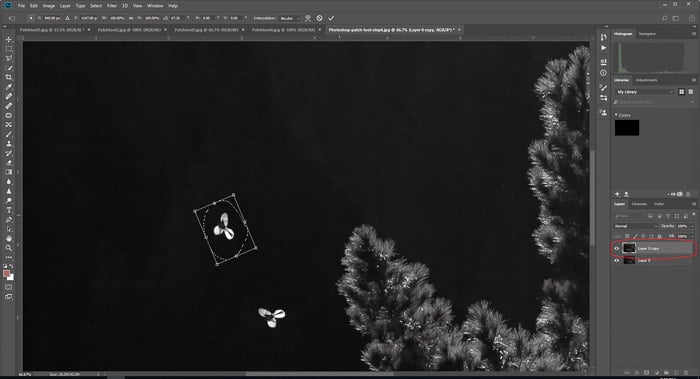
This time, instead of drawing around something I want to remove, I draw a shape where I want to copy the Pīwakawaka.
I click in the middle of the ’empty’ shape that I created and drag it to the Pīwakawaka I want to copy.
I’m working with two identical layers. So I still have another Pīwakawaka flying underneath the one I dragged across.
Step 3: Move the Shape
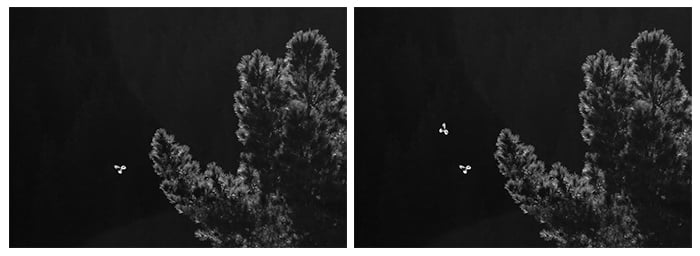
Seeing two identical Pīwakawaka flying in the same formation at the same time is not particularly natural. So I decided to turn one around.
Before I clear the marching ants (Ctrl+D or Cmd+D), I click Ctrl+T (Cmd+T) to use the Transform tool. Doing so enables me to move around the shape and adjust the size.
What I just did is something you need to consider with nature photography all the time. Exact copies of plants and animals look abnormal.
So if you want a more natural look, adjust the size and direction of your replica. If you’re after a creative and clearly ‘fake’ repeated pattern, then go for that replica!
Step 4: Final Touches
Sometimes the original area directly around the shape I moved doesn’t quite blend with the surroundings.
The black tones directly around the Pīwakawaka here are a bit too dense.
Usually, I use the Spot Healing tool to tidy up these areas. But the Healing Brush can be just as effective.
Conclusion
Like all post-production techniques, using the patch tool becomes more manageable (and faster) with practice.
Experiment with different photographs and scenes to see what works best for you—the more mistakes you make to learn from, the better!
Like all post-production techniques, less is more. Sometimes imperfections in a photograph help to tell the full story. Just because you can use the Patch tool, doesn’t always mean you should. Stick to using it for small areas as a way to enhance your photographs.
To learn the best editing techniques, check out our course – Effortless Editing with Lightroom!


