We’ve all been there. That moment of frustration when we’re starting out, wondering why our expensive digital SLR camera won’t capture what our eyes are seeing. Especially when a pocket camera does it with ease.
That’s because SLRs aren’t as intelligent as our eyes and they hand back the control that the pocket cam takes away. This post will help you to get one step closer to the perfect exposure.
Well, the biggest problem you’ll come across is when the ambient light source is behind your subject. All you’re getting in return is a silhouette.
On auto mode, your camera is likely to recognise the excessive light coming into the camera and think it doesn’t need a flash. It does.
This is a fairly common occurrence. You may think it a shame to use a nasty pop up flash to fix it but the results often come out a lot better than expected.
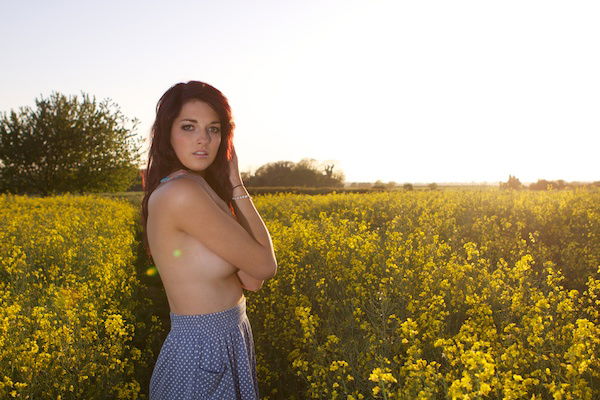
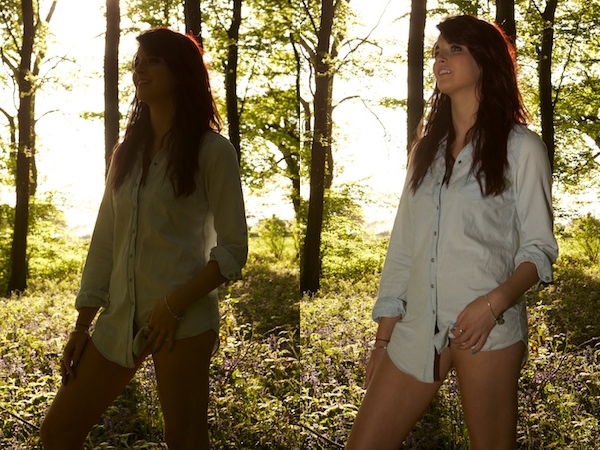
Have a look at the two photos below. The one on the right is the only one taken with a flash.
Before you get out your flash, think about what you’re trying to capture and whether a flash is necessary.
If you have a look at my post on shooting into the sun, you’ll see that a lot of the time it’s not necessary. You can still get excellent results without a flash.
That said, if you’re looking for a certain type of shot without the use of lens flare, this is a great technique to use.
You have a few options to control how the light hits the subject. You can have the flash on or off the camera, as well as changing it’s power output.
In the photo below, I decided to keep the flash on the camera. This emphasised the berries rather than the surrounding leaves by lighting them up the most. I did, however, turn down the flash power to -1ev – I’ll show you why I did this in section 4.

In the second photo below, I had the flash off camera and to the side.
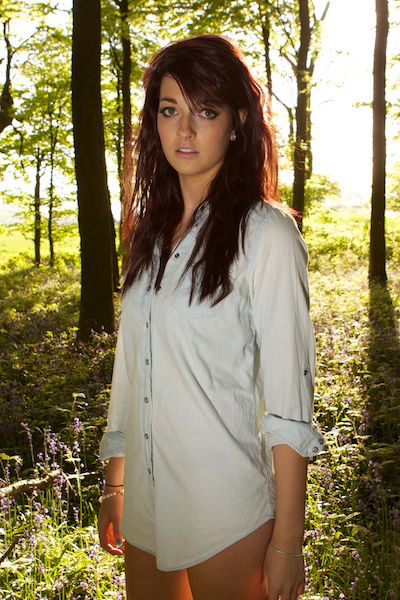
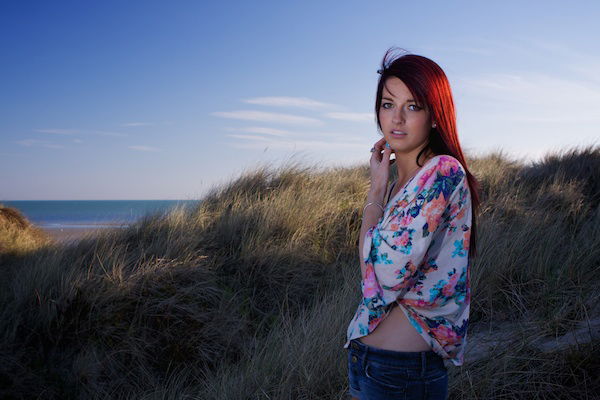
You can do this easily with a transmitter (bought separately but sometimes built in to a camera) or a sync lead (the cheap option). In the soft evening sun it allowed me to light up my subject without having to flatten her features with direct flash.
It looks much more natural then it would have had I left the flash on the camera. Again, in this shot, the flash power was turned down.

The first thing to note is the ISO that you would typically use.
In a well lit sunny situation where you’re just using it as fill flash to remove shadows, the ISO need not be any higher than 100. If you’re shooting in the evening and would like more background detail, try raising it to 400.
Consider how you want your subject to look in the photo. Are you using the flash to fill in the shadows or to cast interesting shadows onto the subjects face? Harsh, sharp shadows tend to look unnatural, so be careful how you use them.
A little bit of extra light can go a long way. Think about the amount of power you want to put into the flash and where you want to put it. Try to stay away from the artificial overexposed look.
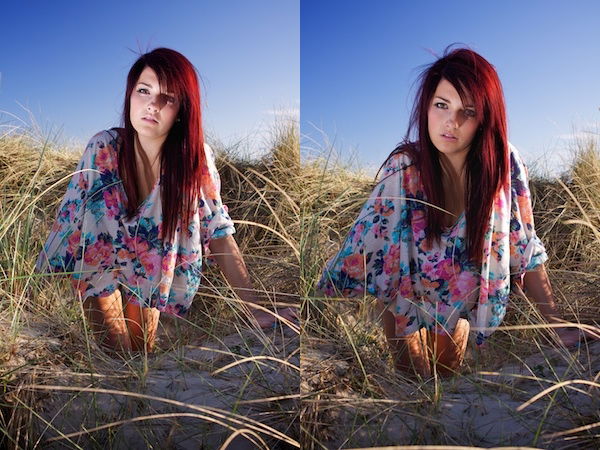
Have a look at the photos below, I moved the flash farther away on the second photo as it was far too strong to begin with.
If you’re into nature or macro photography, you’ll be very familiar with fill flash. It’s used all the time to get the right lighting in a darker situation without looking unnatural. Most of the time you can barely even notice it.
Ratio’s can be a little confusing; I’ll try to make it as simple as possible. This ratio basically dictates how strong the flash should be in a certain situation.
Please remember that there are no rules in photography, only guides, so play around with it as much as you like.
When I talk about ratios it’s always ‘light required: exposure’ with exposure remaining constant throughout at 1.
1:1 A ratio of 1:1 would mean that there is enough ambient light not to require flash (ambient:exposure) or that there is no ambient light and a flash has to be used (flash:exposure).
2:1 A ratio of 2:1 would indicate that equal amounts of ambient light and flash are used to create an exposure (ambient 1 + flash 1:exposure 1).
3:1 This is where it gets a little more complicated. When there is twice as much ambient light as flash you get ‘ambient 2 + flash 1:exposure 1’.
To compensate for this you would have to turn down the flash power to -1 stop. This also works the other way around. You would have to turn up the flash power to +1 if there was twice as much flash power to ambient light.
This isn’t really fill flash any more though, so I won’t be going further into it.
5:1 This means that there is 4 times as much ambient light as flash so would require -2 flash power.
Some people might argue that that happens at 4:1 but at this point the difference is very small. You should really be experimenting with the amount of flash you need to suit your taste.
In bright ambient light situations, less is more. Otherwise you’ll end up with a fake looking flash filled face.
