Mastering the use of Photoshop brushes can significantly elevate your digital artistry, but the array of options and settings can be overwhelming for beginners and even intermediate users. This article aims to demystify the process, providing a comprehensive guide on how to effectively use Photoshop brushes. From understanding the basics, accessing the tool, selecting and adjusting brushes, to exploring advanced features, this guide will equip you with the knowledge to enhance your Photoshop skills and create more nuanced and detailed digital artwork. Whether you’re a novice just starting out or a seasoned user looking to refine your technique, this step-by-step guide will help you navigate the world of Photoshop brushes with ease and confidence.
Step 1. Understanding Photoshop Brushes
Photoshop brushes are a versatile tool that can be used to paint, erase, clone, and more. They come in a variety of shapes, sizes, and textures, allowing you to create a wide range of effects. Understanding how to use them effectively can greatly enhance your Photoshop skills.
Step 2. Accessing the Brush Tool
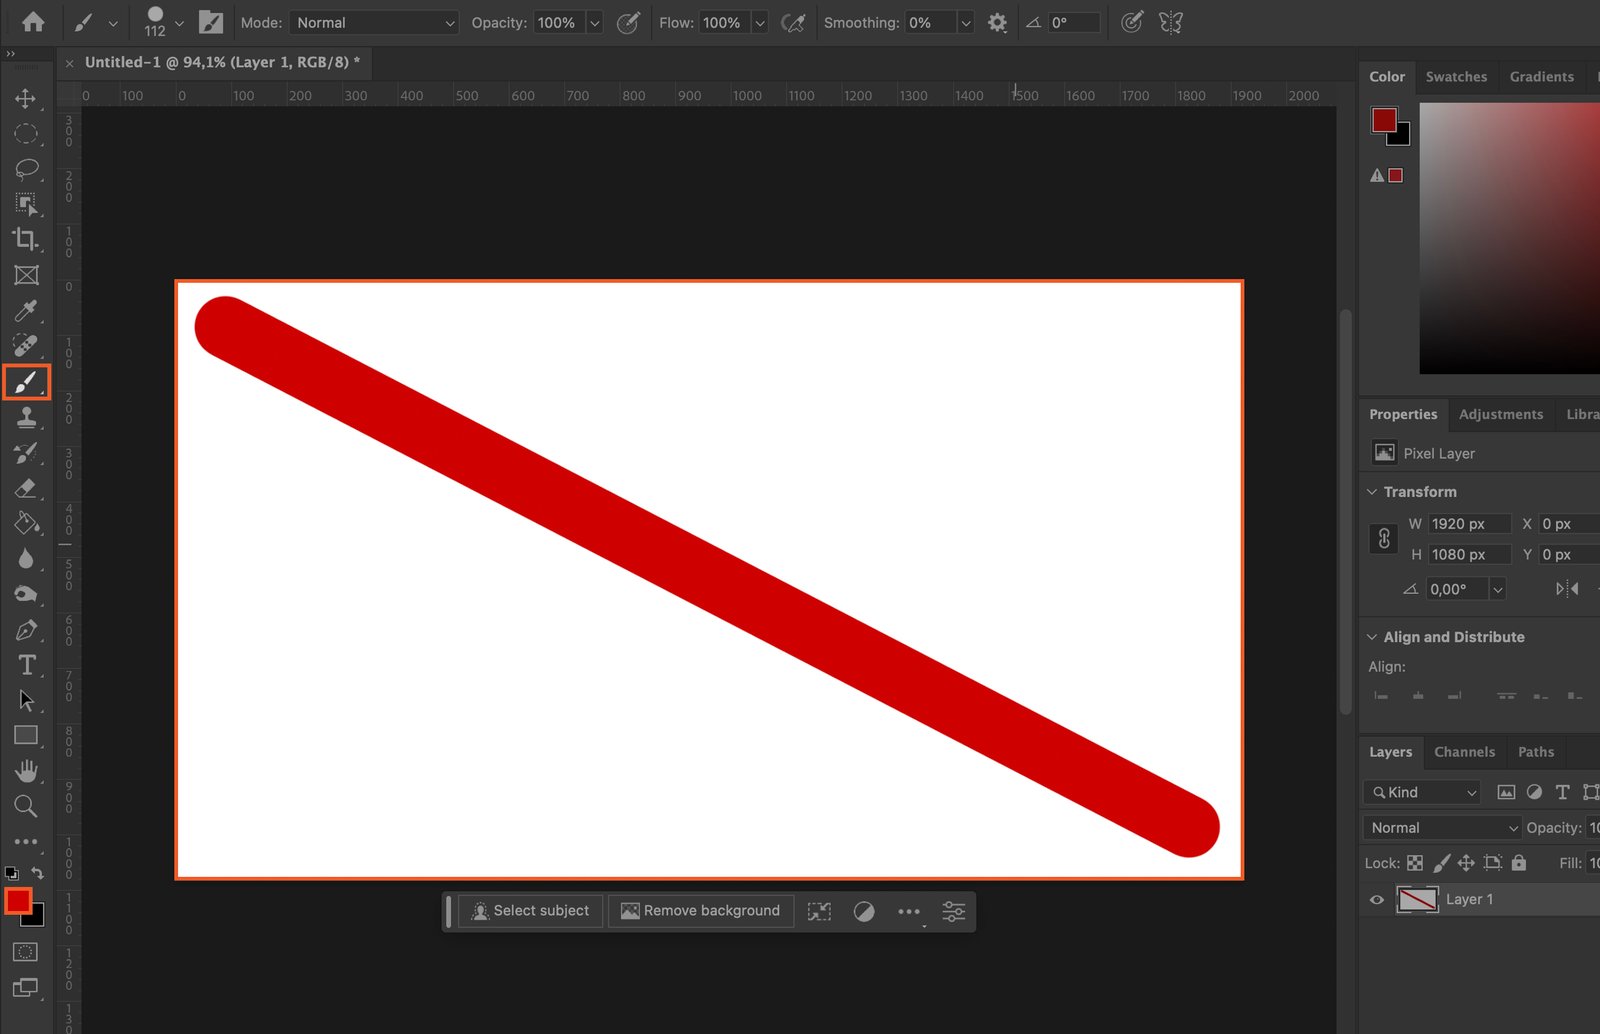
To access the Brush Tool, simply click on the brush icon in the toolbar, or press the shortcut key ‘B’. This will activate the Brush Tool, and you will see a circle representing the brush size on your canvas.

Step 3. Selecting a Brush
Step 3.1. Using the Brush Presets
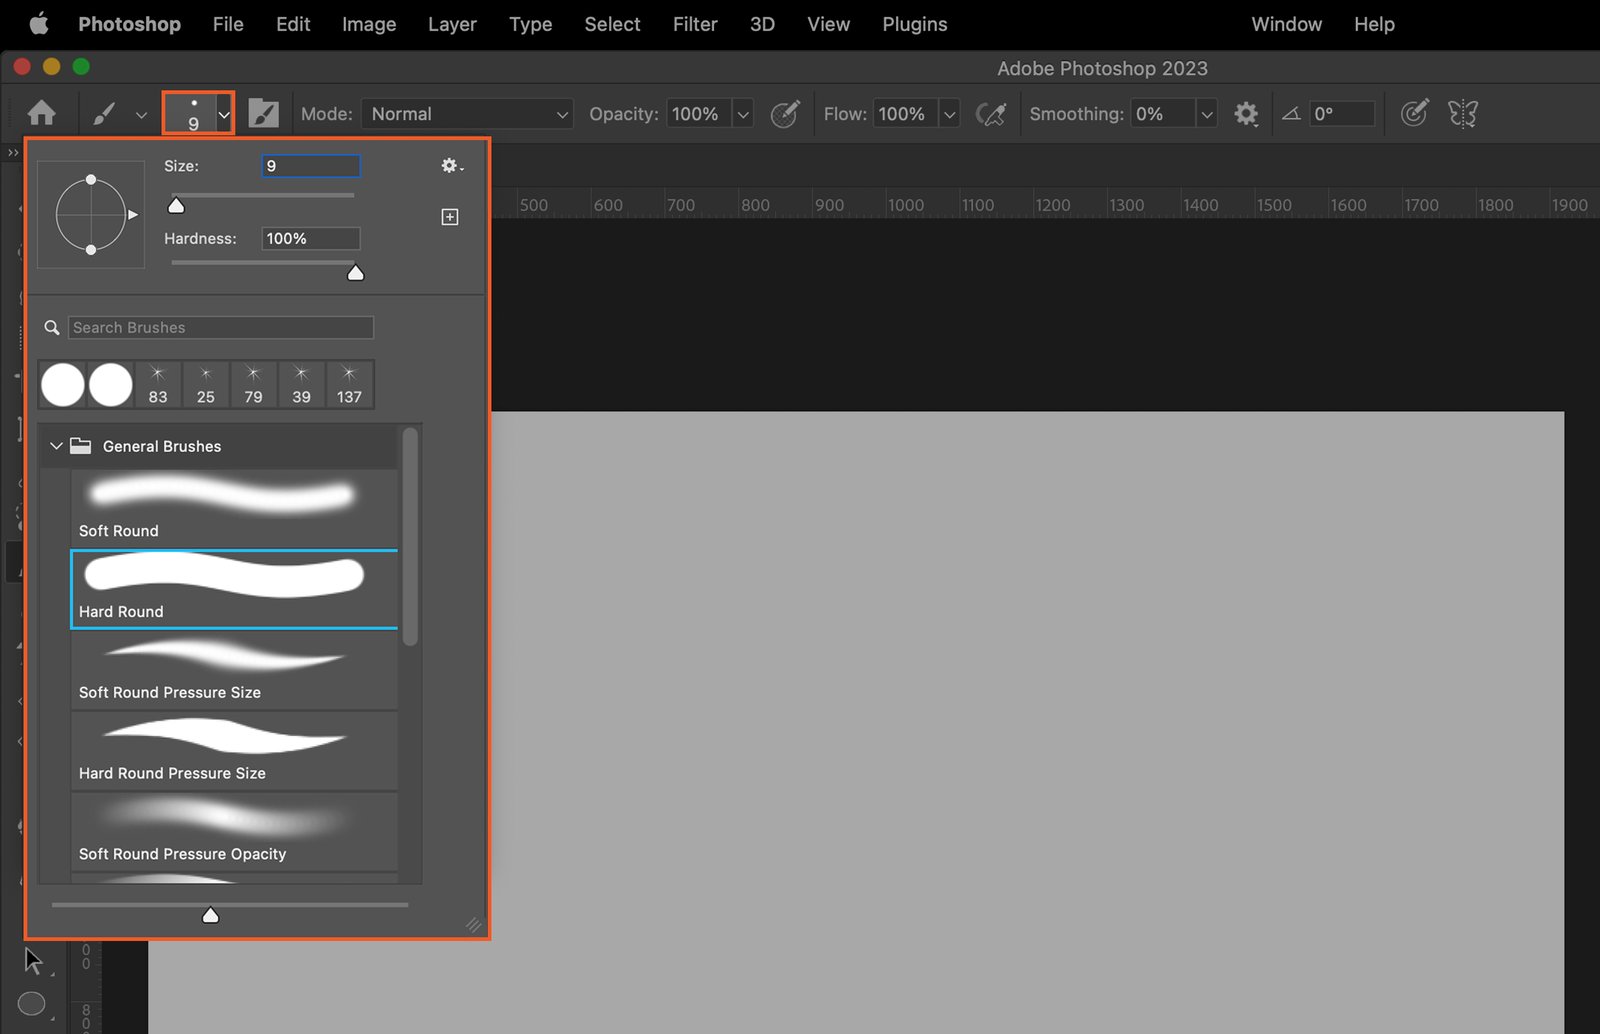
Photoshop comes with a variety of pre-made brushes, known as presets. To access these, click on the drop-down menu in the options bar at the top of the screen (Or right-click anywhere on the canvas). Here, you can scroll through and select from a wide range of brush presets.
Step 3.2. Importing Custom Brushes
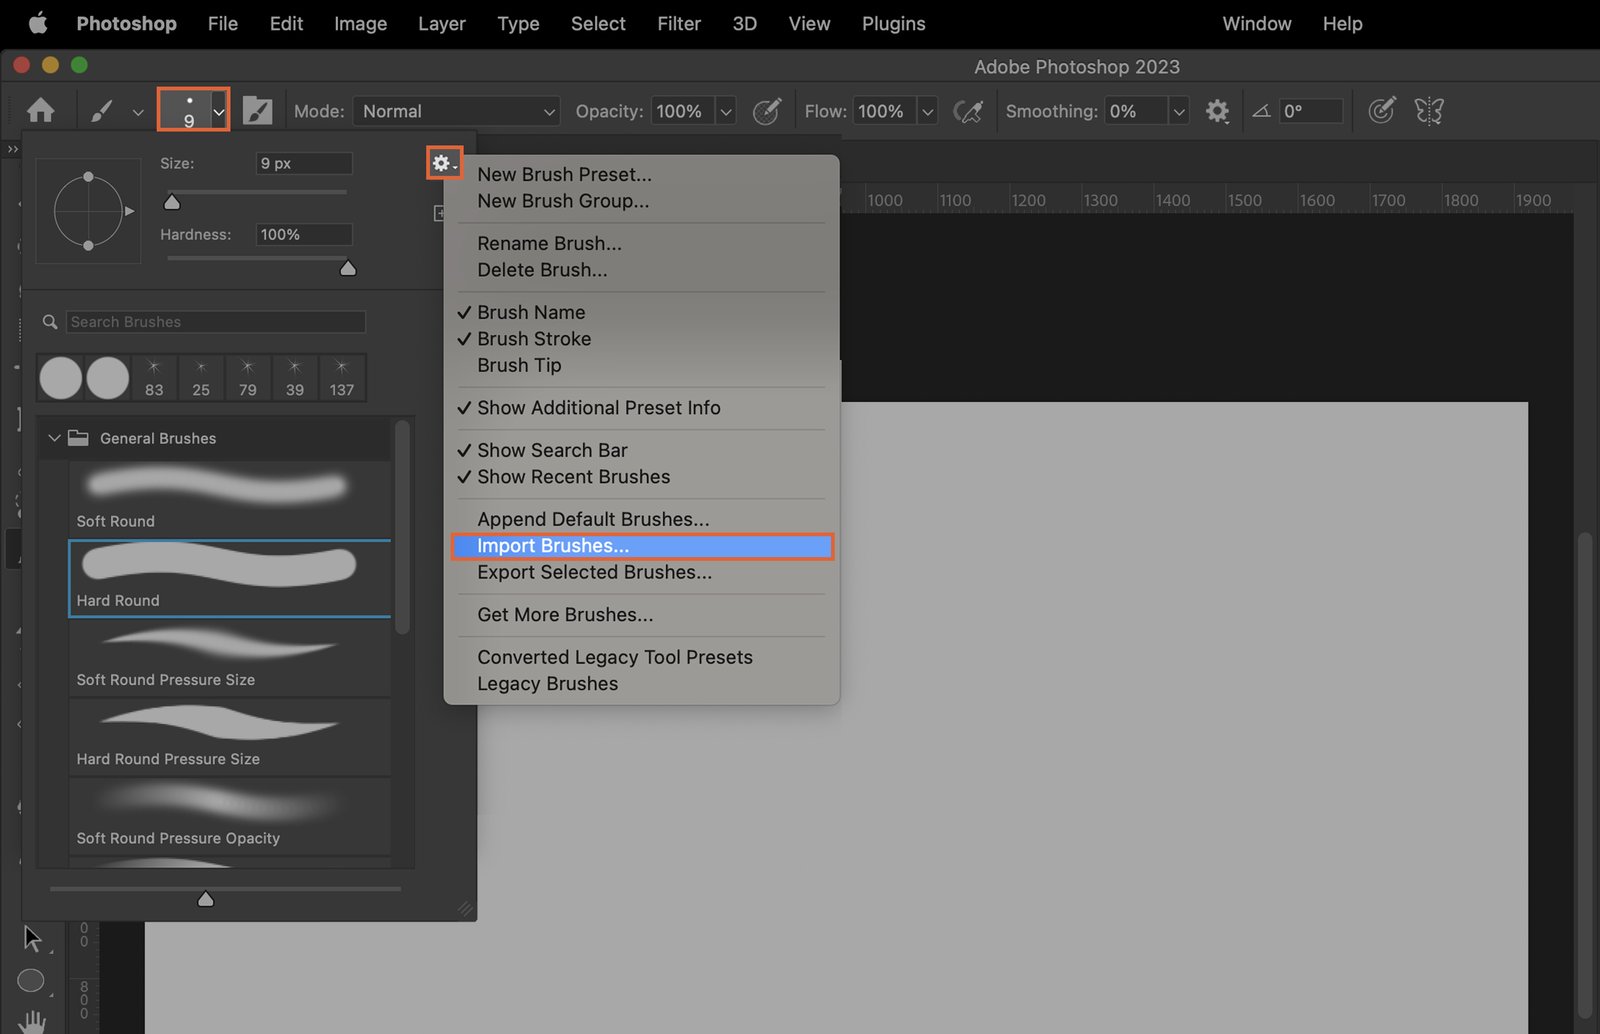
You can also import custom brushes into Photoshop. To do this, go to the brush presets menu, click on the gear icon, and select ‘Load Brushes’. Then, navigate to the file containing your custom brushes and click ‘Open’.
Step 4. Adjusting Brush Settings
Step 4.1. Changing Brush Size and Hardness
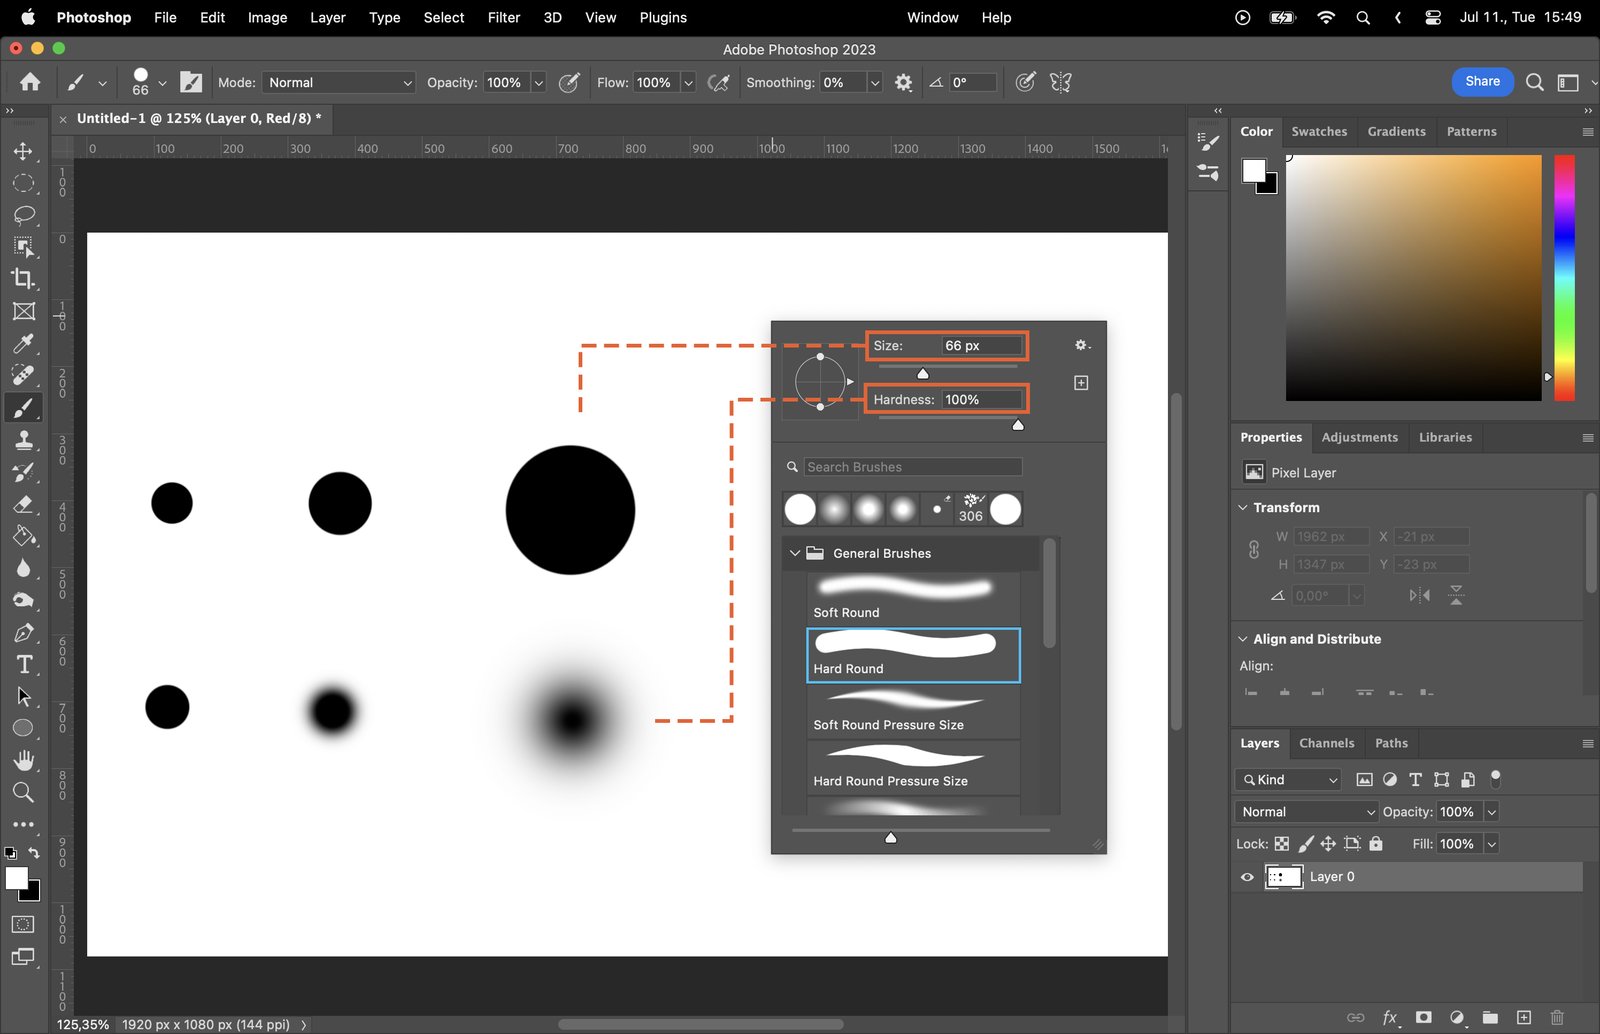
You can adjust the size and hardness of your brush in the options bar. Size controls how big the brush is, while hardness determines the sharpness of its edges. A lower hardness value will give a softer, more feathered edge.
Step 4.2. Modifying Brush Opacity and Flow
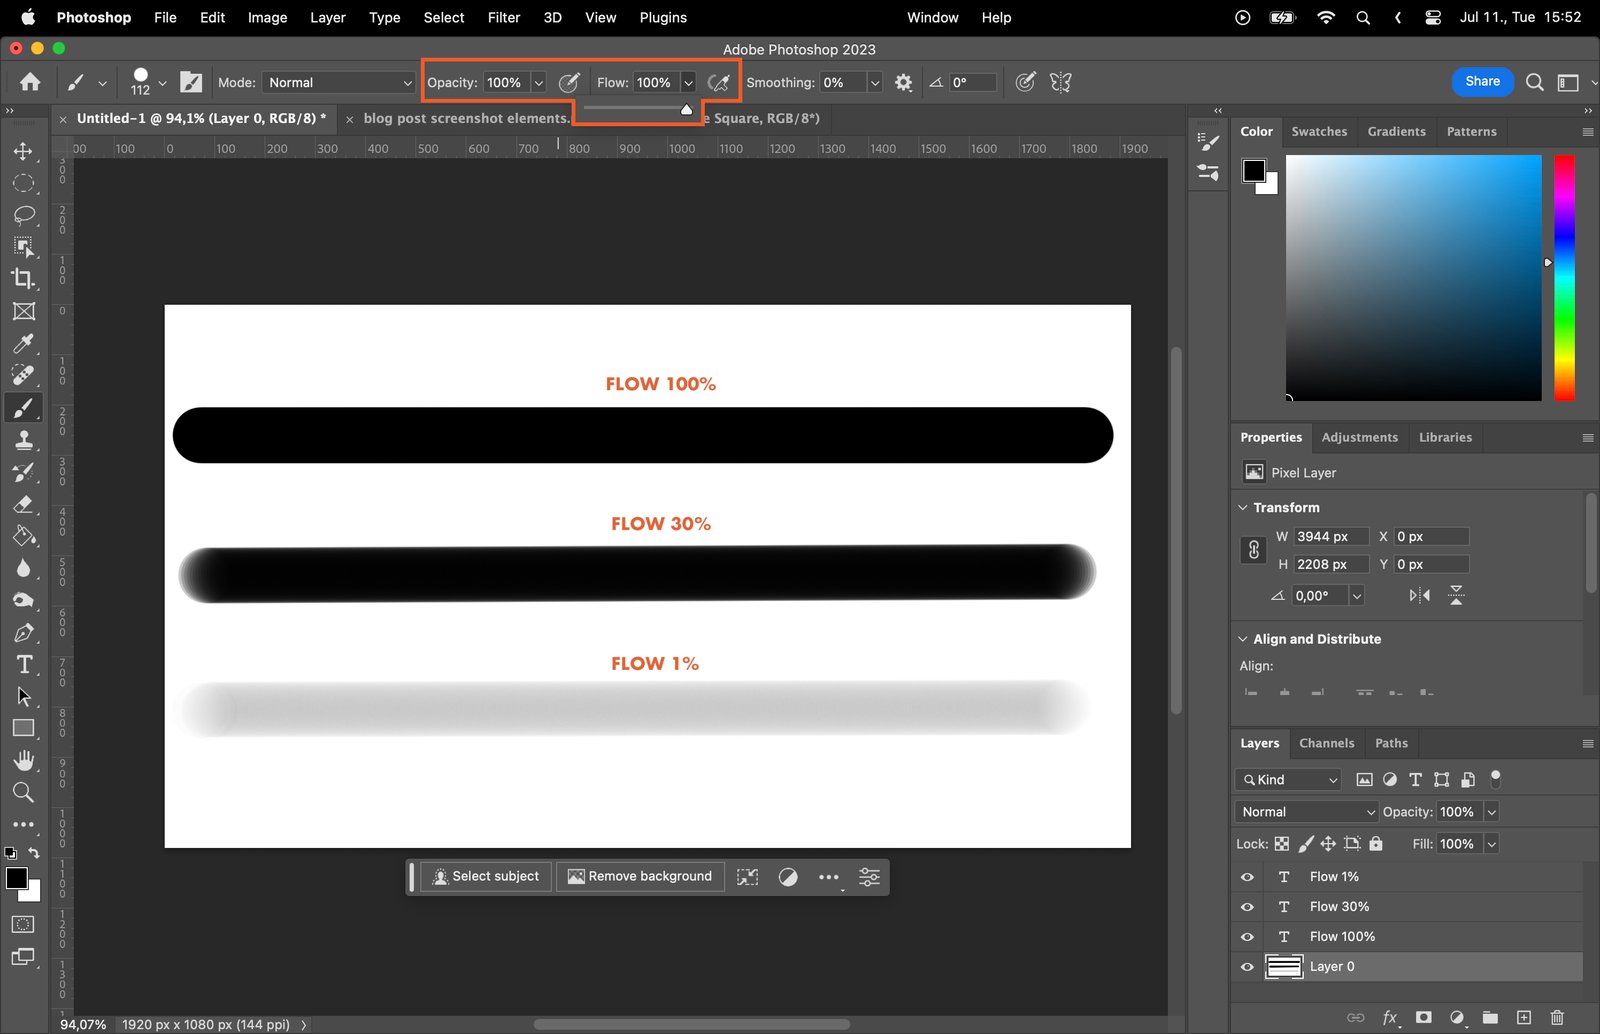
Opacity controls how transparent the brush strokes are, while flow determines how quickly the paint is applied. Lowering these values can create a more subtle, gradual effect.
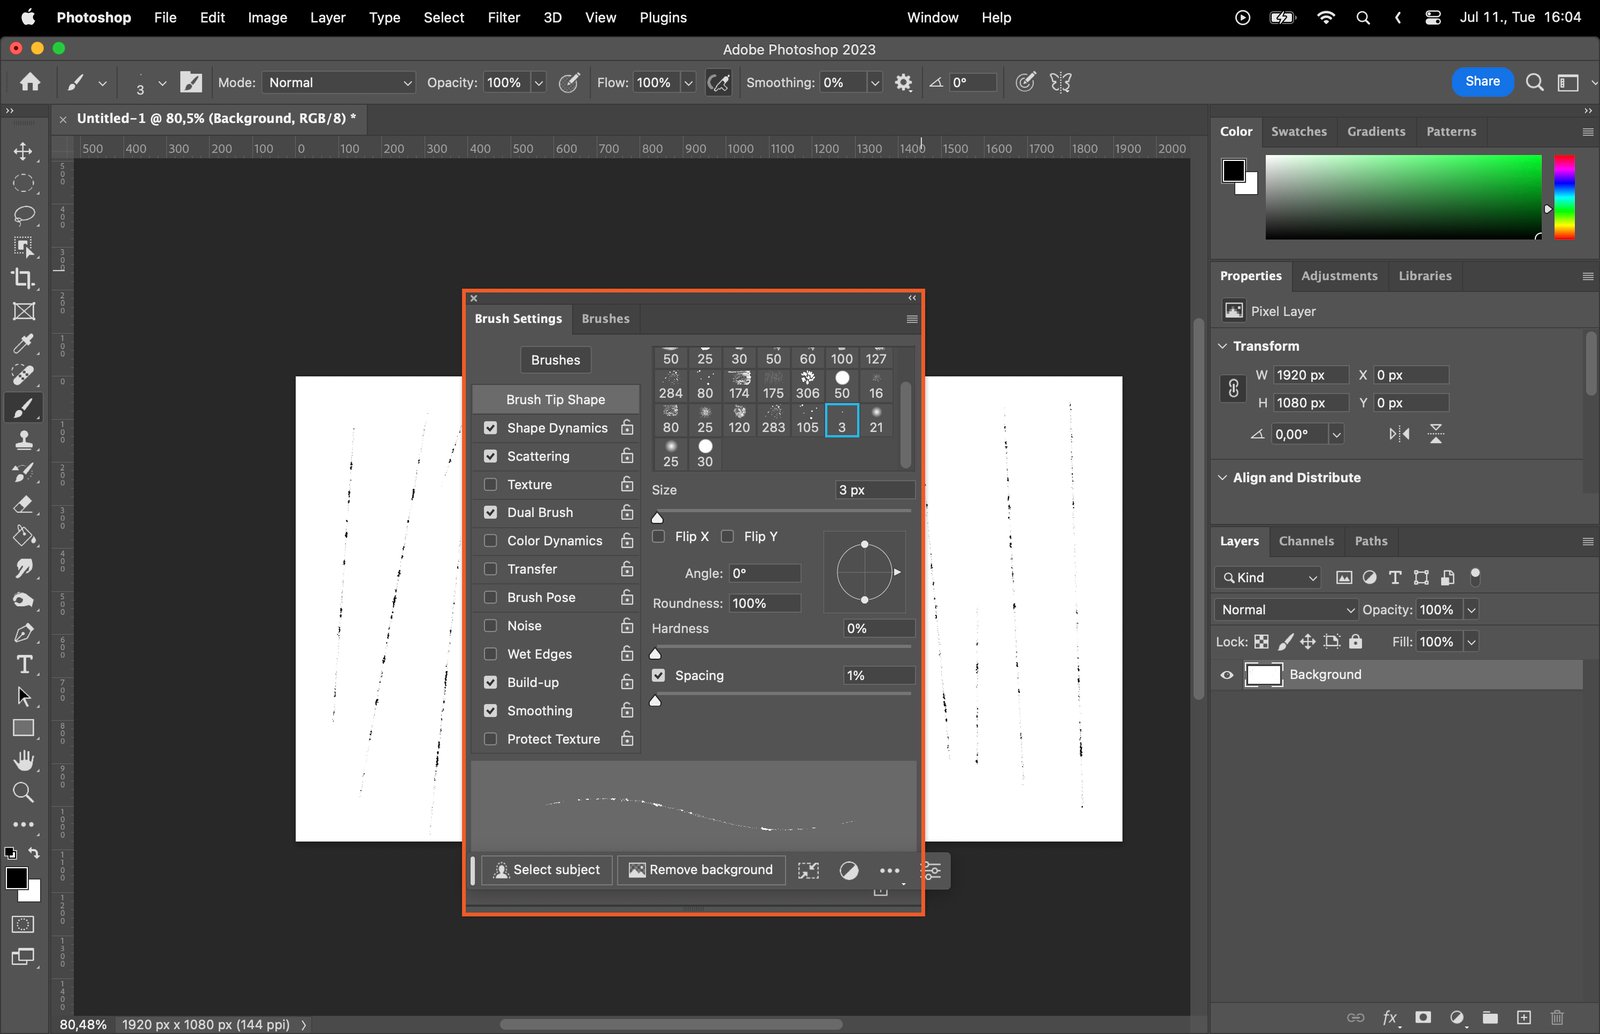
Step 4.3. Using the Brush Panel for Advanced Settings
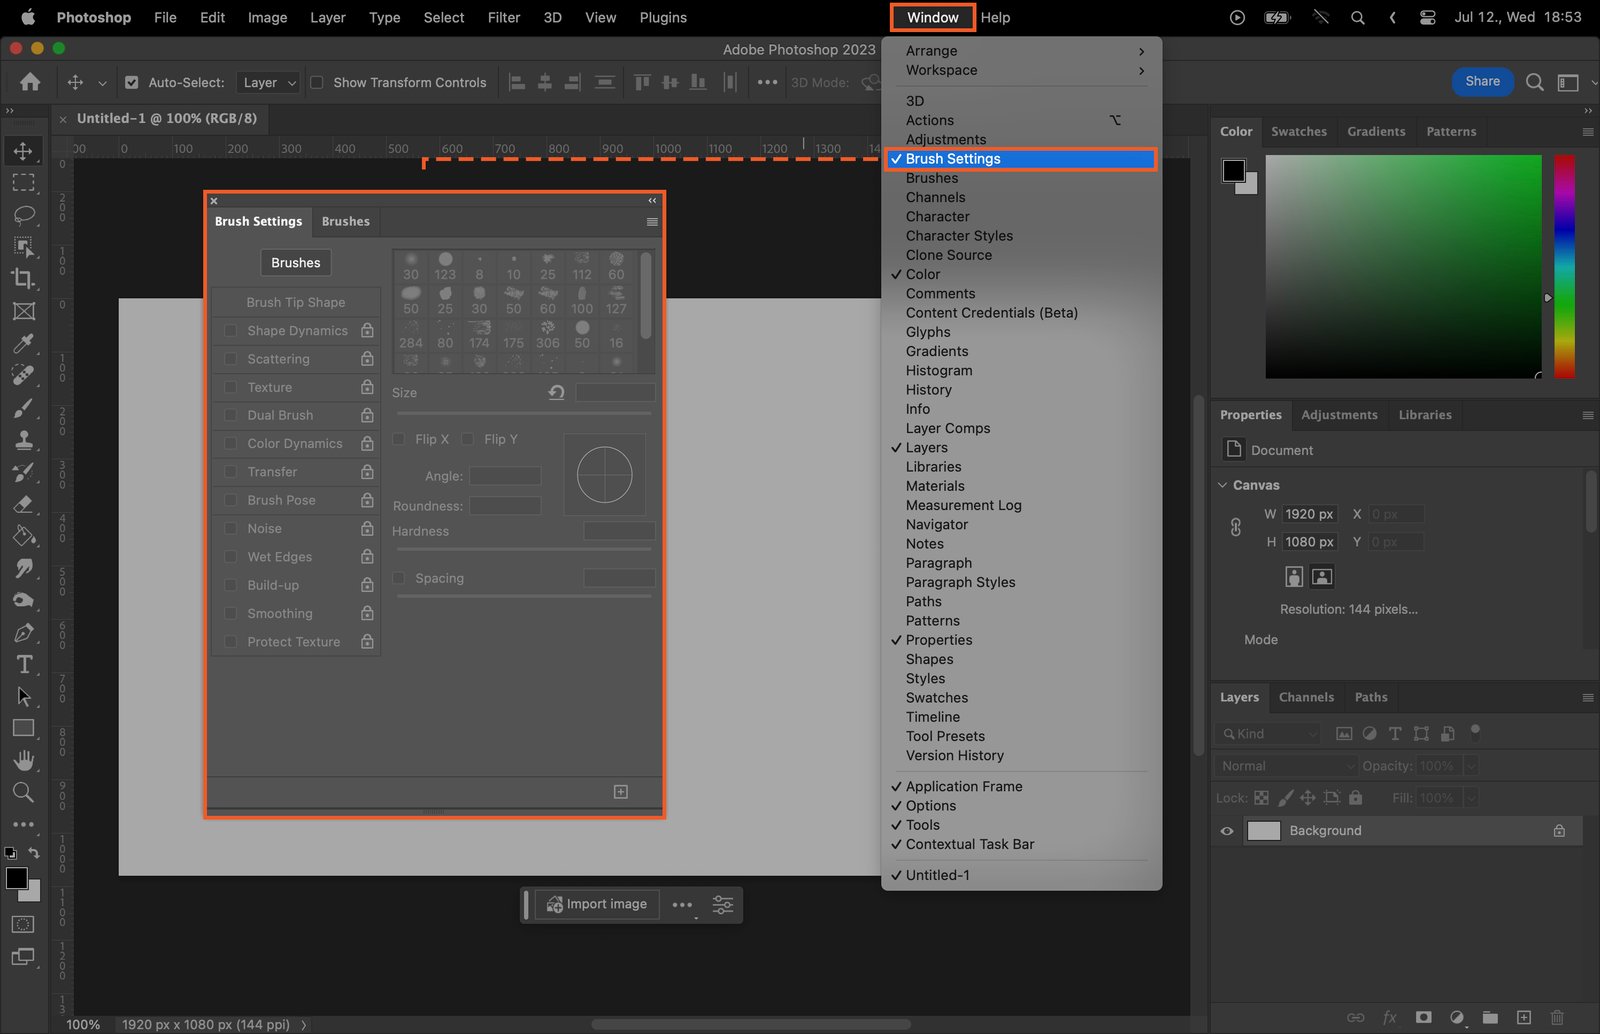
The Brush Panel offers more advanced settings, such as shape dynamics and texture. You can access this by going to ‘Window’ > ‘Brush Settings’.
Step 5. Using the Brush Tool
Step 5.1. Painting with the Brush Tool
To paint with the Brush Tool, simply click and drag on the canvas. You can change the color of your brush strokes by clicking on the foreground color swatch in the toolbar and selecting a new color.
Step 5.2. Erasing with the Brush Tool
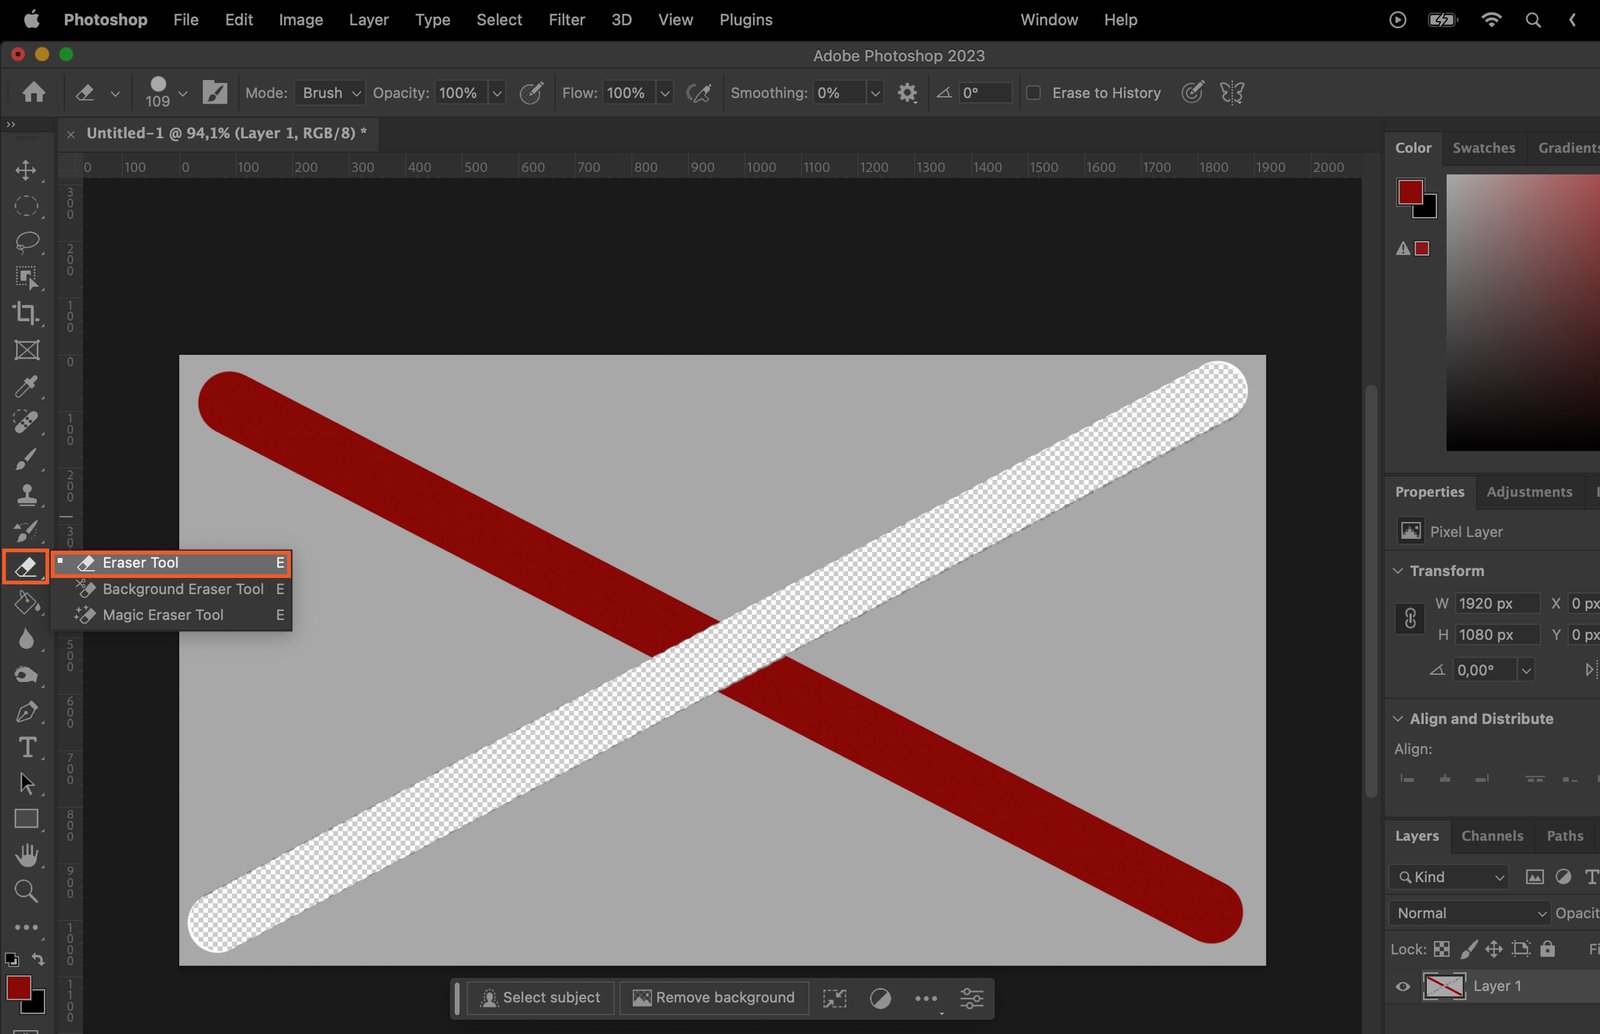
You can also use the Brush Tool to erase. To do this, select the Eraser Tool from the toolbar (or press ‘E’), then use it just like you would the Brush Tool.
Step 6. Working with Layers
Step 6.1. Creating a New Layer for Brush Work
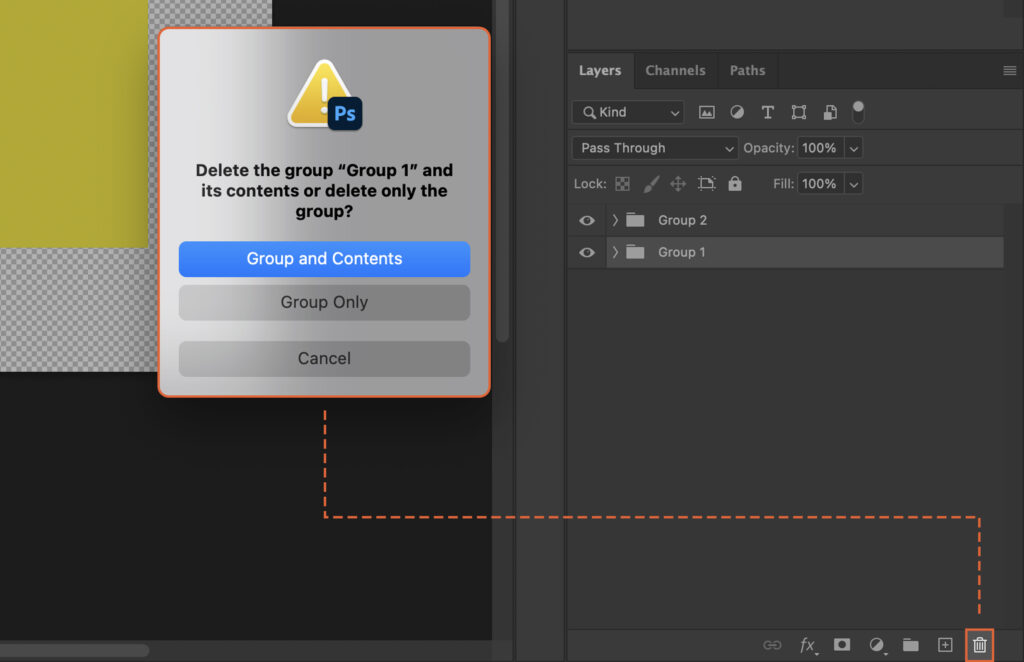
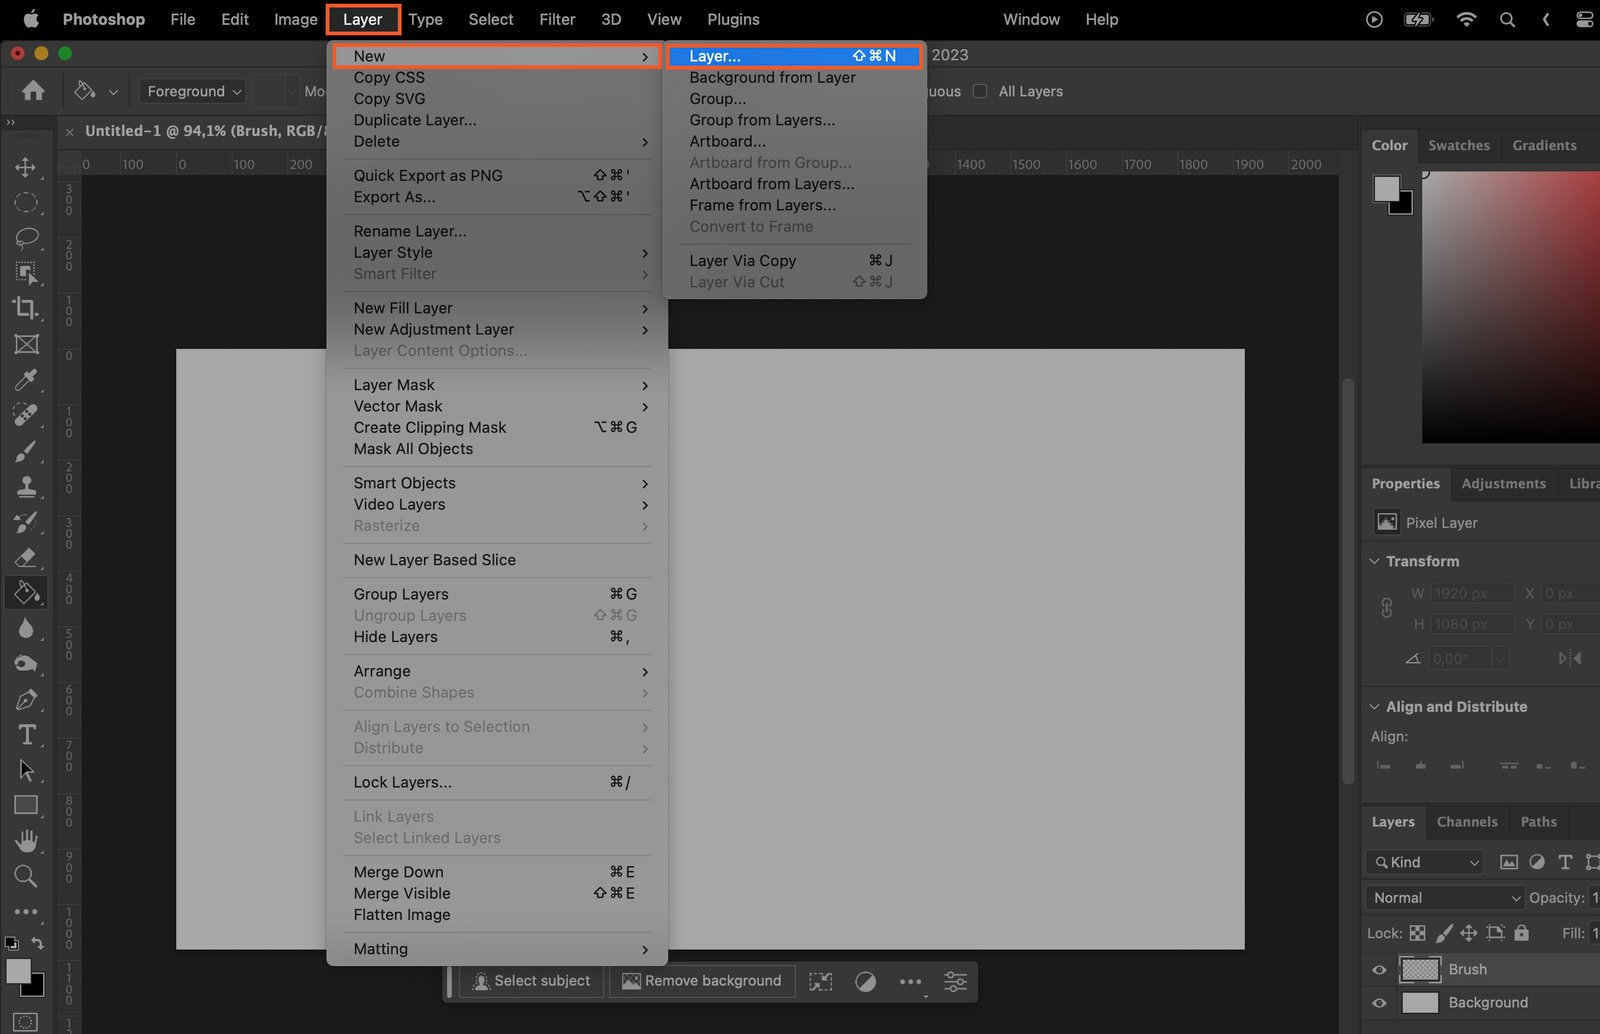
It’s a good practice to create a new layer for each major piece of brush work. This allows you to edit or remove individual elements without affecting the rest of your image. To create a new layer, go to ‘Layer’ > ‘New’ > ‘Layer’.
Step 6.2. Blending Brush Strokes with Layer Modes
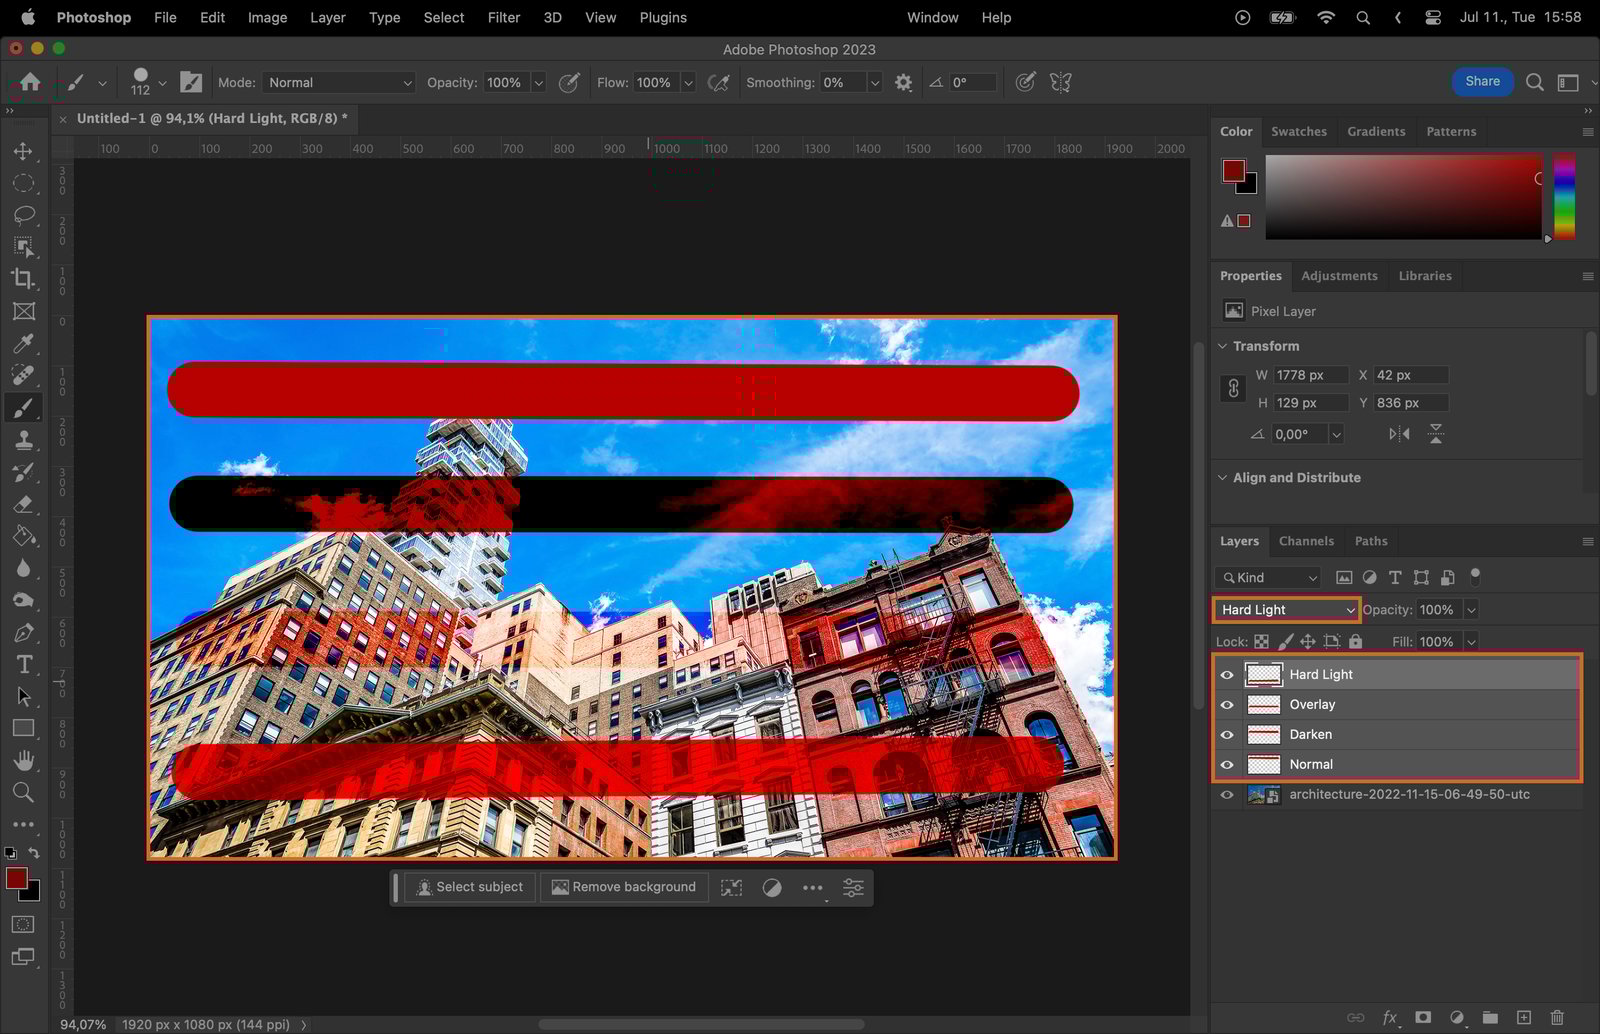
Layer modes can be used to blend your brush strokes with the layers below in various ways. You can access these by clicking on the drop-down menu at the top of the layers panel.
Step 7. Using Brush Techniques
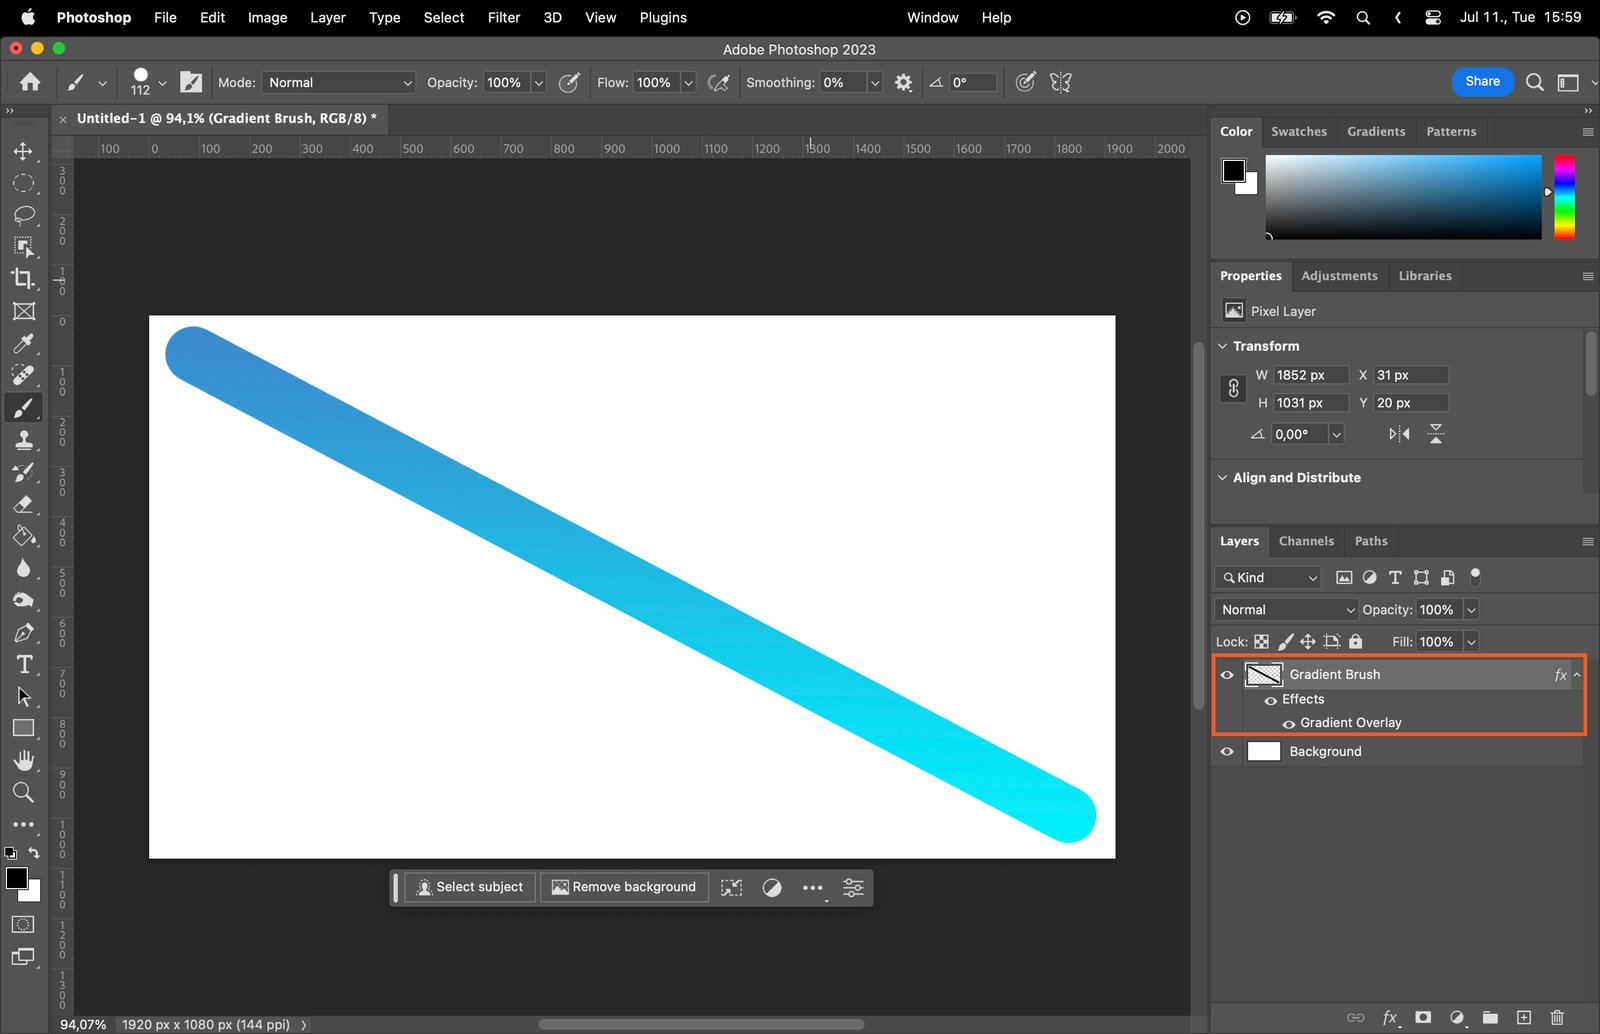
Step 7.1. Creating Gradients with Brushes
You can create gradients by gradually changing the color or opacity of your brush strokes. This can be used to create a smooth transition between colors or tones.
Step 7.2. Texturing with Brushes
Using textured brushes can add depth and realism to your work. You can find a variety of textured brush presets in Photoshop, or import your own.

Step 7.3. Detailing with Brushes
Smaller, harder brushes can be used to add fine details to your work. This can be particularly useful for things like hair, fur, or intricate patterns.
Step 8. Saving and Managing Brushes
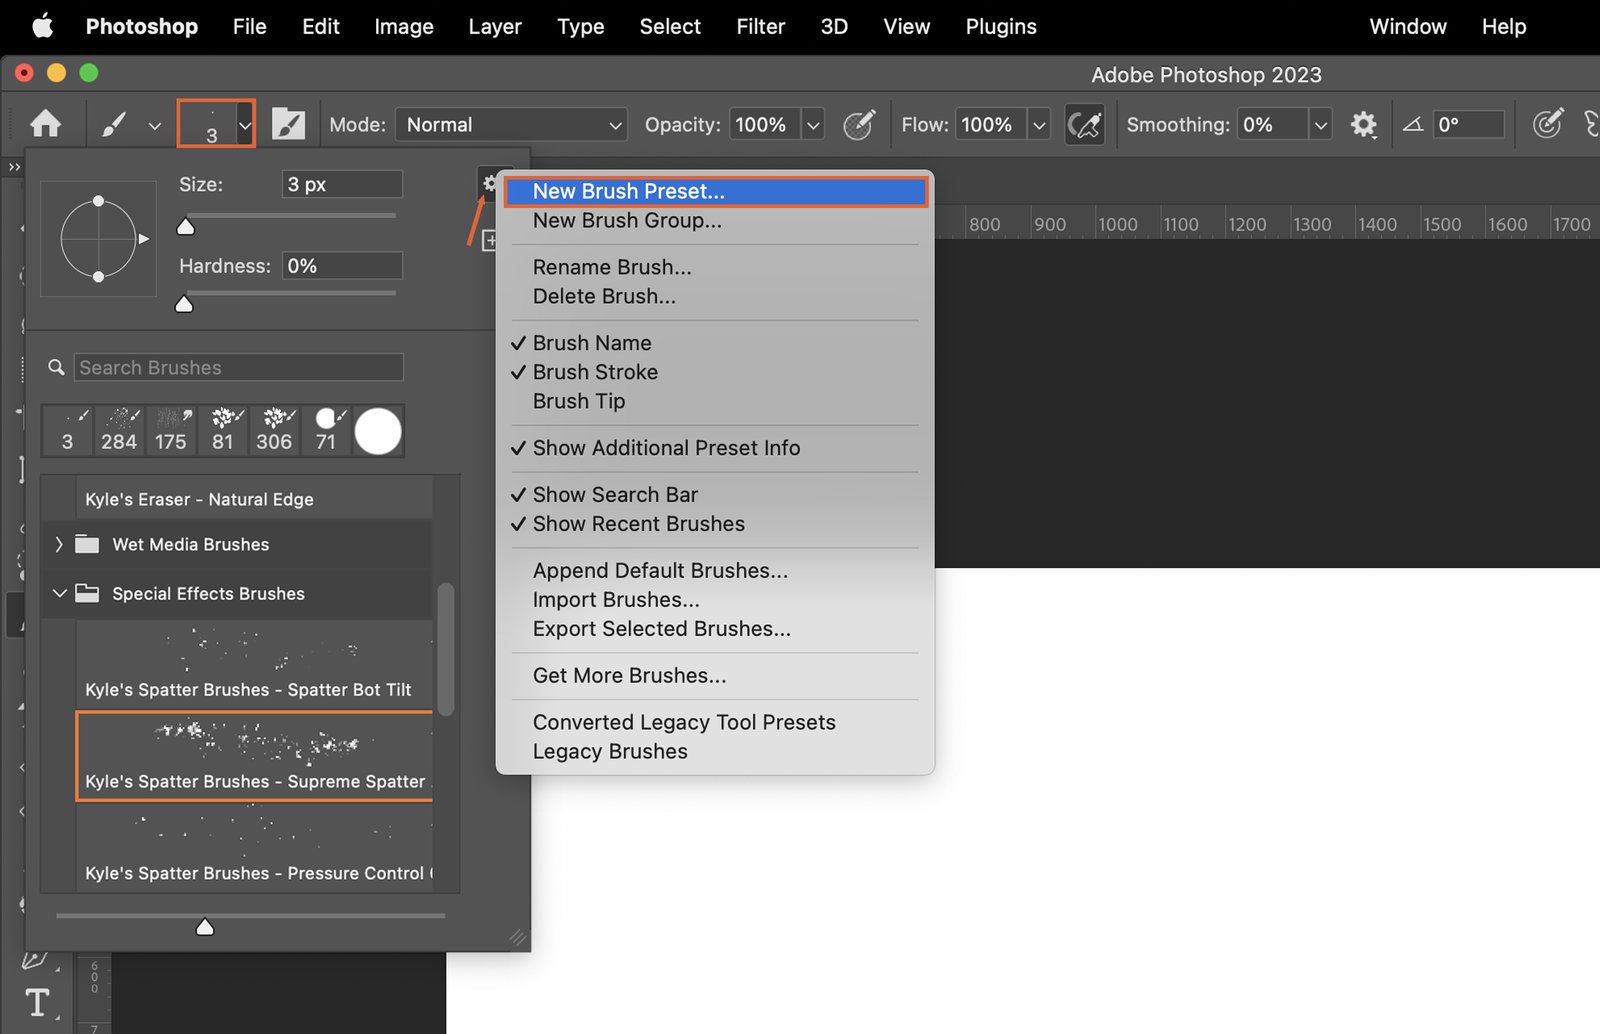
Step 8.1. Saving Custom Brushes
If you’ve created or modified a brush that you want to use again, you can save it as a custom brush. To do this, go to the brush presets menu, click on the gear icon, and select ‘New Brush Preset’.
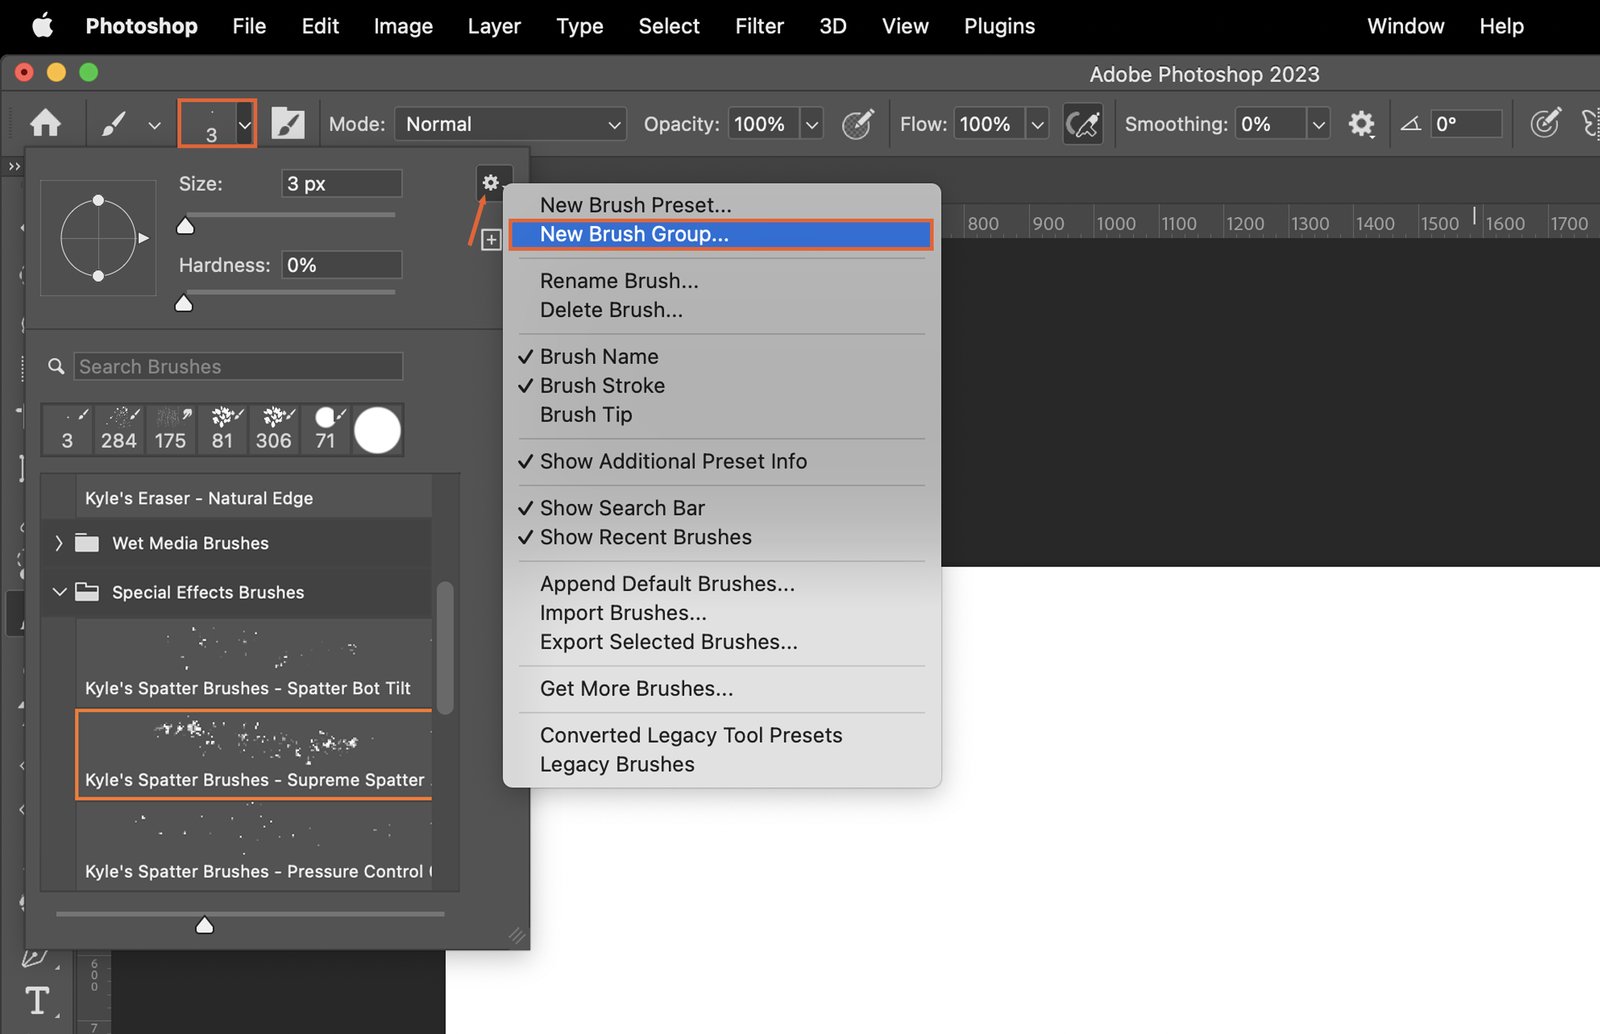
Step 8.2. Organizing Brushes into Sets
You can organize your brushes into sets to make them easier to find. To create a new set, go to the brush presets menu, click on the gear icon, and select ‘New Brush Group’.
Step 9. Exploring Advanced Brush Features
Step 9.1. Using Pressure Sensitivity with Brushes
If you’re using a graphics tablet, you can take advantage of pressure sensitivity. This allows you to control things like brush size and opacity by varying the pressure of your pen.
Step 9.2. Creating Custom Brush Presets
You can create your own custom brush presets by adjusting the brush settings to your liking, then saving the brush as a new preset. This can be a great way to save time if you often use the same brush settings.